Pulled Yarn Stitches with a Silver Lining
Written by Peggy Bond
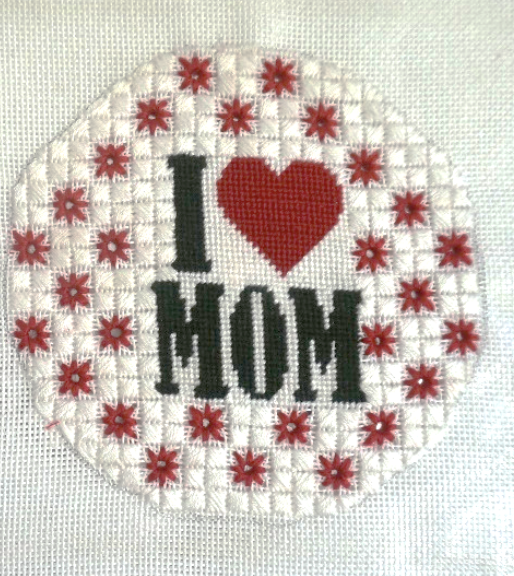
After my first foray into pulled yarn stitching, I was anxious to try one with color. Using the combination of the pulled yarn star and traditional reversed scotch stitches, I created a two-colored background that lets the silver lining of the I Love Mom ornament shine through.

I stitched the heart, “I Mom”, and background between the letters and image with the continental stitch before starting the pulled yarn star/reversed scotch background.
Stitched Canvas
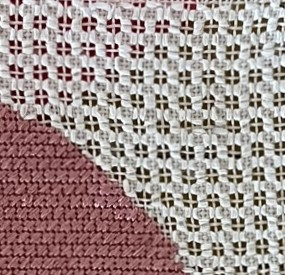
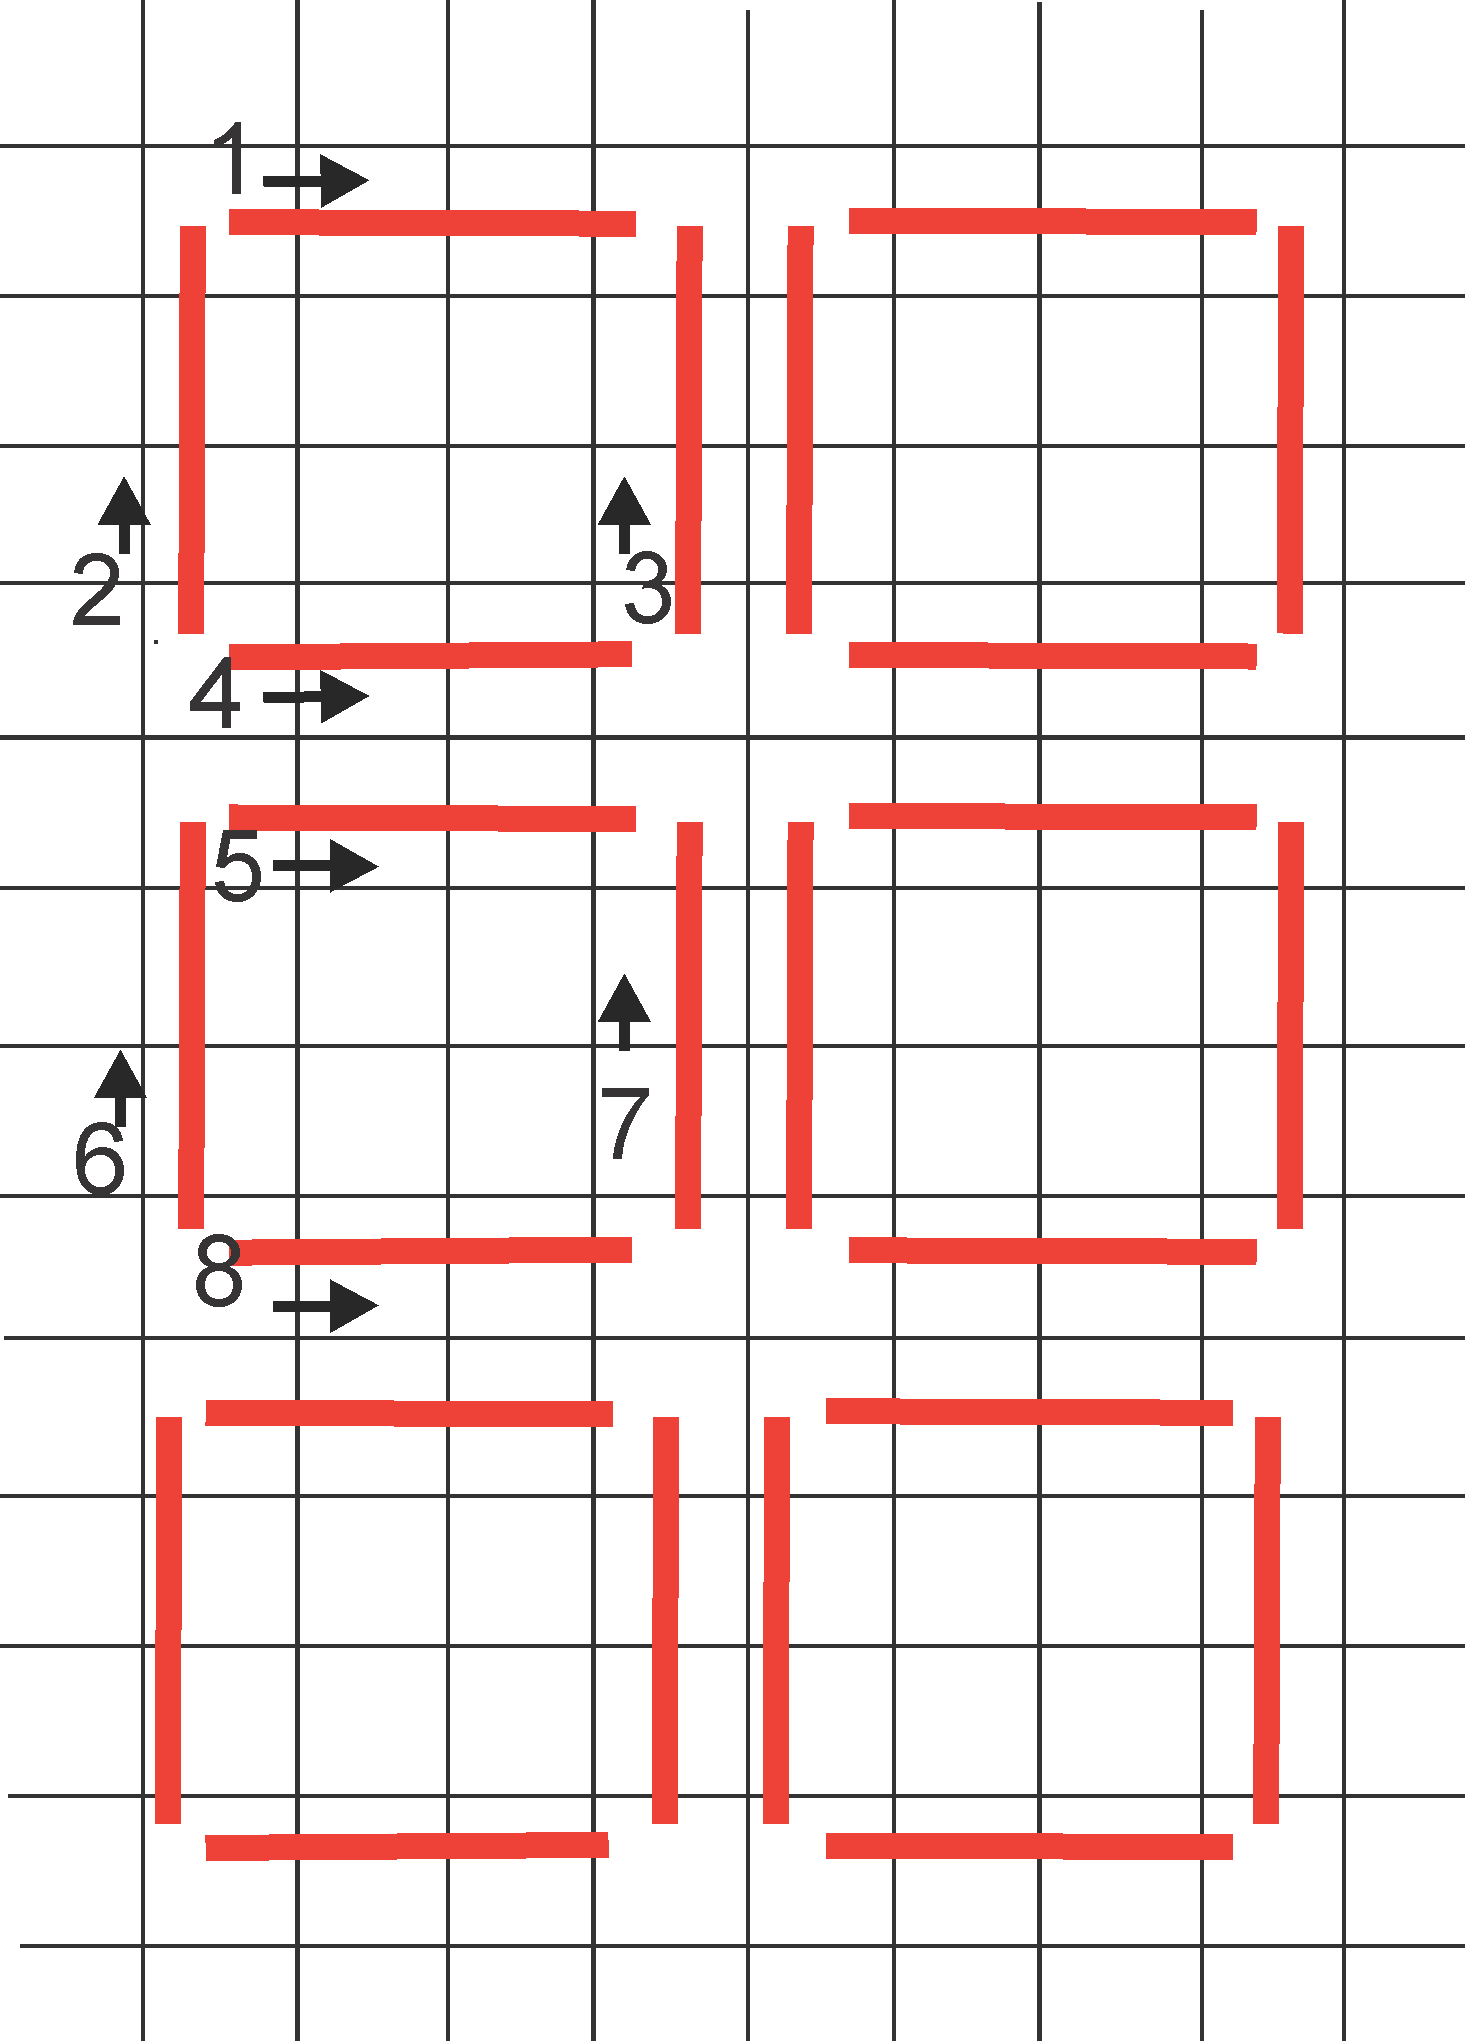
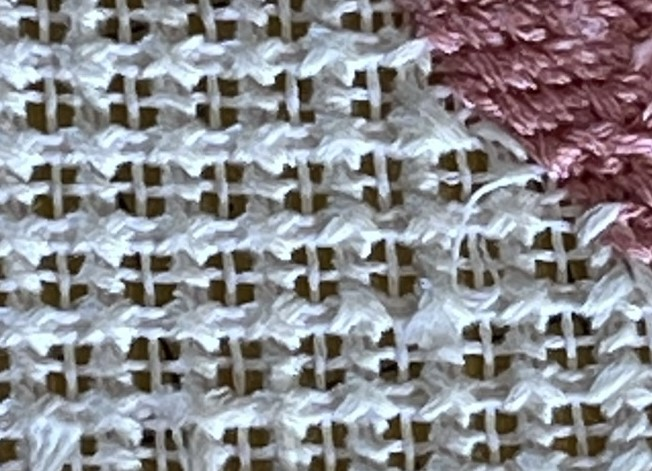
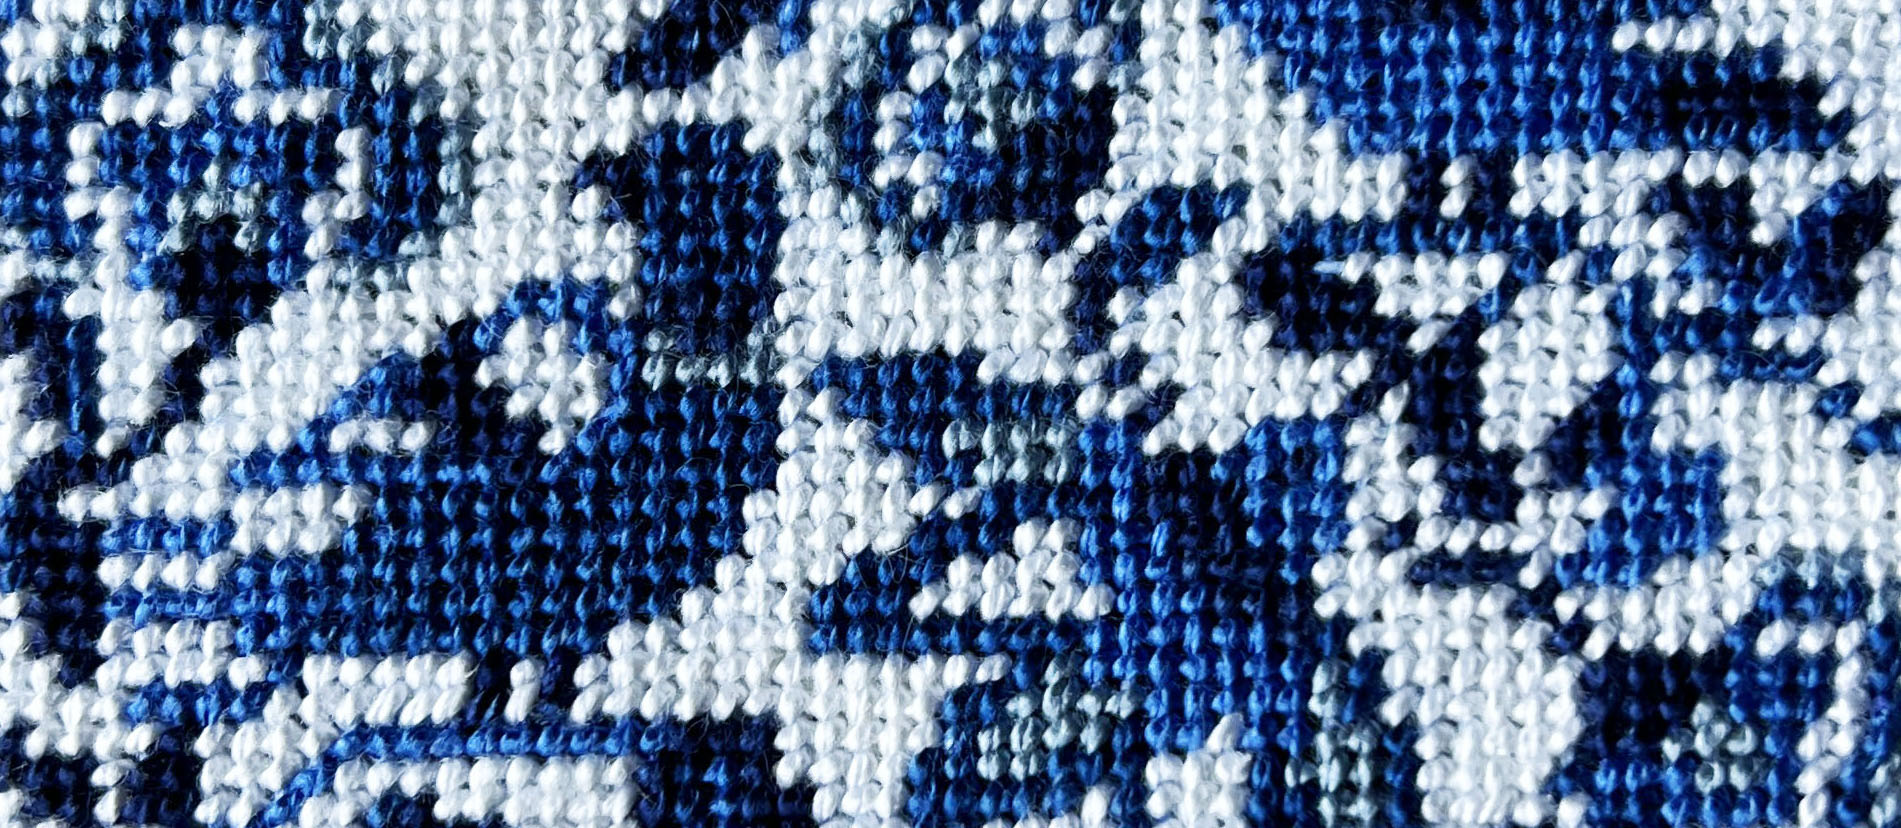
Each reversed scotch block and pulled yarn star is 8 horizontal by 8 vertical threads. The reversed scotch blocks should be completed before the pulled yarn stars, particularly if the canvas is not on a stretcher.
By starting the reserved scotch blocks at the center top of the canvas and working diagonally downward as shown above the location of a diagonal row of stars is created. For this ornament, the stars alternate with the scotch blocks, but they can also be randomly positioned. It is important that the stars be worked from the center outward. Since the stars are a different color than the scotch block, each was work independently and ends tied off and hidden so that they are not seen.
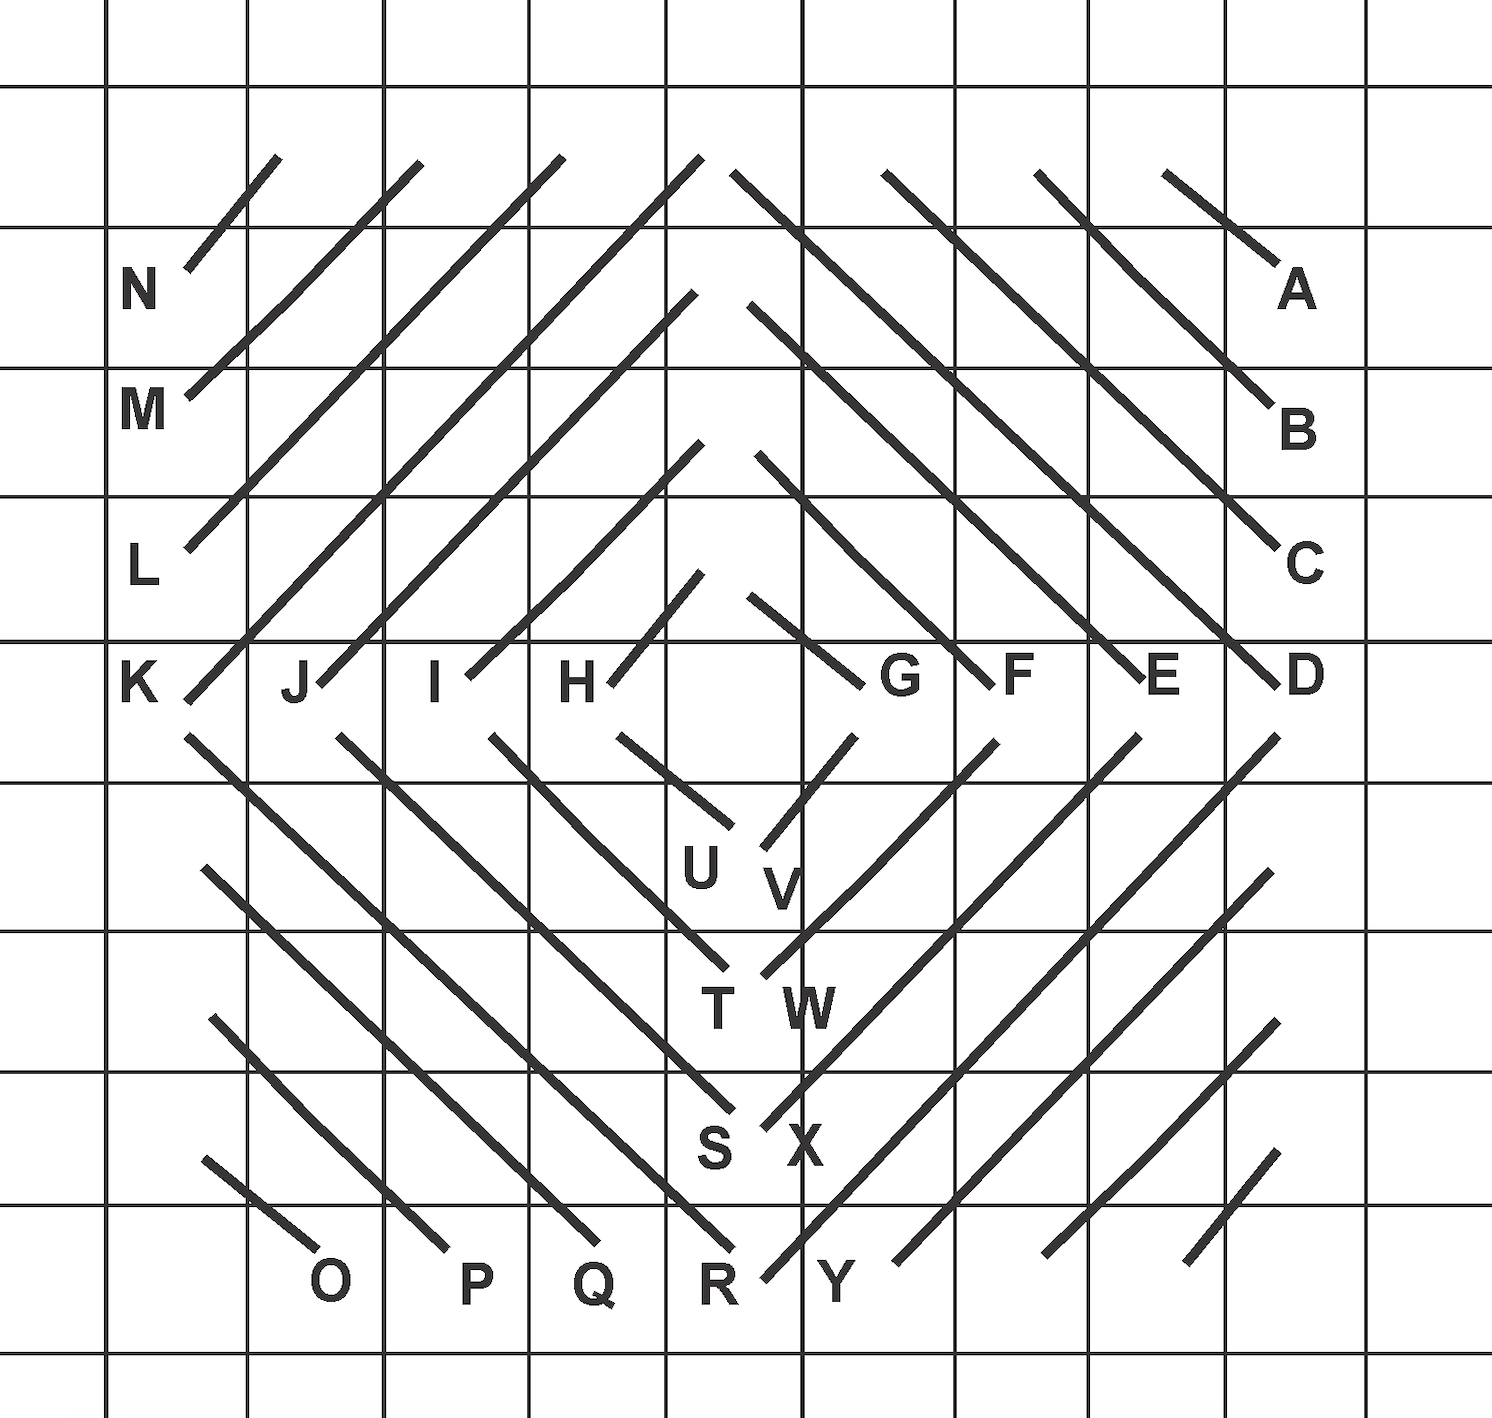
Reversed scotch block

So now the background lining! The ornament has only three colors. I did not like the idea of using black. Nether white nor red would show off the holes for the pulled yarn stars. Maybe gold or silver? I tested a silver lining of aluminum foil. I liked how it looked. I went looking for fabric and found stretch satin silver fabric at my local fabric store.
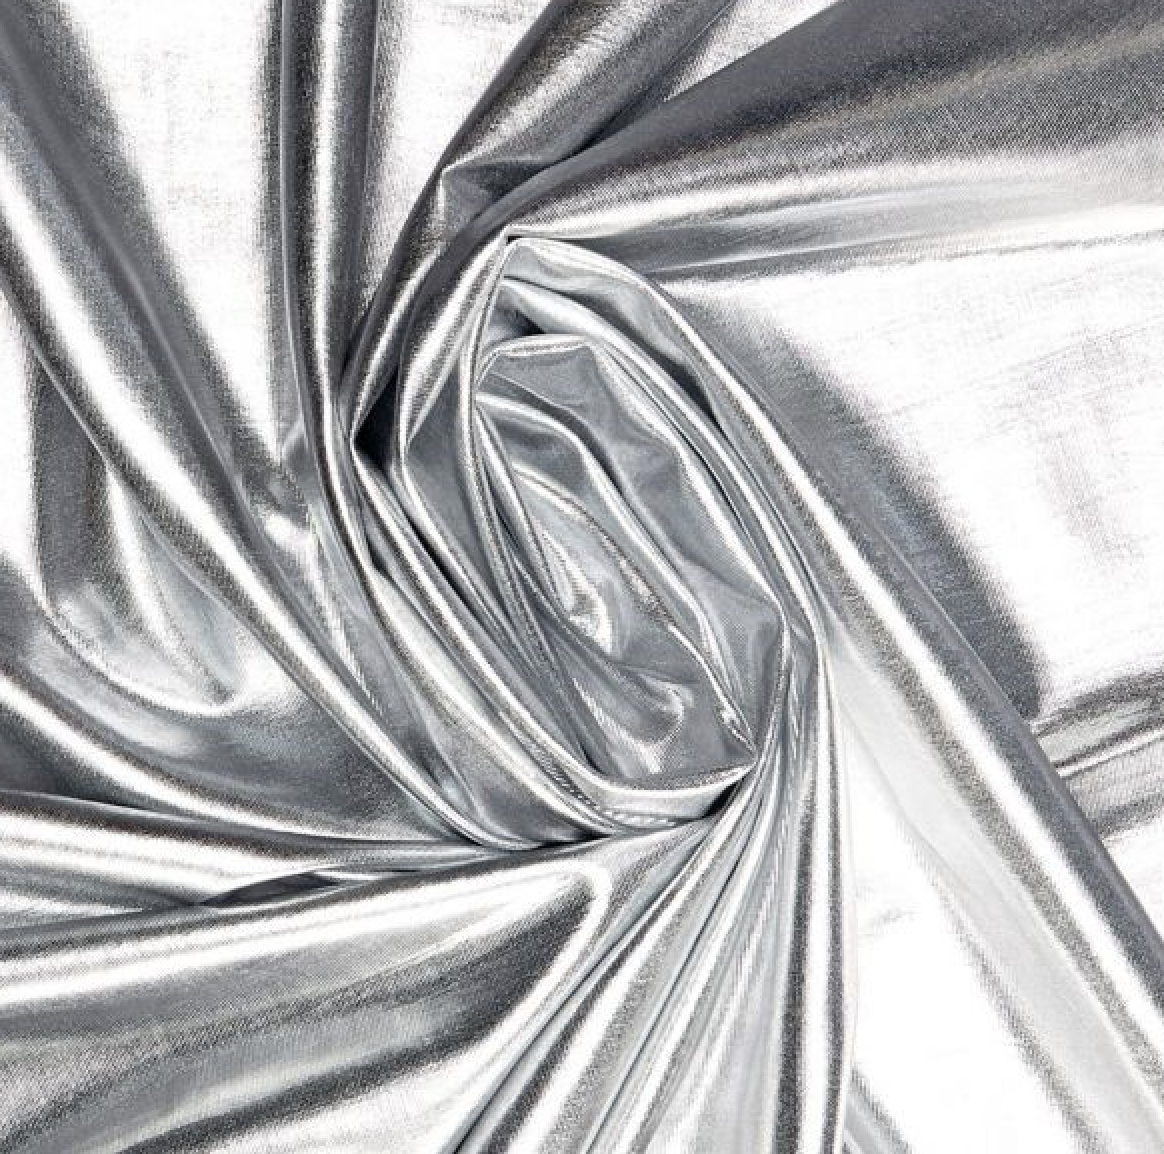
Satin Silver Fabric
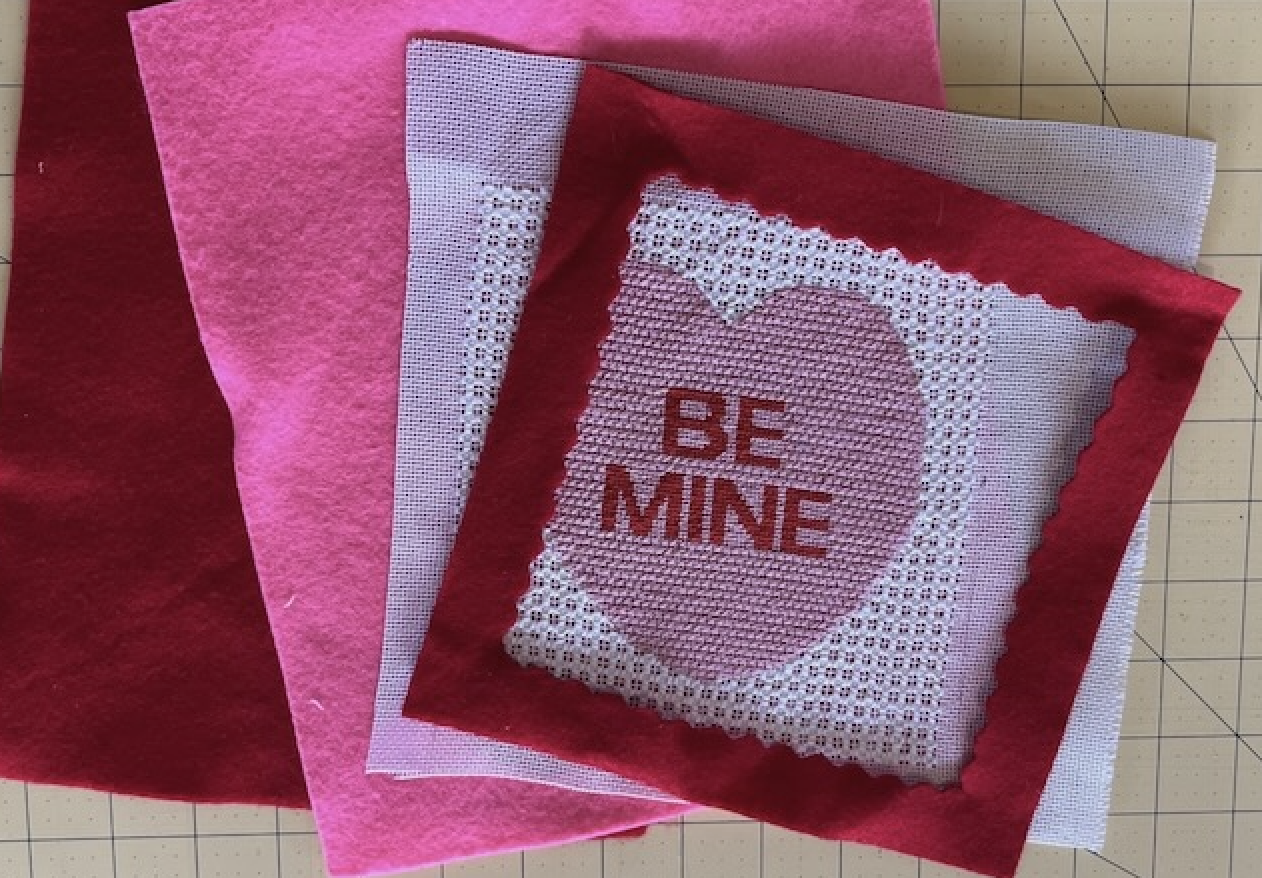
To finish the ornament, I used red felt for the backing, quilt batting for padding, a cardboard stiffener, and silver braid for trim and hanger.
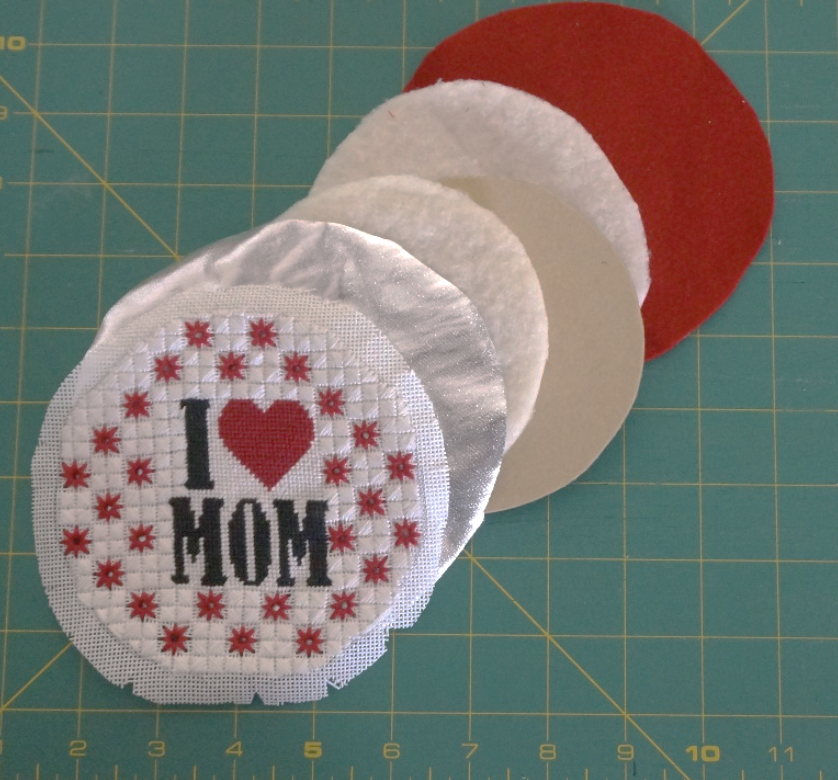
Ornament elements
My two pulled yard projects have been done on 18-point canvases and now I am ready for something bigger and maybe better….
Please feel free to contact us with any questions you may have at: info@needlepaint.com
Happy Stitching!


Recent Comments