Official blog of www.NeedlePaint.com
where you can design your own Needlepoint!

NeedlePoint Kits and Canvas Designs | Design your own Needlepoint Kit!

Archive for June, 2019

Hoop Them Up! NeedlePaint’s DIY Christmas Ornaments

12 Days of Christmas 3%22 ornamentsWritten by Peggy Bond

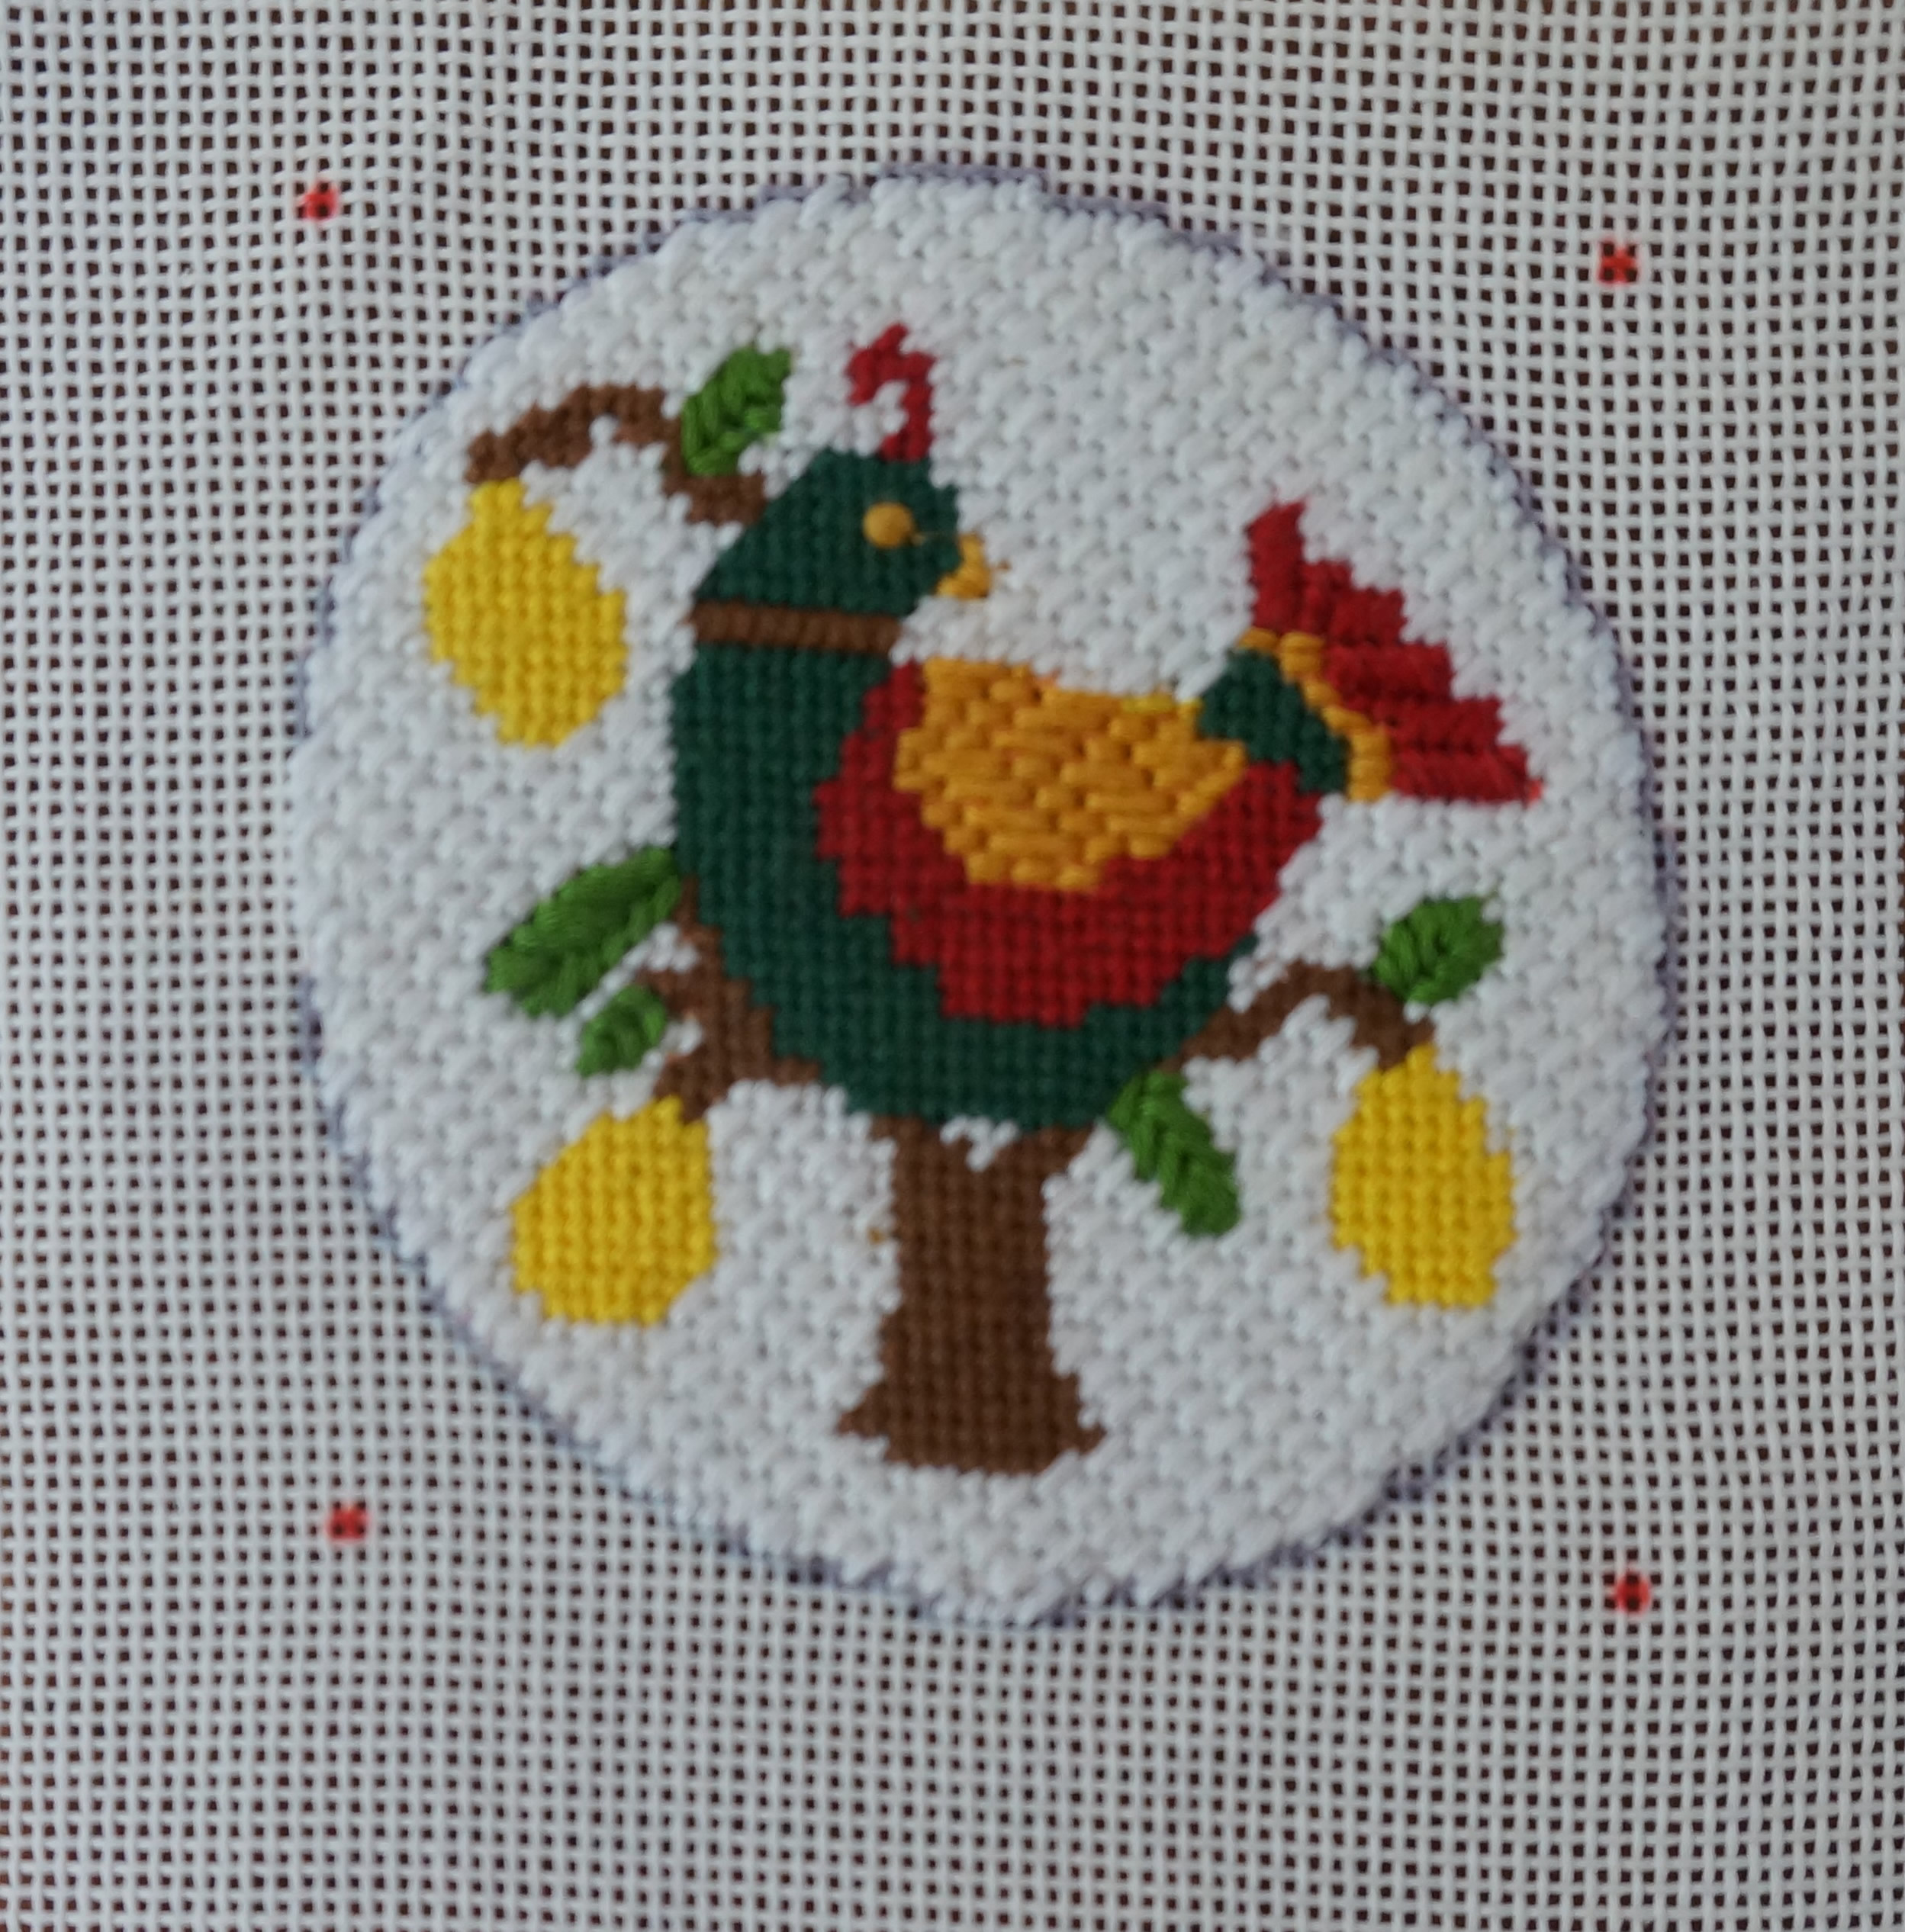
It’s not basketball season, but time to start planning new decorations for Christmas. At NeedlePaint, our 12 Days of Christmas motifs have been resized to be 3-inch Christmas tree ornaments. And, embroidery hoops are a great way to finish them.

The designs are printed on an 18-point canvas of 2 columns and 6 rows. Each row can be cut and each row of 2 worked individually on a scroll frame or stretcher.  When stitching, cover the grey circular boarder to ensure that there will be no unstitched canvas.

Our previous blogs for the 12-Day blocks have suggestions for a variety of stitches that can be used but I found myself using the Continental stitch because of the small size of the ornaments. 

DIY Christmas Ornament Supplies

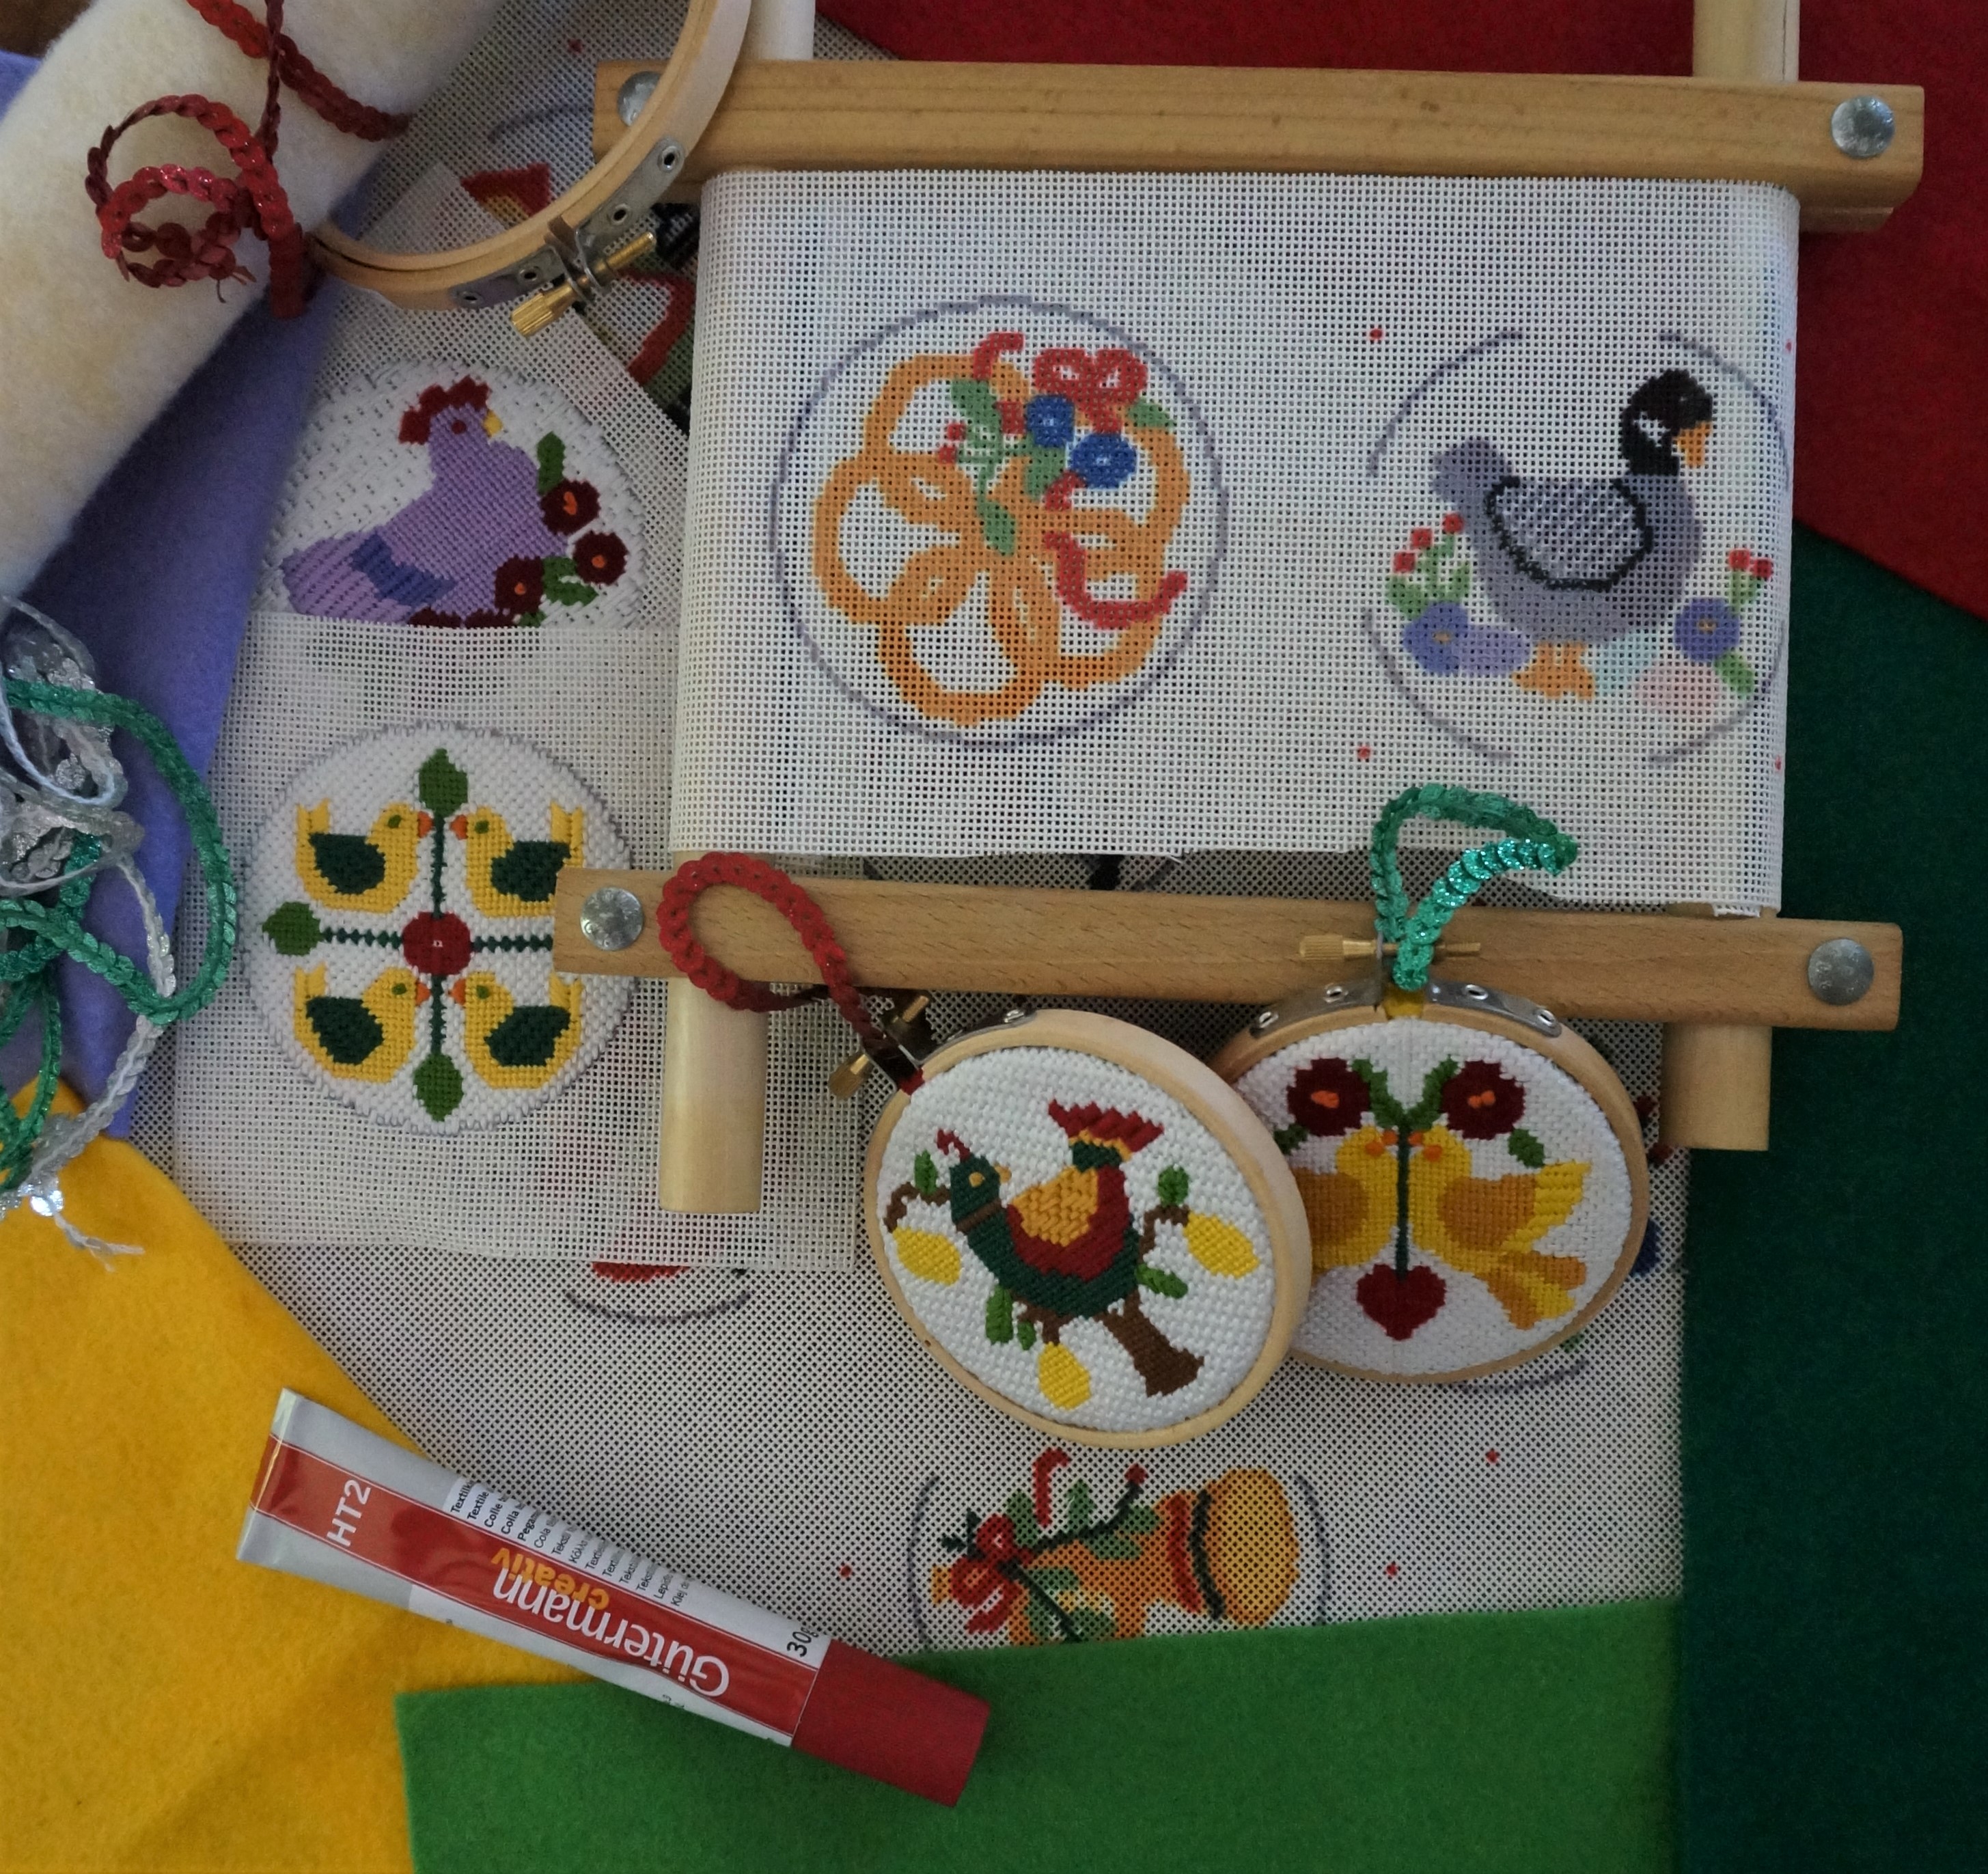
Supplies for finishing the ornaments are:

• 3-inch bamboo hoops which are available from several suppliers including JoAnn Fabrics, Etsy, and Amazon and in Europe Cloud Craft.

• Fabric for the back side, preferable felt or felted wool. It is best to use a fabric that does not ravel.

• Padding such as quilt batting or polyester stuffing (optional).

• Strung glitter sequins, ribbon, or similar for hanging the ornament.

• Fabric glue.

Stitched Ornament 

Once stitched, cut the ornaments apart leaving them as squares with at least 1 inch of unfinished canvas around each ornament.  It is tempting to trim the finished canvas into a circle, but having the long corners makes it easier to place  evenly around the inner hoop. 

Before hooping the canvas, use the inside of the inner hoop as a guide to cut padding. The padding will give the ornament some roundness and makes affixing the felt backing easier.

Folding back

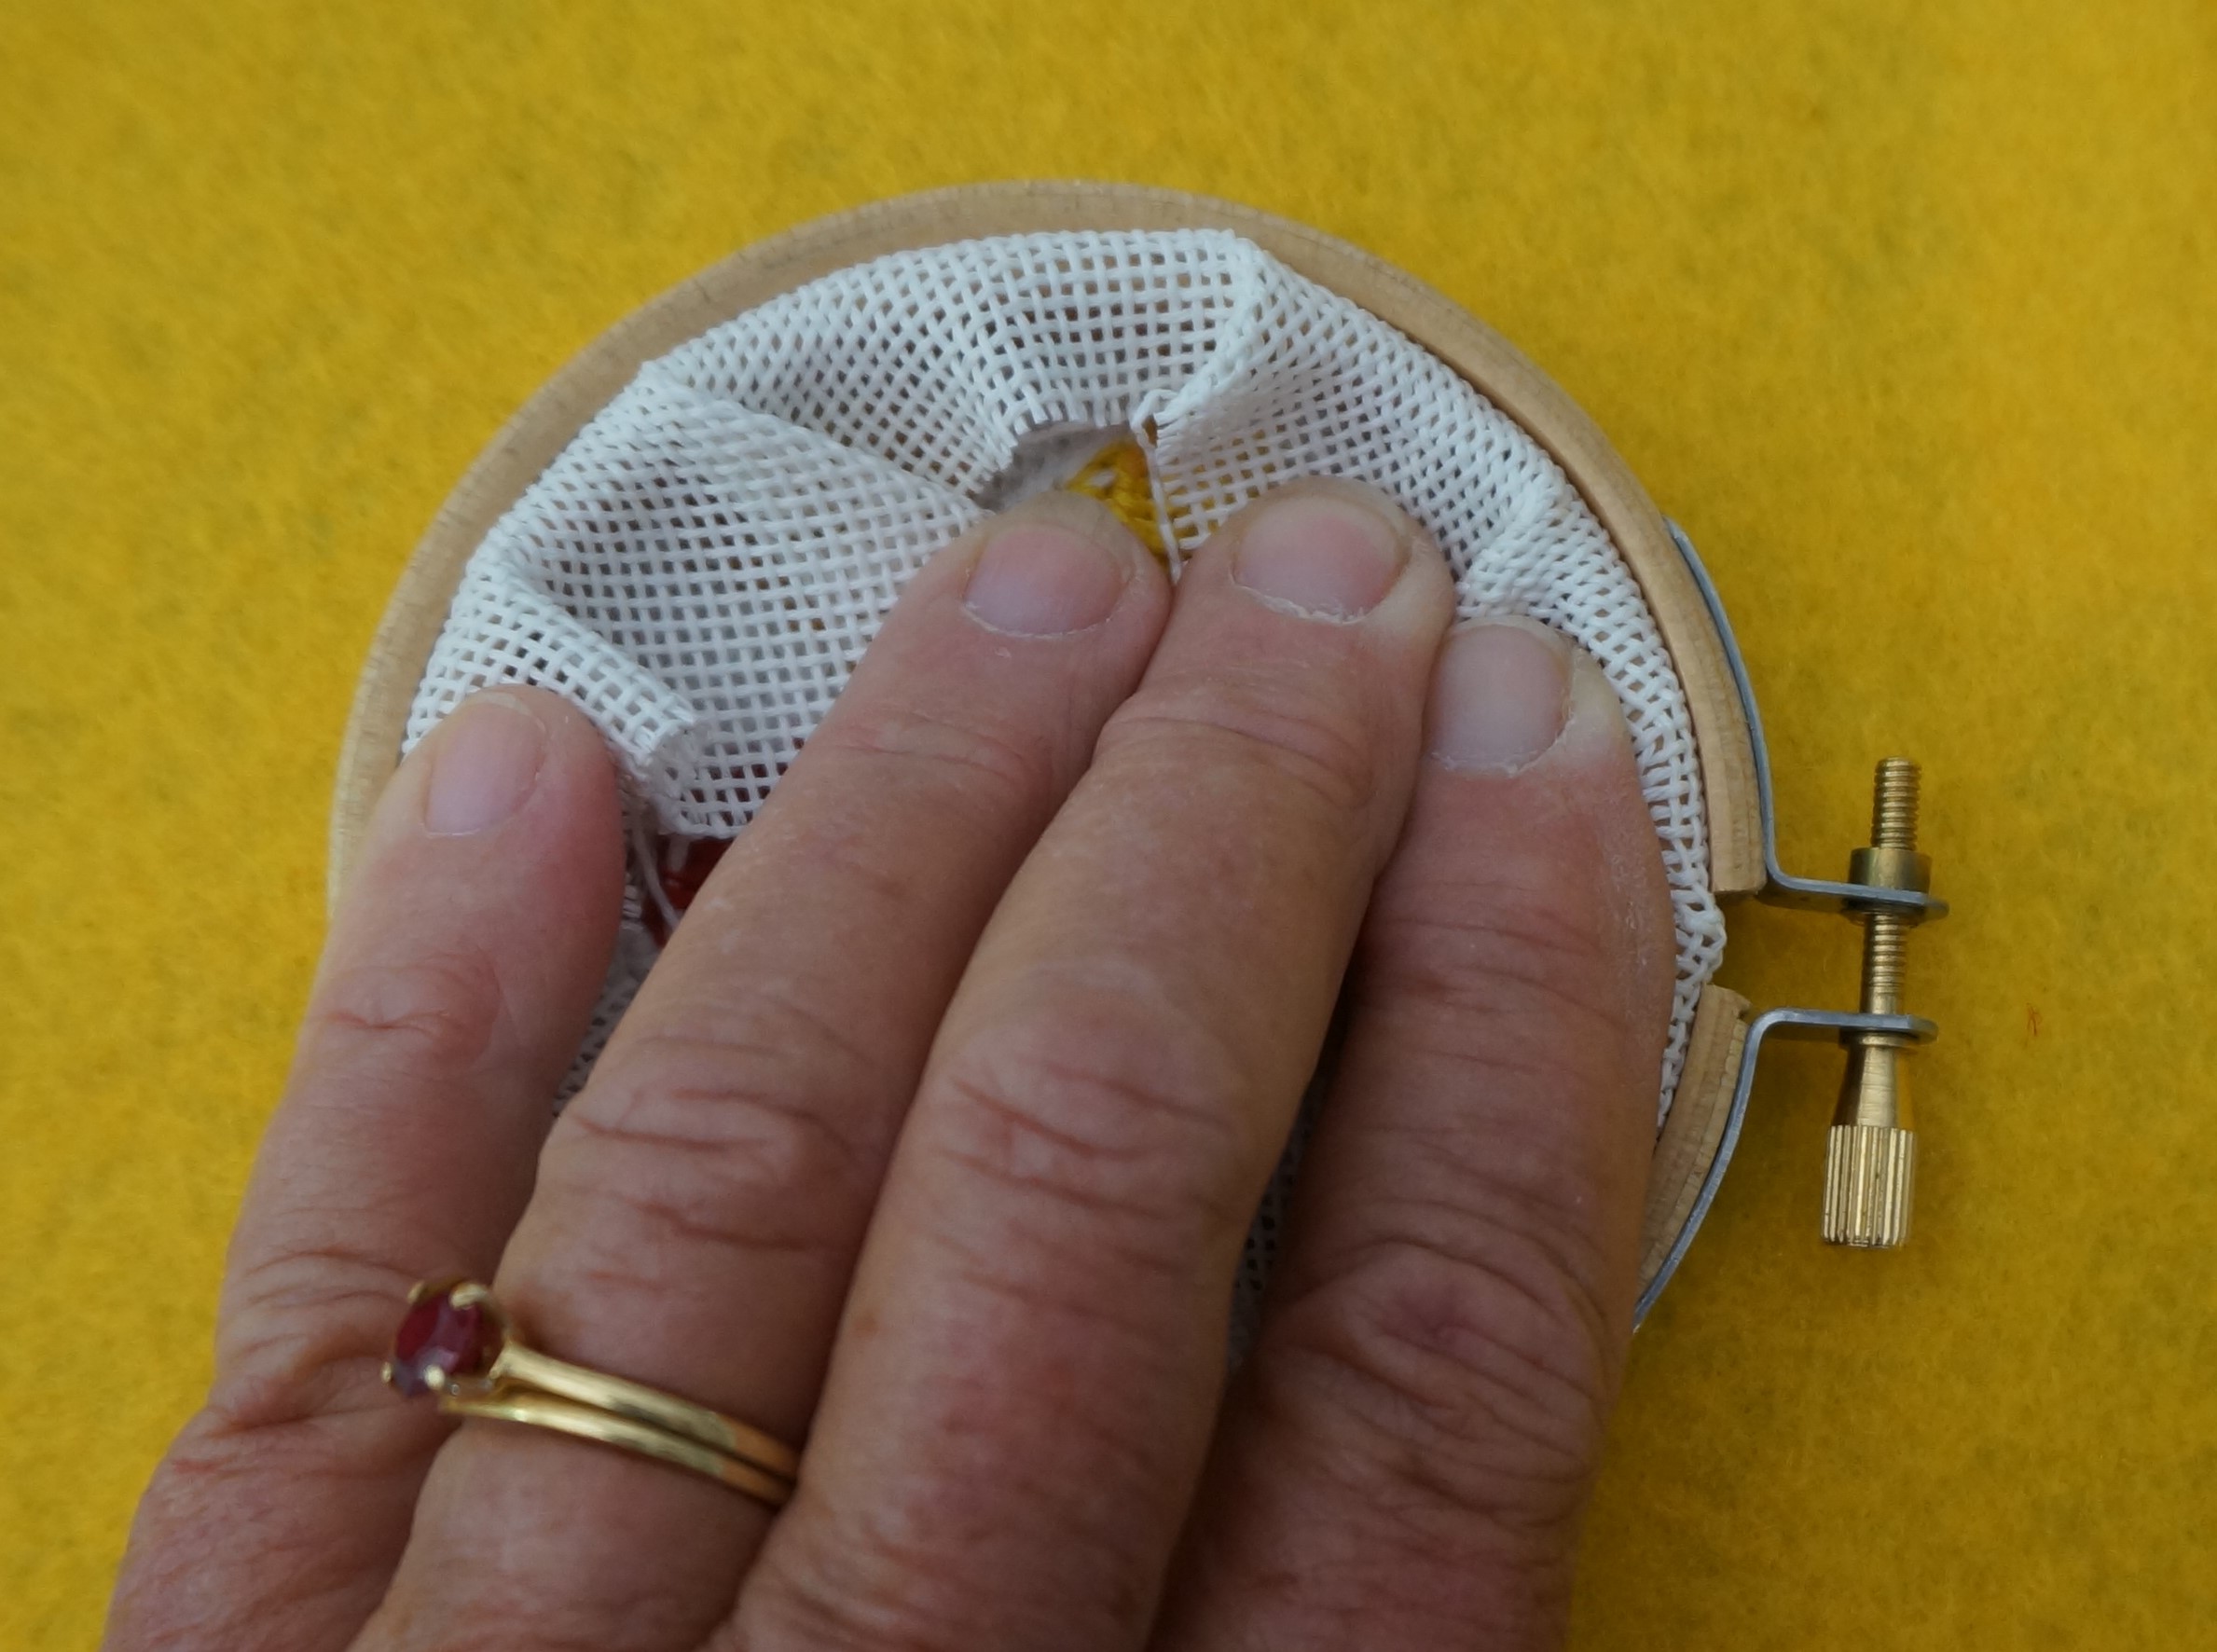
 Loosen the screw fastener of the outer hoop as far as possible. Position the canvas over the inner hoop. Then put the outer hoop in place and tighten. Turn over the ornament and fold in the edges of the canvas. I found that steaming the canvas helps make it more pliable when trying to get the edges turned to the backside of the hoop and once it dries, it will hold its shape. 

Finished Oranments

 If you are using padding, place it inside the inner hoop on top of the back of the stitched canvas. Then, trace the hoop on your felt backing and cut it out. Glue the felt backing to the outer hoop’s edge, following the instructions of the glue manufacturer. 

I used strung glitter sequins for hangers. I had originally purchased the sequins to glue to the outer hoop but decided that I like the look of the natural bamboo. One could also stain or paint the outer hoop. Many more options out there. Let your imaginations go wild!

Creative NeedlePaint Customer Embellishes “Queen of Hearts”

I love opening a new email, to find a fabulous new creation, stitched by one of our NeedlePaint customers!  Recently Brenda T. in Georgia, sent a request for NeedlePaint to design another playing card canvas similar to the Queen of Hearts needlepoint pillow canvas she has just finished stitching.

Queen of Hearts Needlepoint canvas

Brenda’s finished needlepoint canvas has gone way beyond the basic. She uses a variety of stitches and is embellishing with beads!

Brenda says, “she will study the stitch book for days and try out one or two stitches to see if they work well.” She has taken workshops to learn how to embellishing using beads as well as victorian silk ribbon.

I think Brenda’s life time love of textiles and textures really shines through in her needlepoint work! Her creative background began after receiving her first sewing machine, a hand crank Singer, on her 6th Christmas. She went on to study at Virginia Tech, with a degree in Clothing and Textiles, and has sewed most all of her clothes. Although she never used her degree while working full-time for IBM, after retiring she did help friends with some interior design projects. She’s dabbled in knitting, watercolors, silk painting and has made sixteen or more needlepoint stockings for all of her grandchildren, grand nieces and nephews.

Now Brenda joins workshops at her local senior center. She enjoys the other women who sign up each time, with a solid core group of six or so. They help each other, learning to embellish with beads and ribbons, and have a variety of talents and abilities. She feels like this workshop has taken her needlepointing to a new level, and mentions that she might take up designing a pattern or two. 

Queen of Spades Needlepoint PillowQueen of Heart Needlepoint Pillow

We’ve just finished Brenda’s request for a new Queen of Spades canvas, and can’t wait to see what she does with this queen. Wouldn’t it be fun to put these two pillows at opposite ends of your sofa, perhaps with a King in between! Which card would you pick to stitch?

Please let us know if we can custom design something for you, or if you need help translating your design onto a custom needlepoint canvas that you can stitch!

We love to see what you have been stitching, please feel free to send us your creation photos at info@needlepaint.com.

Happy Stitching!