Official blog of www.NeedlePaint.com
where you can design your own Needlepoint!

NeedlePoint Kits and Canvas Designs | Design your own Needlepoint Kit!

Archive for February, 2019

How To Stitch A Needlepoint Belt Canvas

By Peggy Bond

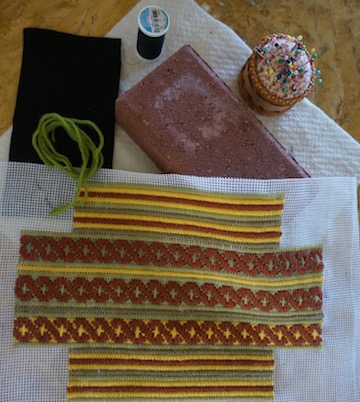
So you have a 5-inch wide by yard long printed needlepoint canvas for a belt. Where do we go now? To a split rail scroll frame which will keep your canvas relatively square while allowing you to access sections of the canvas without having to remove and reposition it.

The F.A. Edmunds 6” x 12” scroll frame is a great option. 

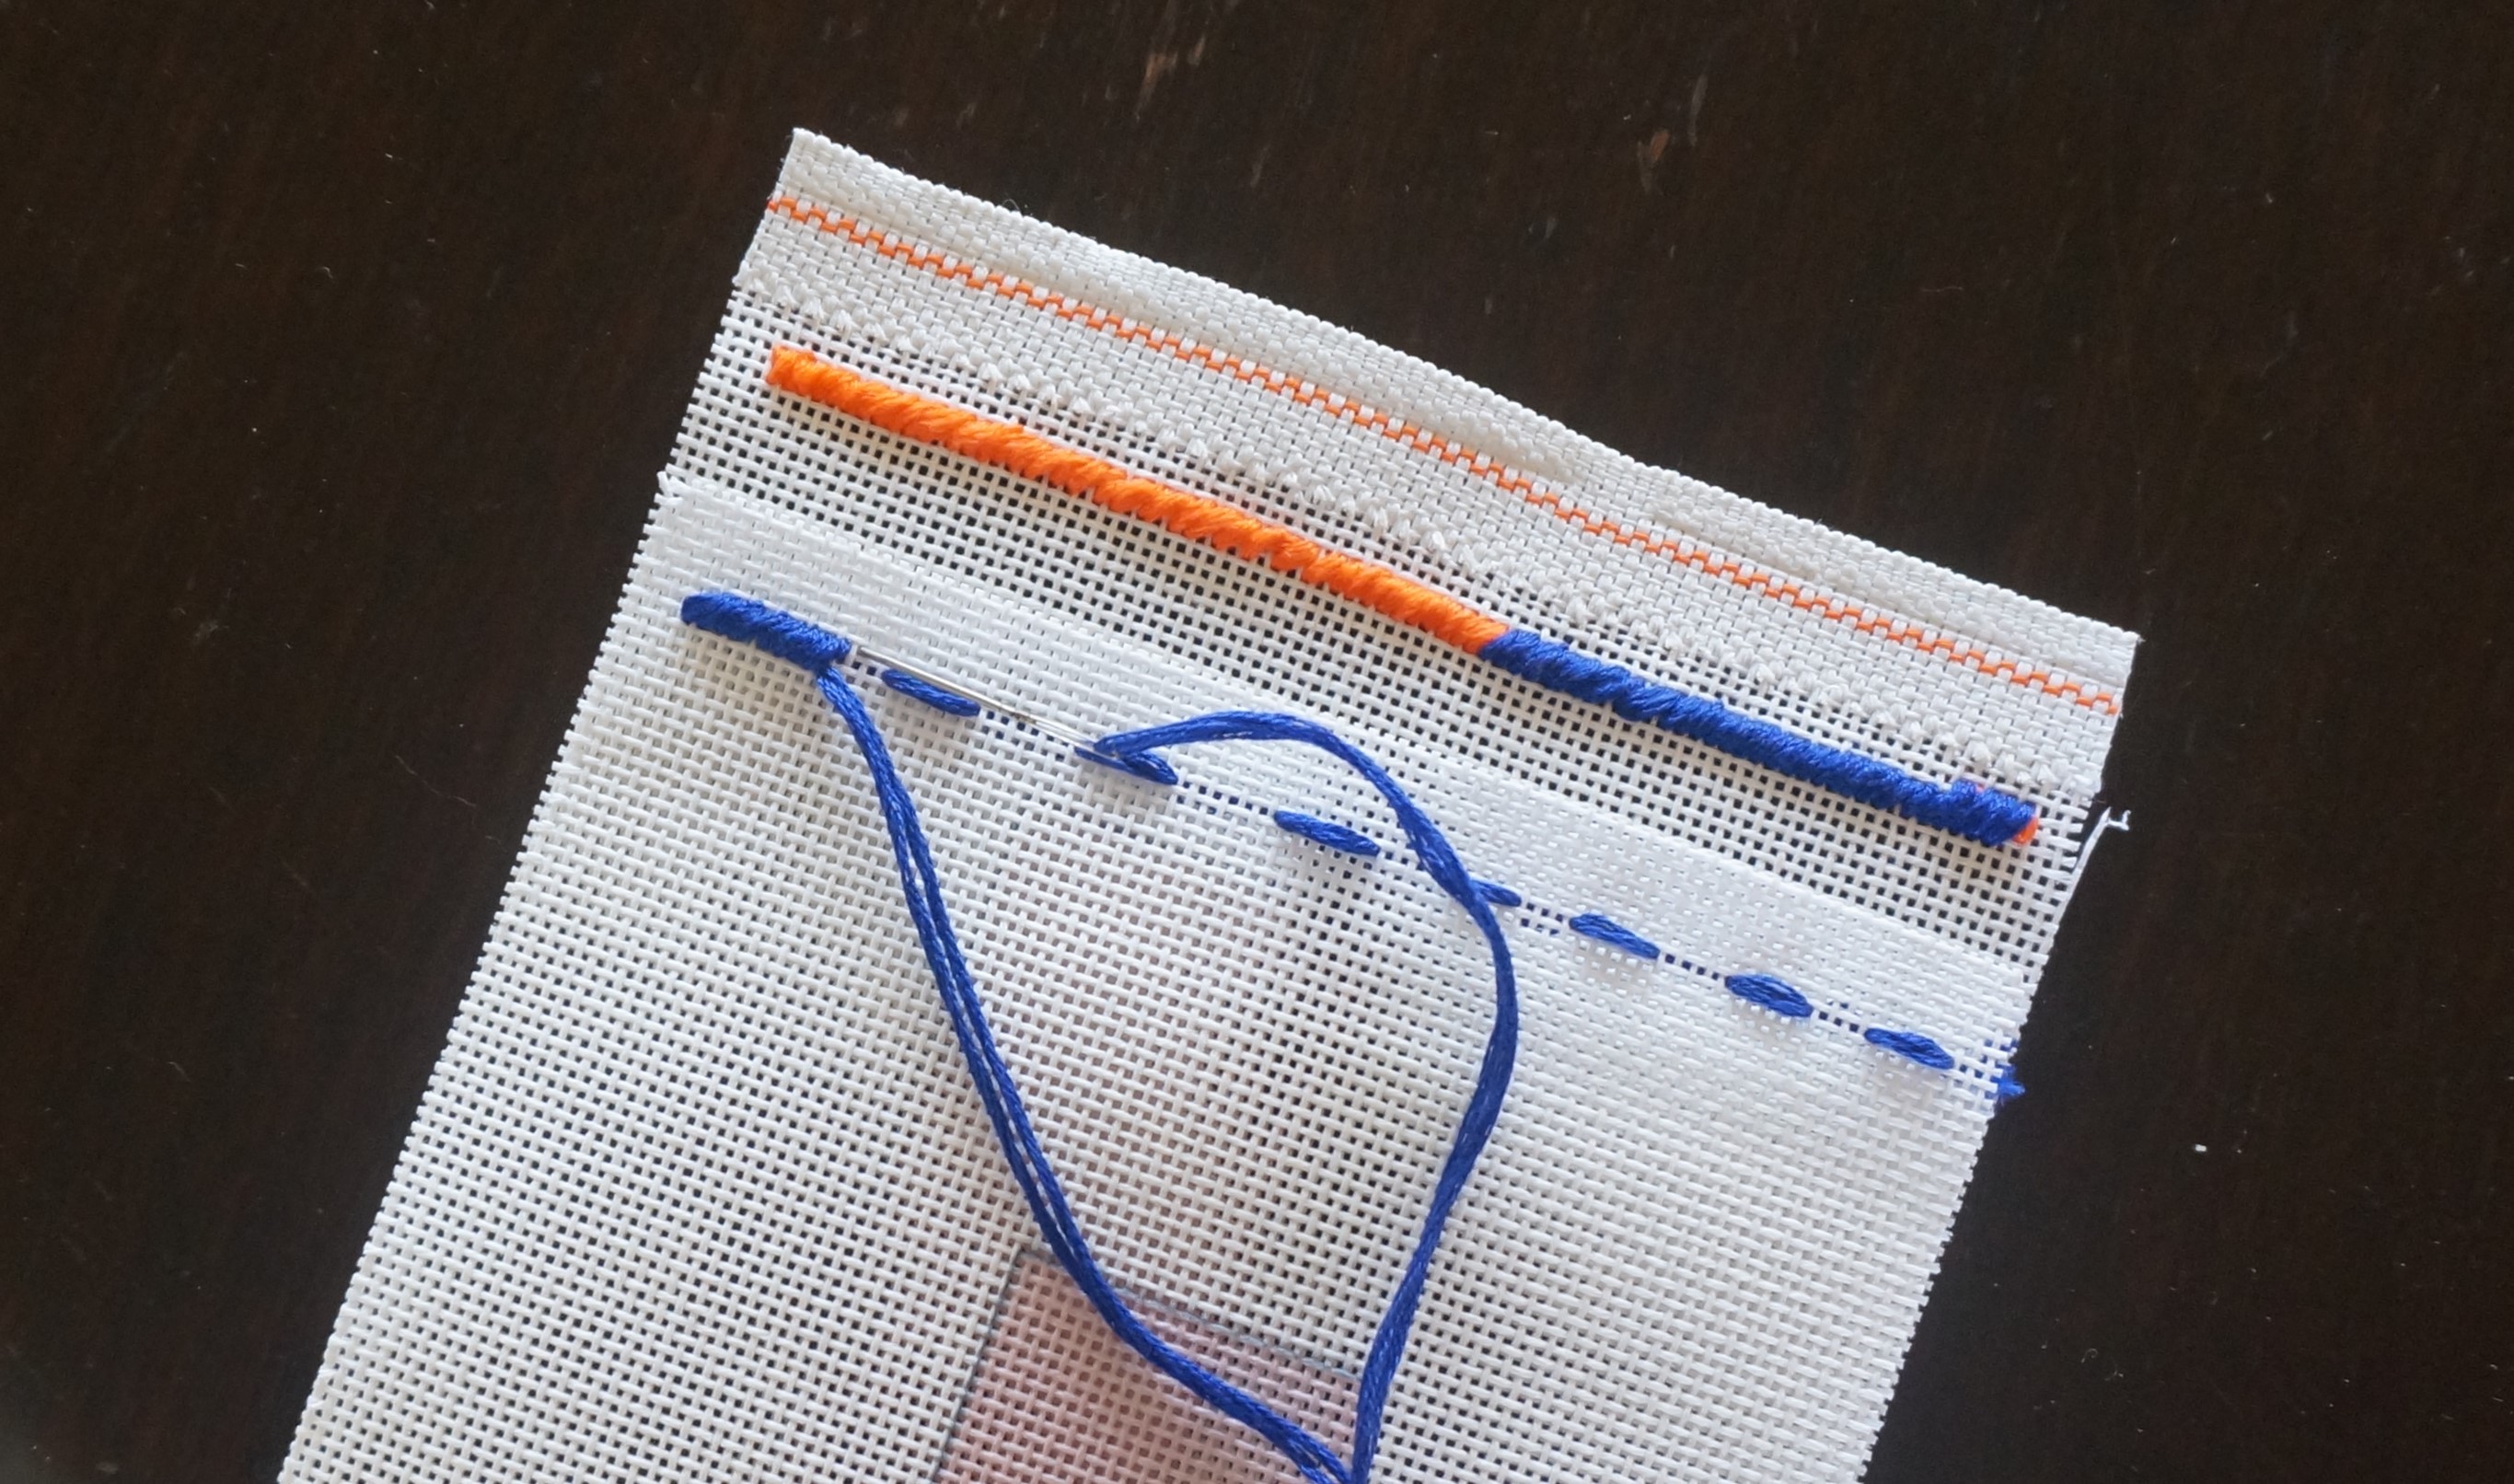
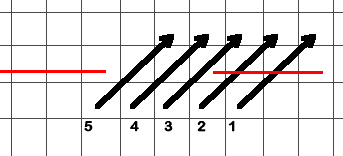
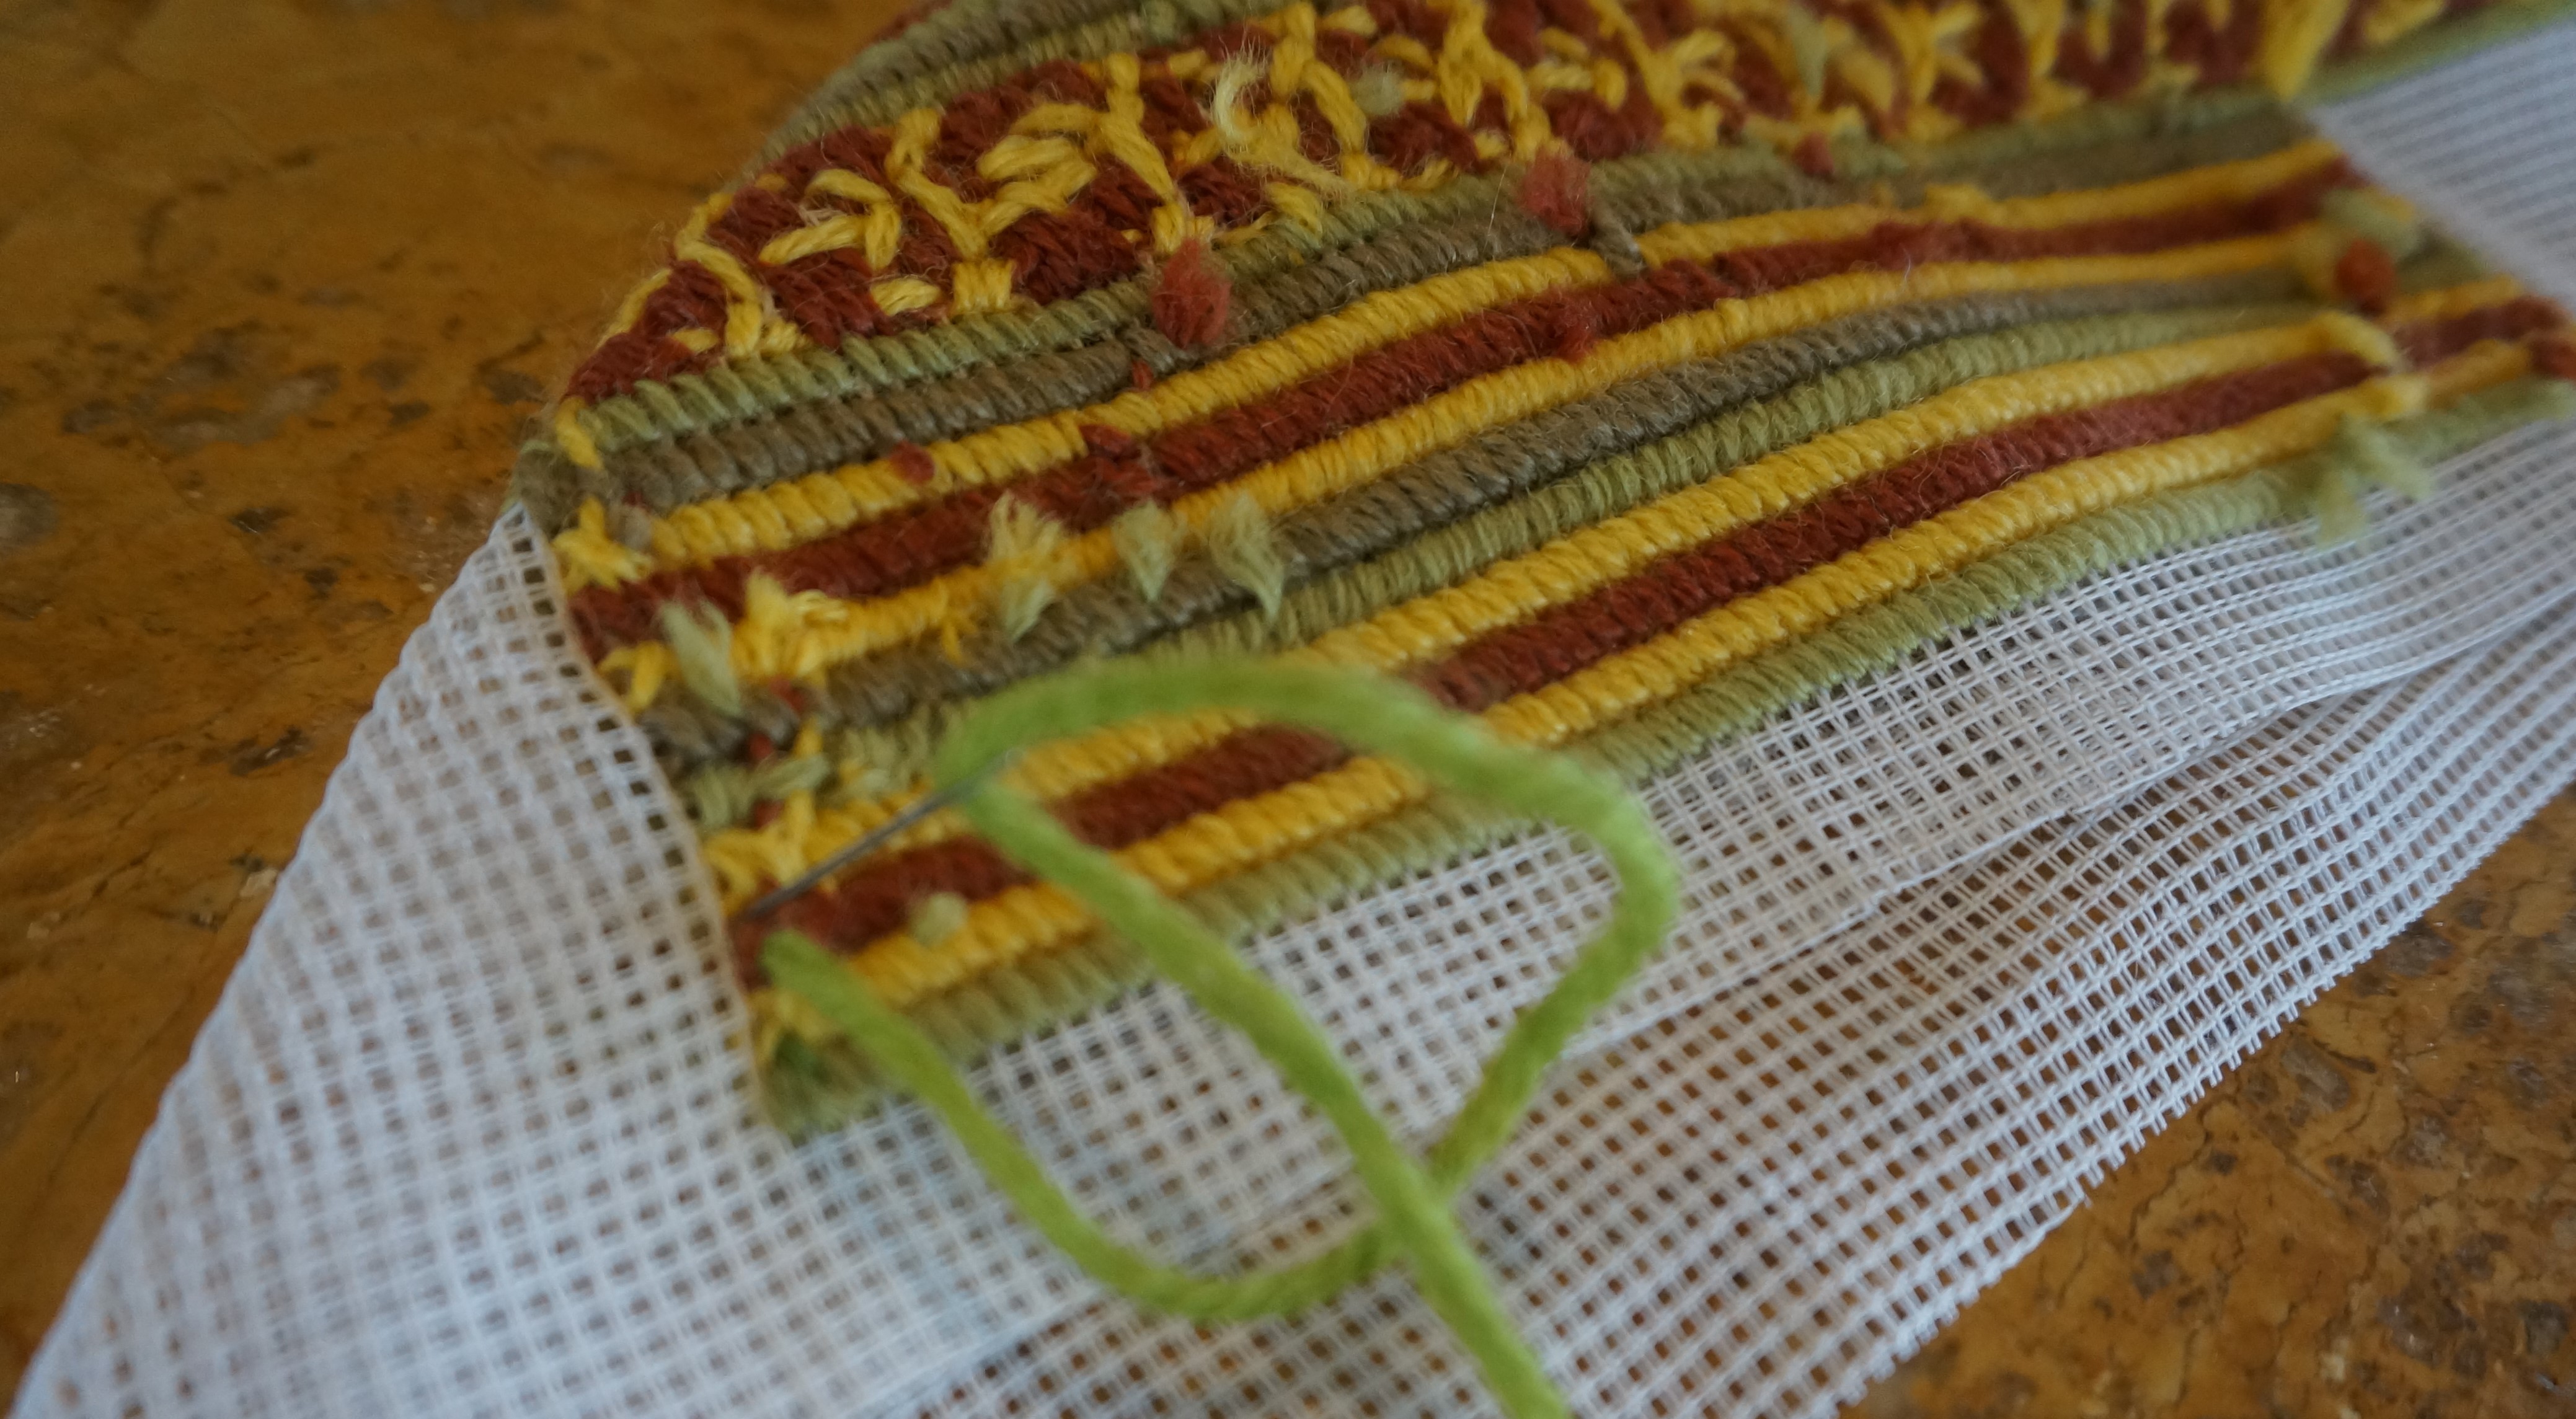
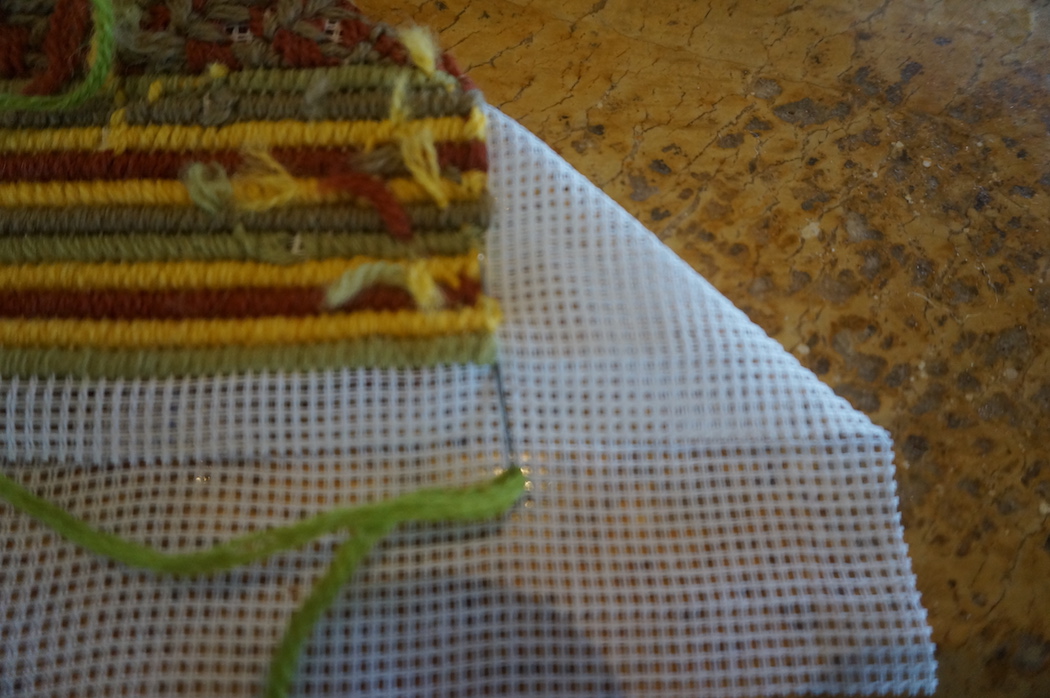
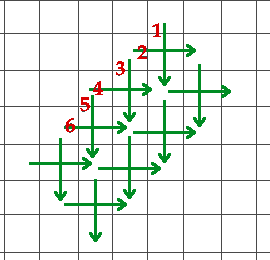
Before putting the canvas in the scroll frame, create “end stops” along the short sides of the canvas. The end stop is made with a doubled length of thread (i.e., 12 strands of floss or 2 strands of wool). First, do running stitches along one row as shown below. Then stitch over that row with a 2 x 2 Continental stitch. The end stops will prevent the canvas from slipping through the slotted dowel rod of the frame.

End Stop

End Stop Diagram

The narrow ends of the canvas are slid into the slotted dowel rods and should go all the way against the end of the slot. Insert the dowel rods into the frame’s spreader rails as shown below. The spreader rails should be flush with the edges of the belt canvas to reduce warping the canvas while stitching. 

In the Frame

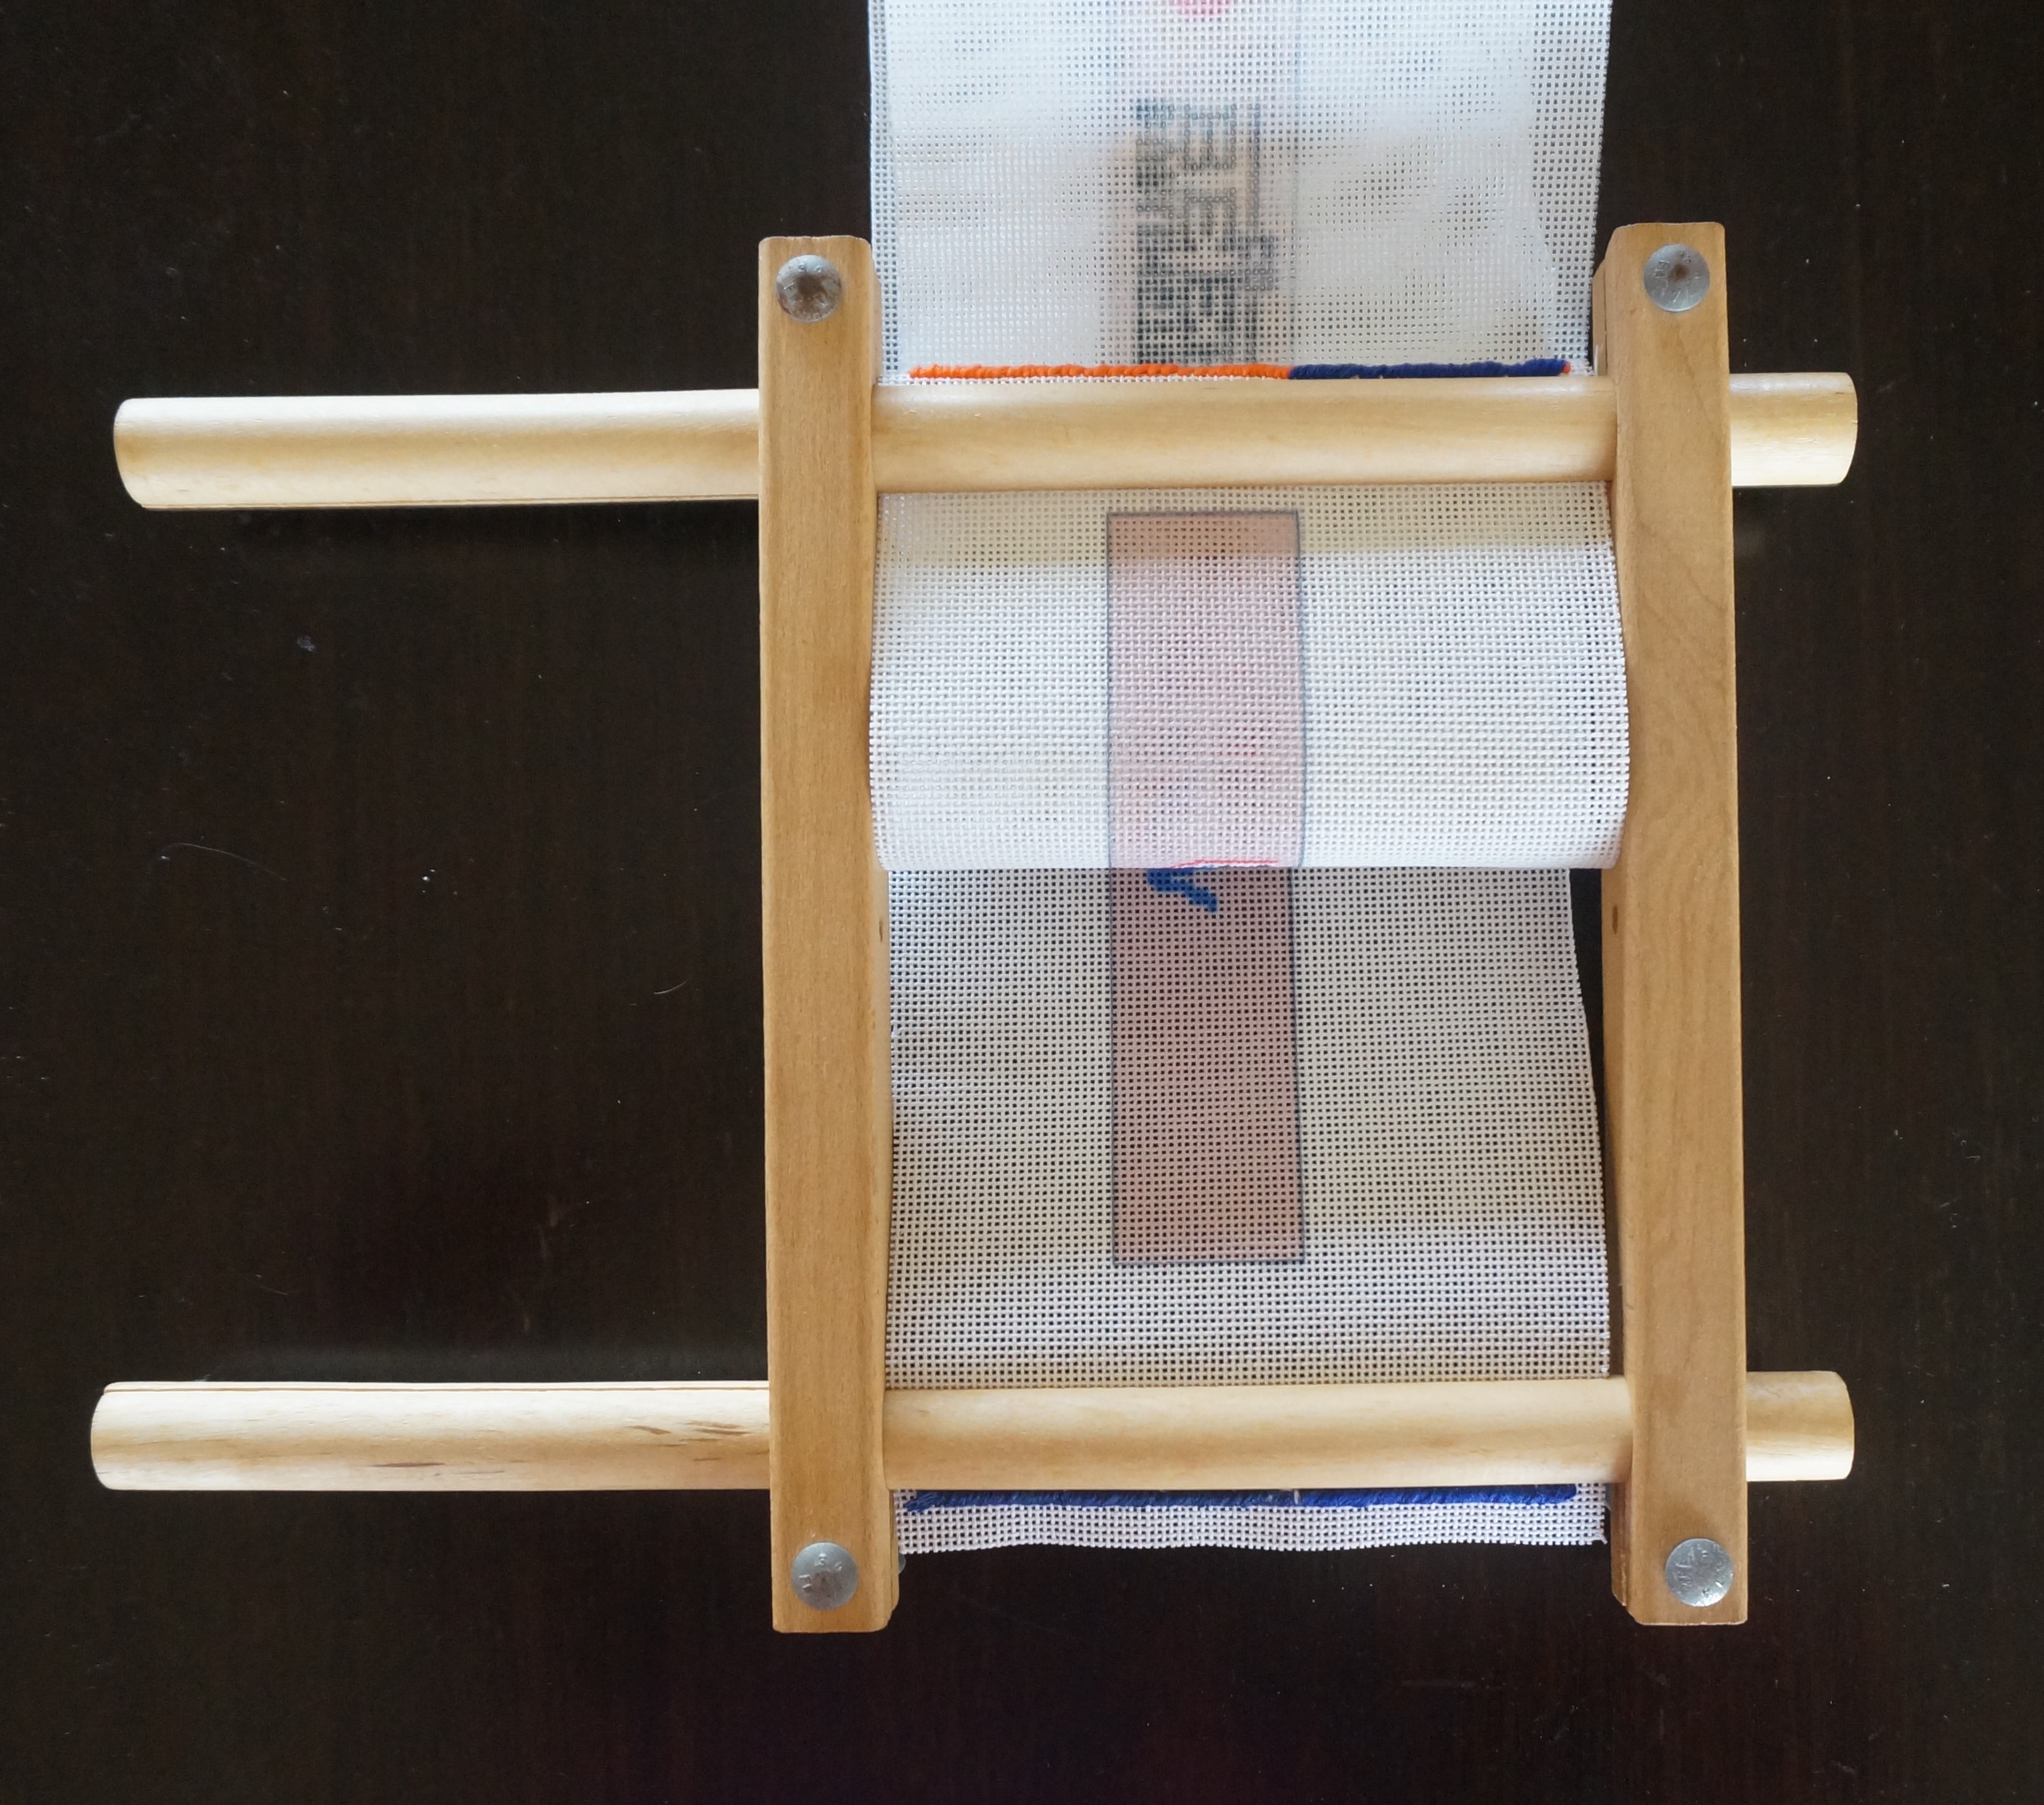
Even when the rails’ wing nuts are not tight, the end stops should not be able to be pulled through the dowels and the frame should be a rectangle. The dowels can be turned to roll the canvas as it is worked. After positioning the canvas to a section for stitching, tighten the wing nuts on the rails.

Read to stitch

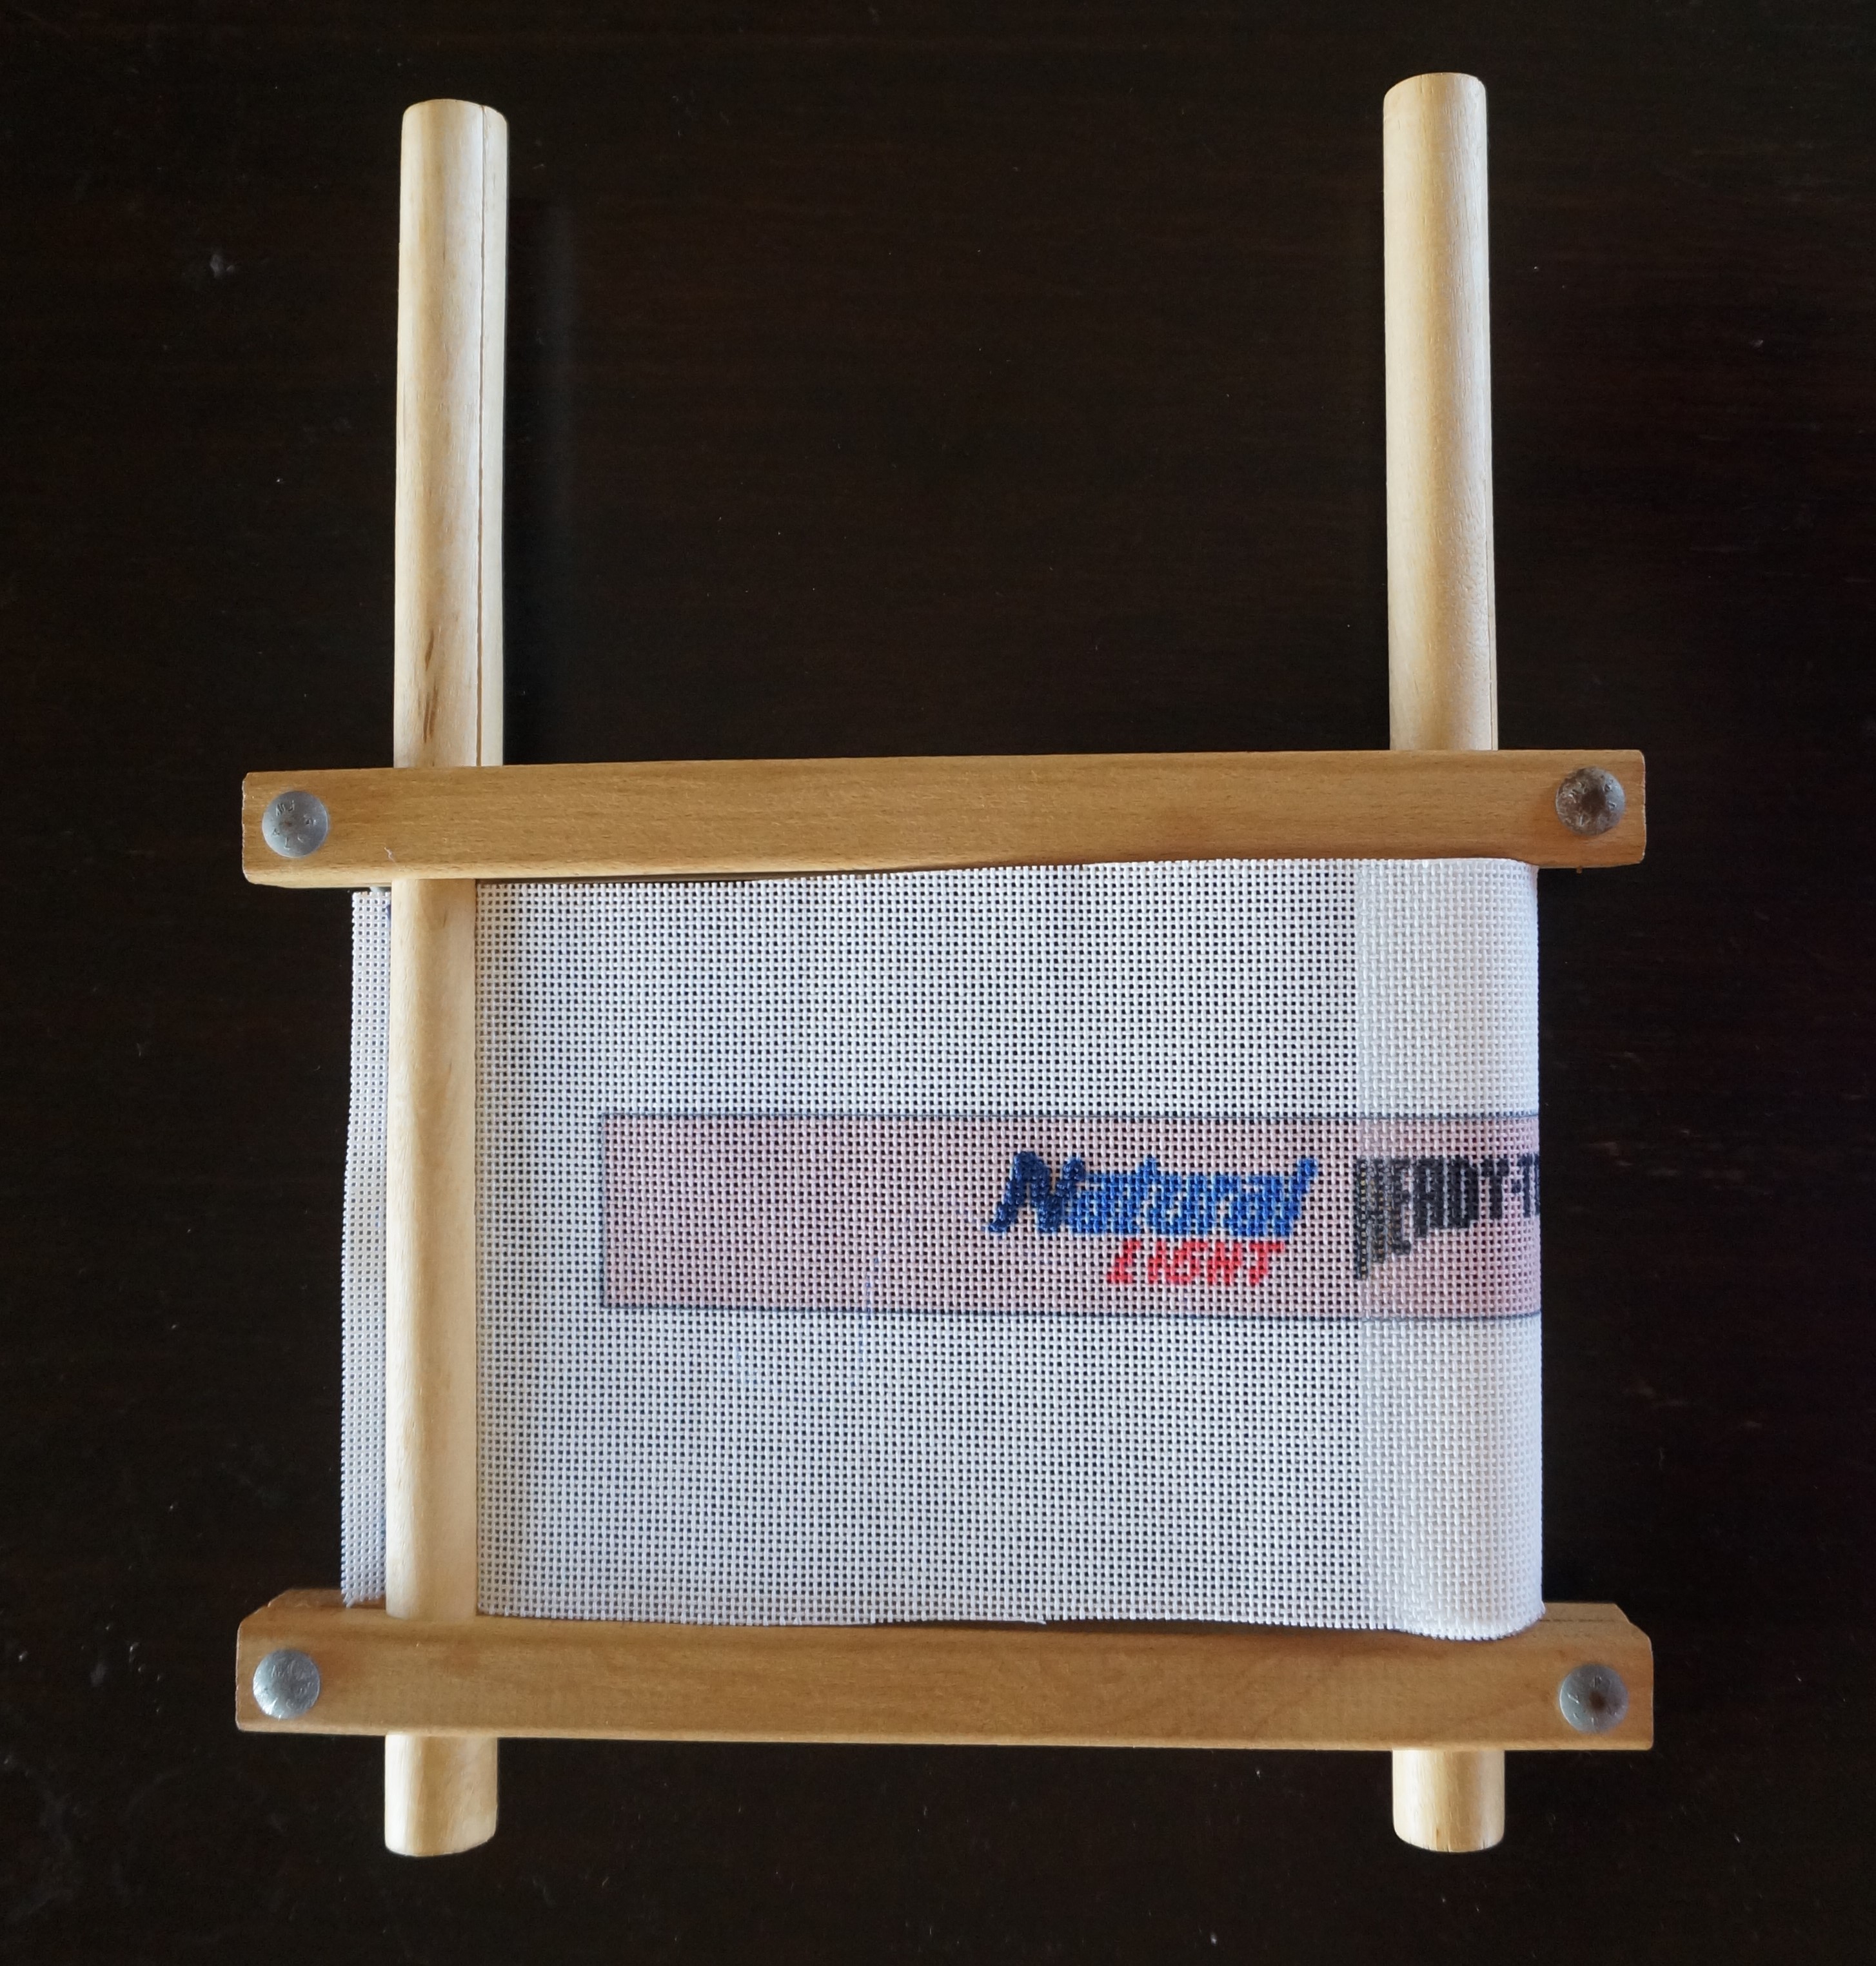
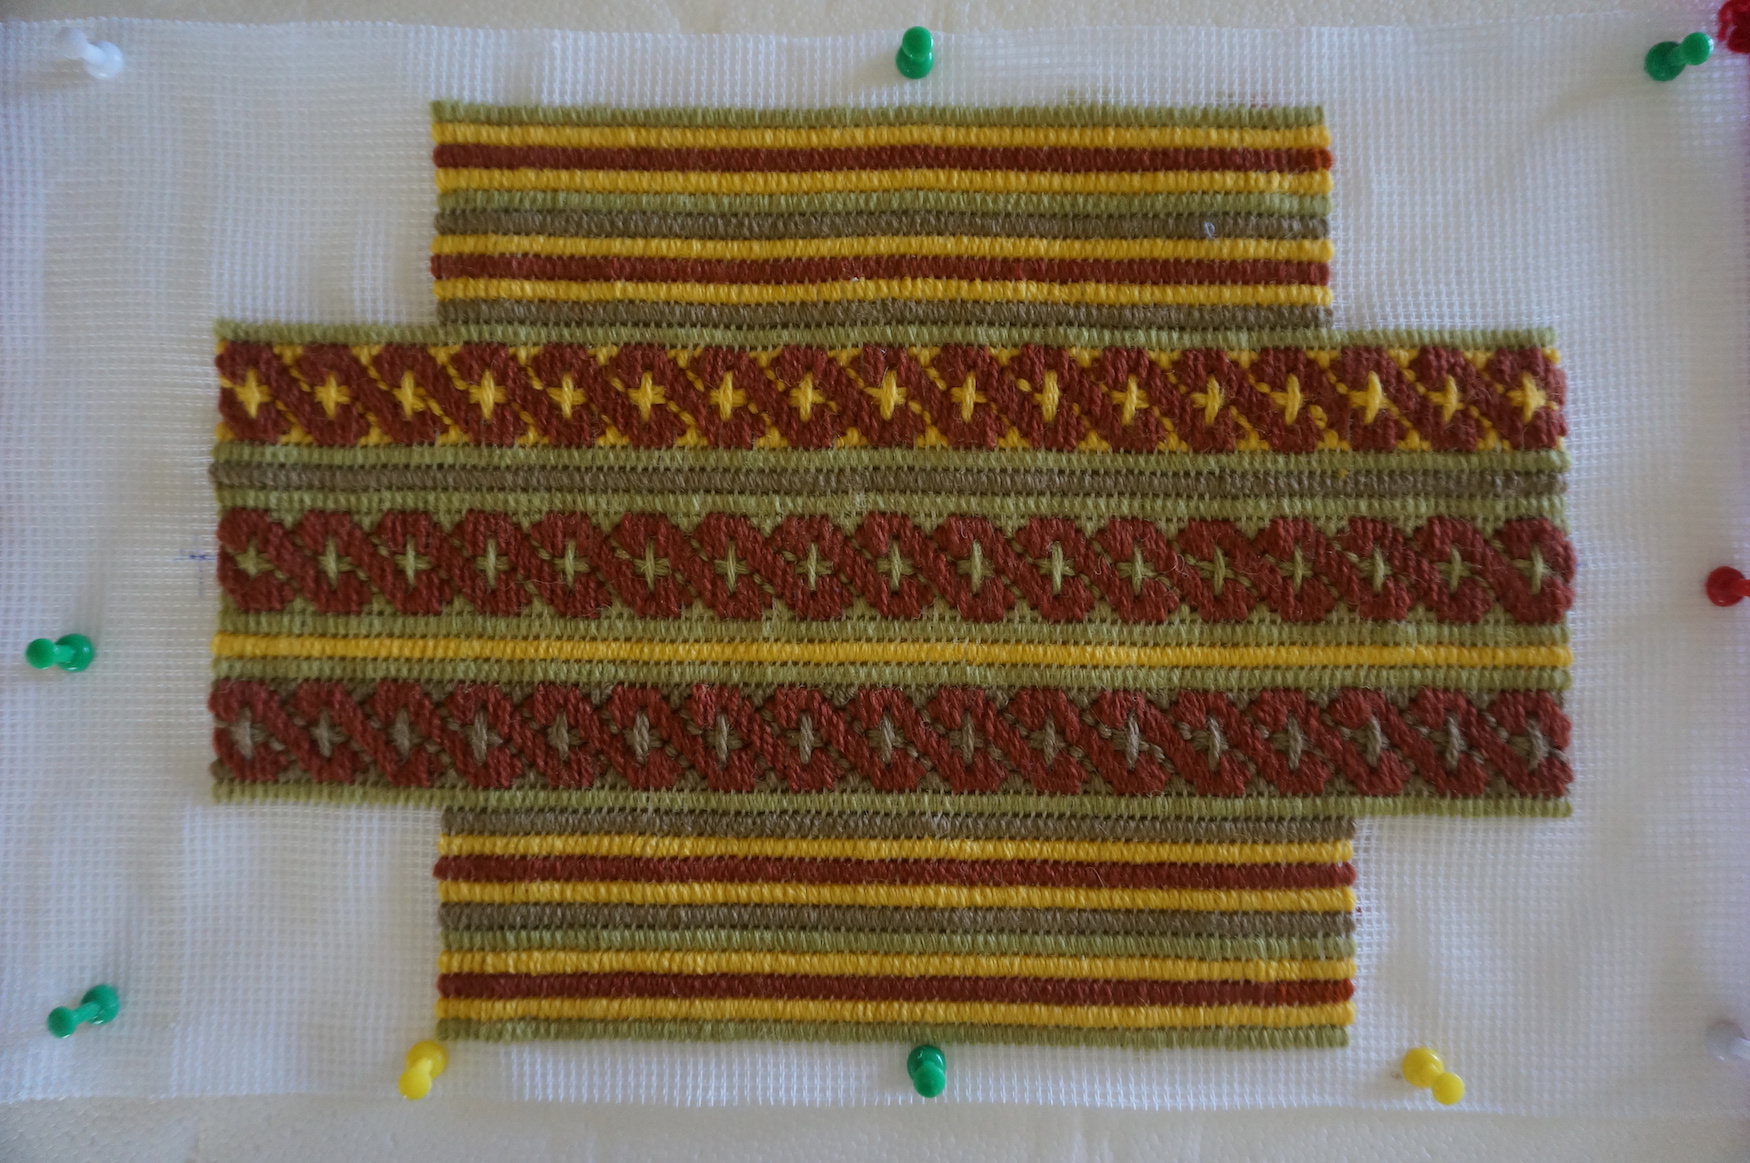
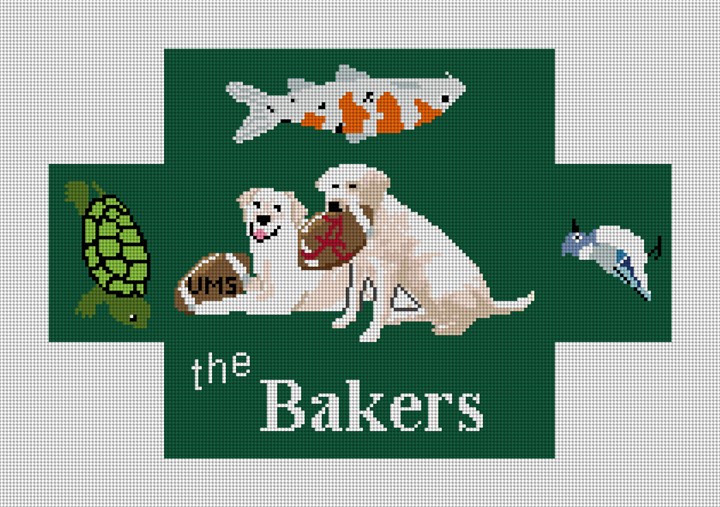
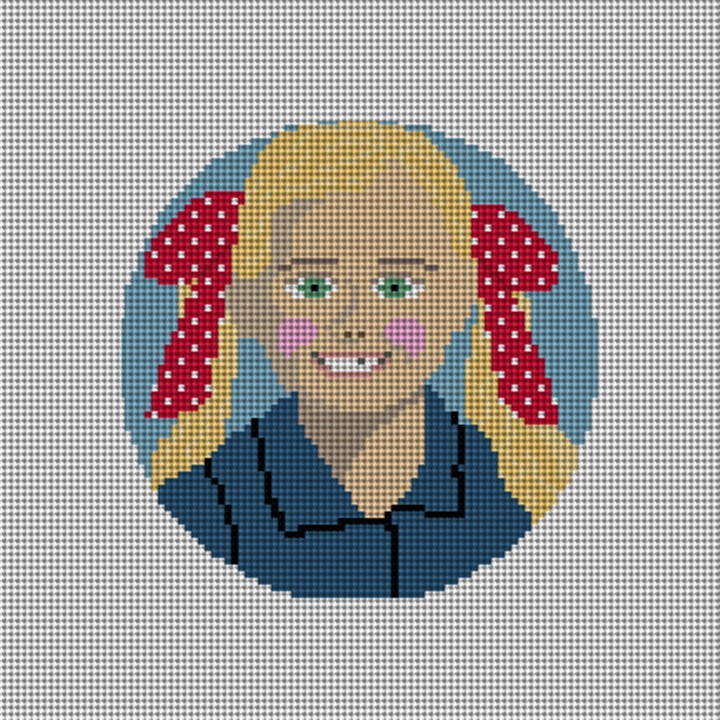
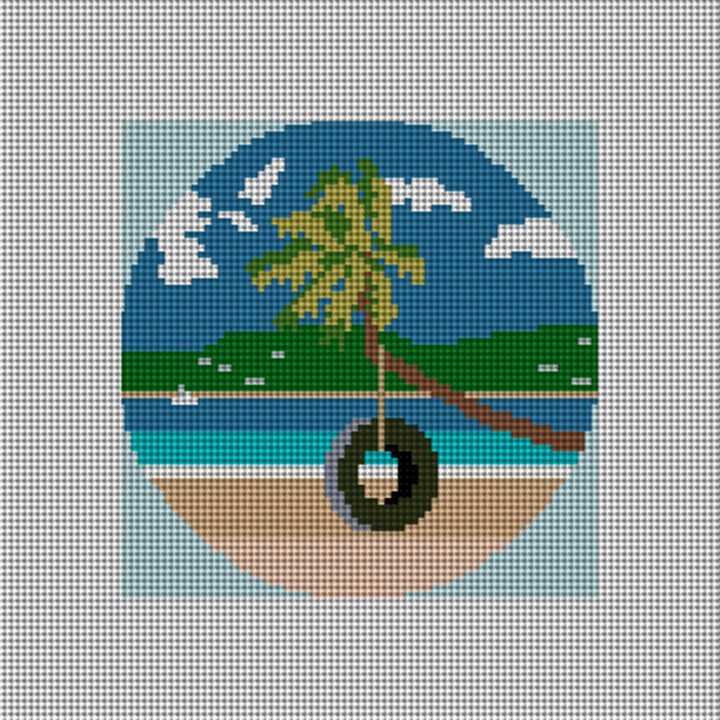
Where to start the stitching and in what order to do it is a personal choice. Personally, I prefer to stitch all of the images before attacking the background. There is no reason why images and elements can’t be done together as the canvas is wound on the dowels. The only thing to remember is not to stop the background stitches at the same vertical spot on each row.

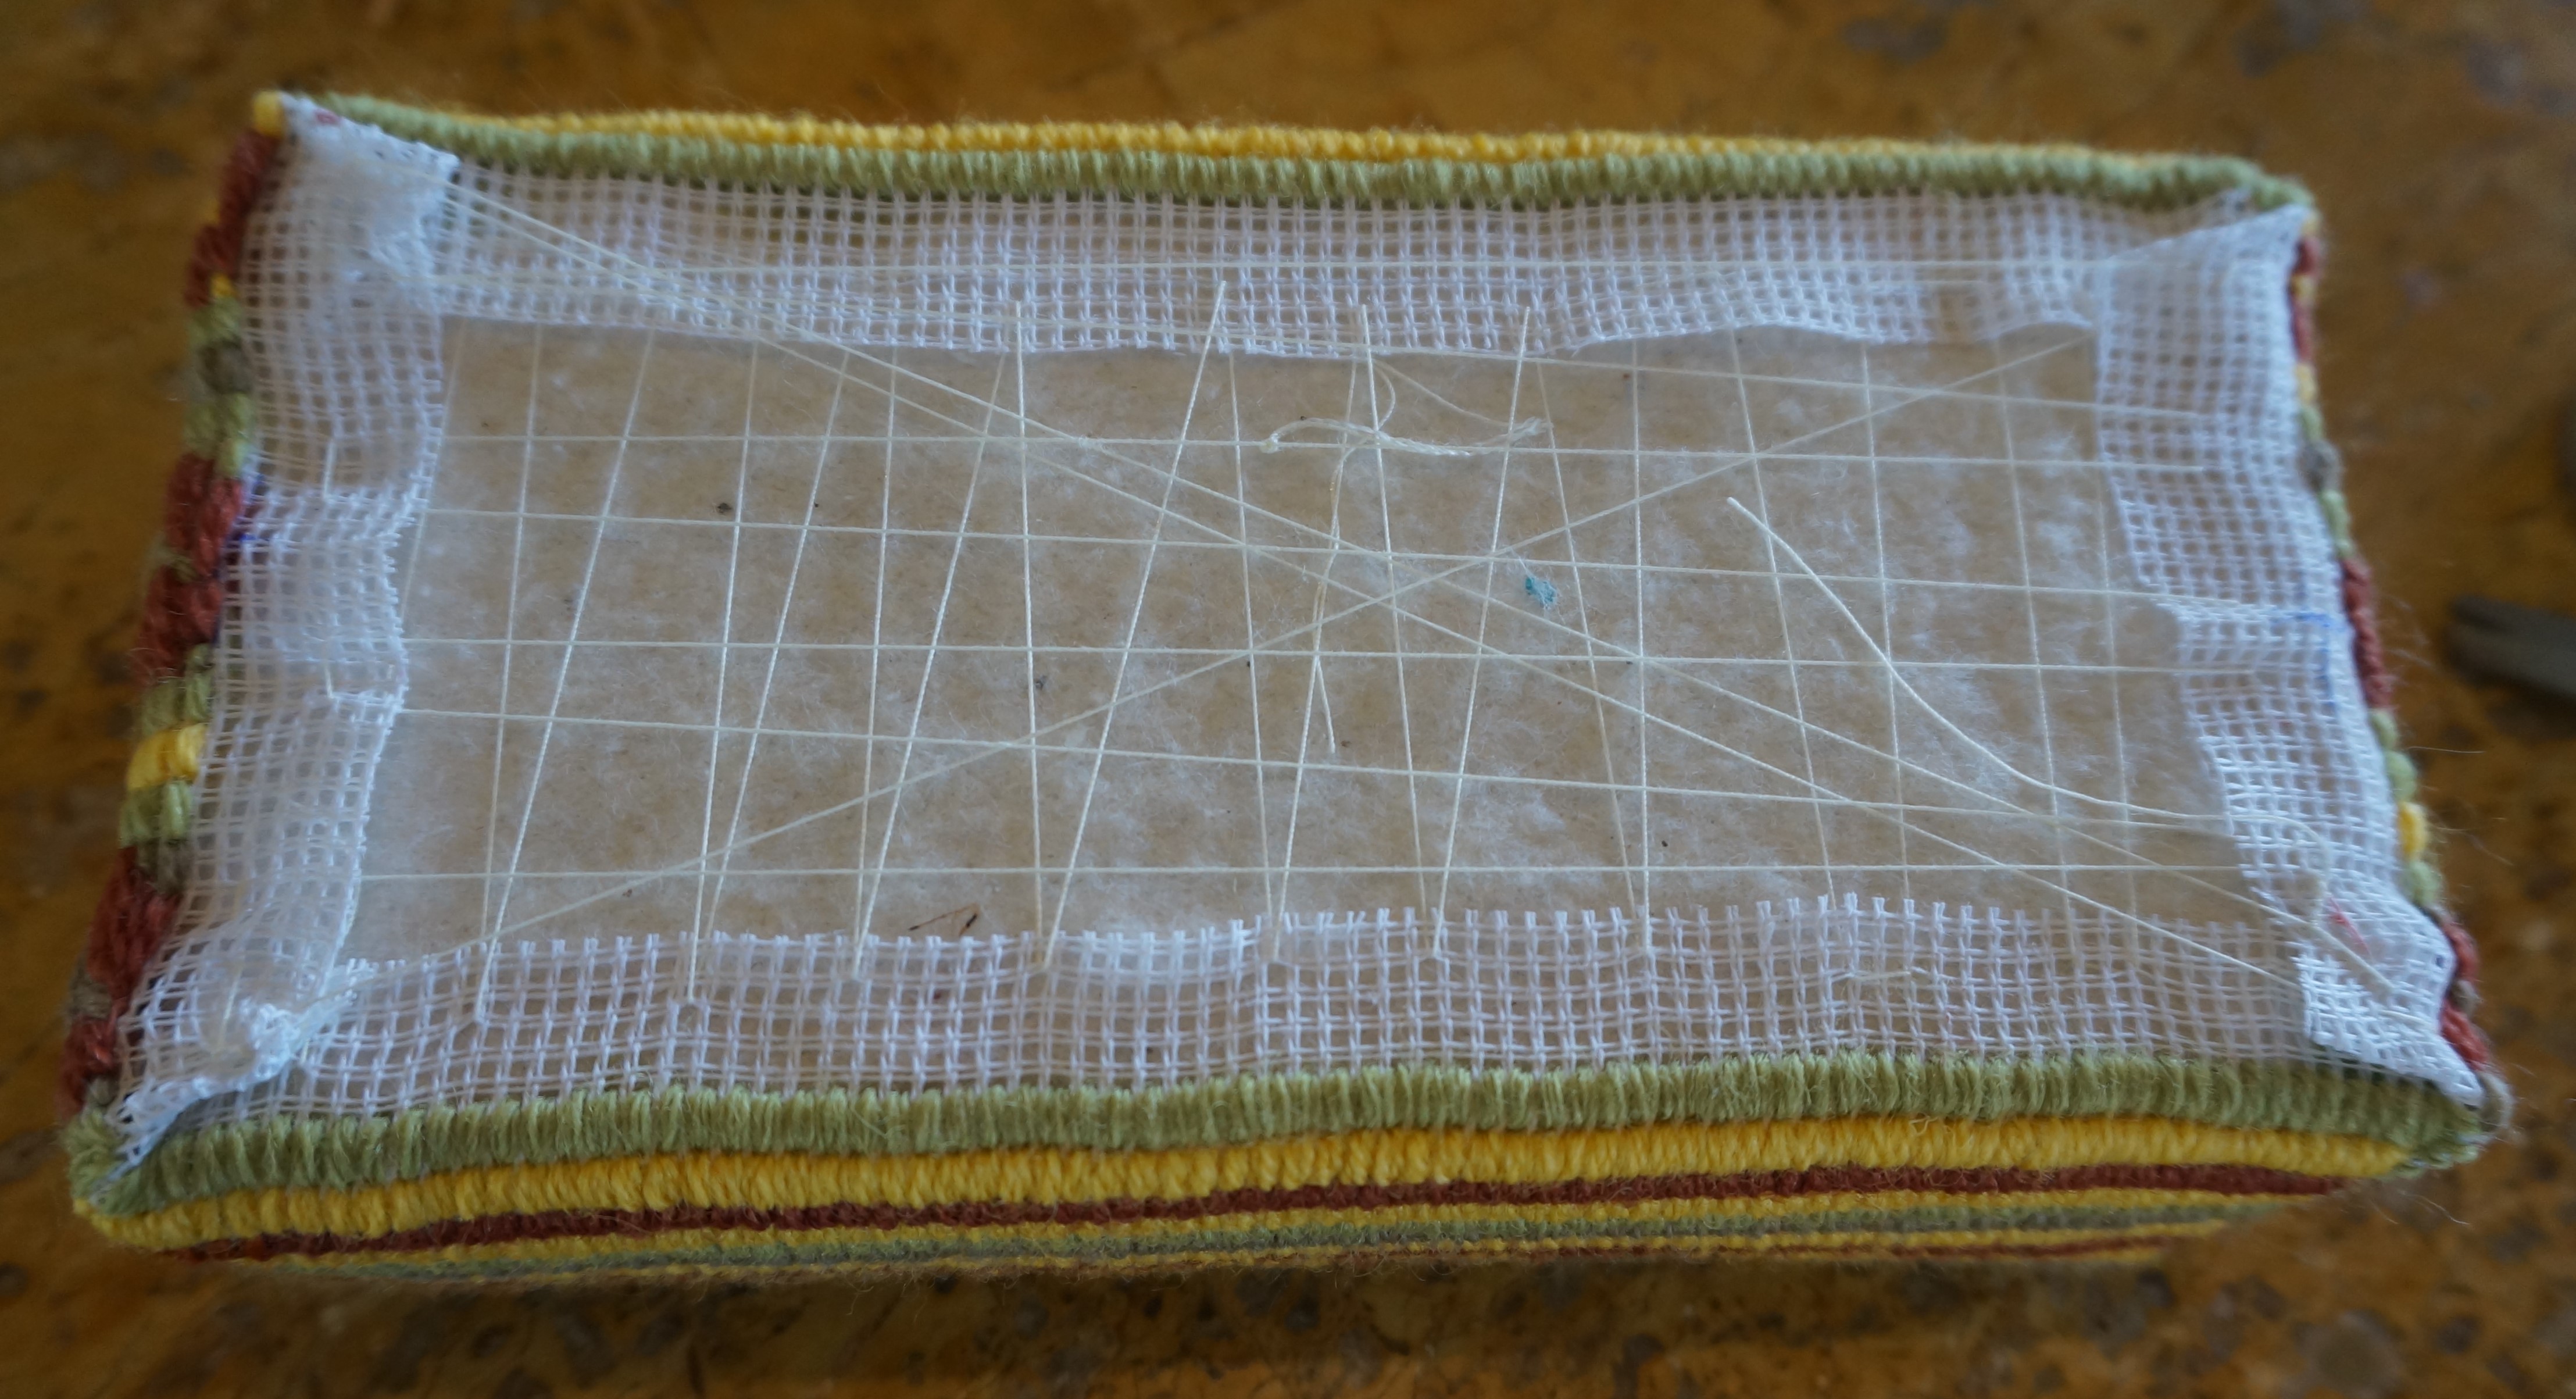
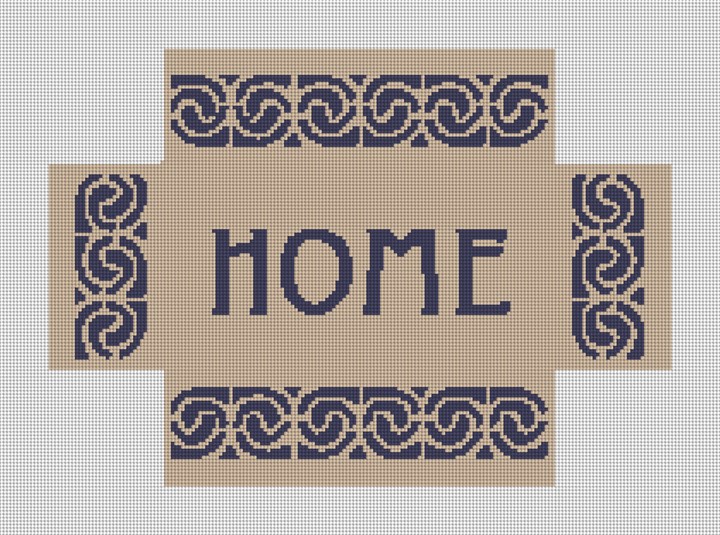
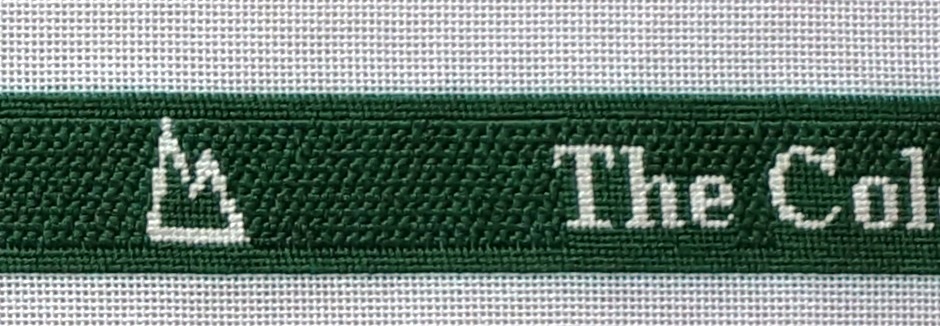
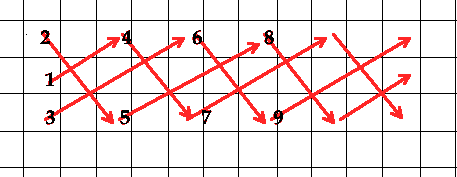
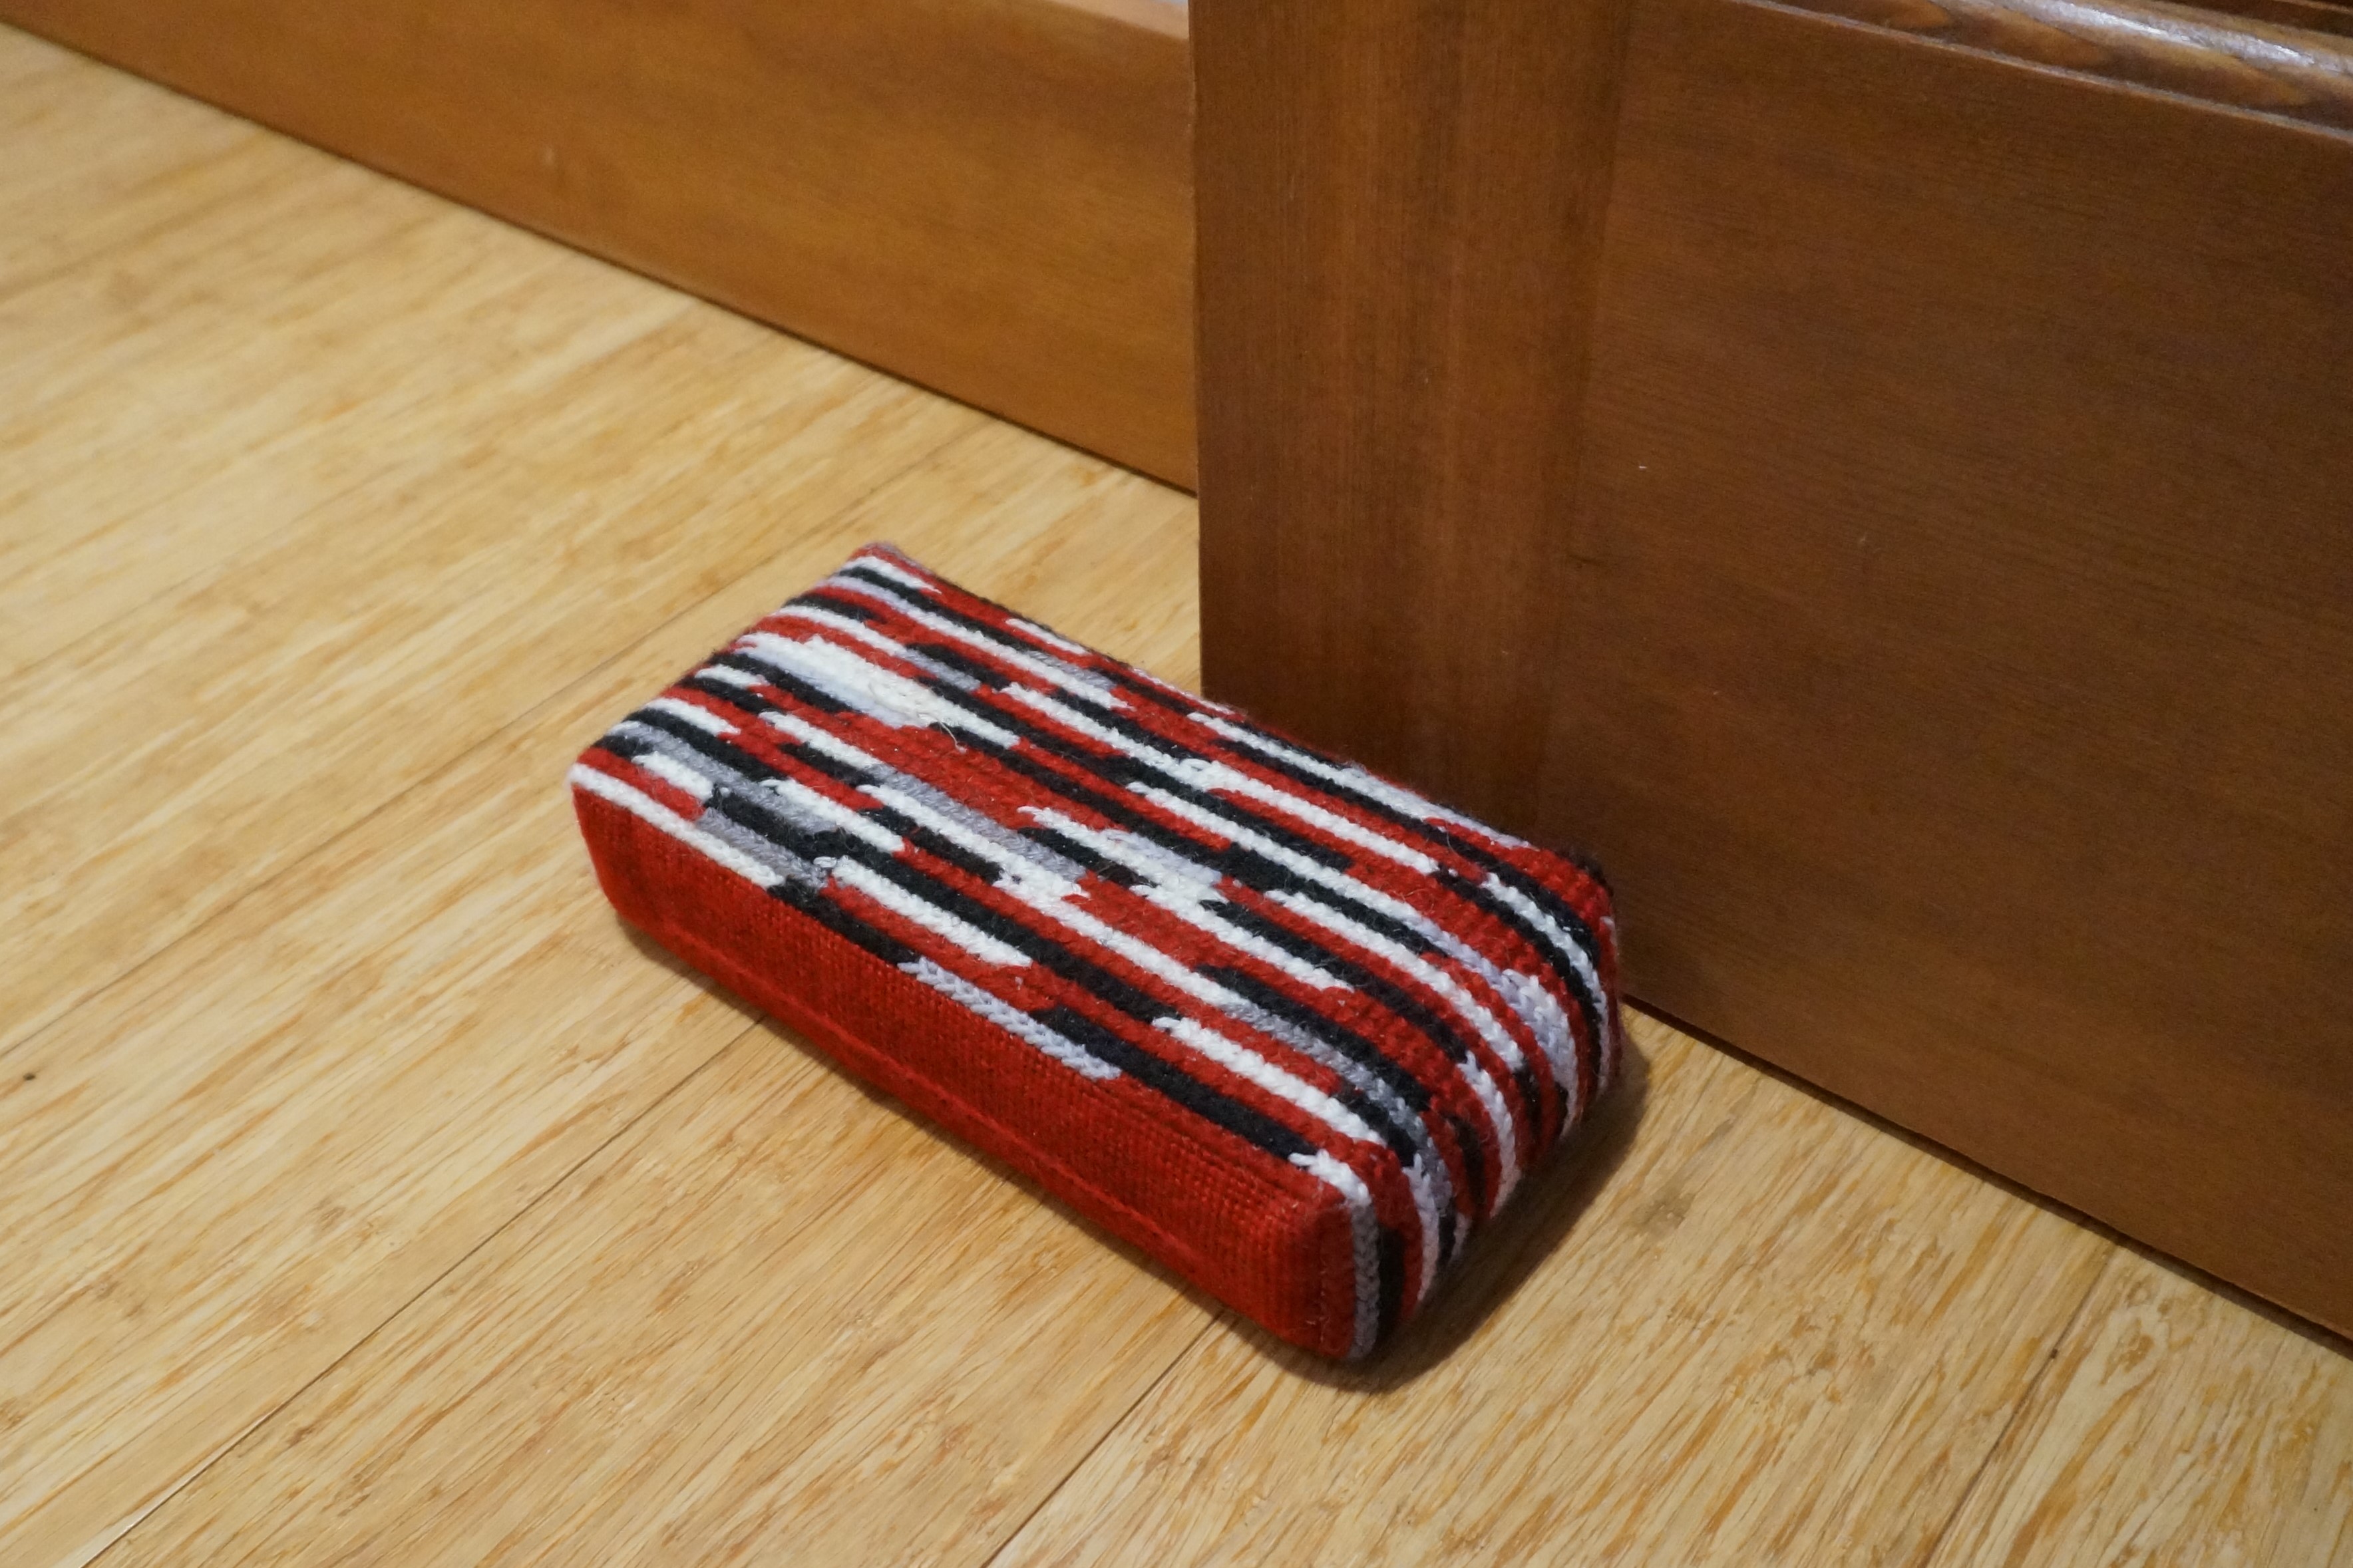
Belts are most frequently stitched with the Tent stitches. For the belt shown below, the Continental and Half Cross Tent stitches were used for the images and lettering, and for filling in where the background stitch couldn’t fill. The background stitch is the Upright Cross. 

CTF Belt Section

Look for our future post on background stitches.

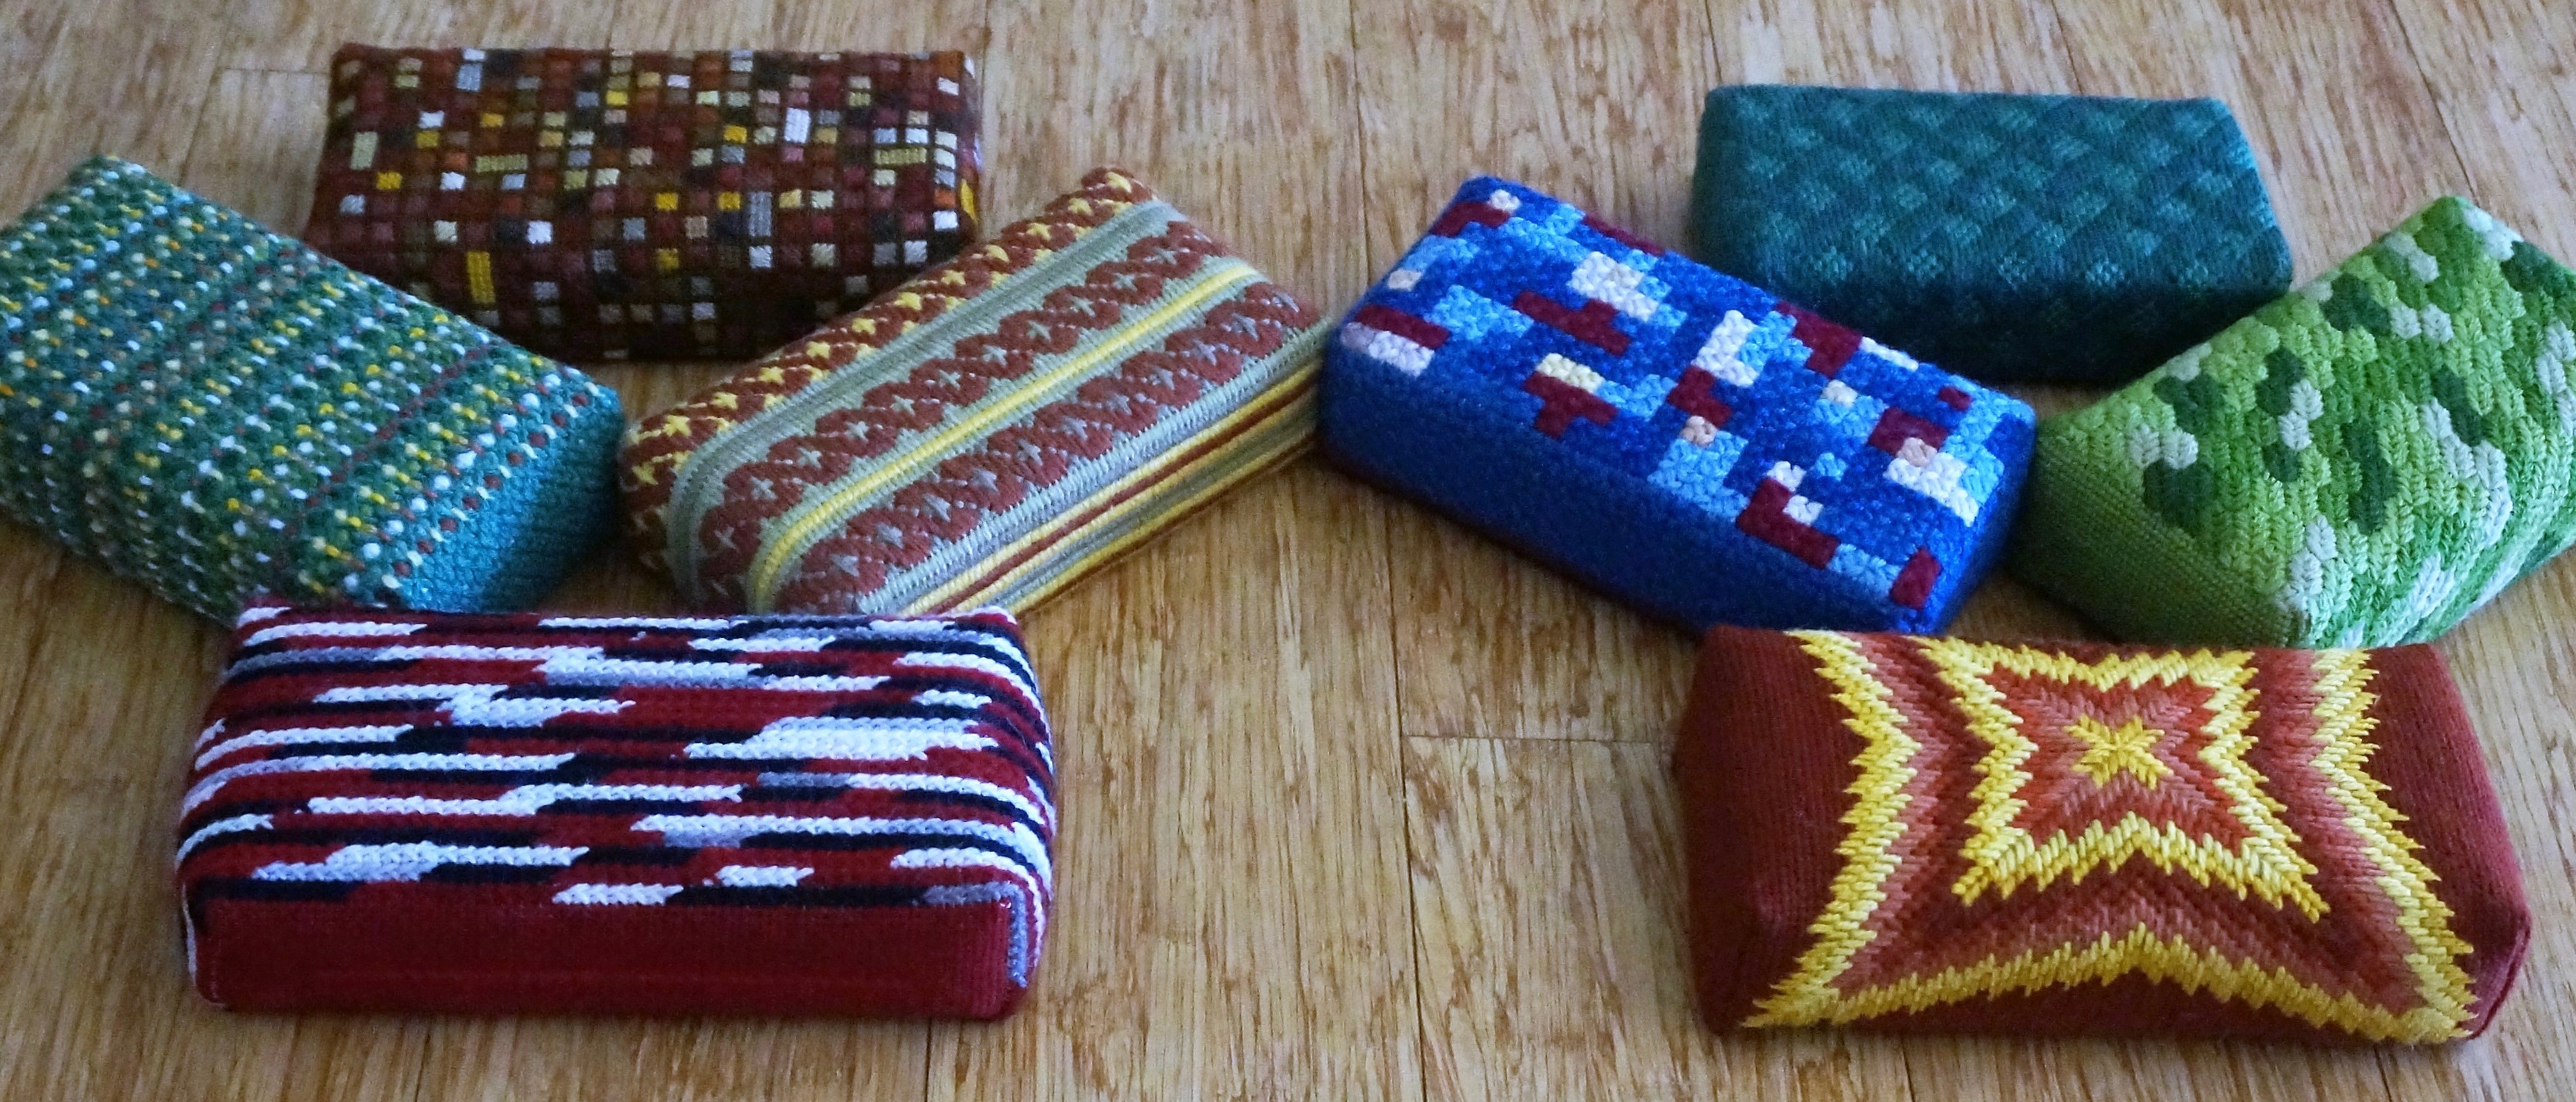
Here at NeedlePaint, we have a large assortment of needlepoint belt canvases we know you will love stitching!

Brick Works – How to Finish a Needlepoint Brick Doorstop

Written By Peggy Bond

Needlepoint Brick Doorstop

A needlepoint doorstop is one of the most functional needlepoint projects you can stitch; and finishing it doesn’t require any unusual supplies or skills. If you can stitch a canvas, you can finish the doorstop.

What you need 2 2

The supplies are simple:

  • Needlepointed canvas
  • Brick
  • Lightweight quilt batting or flannel to cover the brick
  • Felt or heavy wool for the bottom of the brick
  • Needle and thread
  • Optional: a glue gun

(Note: Dimensions for these directions are for an 8″ x 4″ x 2″ concrete brick.)

Blocking Your Canvas

Preparing the Canvas: Begin by blocking the finished canvas so that it is square. If the canvas has been stitched on a frame, there should require minimal blocking that often can be completed with a steam iron. Put the needlepoint face down on the ironing board or towels. Set the iron for steam and hold ¼” above the canvas. While canvas if warm and damp, tack it into final shape on a Styrofoam surface or a board as shown above.

Corner

Stitch the corners of the blocked canvas by folding the right sides of each corner together as stitching through the last needlepointed stitched. This can be done by hand or by machine.

simply trim corners

Trim the mitered corners to ½” and press open. Turn canvas right sides out. 

Cut batting for brick

Wrapping the Brick: Since the brick has irregular edges that easily catch on the canvas, it is recommended that you cover the brick with lightweight quilt batting or flannel.  Cotton/bamboo batting is my preferred choice. This will give a smoothness to the finished project and protect the canvas from snags and wear. Cut a 12.5″ square of cotton batting and trim 4″ x 1.75″ from each corner as shown above.

Now here is where there is a choice – to glue or to sew.

Brick in the batting

Sewers will miter the edges with a ¼” seam as described above for the canvas. Again this can be done by hand or by machine. Turn the batting so that the stitched edges are to the inside, i.e. facing the brick. Insert the brick with its sharp/squared edges down.

Wrapped Brick

Fold over the batting and stitch in place. The wrapping can easily be glue gunned in place. Not my thing, but a good process for this part of the finishing. A glue gun is not recommended for the final two steps of the finishing process.

Bottom of brick

Putting It Together: Insert the covered brick into the finished needlepoint canvas with the bottom of the brick facing up. Lace the canvas in place. Cut a 8″ x 4″ rectangle of felt or heavy wool. Felt is easier to work with as it does not ravel. Stitch in place. Voila a finished doorstop.

Finished

No more slamming doors!

15541711543476711

Here at NeedlePaint.com, we offer a personalized brick cover needlepoint canvas, and a custom designed needlepoint brick cover canvas for you to stitch.

NeedlePaint personalized brick cover

A-CROSS YOUR BACKGROUND

Tired of the Tent Stitch? There are several cross stitches which are great substitutes. They cover well and give texture to a needlepoint piece, or your brick cover. 

The simplest is the Small Upright Cross that is worked on the diagonal as shown below.

Small upright cross

The one thing to remember with this stitch is to keep the crosses consistent. In other words, do the vertical stitch first and then have the horizontal on cross over. Or, do it the other way around. 

Since this stitch is small and has a firm finish, I have used it on belts.

Cross section CTF Belt

For this Colorado Trail belt, the Continental tent stitch was use for the lettering and logo in white and the small areas of these were filled with green tent stitch. The tent stitch was also used for a 3-row border along both edges which will be turned over when sew to a leather backing. Then, the small upright cross was used to fill the background.

For something a little more dramatic, there is the Long-Armed Cross. This stitch has longer stitches and give more visual relief.

Lond armed cross. png

This stitch takes a bit of attention in getting started and some counting, but it is worth the effort. It made a nice wave-light background for the loon, on my Loon Brick Cover needlepoint canvas.

Loon in Long-armend Cross

Loon Brick 4 Color

Both of these examples were worked on 18-pt canvas with 6 strands of DMC floss.

Changing canvas size and thread give a very different look as seen below on the brick on 10-pt canvas with 3 strands of Waverly wool.

Brick in Long-armed Cross

Varying lengths of red, grey, white, and black yarn were used for the top and ends in the Long-Armed Cross, and a single row of the Long-Armed Cross was stitched on each side surrounded by the Continental tent stitch. 

It’s Never To Early To Needlepoint A Custom Christmas Ornament!

Wouldn’t you agree, that the best gifts are those which are handmade and truly from the heart? Yes we know, you have finally finished packing up all of those gorgeous Christmas decorations, and vacuumed up the last of the pine needles. With the help of NeedlePaint.com, it’s never too early to start stitching your handmade ornaments for the next holiday season.

Custom Needlepoint Christmas Ornament     custom needlepoint ornament vacation

Let us design an ornament of your granddaughter or a memory of a special trip you took last year.

We would love to design something especially for you or your loved ones! Our custom needlepoint ornament canvases, are designed with you in mind. Choose any theme: your home, your pets, memories of a special trip, a favorite sport, hobby, or even the cutest little portrait of your granddaughter. The possibilities are endless!

custom needlepoint ornament homes     custom needlepoint beer ornament

Your childhood home, or your husbands favorite beer; the perfect ornament for anyone on your list.

These ornaments are the perfect needlepoint project to keep you entertained this winter; while waiting at the doctors office, or to take along on your next vacation. The perfect size canvas to take with you anywhere!

custom needlepoint ornament trip theme     Needlepoint ornament custom shapes

These two ornaments feature the location of where a very special engagement took place. 

Have fun stitching custom ornaments now!  You will have heartfelt handmade gifts to give to your loved ones next Christmas. These custom canvases also make for the perfect gift to give as an “ornament kit” to tuck into a stocking for someone who loves to needlepoint.

Needlepoint ornament finishing service     Needlepoint Chritmas ornament finishing

We’ll finish your needlepoint canvas into a very special ornament!

Not sure how to finish your custom needlepoint ornament? We’re here to help you with our Christmas Ornament Finishing Service. Send us your completed ornament canvas, and we will finish it with a velvet backing and decorative edging.

No rushing, no hurry, no stress; start your custom needlepoint ornaments today, and when the holidays arrive, you’ll be able to kick back, relax, grab your favorite cup of hot chocolate, and enjoy what the holiday has in store.

Happy Stitching!