Official blog of www.NeedlePaint.com
where you can design your own Needlepoint!

NeedlePoint Kits and Canvas Designs | Design your own Needlepoint Kit!

Archive for the ‘How to finish Needlepoint’ Category

Needlepoint Treasure Trees

By Peggy Bond

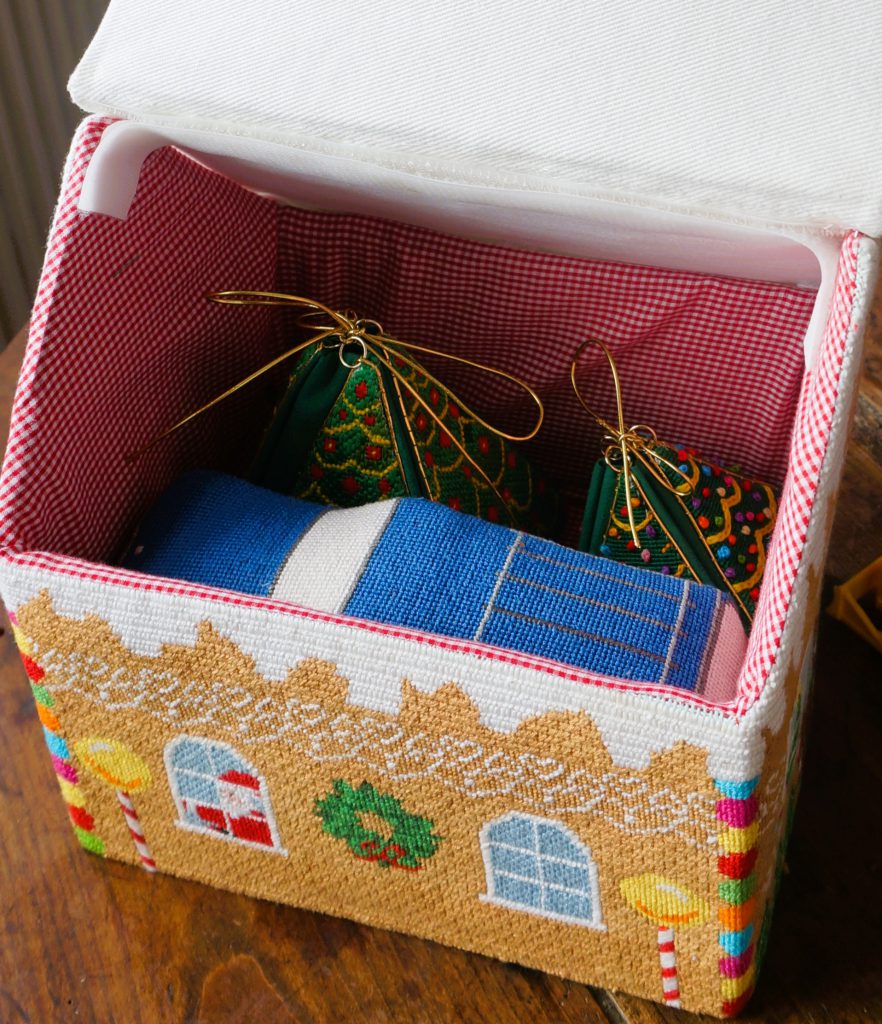
The Treasure Trees grew from my desire to add something to my Christmas gingerbread house display. I already had Santa’s New Ride, but the mantel had more room. Now we have three dimensional needlepoint kits, featuring our Small Treasure Trees in and Large Treasure Trees!
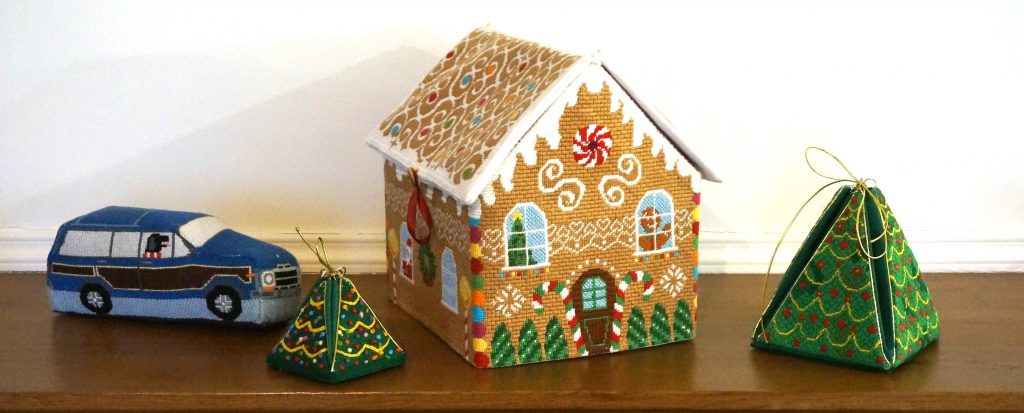
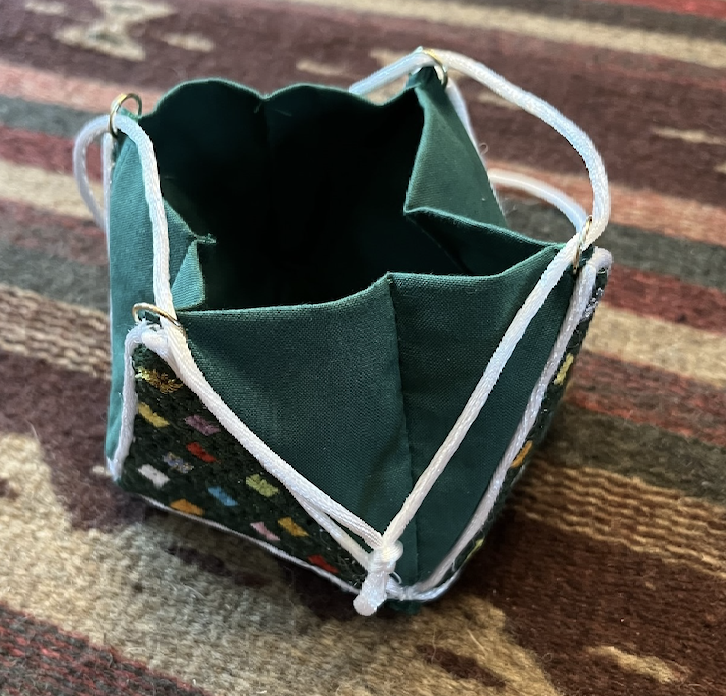
Trees are created using 4 needlepoint isosceles triangles that form a pyramid. A tree could be assembled by sewing the sides of the triangles together and filling with polyester stuffing in a manner similar to the construction of Santa’s New Ride, but I wanted the trees to be like the Gingerbread house, something that opened and could contain Christmas surprises – Treasure Trees.

Elements for assembly are:

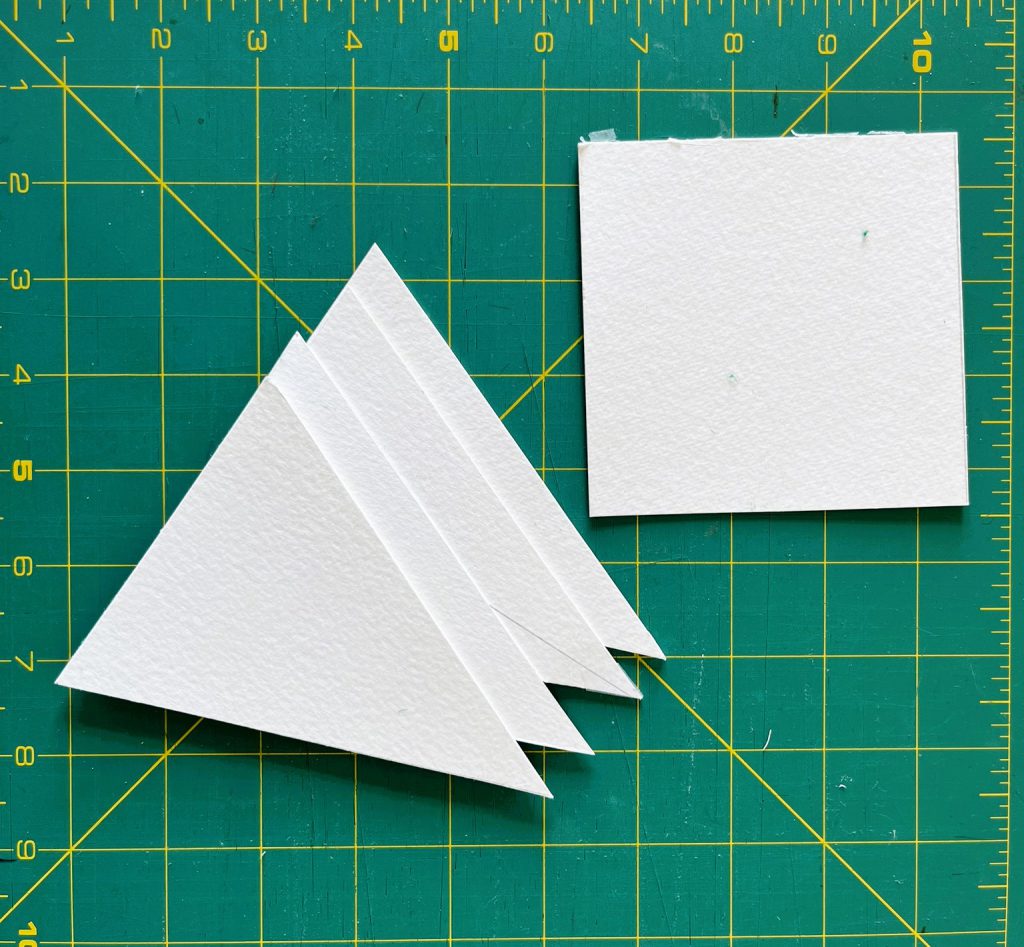
  • Lightweight cardboard to keep the tree rigid – 4 triangles to match the needlepointed canvases and a square the size of the base of a triangle.
  • Lightweight cotton fabric: one piece (the lining) twice the height of the triangles plus 2 inches and 4 times the base of the triangle plus 2 inches and a second 1-1/2 inch larger than the cardboard square.
  • Felt or cork square the same sizes as the cardboard square for the base of the tree.
  • 4 rings and cording for the trim and tie.

Trim the tree triangle leaving 3/8-inch edge which are turned under and steamed in place. Points will require additional trimming so that blank canvas is not visible. Fold the cotton lining piece in half along the length and press. Open the lining flat. Working from the center, position the tree on the lower half of the lining with tops at the fold crease. The bases of the trees should not overlap. Allow space for the cording trim as well. 

Sew by hand or machine the cording and trees in place through only one layer of the lining. Fold the lining to sew the edges together, making sure the bases of the two outer tree triangles match. Trim the seam to ¼ inch and press open. There will be a tube. Turn over the half tube that does have the triangles so that the raw edges match. Trees will be inside with their tips with slip rings reaching above the fold. 

Top view of edge stitching

Cover the cardboard square with cotton square gluing or lacing the raw edges on the backside. This will be the inside base of the tree. Miter folds at the base of triangles to form a box and whip stitch. Insert the covered cardboard square. Glue a square of felt or cork to the base of the tree and string cord through rings. 
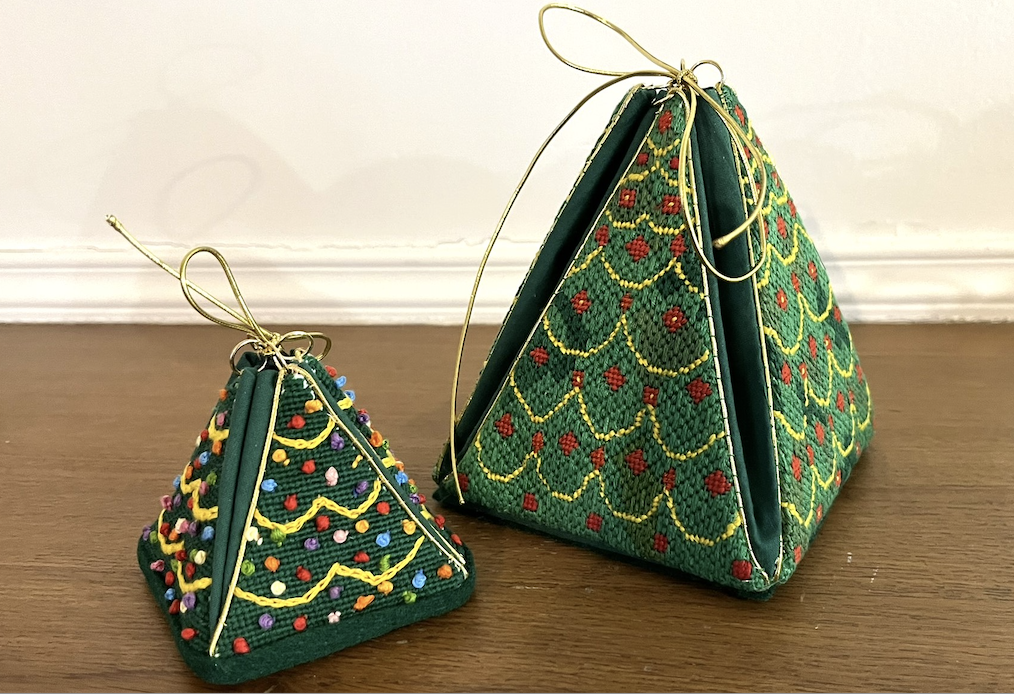
Your Treasure Tree is done!

Treasure Trees can come in any size. Shown in the photos here are the small 2-1/2 inch tree which could hold very special surprise and hang on the Christmas tree and a larger 5 inch tree is much more a mantle decoration and can hold surprises and/or candy treats.

When Christmas is over, they can stack together like nested Russian doll or hop into the Gingerbread house with Santa for safe keeping.

Stitch something unique this holiday season!
Pulled Yarn Stitches with a Silver Lining

Written by Peggy Bond

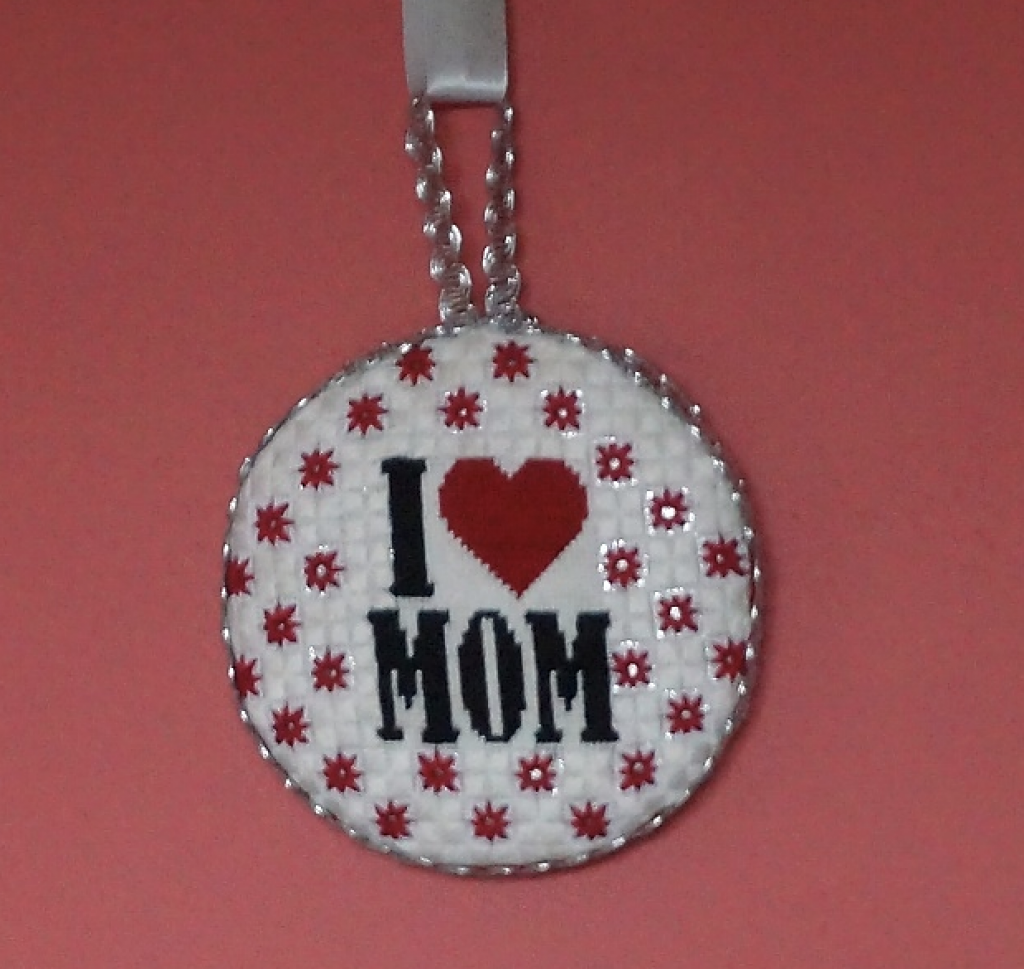
After my first foray into pulled yarn stitching, I was anxious to try one with color. Using the combination of the pulled yarn star and traditional reversed scotch stitches, I created a two-colored background that lets the silver lining of the I Love Mom ornament shine through.

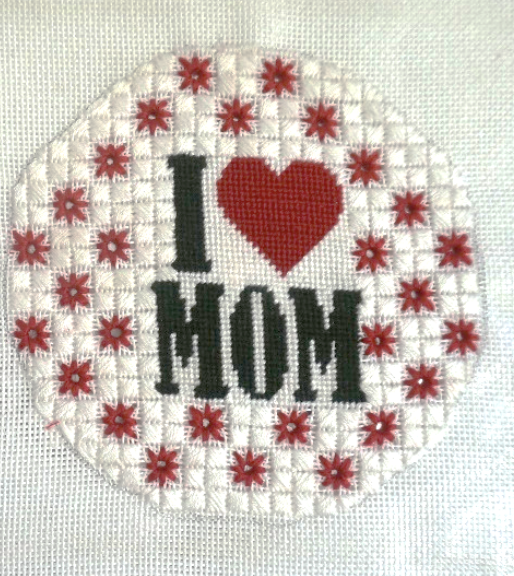
I stitched the heart, “I Mom”, and background between the letters and image with the continental stitch before starting the pulled yarn star/reversed scotch background. 

Stitched Canvas

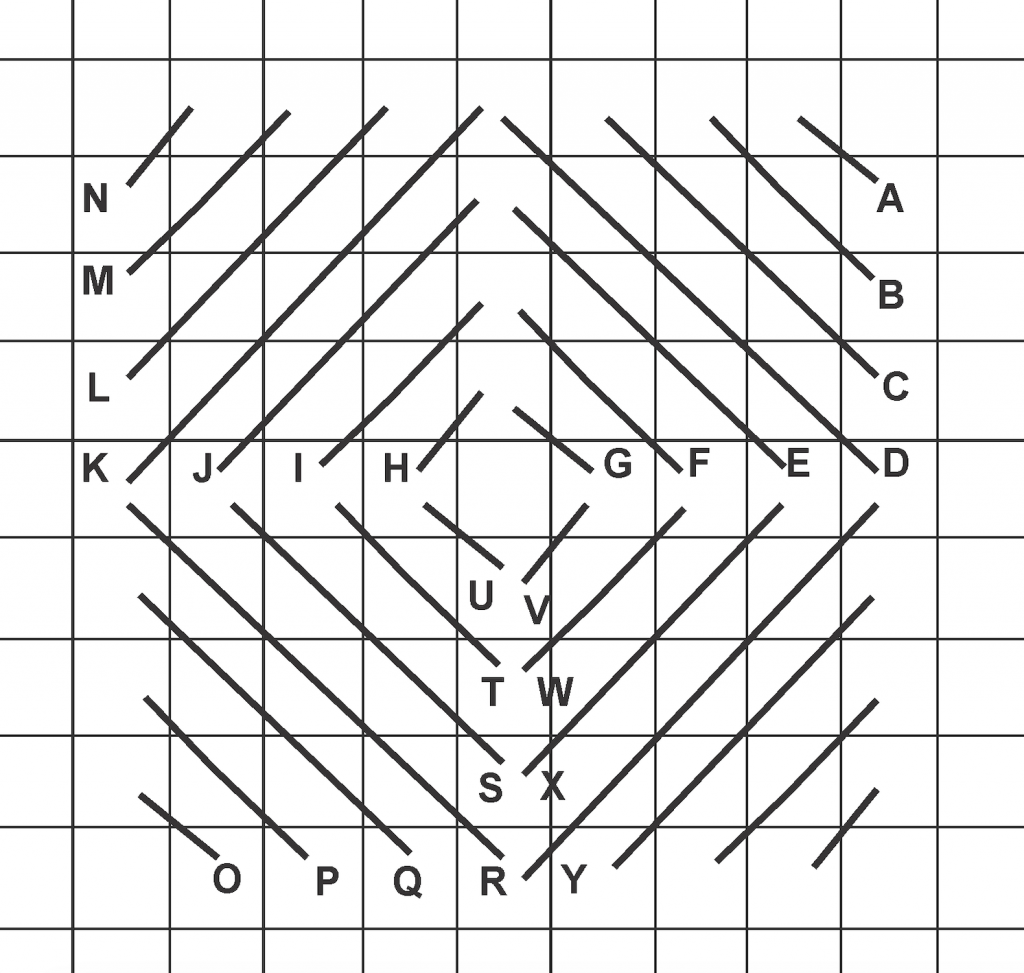
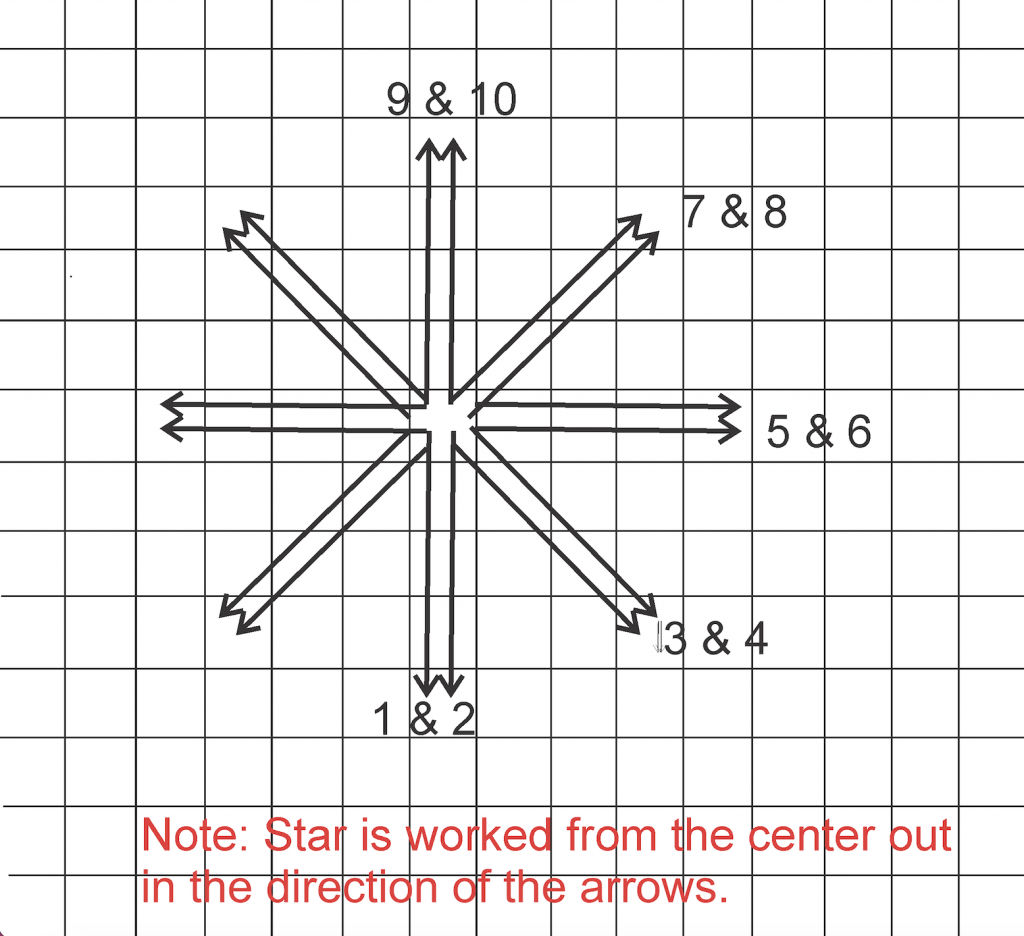
Each reversed scotch block and pulled yarn star is 8 horizontal by 8 vertical threads. The reversed scotch blocks should be completed before the pulled yarn stars, particularly if the canvas is not on a stretcher.

By starting the reserved scotch blocks at the center top of the canvas and working diagonally downward as shown above the location of a diagonal row of stars is created. For this ornament, the stars alternate with the scotch blocks, but they can also be randomly positioned. It is important that the stars be worked from the center outward. Since the stars are a different color than the scotch block, each was work independently and ends tied off and hidden so that they are not seen.

Reversed scotch block

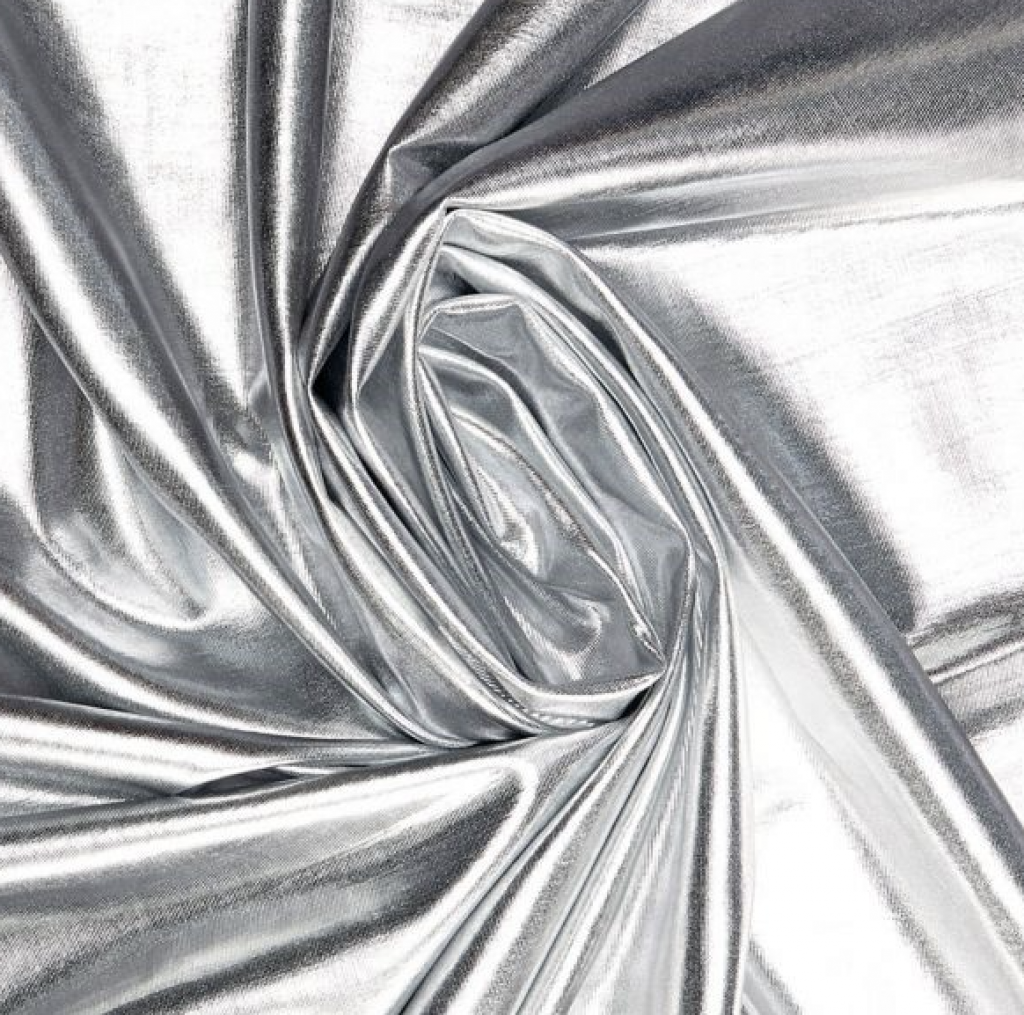
So now the background lining! The ornament has only three colors. I did not like the idea of using black. Nether white nor red would show off the holes for the pulled yarn stars. Maybe gold or silver? I tested a silver lining of aluminum foil. I liked how it looked. I went looking for fabric and found stretch satin silver fabric at my local fabric store.

Satin Silver Fabric

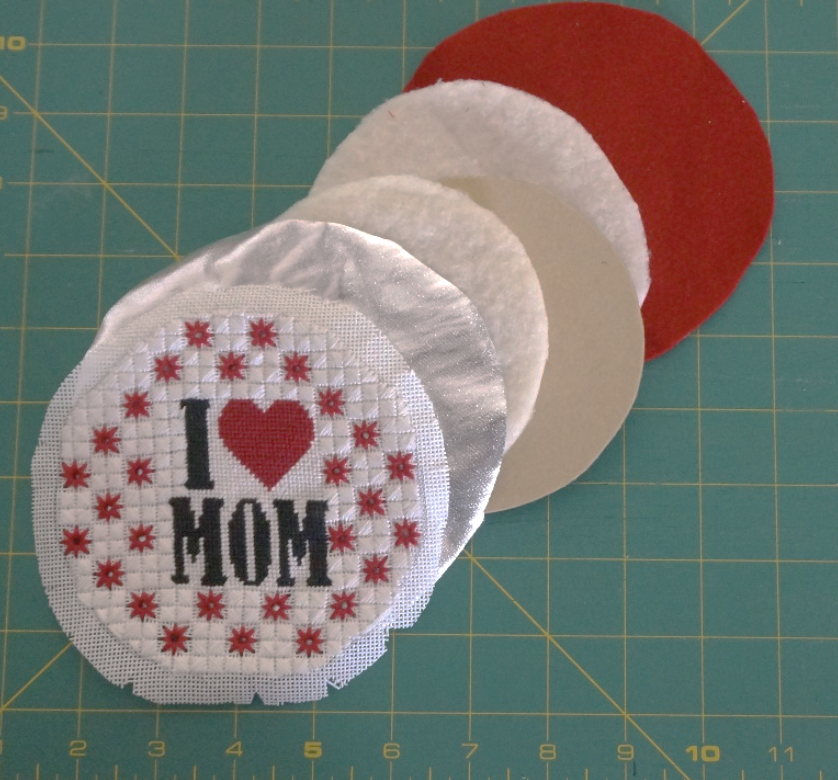
To finish the ornament, I used red felt for the backing, quilt batting for padding, a cardboard stiffener, and silver braid for trim and hanger.

Ornament elements

My two pulled yard projects have been done on 18-point canvases and now I am ready for something bigger and maybe better….

Please feel free to contact us with any questions you may have at: info@needlepaint.com

Happy Stitching!

Give Pulled Yarn Stitching a Try

Written by Peggy Bond

Pulled yarn stitches are often overlooked for needlepointing canvases because they do not fully cover the canvas. However, they can be used with conventional stitches and have some advantages as backgrounds. Firstly, they can be worked up quickly and secondly, they are lacy allowing a differently colored backing to show through.   

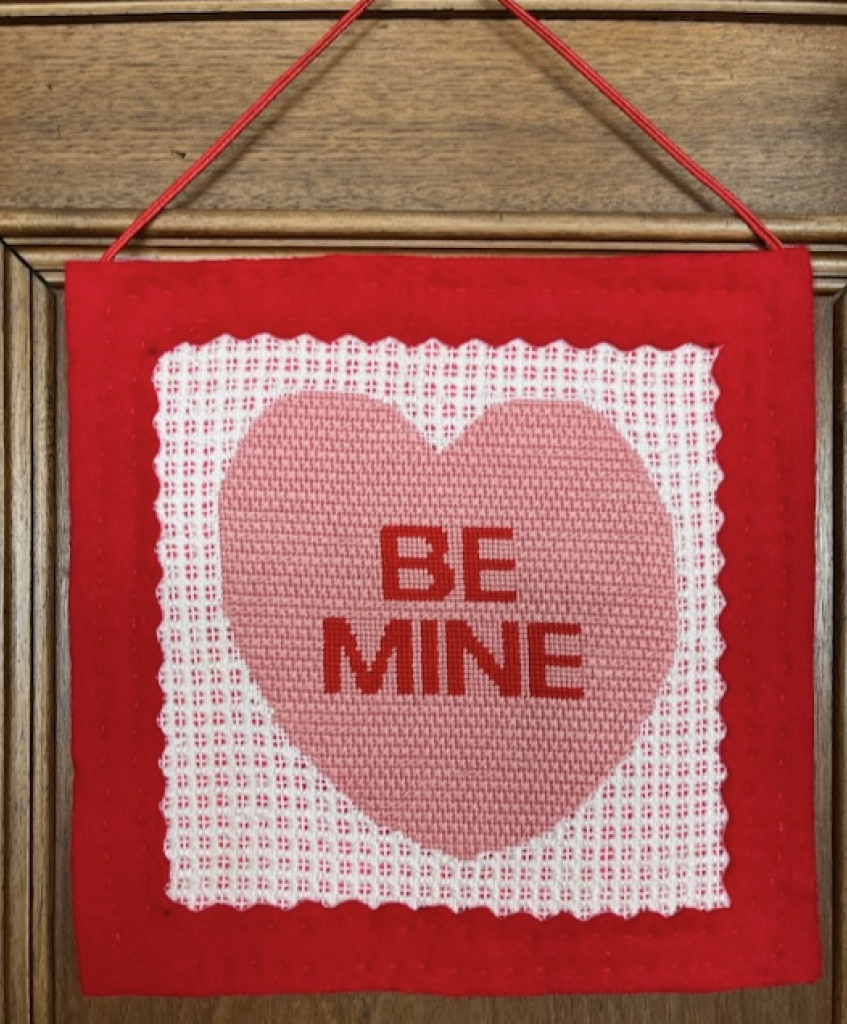
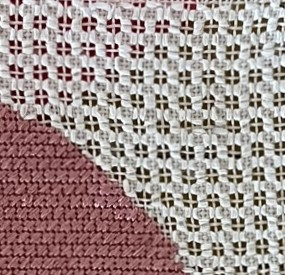
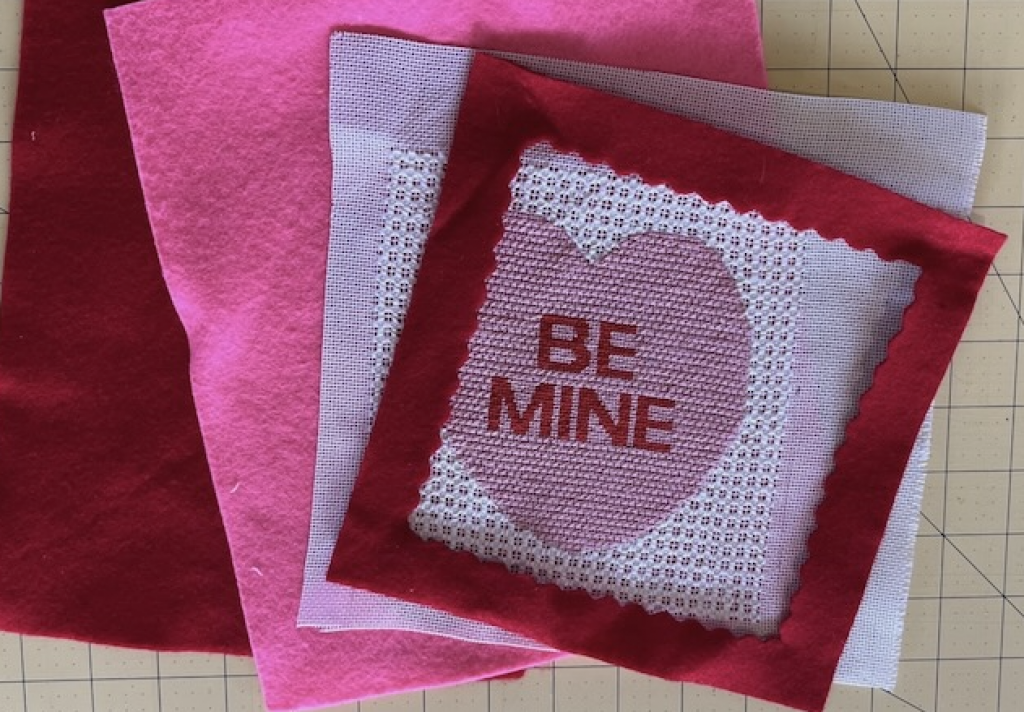
This Be Mine Valentine needlepoint ornament kit finished as a door hanger, has a pink felt backing that gives the background behind the heart, the look of checked gingham.
Up close, this is not the case.

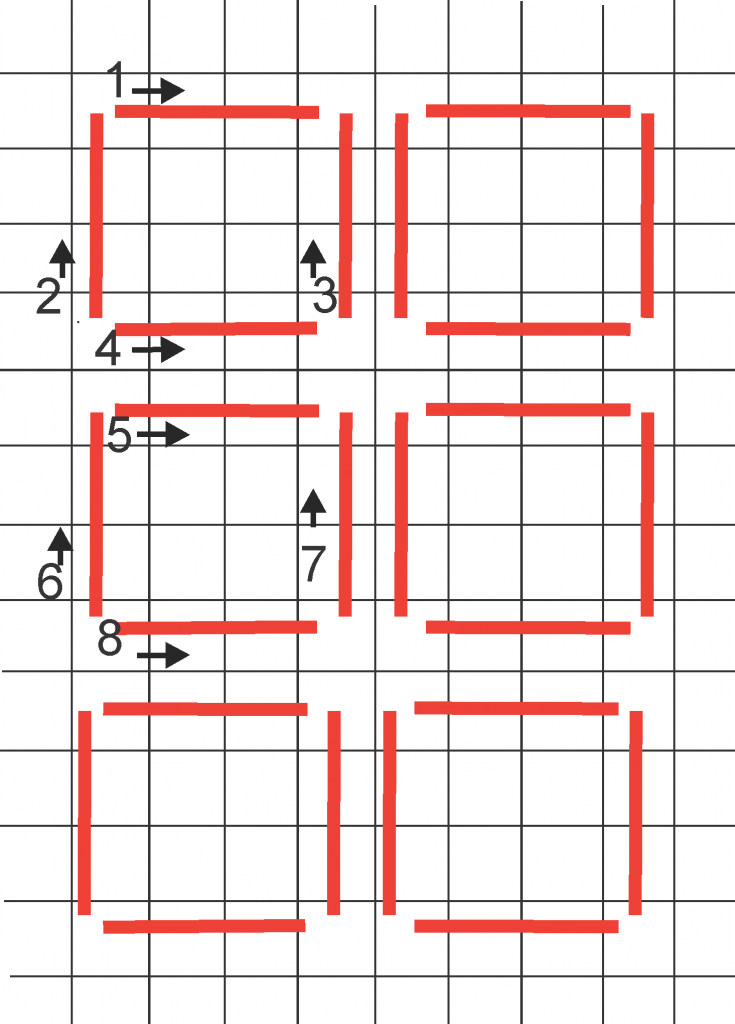
When working pulled yarn, it is important to keep consistent tension or pull. This is what creates the pattern. The best pulled yarn stitches have equilateral pull which minimizes distortion.

The 4-sided over 3 pattern shown here is a good example. Notice the direction of the stitches:

1 – left to right

2 – bottom left to top

3 – bottom right to top

4 – bottom left to right

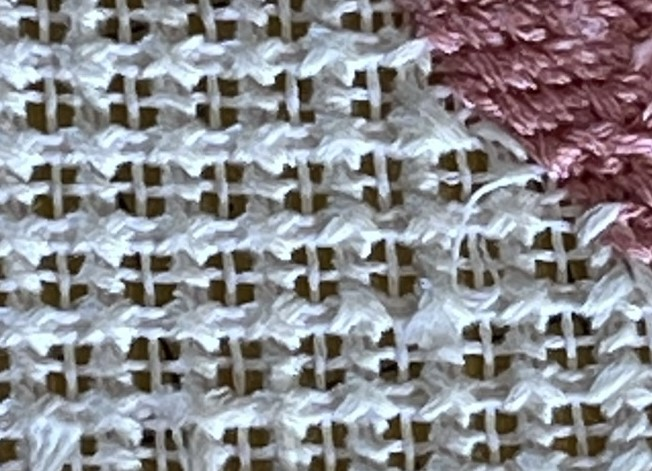
The back will show a large cross stitch (X) as shown above.

My original idea for this project was to back the canvas the same felt as used for the frame. The red felt did not show through. However, the bright pink felt showed well and tied the red and pink of the heart together. Below is a photo of the four layers that used for the hanger.

This project was stitched with white thread on white canvas and had a hot pink backing. Alternatively, it could be done with red thread on the white canvas and a white or sparkling backing. There are many options, and the only caution would be not to try pulled yarn stitches on a printed background. Pulling the stitches will expose the white of the unprinted canvas.

Please feel free to contact us with any questions you may have at: info@needlepaint.com

Happy Stitching!

Easy Sew Christmas Stocking with Cuff

Written by Peggy Bond

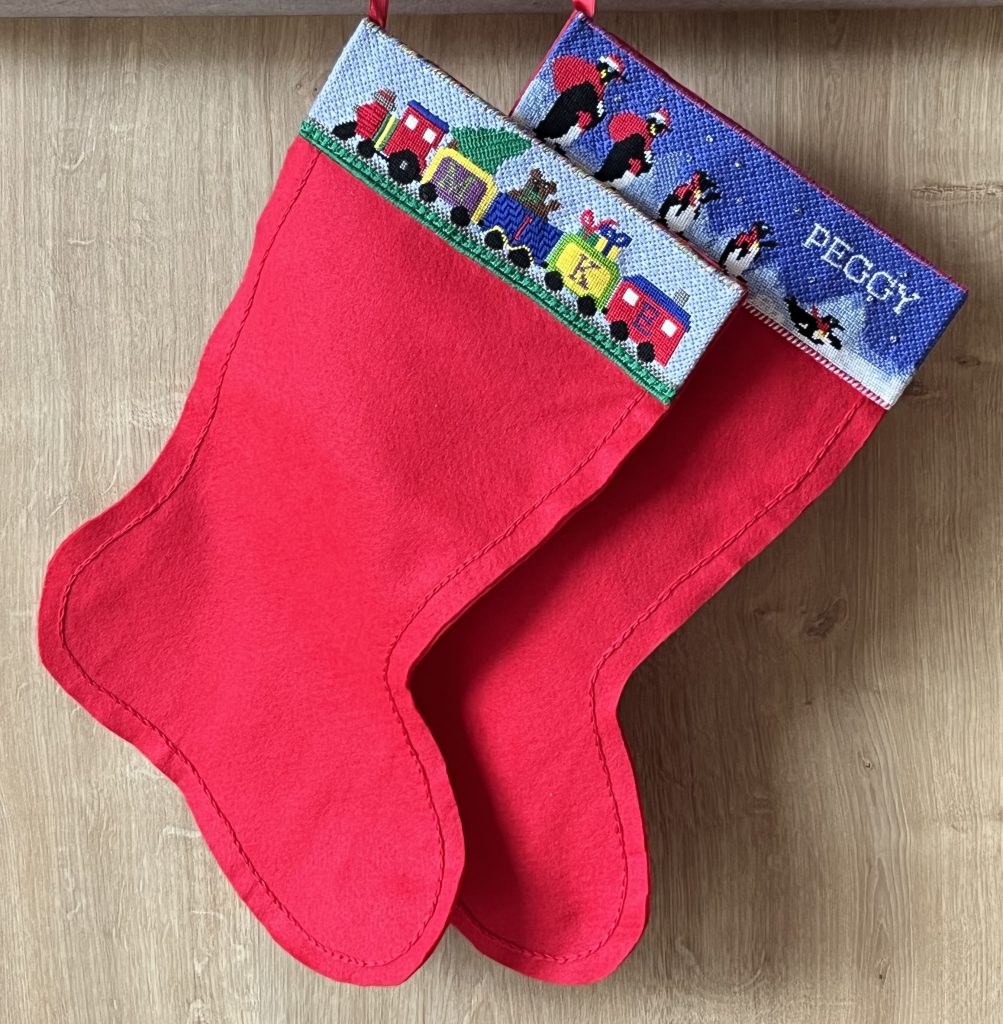
The Christmas season for me always brings back family memories – baking fruit cakes, decorating cookies, making gifts, shopping for a special gift, decorating the tree, and hanging Christmas stockings. While thinking about this coming Christmas, I remembered the long ago year when my older sister and I were 12 and 9 years old, and made felt Christmas stockings. We spelled our names out with sequins and stitched them together with yarn. It made me nostalgic and reminded me that my husband and I did not have stockings.  

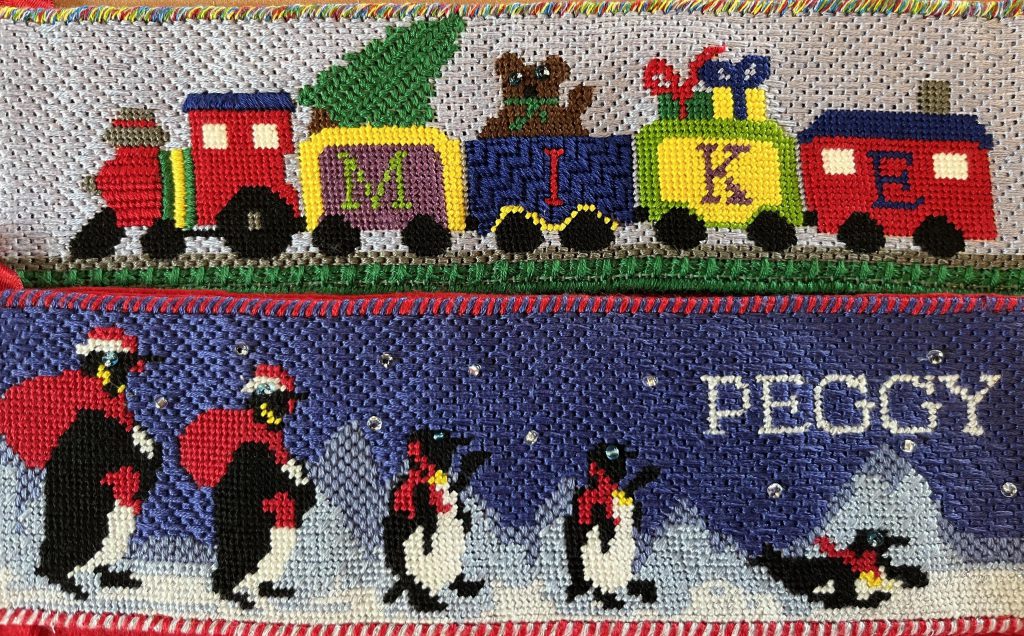
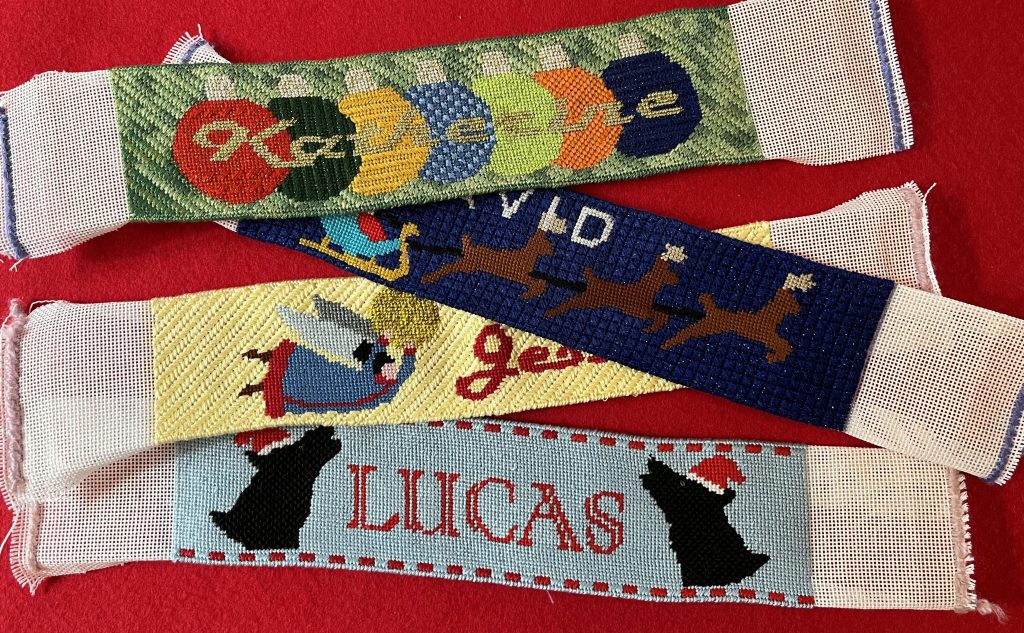
Inspired by the Needlepaint stocking cuffs, I adapted my old Needlepaint Christmas ornament designs for use as cuffs on stockings. These small 10” x 2.5” canvases were quick to stitch. The top and bottom edges of the cuff were finished with an overcast stitch as described below, and the sides folded under. It was easily sewn onto the front piece of the felt stocking. Front and back of the stockings were stitched together with embroidery thread using a chain stitch. I was traveling when I made these and didn’t have my sewing machine, so all was done by hand.

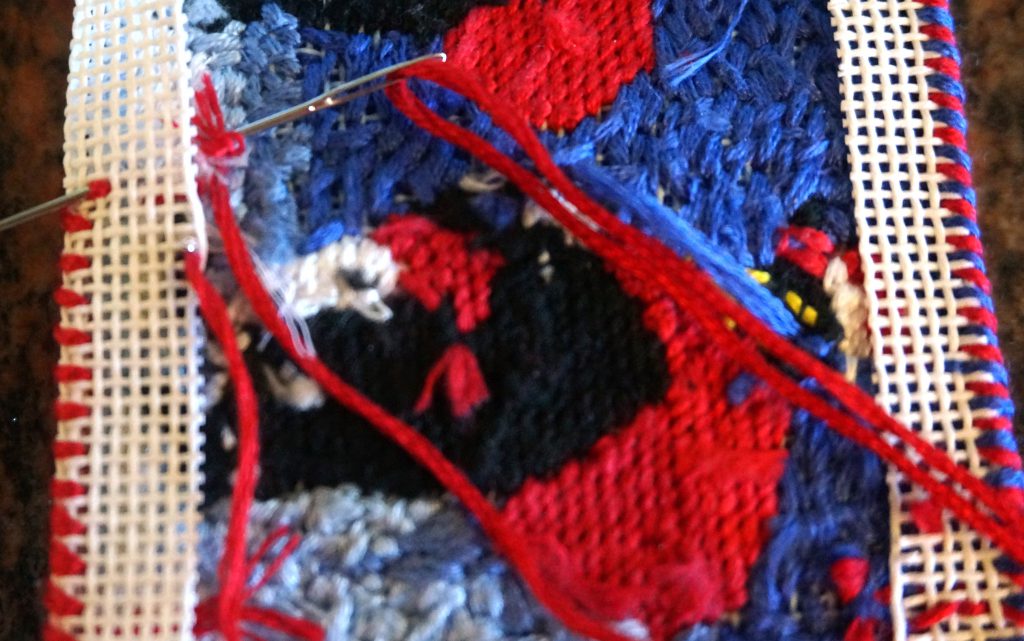
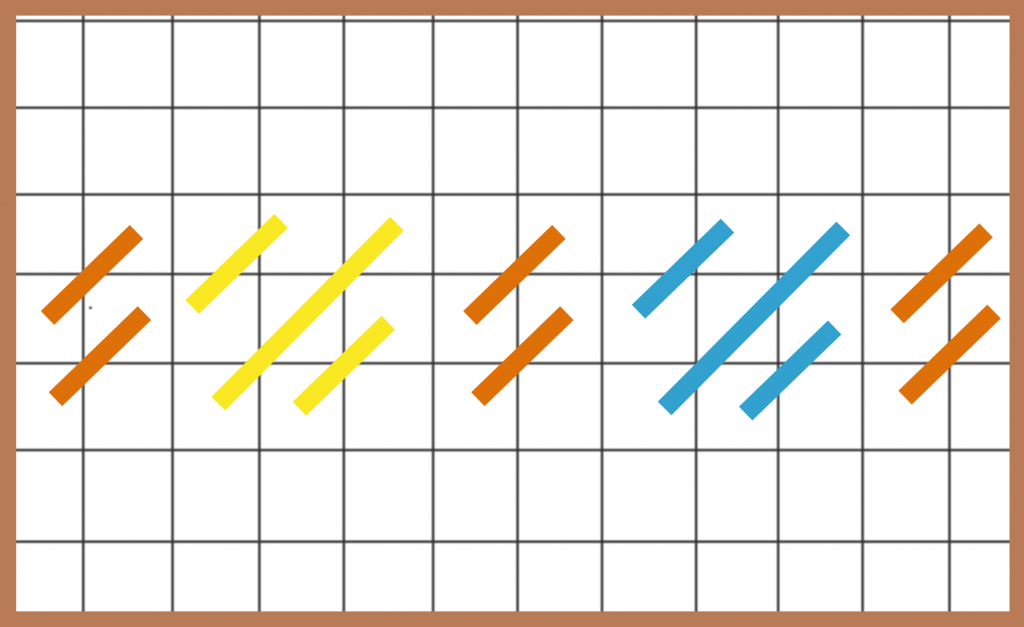
Instead of using the traditional needlepoint binding stitch, I opted to using an overcast stitch so that I could finish the edges in multiple colors. The stitches were worked on four strands of canvas folded so that there are two stands on the front side and two on the back. In this example, every other stitch is one in red and then followed with every other stitch in blue.

This is the same technique that is used for sewing plastic canvas together, except you are working with a folded needlepoint canvas instead of two pieces of plastic canvas. The color variations give the canvas an additional dimension. And, on the train canvas, I used the same stitch with six different colored strands of embroidery floss on the needle. 

I have had request for cuffs from friends and family and have adapted several more of the original ornaments to cuffs. Each can be customized with a name. All are 18 mesh canvas designs except for the final snowflake design which is 14 mesh canvas.

Angel Song Stocking Cuff Needlepoint Kit

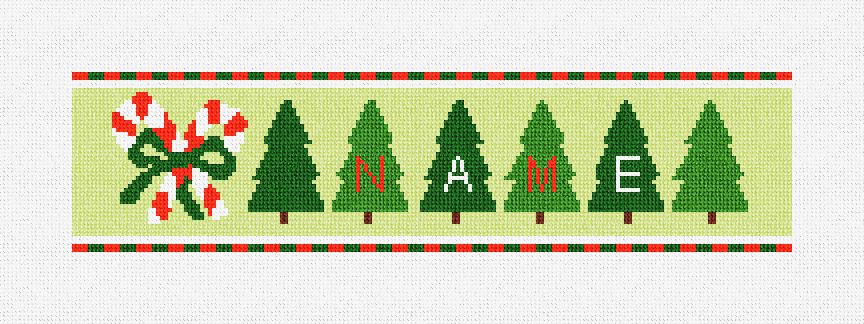
Candy Cane Stocking Cuff Needlepoint Kit

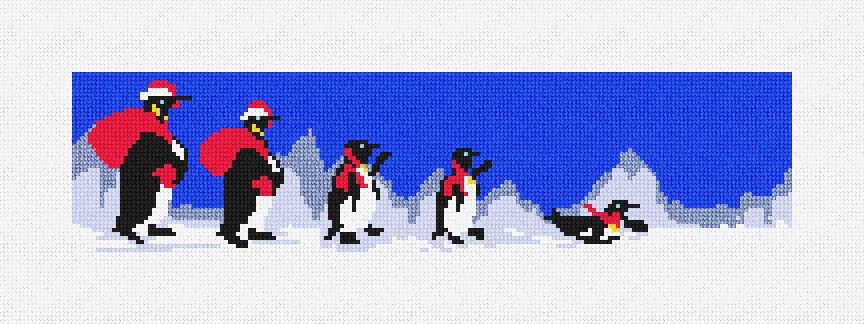
Penguin Parade Stocking Cuff Needlepoint Kit

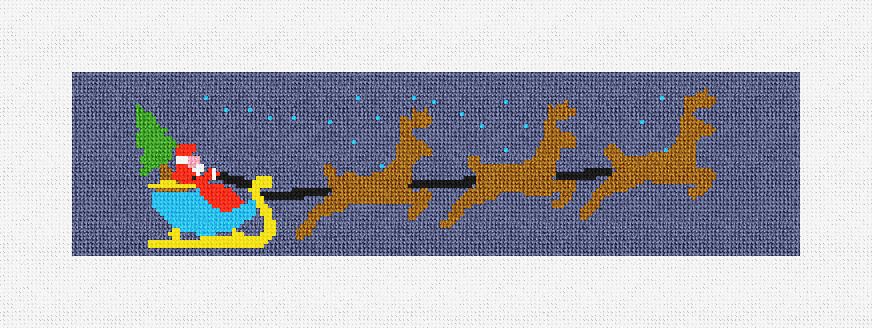
Holiday Sleigh Stocking Cuff Needlepoint Kit

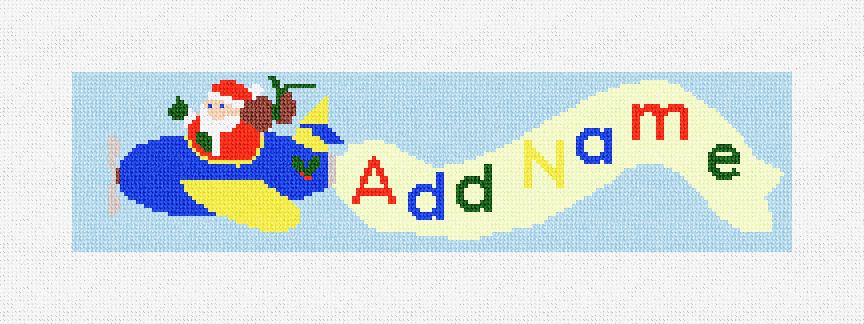
Flying Santa Stocking Cuff Needlepoint Kit

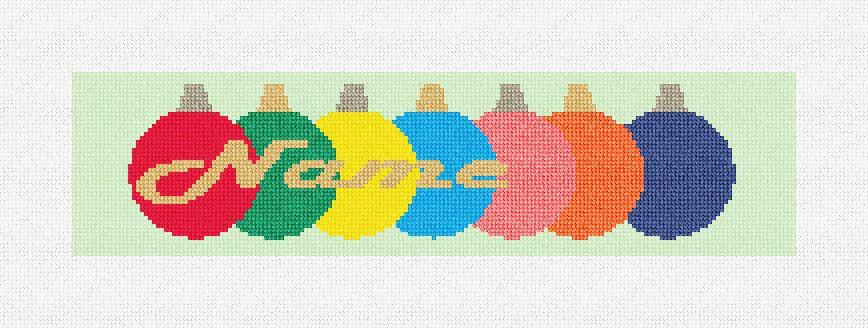
Ornaments Twinkle Stocking Cuff Needlepoint Kit

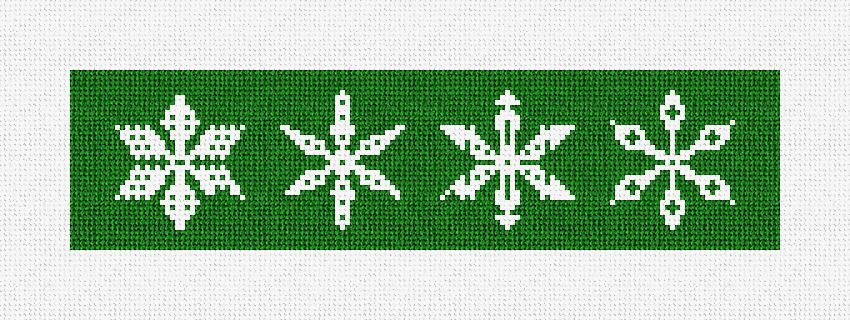
Gentle Snowflakes Stocking Cuff Needlepoint Kit

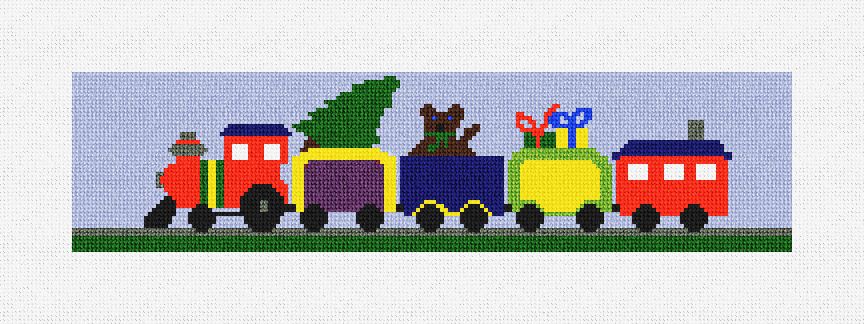
Holiday Express Stocking Cuff Needlepoint Kit

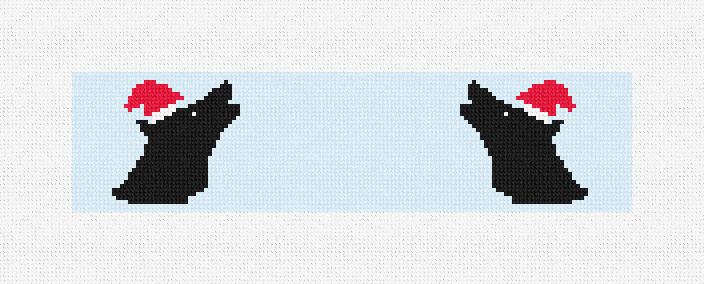
Wolf Song Stocking Cuff Needlepoint Kit

It’s never too late for Christmas stockings and the finishing of these is quick and easy.
New felt has arrived. Time to block and finish the latest creations.

Happy Holiday Stitching!

Egg-cellent Self-Finishing Needlepoint for Spring!

Explore our Chinoiserie Inspired Egg Canvases and an Easy Self-Finishing Technique

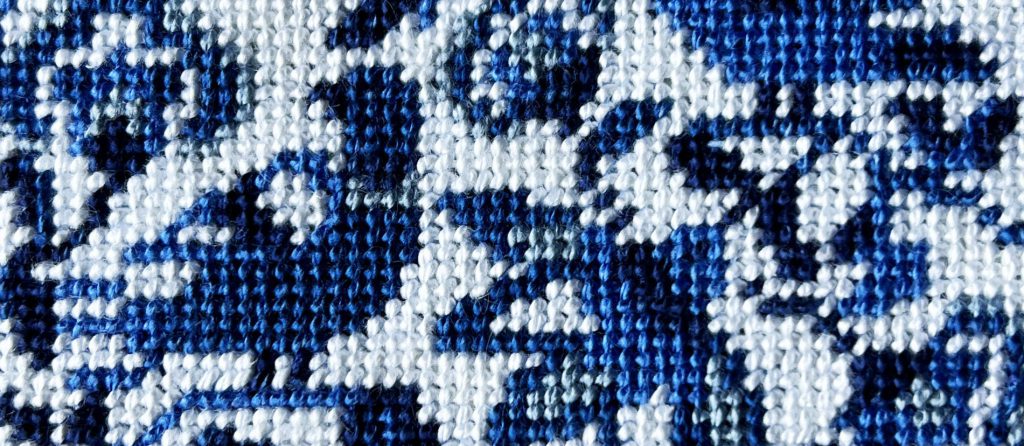
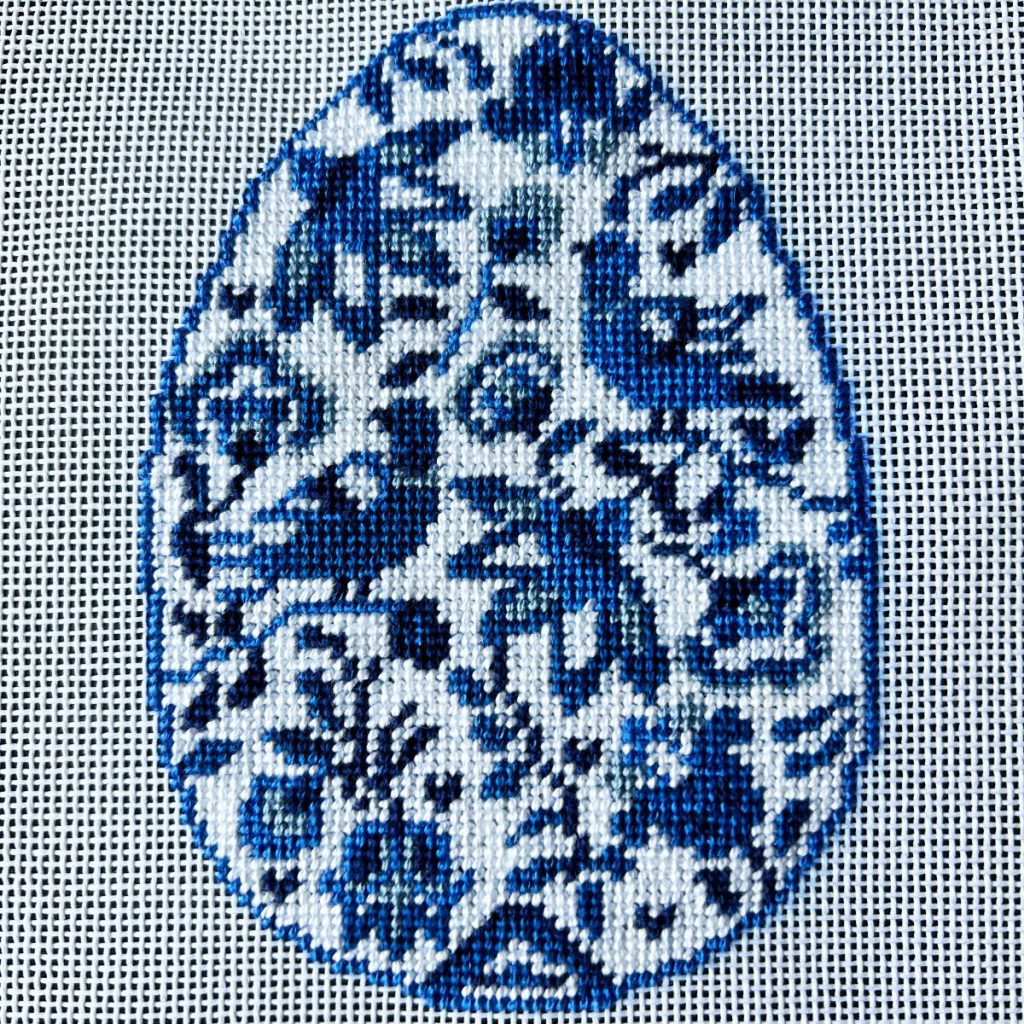
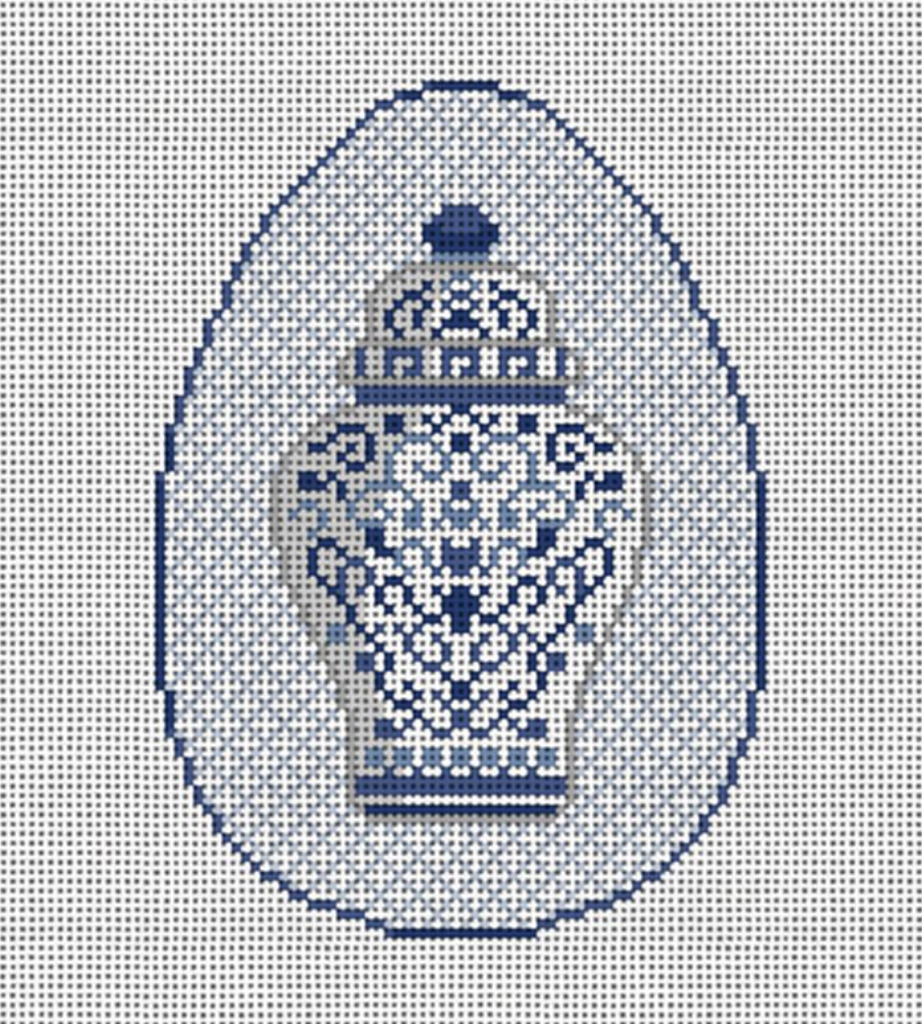
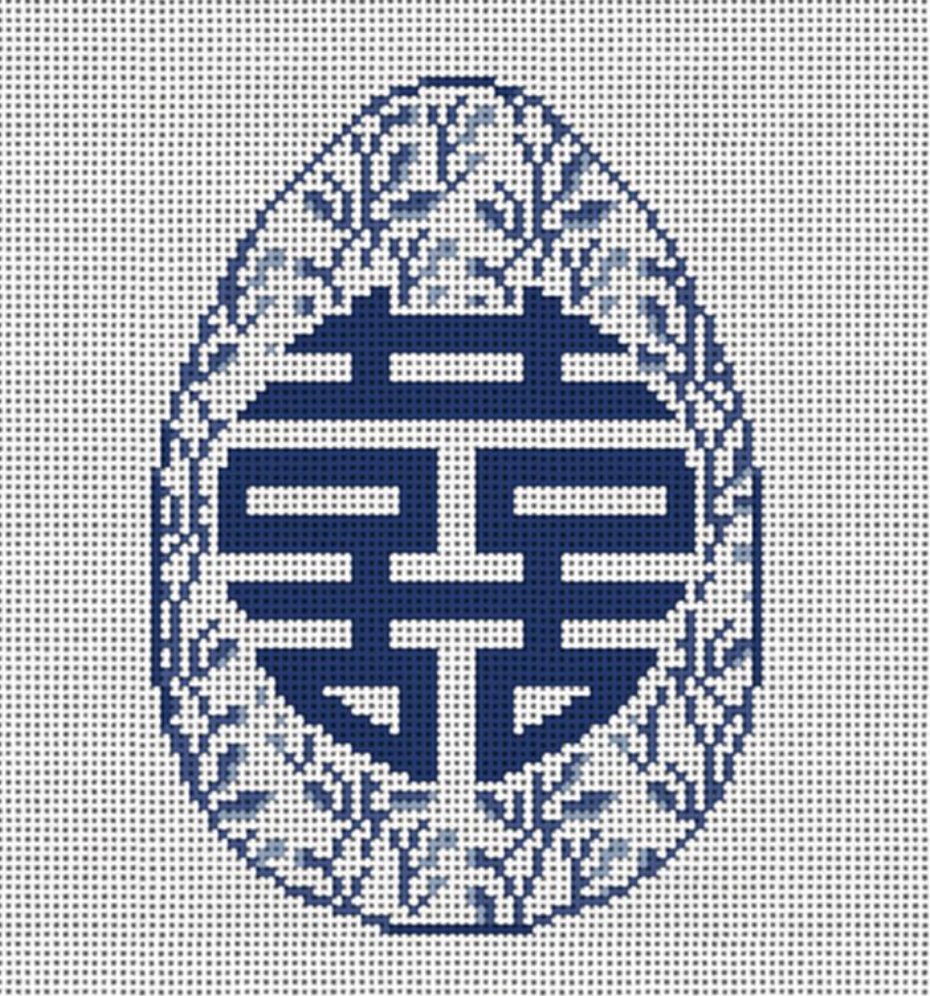
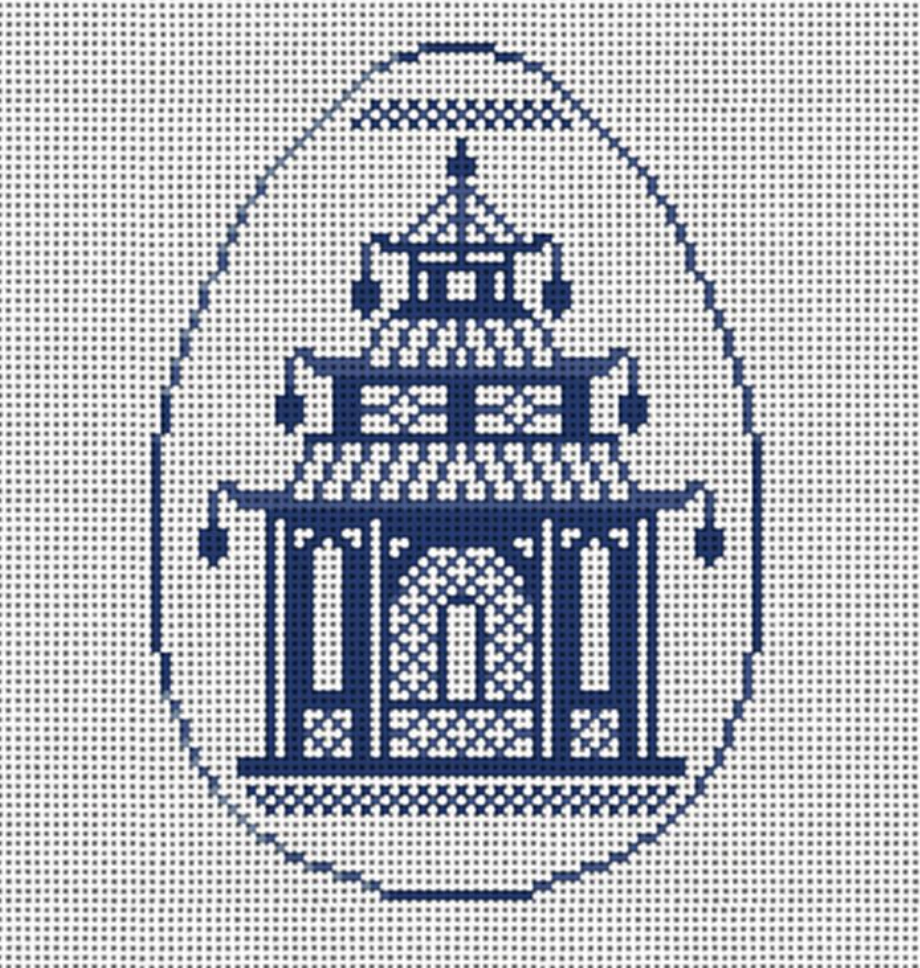
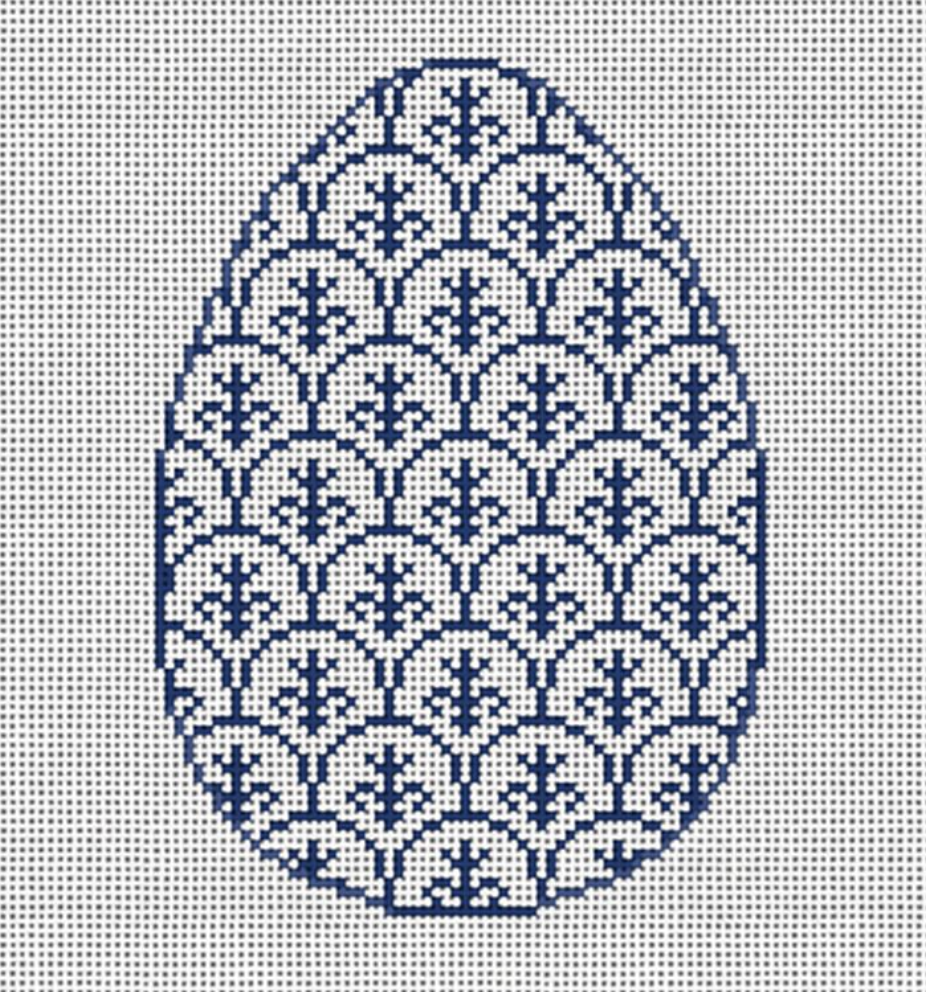
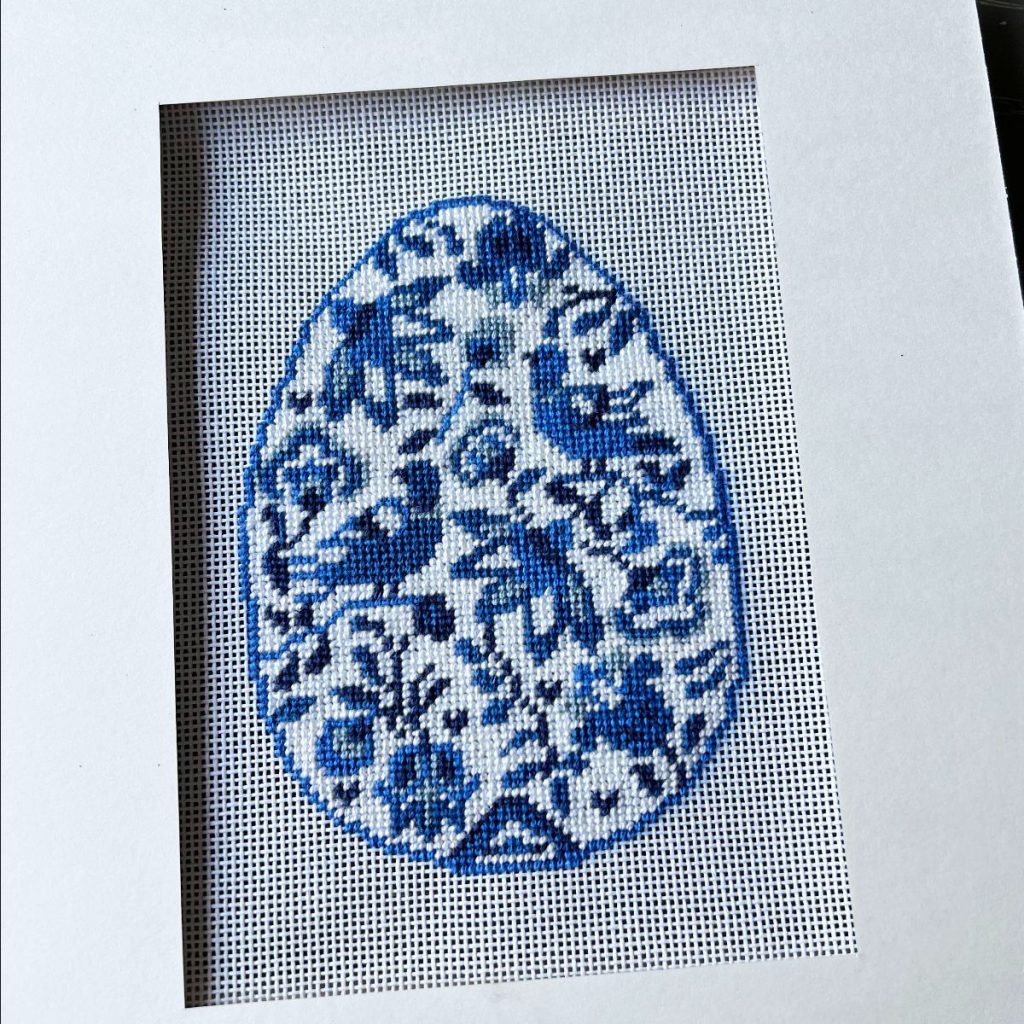
This Spring we are loving the combination of the classic Easter egg with blue and white chinoiserie!

We have several options from which to choose.  These needlepoint egg canvases are beautiful by themselves or stitched as a collection.

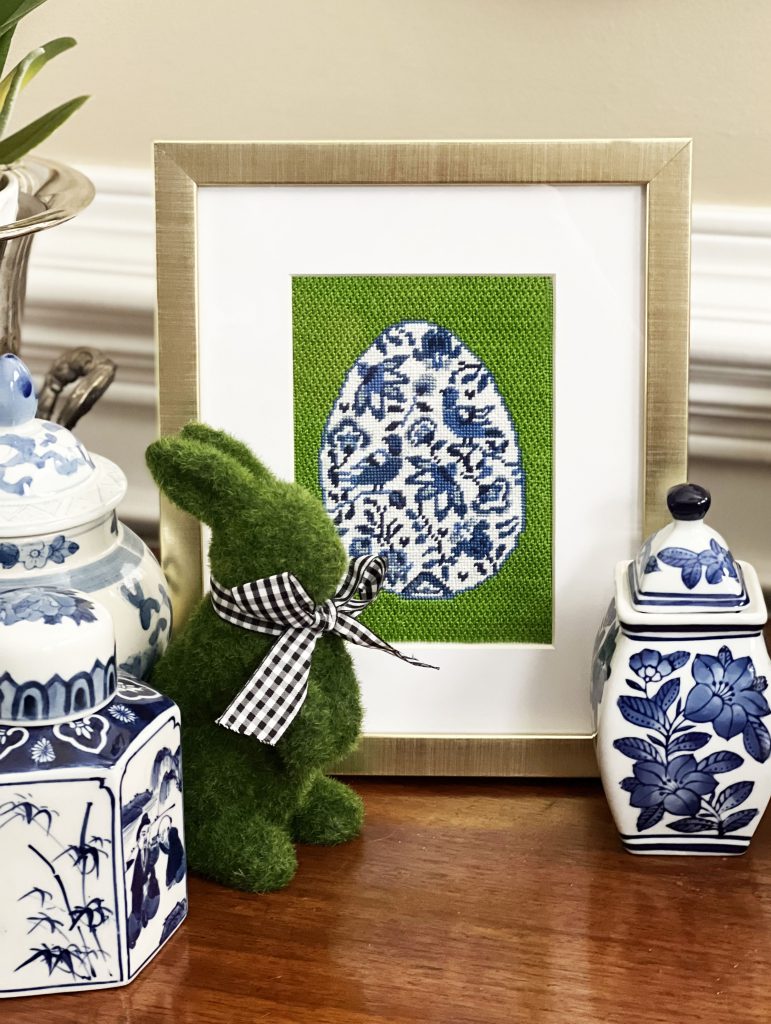
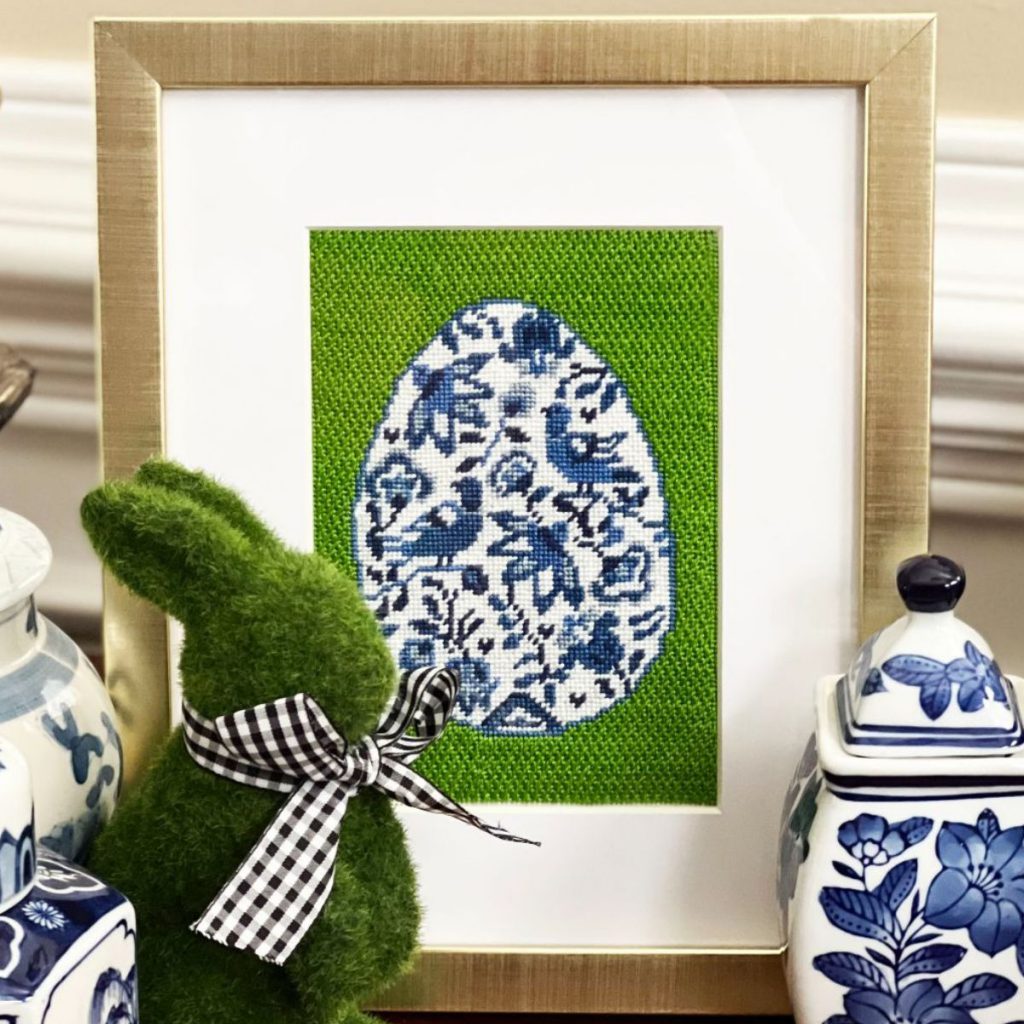
One of our favorite quick needlepoint self-finishing options is framing.  This is such a simple process.

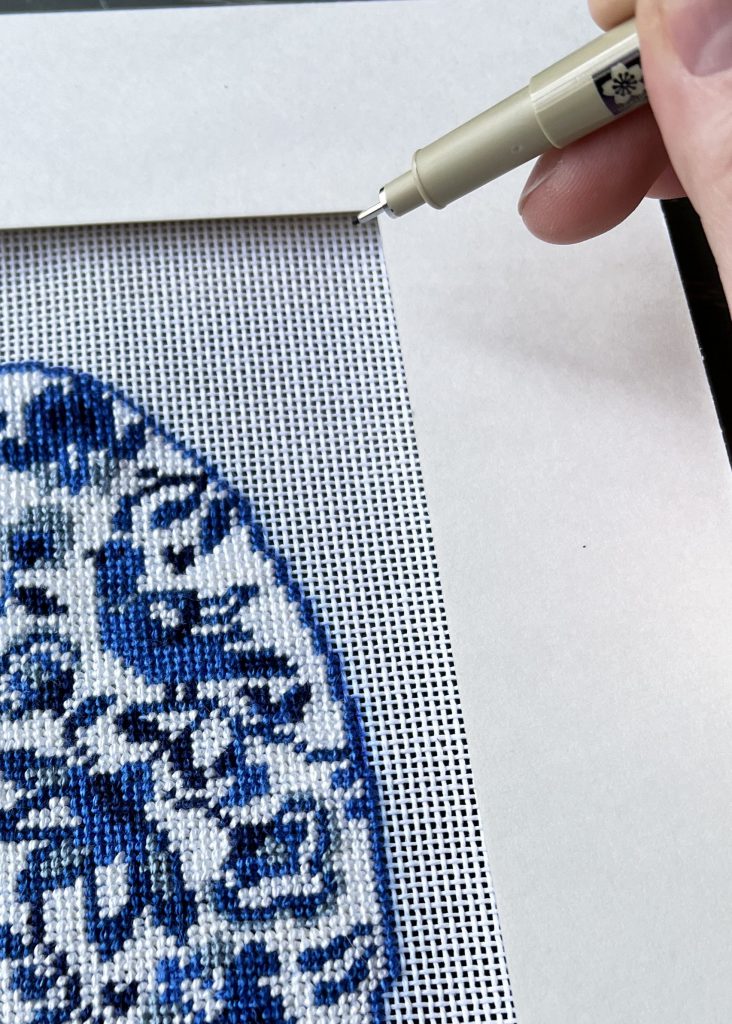
First we stitch the main portion of our design.  Then we purchased a frame with a pre-cut mat at our local hobby shop. Open the back of the frame and remove the mat.  Place it on top of your stitched ornament upside down so you don’t accidentally put a mark on the front.

Carefully mark all four corners of the inside of the mat board on the canvas. Remove the mat board and now you can see the area you will need to fill with your background stitch.  Select a color and stitch you like and complete your project. We used Nobuko stitch and DMC Perle Cotton 5 in 906 for a grass-like look.

If you did not stitch on stretcher bars you might need to block your canvas to get it straight before framing.  Cut a piece of art board or mat board to fit inside the frame.  If you don’t want to measure you can pop out the glass and trace it.  Trim your completed canvas with an inch border around the stitched area.  Using acid free art tape, affix the canvas to the art board by taping the unstitched border of the canvas to the art board.  Use a little tension to make sure the canvas will lay flat. Reassemble your frame with the mat and now you have a beautiful framed piece of needlepoint art for your home!


Happy Spring and Happy Stitching!

A Sweet New Gingerbread House Needlepoint Kit!

Written by Peggy Bond

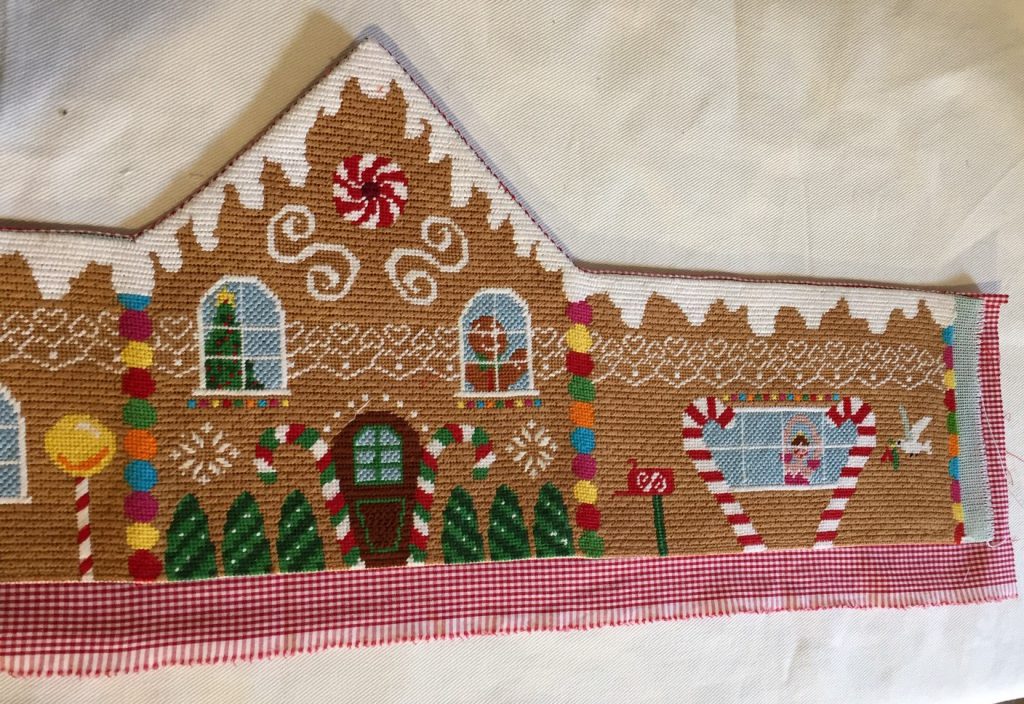
I had never baked a Gingerbread House nor did I want to. But then I got inspired by Santa’s New Ride needlepoint car canvas. Why not make a needlepoint Gingerbread House that has a roof that opens for the wrapped candies and treats that can be eaten? NeedlePaint’s designer Krystal Duffy designed the canvas and the house became a reality.

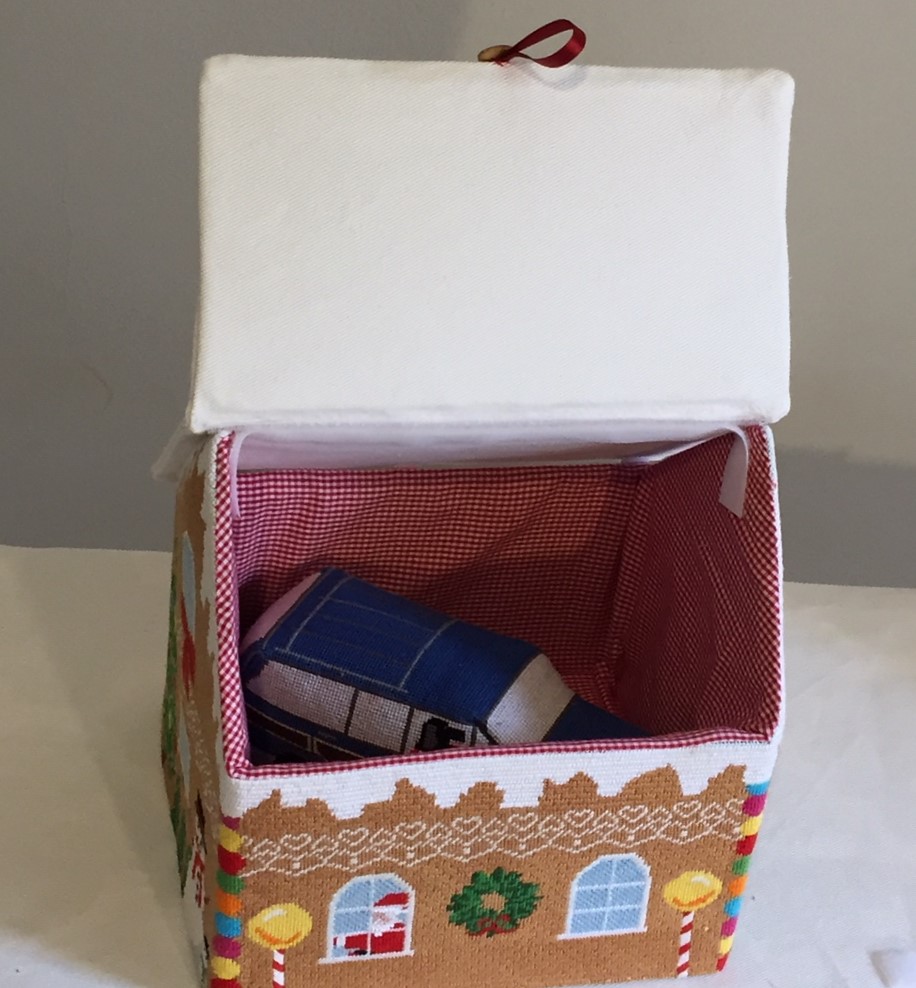
Gingerbread House Dimensional Needlepoint Kit Two
(available with an attached or detached roof)

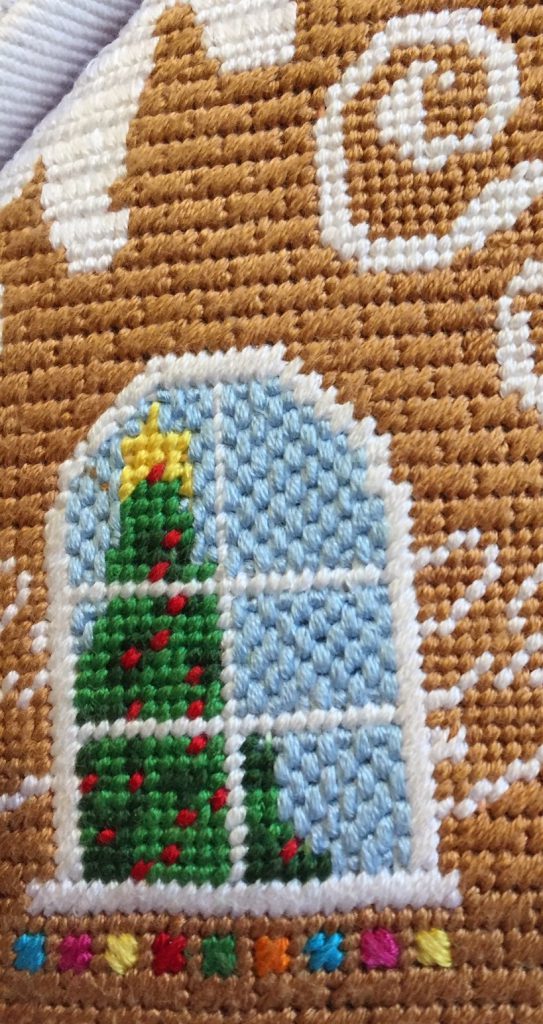
The house is 8 x 6 ¾  x 9 inches, a scale that matches Santa’s needlepoint car, and I used a variety of stitches for the project. A staggered, elongated, horizontal cashmere stitch for the gingerbread gives the house the appearance of being made of bricks. 

Stitch Detail

Elongated Cashmere Bricks

Mosaic Window Trim

Continental – Gobelin Snow

The snow alternating rows of the continental stitch and straight Gobelin worked over 2 strands. Window frames are the slanted 2 x 2 Gobelin over 2 strands and dots above and the below the windows are the mosaic stitch. he windows are a staggered strait Gobelin over 2 stitched. There are lots of places to try new and different stitches. It was fun! 

As I stitched along, my mind worried away at “how are you going to put this all together”? Sure, it was going to a rectangular house with a roof with overhangs. How was it going to be stabilized since I wasn’t going to stuff it. (Stuffing the Gingerbread House is certainly an option.)

Initially, I cut plastic needlepoint canvas 1/8″ smaller than each side and the roofs, and stitched them to the canvas. The house could stand on its own but it wasn’t going to be rigid enough to be a container. 

Plastic Canvas Backings

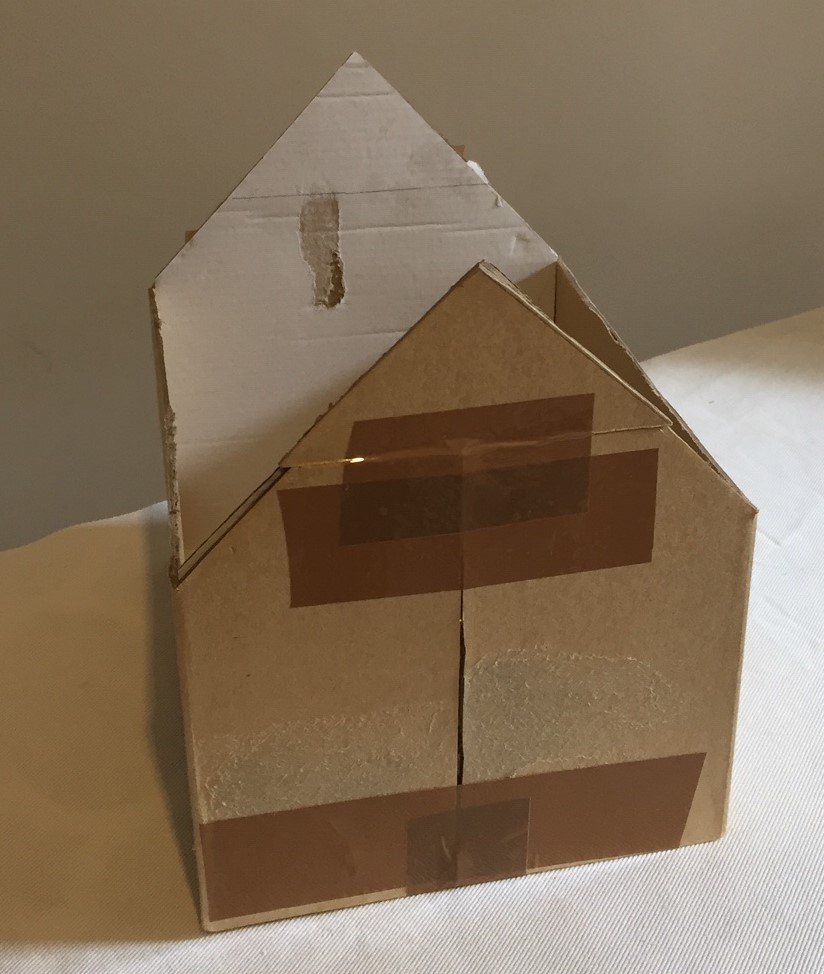
While browsing through a crafter’s catalog, I found 8-inch square boxes which could be cutdown to make a 8 x 6 ¾ inch rectangle. This would give the base a solid frame and the sides could be cut down to size and shaped for the roof.  It worked! Below is a mock up of the box frame. The final was glued and the peak supports were cut from acid-free art board.

Mock up of House Frame

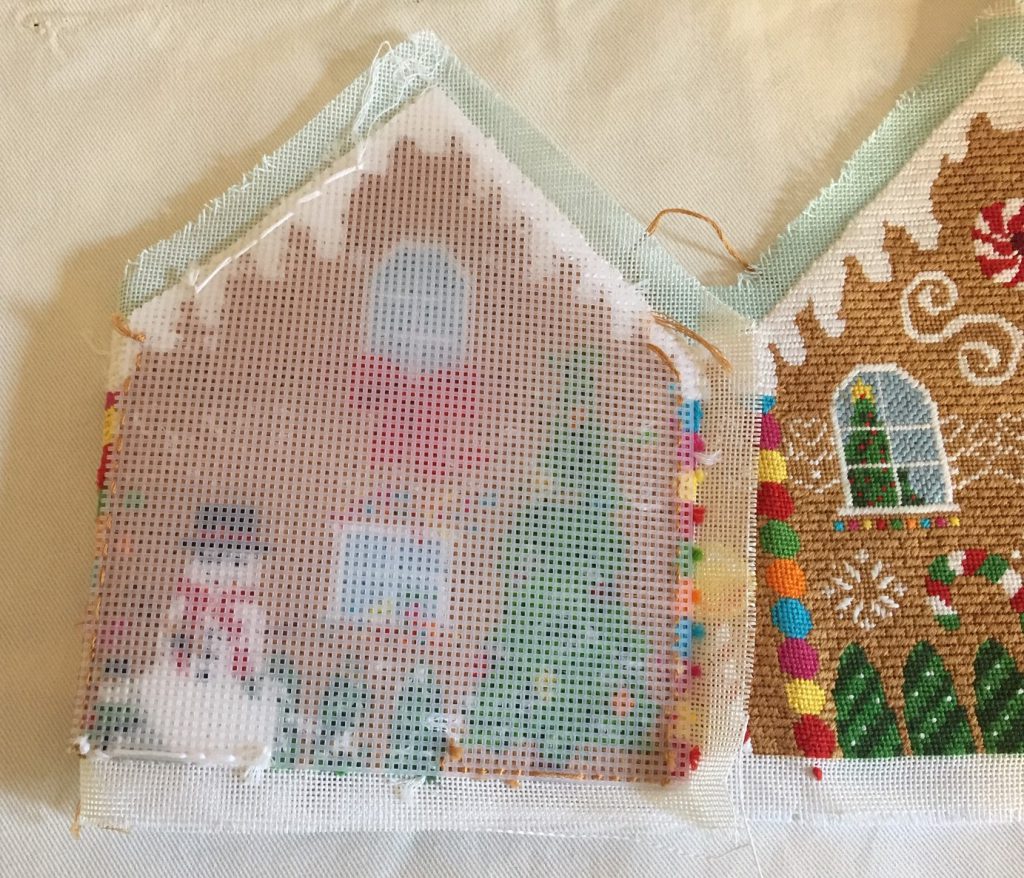
The base of the house is lined with a lightweight cotton fabric. Lining is sewn as shown below along only the upper edge of the stitching. The two roof segments are lined with a sturdier white fabric, leaving the top of each segment open to be sewn together later. (I probably could have used a lighter weight fabric but thought that extra weight would make a better hinge for the roof.) Turning the lining was not easy with the canvas backed by the plastic canvas, but the results were better than I had expected. There was one seam to stitch along the side of the base and it could be slipped onto the box frame. Acid-free art board was cut fit inside roofing pieces.

Also, piece of acid-free art board cut to the inside dimensions of the box is covered with the lining material and slid down to hold the lining of the sides in place.

The lined roof is stitched together at its peak with the back sides together, and the outside seam trimmed and covered with a bias strip. Self-adhesive Velcro dots along the sides and a strip at the peak affix one side of the roof and a button-ribbon tab is sewn to the opening-side of the roof.

There are certainly other ways to assemble the house. My granddaughters are all eyeing the Gingerbread House and maybe I will have to make more so please let me know if anyone has assembly suggestions.

We would love to help with all of your needlepoint needs.
Please contact us with any questions that you may have at:
info@needlepaint.com

  Stitch a little something sweet for the holidays!

New 3-Dimensional Needlepoint Kits!

Written by Peggy Bond

Santa Claus is Coming To Town And He Has New Wheels!
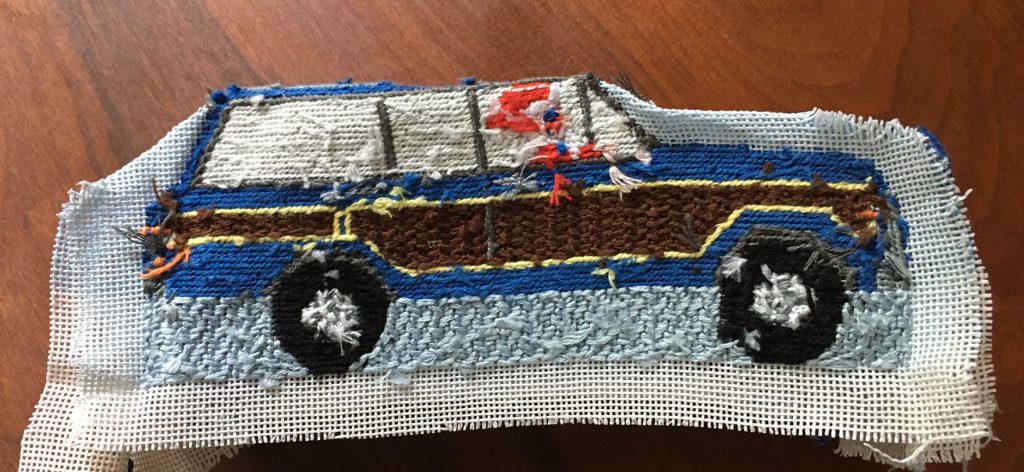
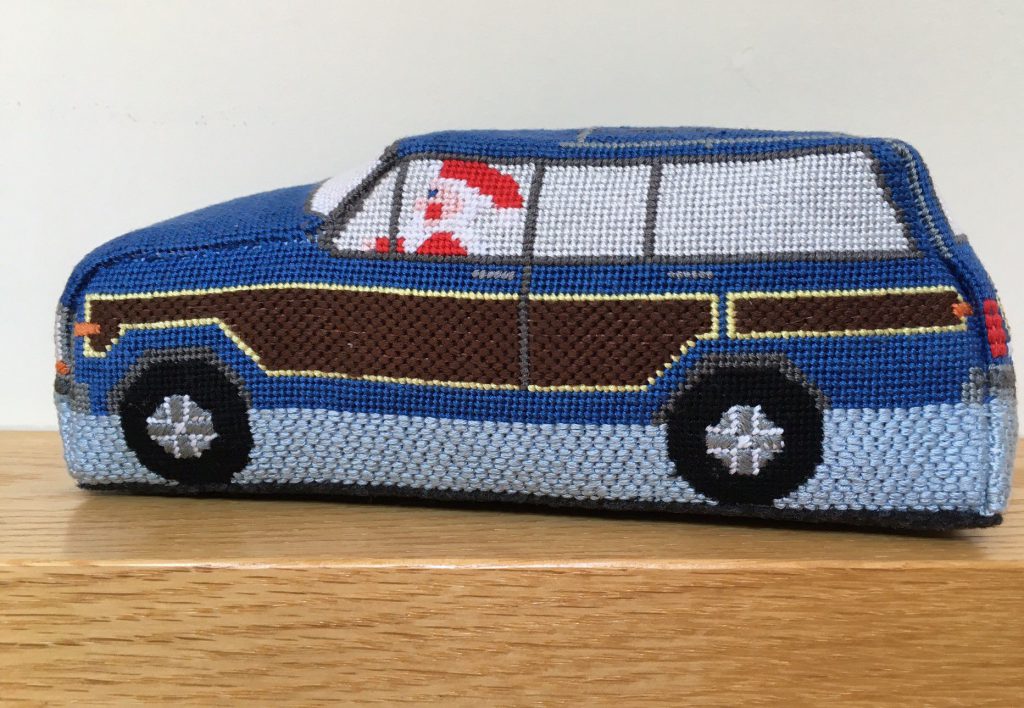
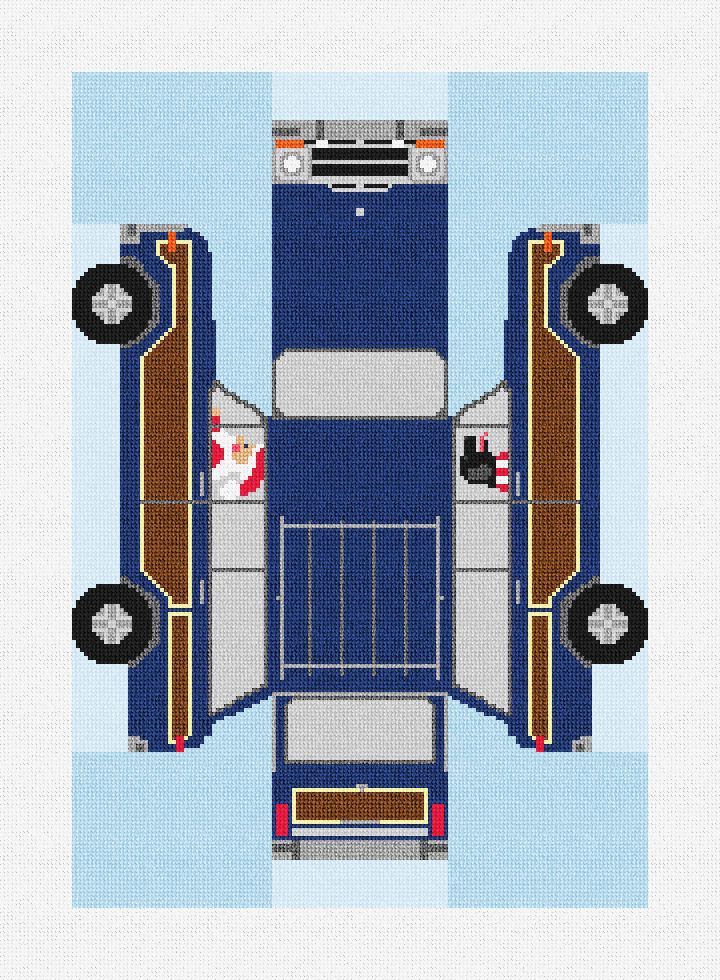
Santa’s reindeer refused to work in the summer heat, so Santa Claus had to find new wheels. NeedlePaint came to his rescue with their newly designed 3-D needlepoint station wagon, stitched on 18 mesh canvas with DMC thread. After Santa is done using it for warm weather transport, it will make an unforgettable stocking stuffer toy or Christmas mantle decoration.

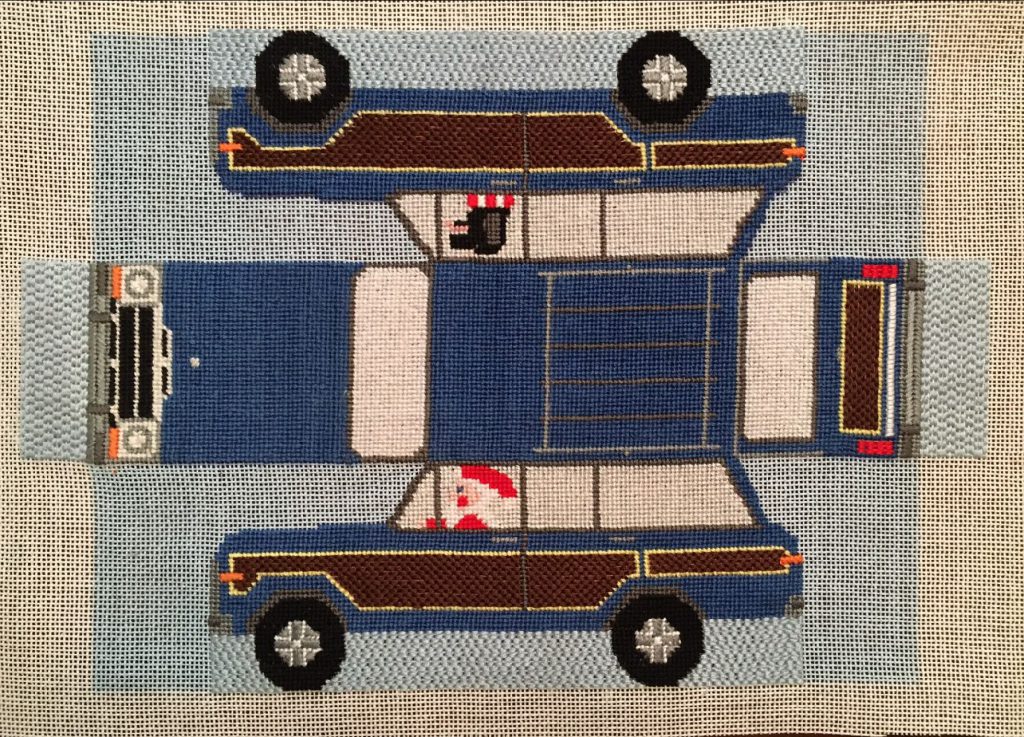
Stitched car canvas: 
The main body of the car and window were stitched with only four strands of the DMC thread, so that it will be less bulky to sew together. Santa, his dog, and the remainder of the car were stitched with all six strands of the DMC thread which makes them stand out from the background. The brick stitch is used for the wood panel on the car, and the double brick stitch is used for the light blue underbody of the car.

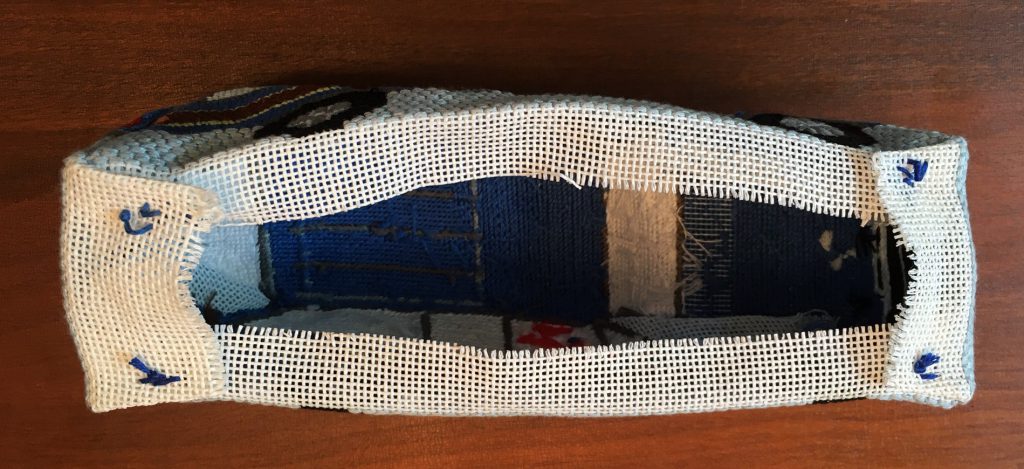
Inside-out: 
Finishing the car was a bit more challenging than finishing a brick door stop, because there was not a solid frame and the car has curves. I trimmed the canvas closer to the stitching, leaving at least a ¾ inch of blank canvas. Folding the stitched portion of the canvas with right sides together to join the hood and trunk to the sides, is a delicate operation requiring that the curves are the same for each side. It took me a couple of tries to get that right. The stitching was done with thread of the same color as the sections being joined. For example, the front window was joined with dark grey, the hood and side with blue, and the underbody with light blue. There were a lot of tiny stitches and knots!

Sew car inside-out:
To prepare the car form before stuffing, I pressed the seams open and tacked down the corners as shown.

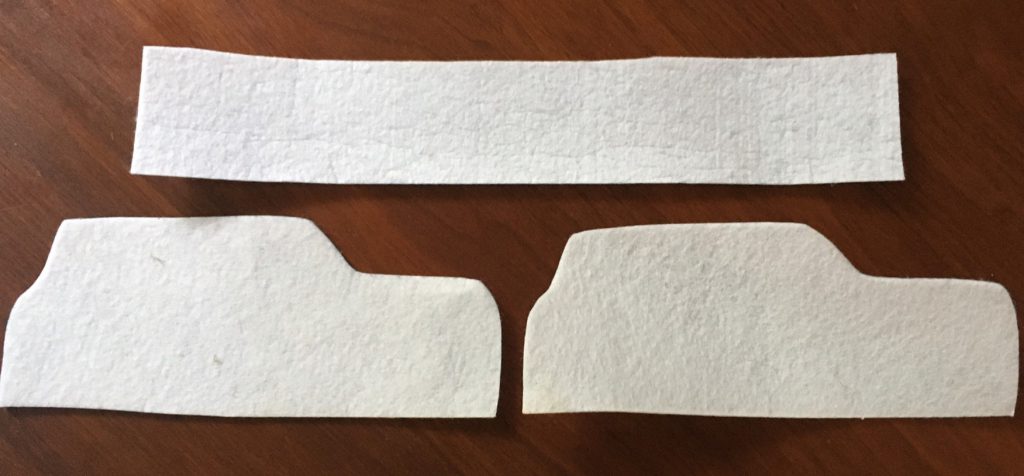
Addition of Pellon stiffeners:
I inserted 3 pieces of heavyweight Pellon interfacing to give the car some rigidity. It is not necessary, but I found this gives the car sharper edges. More rigid inserts would give even sharper edges. It is a matter of taste!

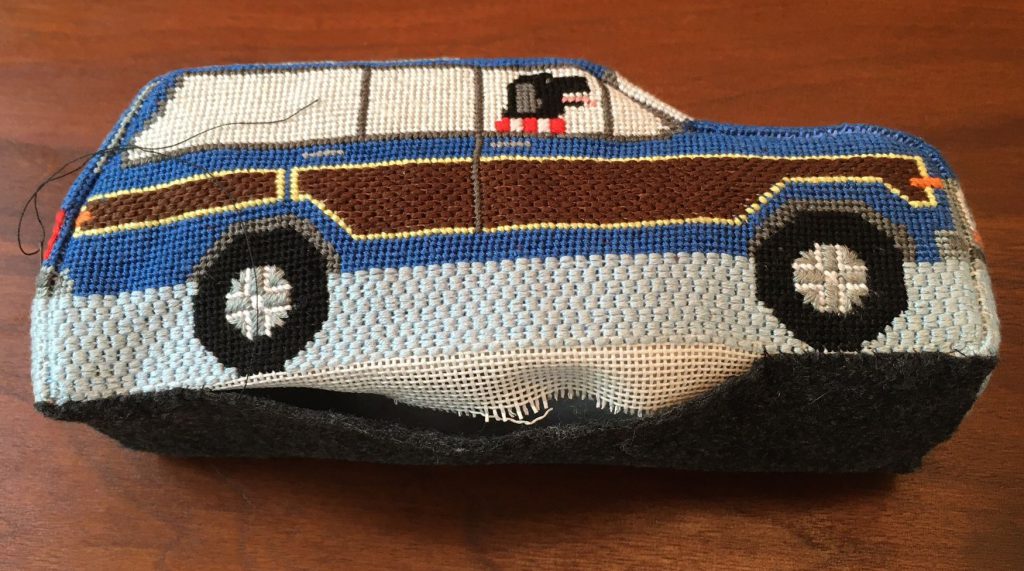
Stuffing in progress:
I used heavy felt for the bottom of the car, similar to the finishing technique I used for the needlepoint brick covers. I stitch most of the bottom in place, leaving a four inch opening on one side before stuffing the car.

Stuffed and sewn up!
I gave Santa and the car another steaming to crispen up the edges of the roof and seams. He says that his new wheels and helpful dog will guarantee a Merry Christmas to All!

Santa’s New Ride Three Dimensional Needlepoint Kit

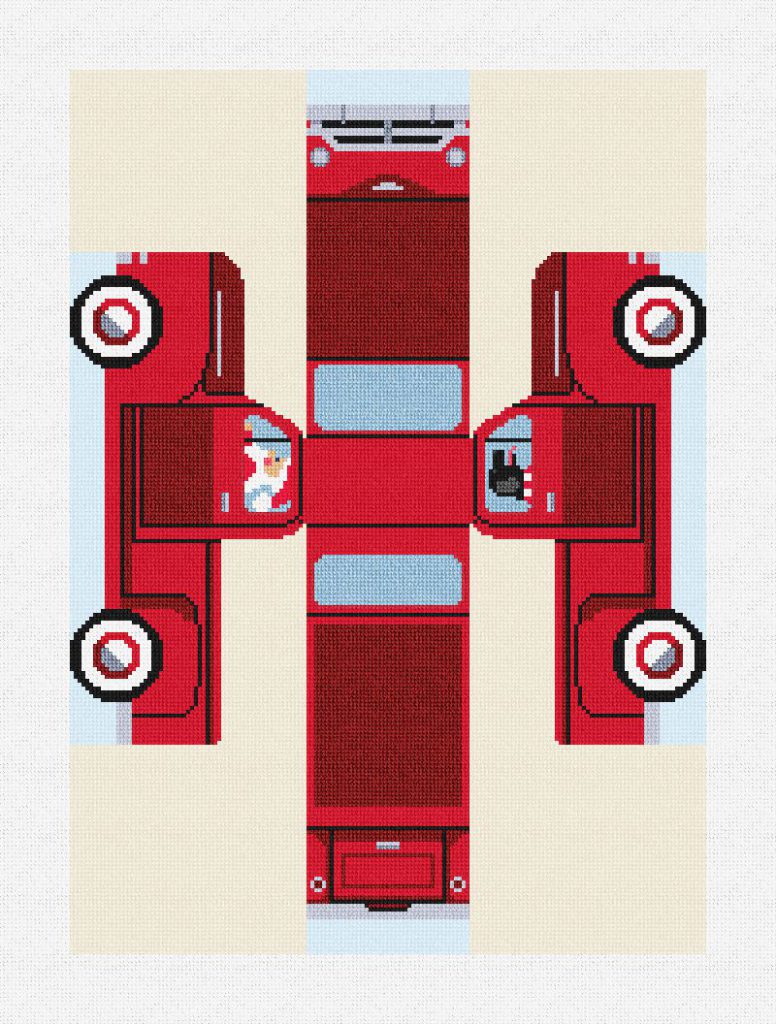
Red Truck Three Dimensional Needlepoint Kit

We would love to help you with all of your holiday decorations!
Please feel free to contact us with any questions you may have at: info@needlepaint.com

Stitch up some magic this holiday season!
NeedlePaint Mask Version 2

Written by Peggy BondEscher Mask

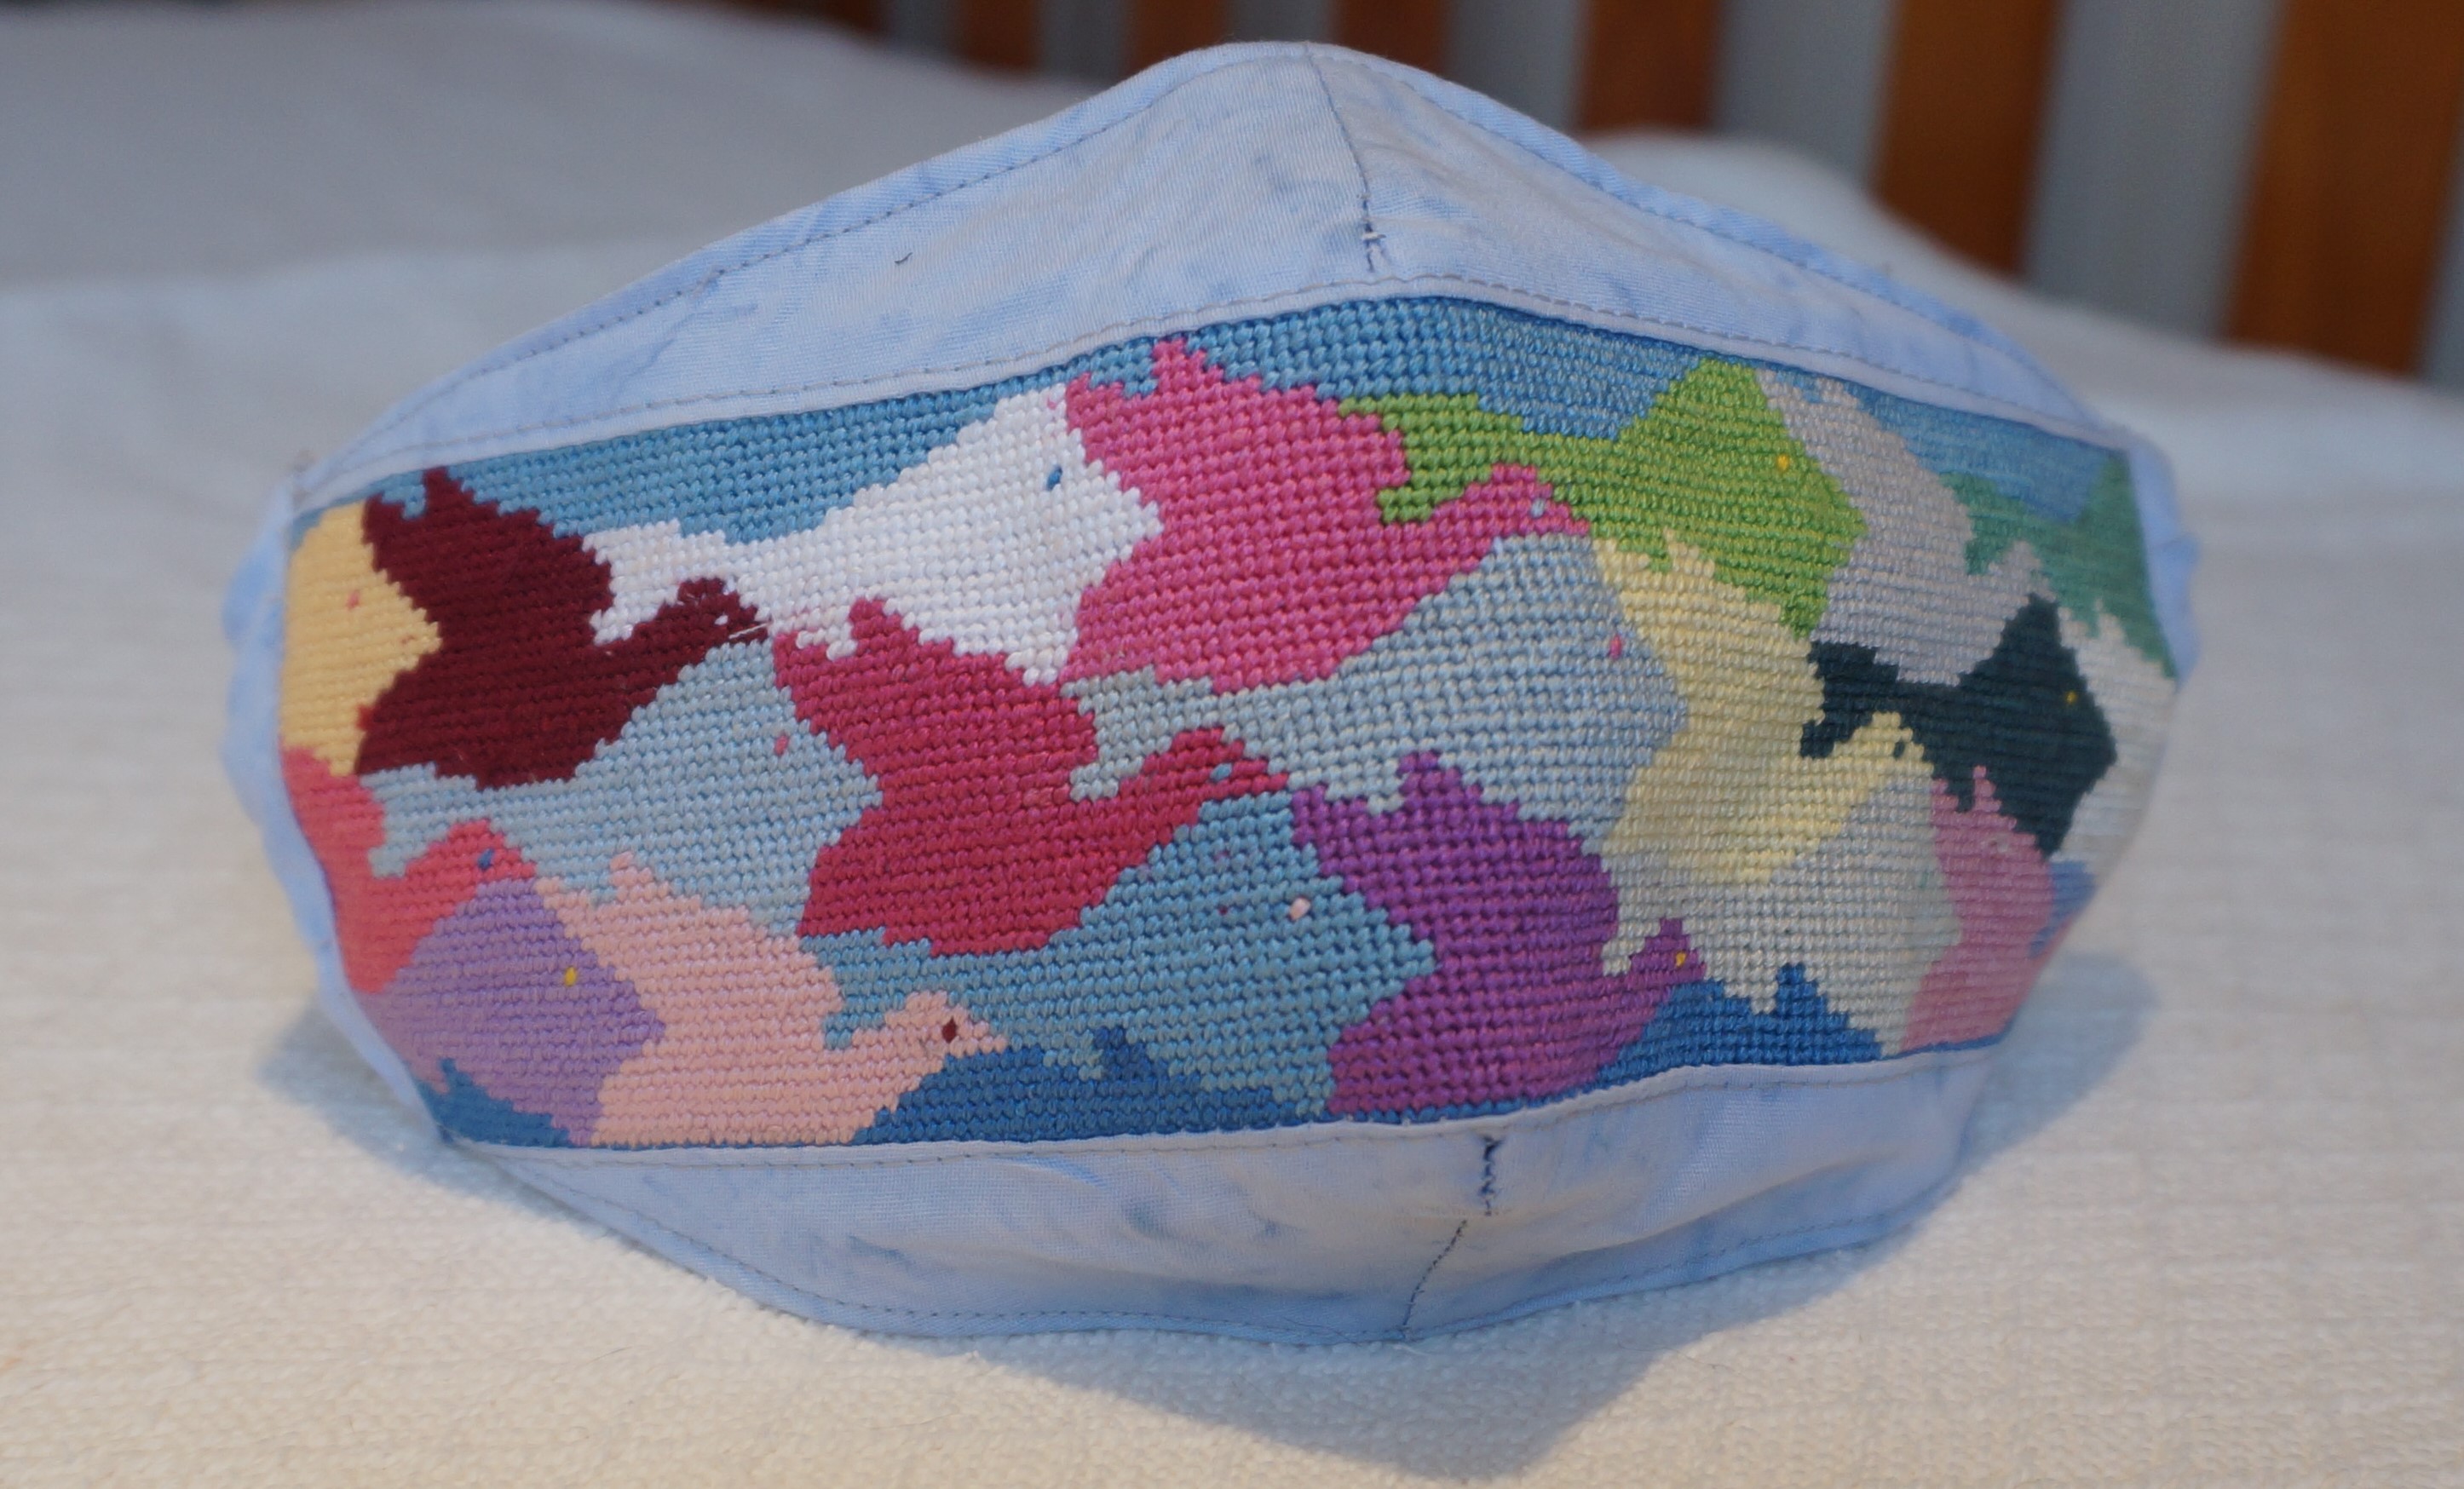
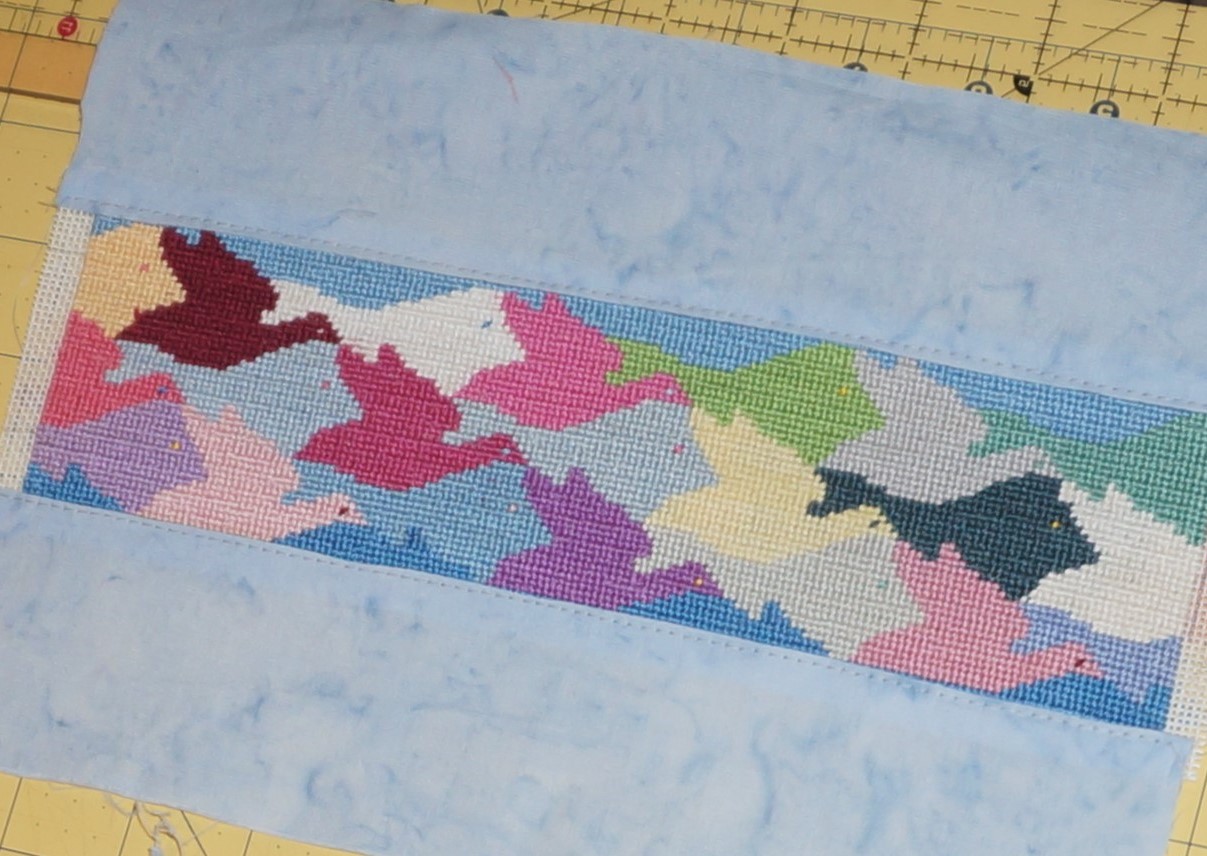
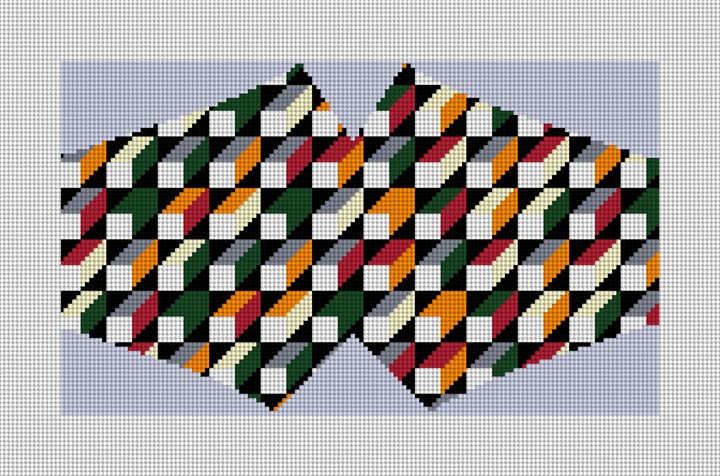
The new NeedlePaint mask, inspired by M.C. Escher, is designed for quick stitching and assembly. It is slightly lighter weight with fabric for the nose and chin portions, but the central needlepoint band retains its form to allow freedom of air flow.

Since the band is a 9-1/4” x 2-3/4” rectangle, it can be stitched in about one half of the time of our full NeedlePaint masks. The mask is a little less formal.

The materials needed are:

  • Cotton fabric for liner and strap trim
  • Cotton fabric for filter pocket (optional)
  • Ear strap material
  • Nose clip material (optional)

Step 1. After blocking the finished canvas, trim away excess canvas leaving no more than 1/4” of blank canvas. Cut two 10 “ x  3” strips of cotton fabric which will serve for the nose and chin portions of the mask. (One could go two tone and make the nose and chin portions of different colors.)

With right sides together sew strips to the top and bottom of your needlepoint canvas. Press fabric away from canvas. Do not press seam open. Top stitch the fabric side of each seam.

Position the mask pattern so that the needlepoint band is centered between the nose and chin darts and cut out the mask. The shaped pattern is similar to our Geometric Face Mask shown below. Using the same pattern cut one liner or two if making the optional filter pocket.

Top Sticch

Step 2. Fold the canvas along center line with right-sides together, matching the two upper nose points and the two lower chin points. Stitch 3/8” seam and press open. Repeat for liners and optional filter pocket.

If using the filter pocket, sew a ½” hem on each cheek edge.

Nose Clip

Step 3. Cut a piece of fabric 1” by ½” longer than the selected nose clip. Sew a ¼” hem on each short edge of this fabric nose sleeve. Place the nose sleeve on the liner or filter pocket centered ½” below the nose seam. Sew in place. Press so long edge lines up with top of liner or pocket.

The nose clip will be inserted after the rest of the assembly is completed.

Step 4. Place right sides together, carefully aligning the seams of the nose and chin darts on all pieces. If using the optional filter pocket, it will be the closest to needlepoint mask.

Sew the ¼” seam along the top and bottom of the mask and turn the mask inside out. Be careful not to pull on the edge of the needlepoint canvas as it can separate easily. Press the seamed edges and top stitch.

IMG_2595

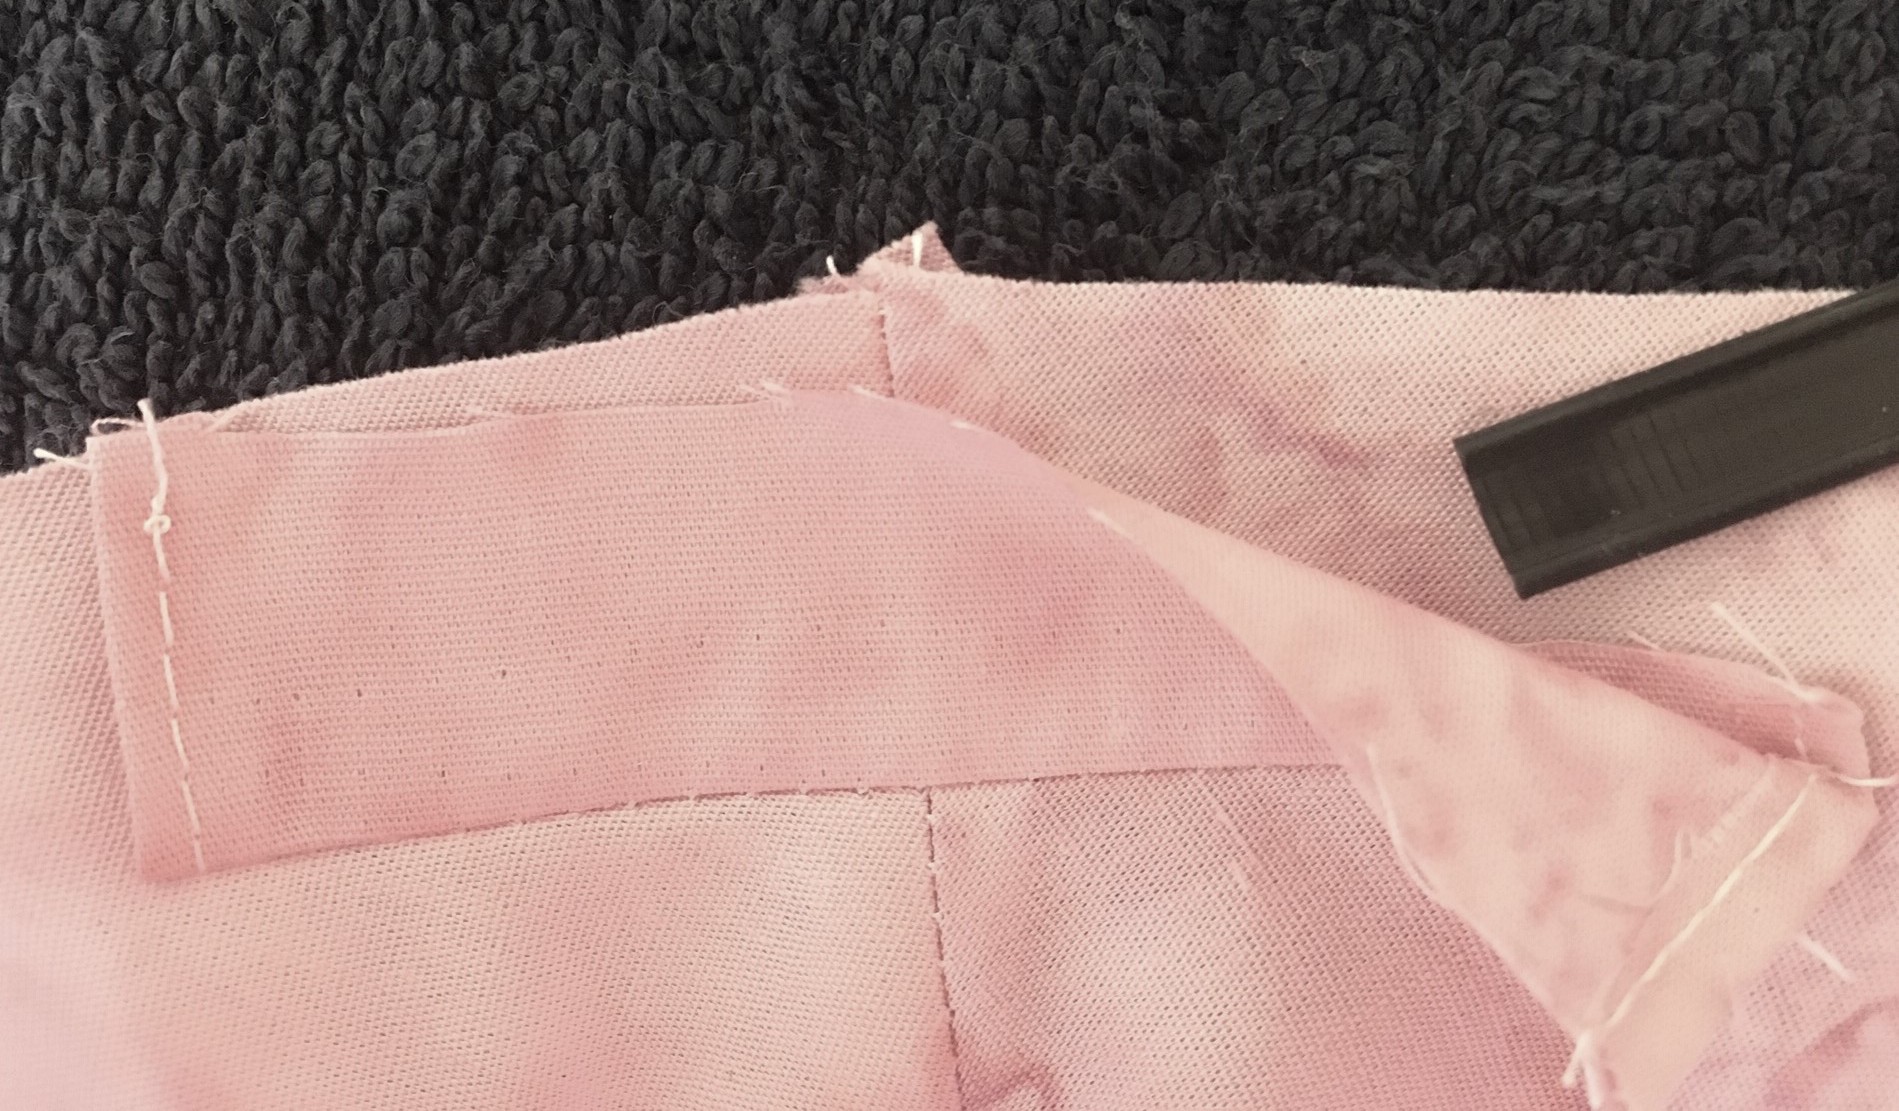
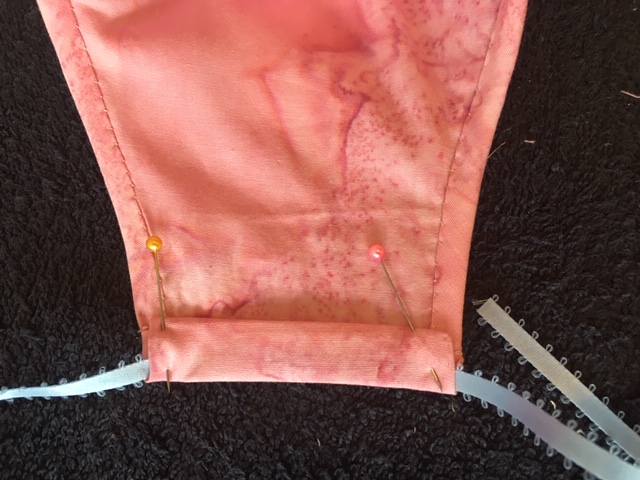
Step 5. For the ear strap sleeves, cut two 1-1/2” strip of liner fabric that are ½” longer than the ear edges of the mask. Sew to each ear edge with ¼” seam. Press top and bottom edges down. Then press a ¼’ fold on free edge and fold to back aligning the folded edges with the ear edge stitches. This will leave a ½” sleeve for the ear strap.

The straps can be tucked under the fold before stitching the sleeve in place or can be threaded through with a safety pin after stitching.

Check out these two new designs we have created for you!

201214212828956

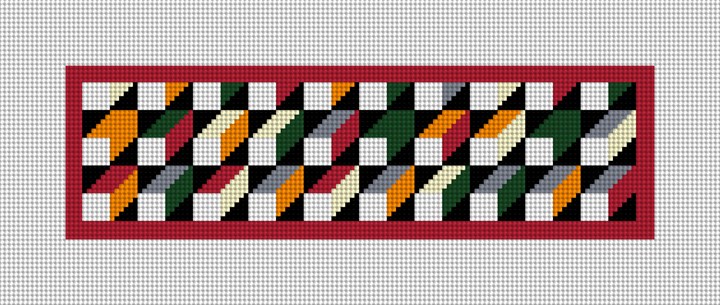
Mosaic Face Mask Panel Needlepoint Canvas

2016142165470554

Geometric Face Mask Needlepoint Canvas

NeedlePaint Masks Unmasked!

Written by Peggy Bond

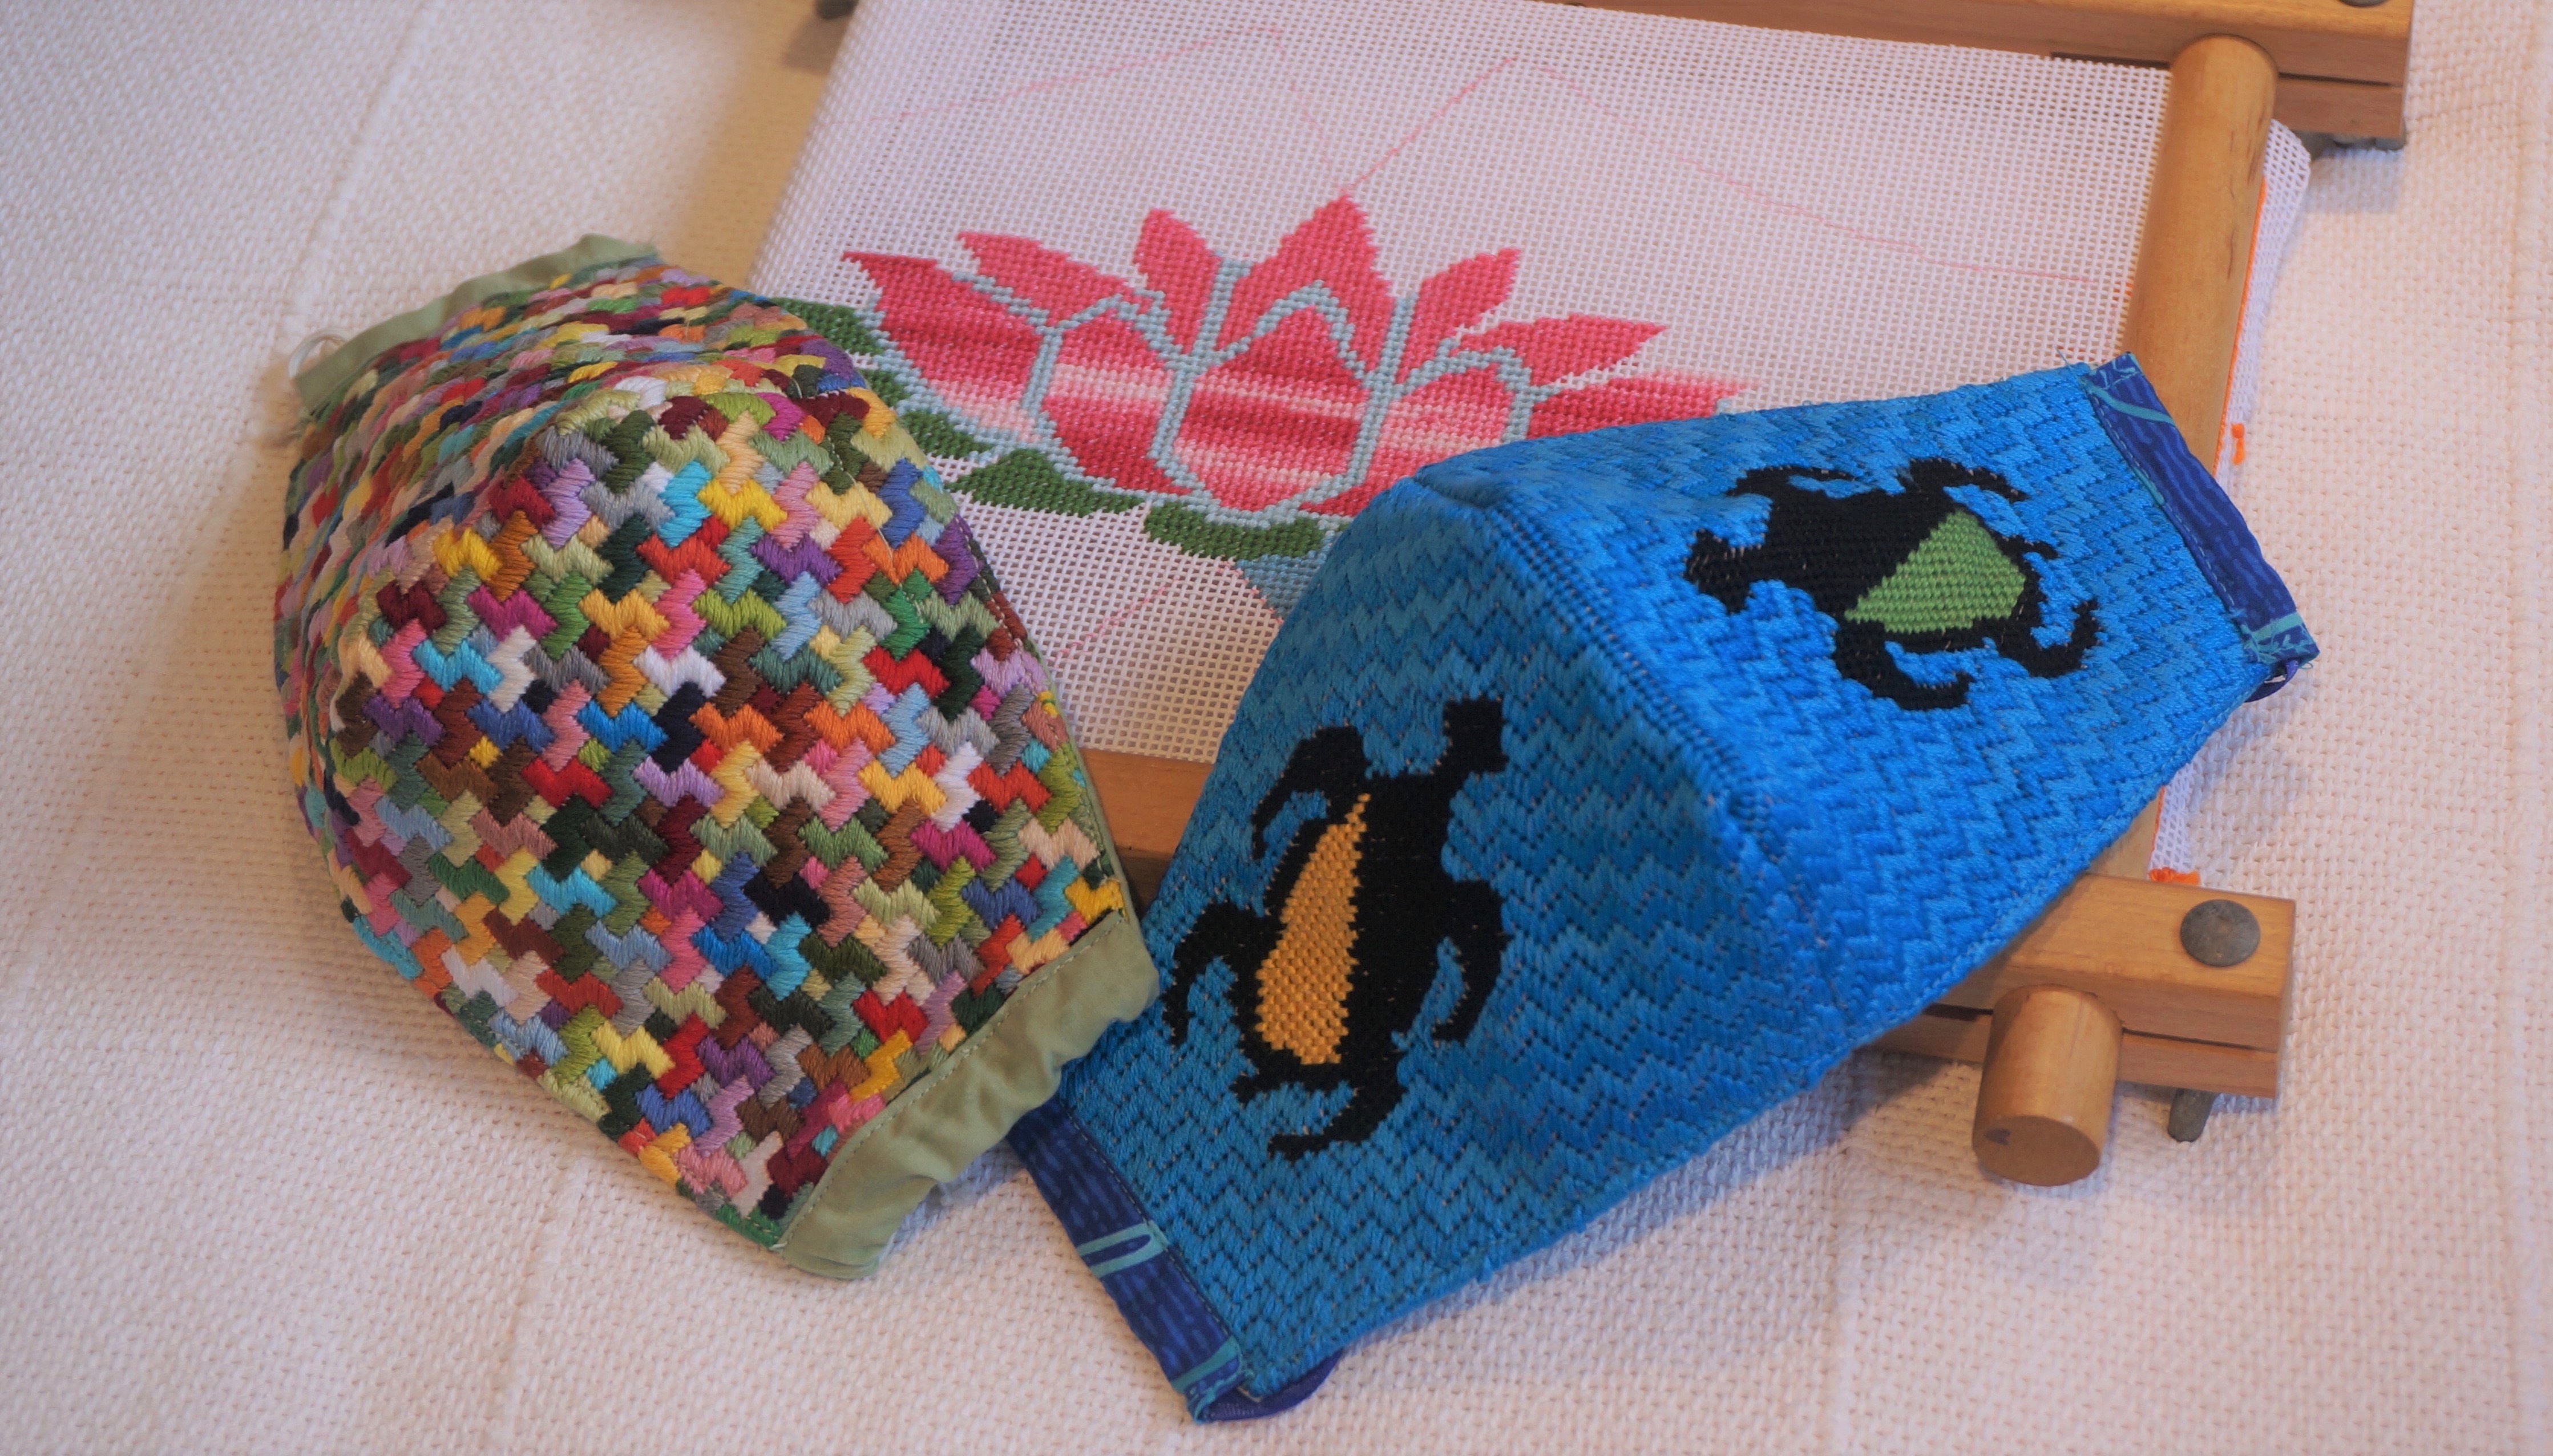
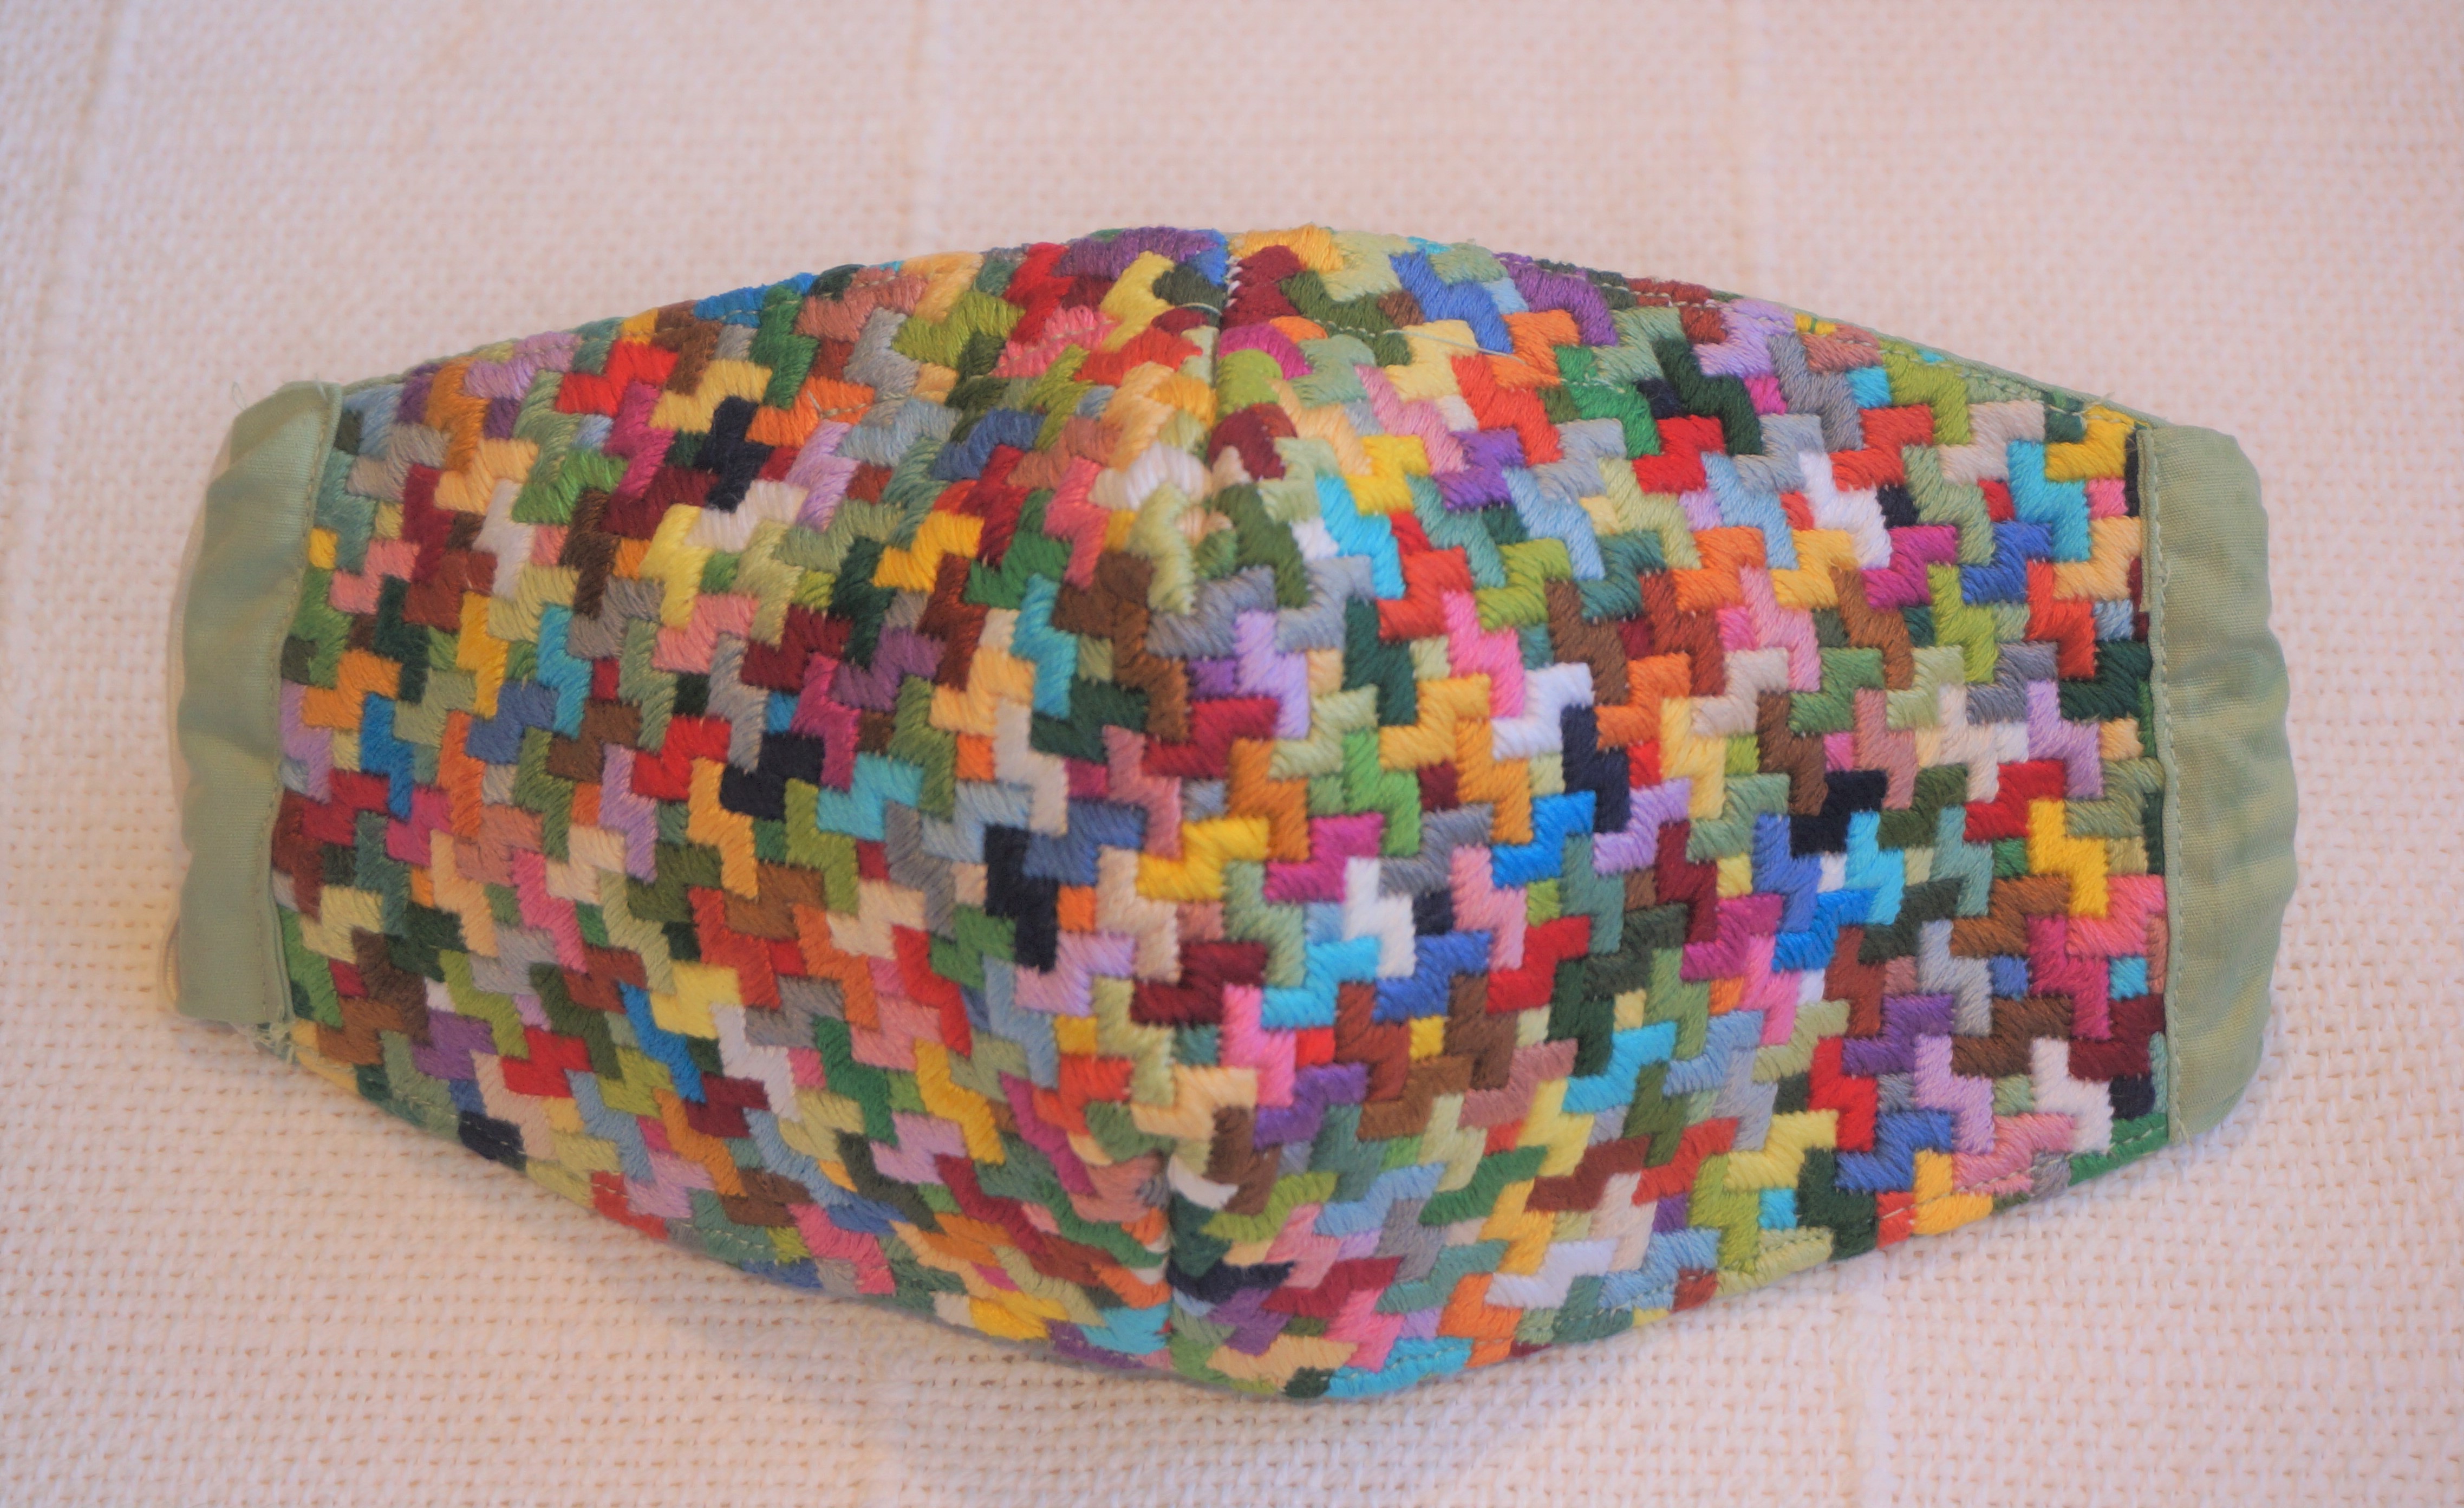
Two needlepoint face masks

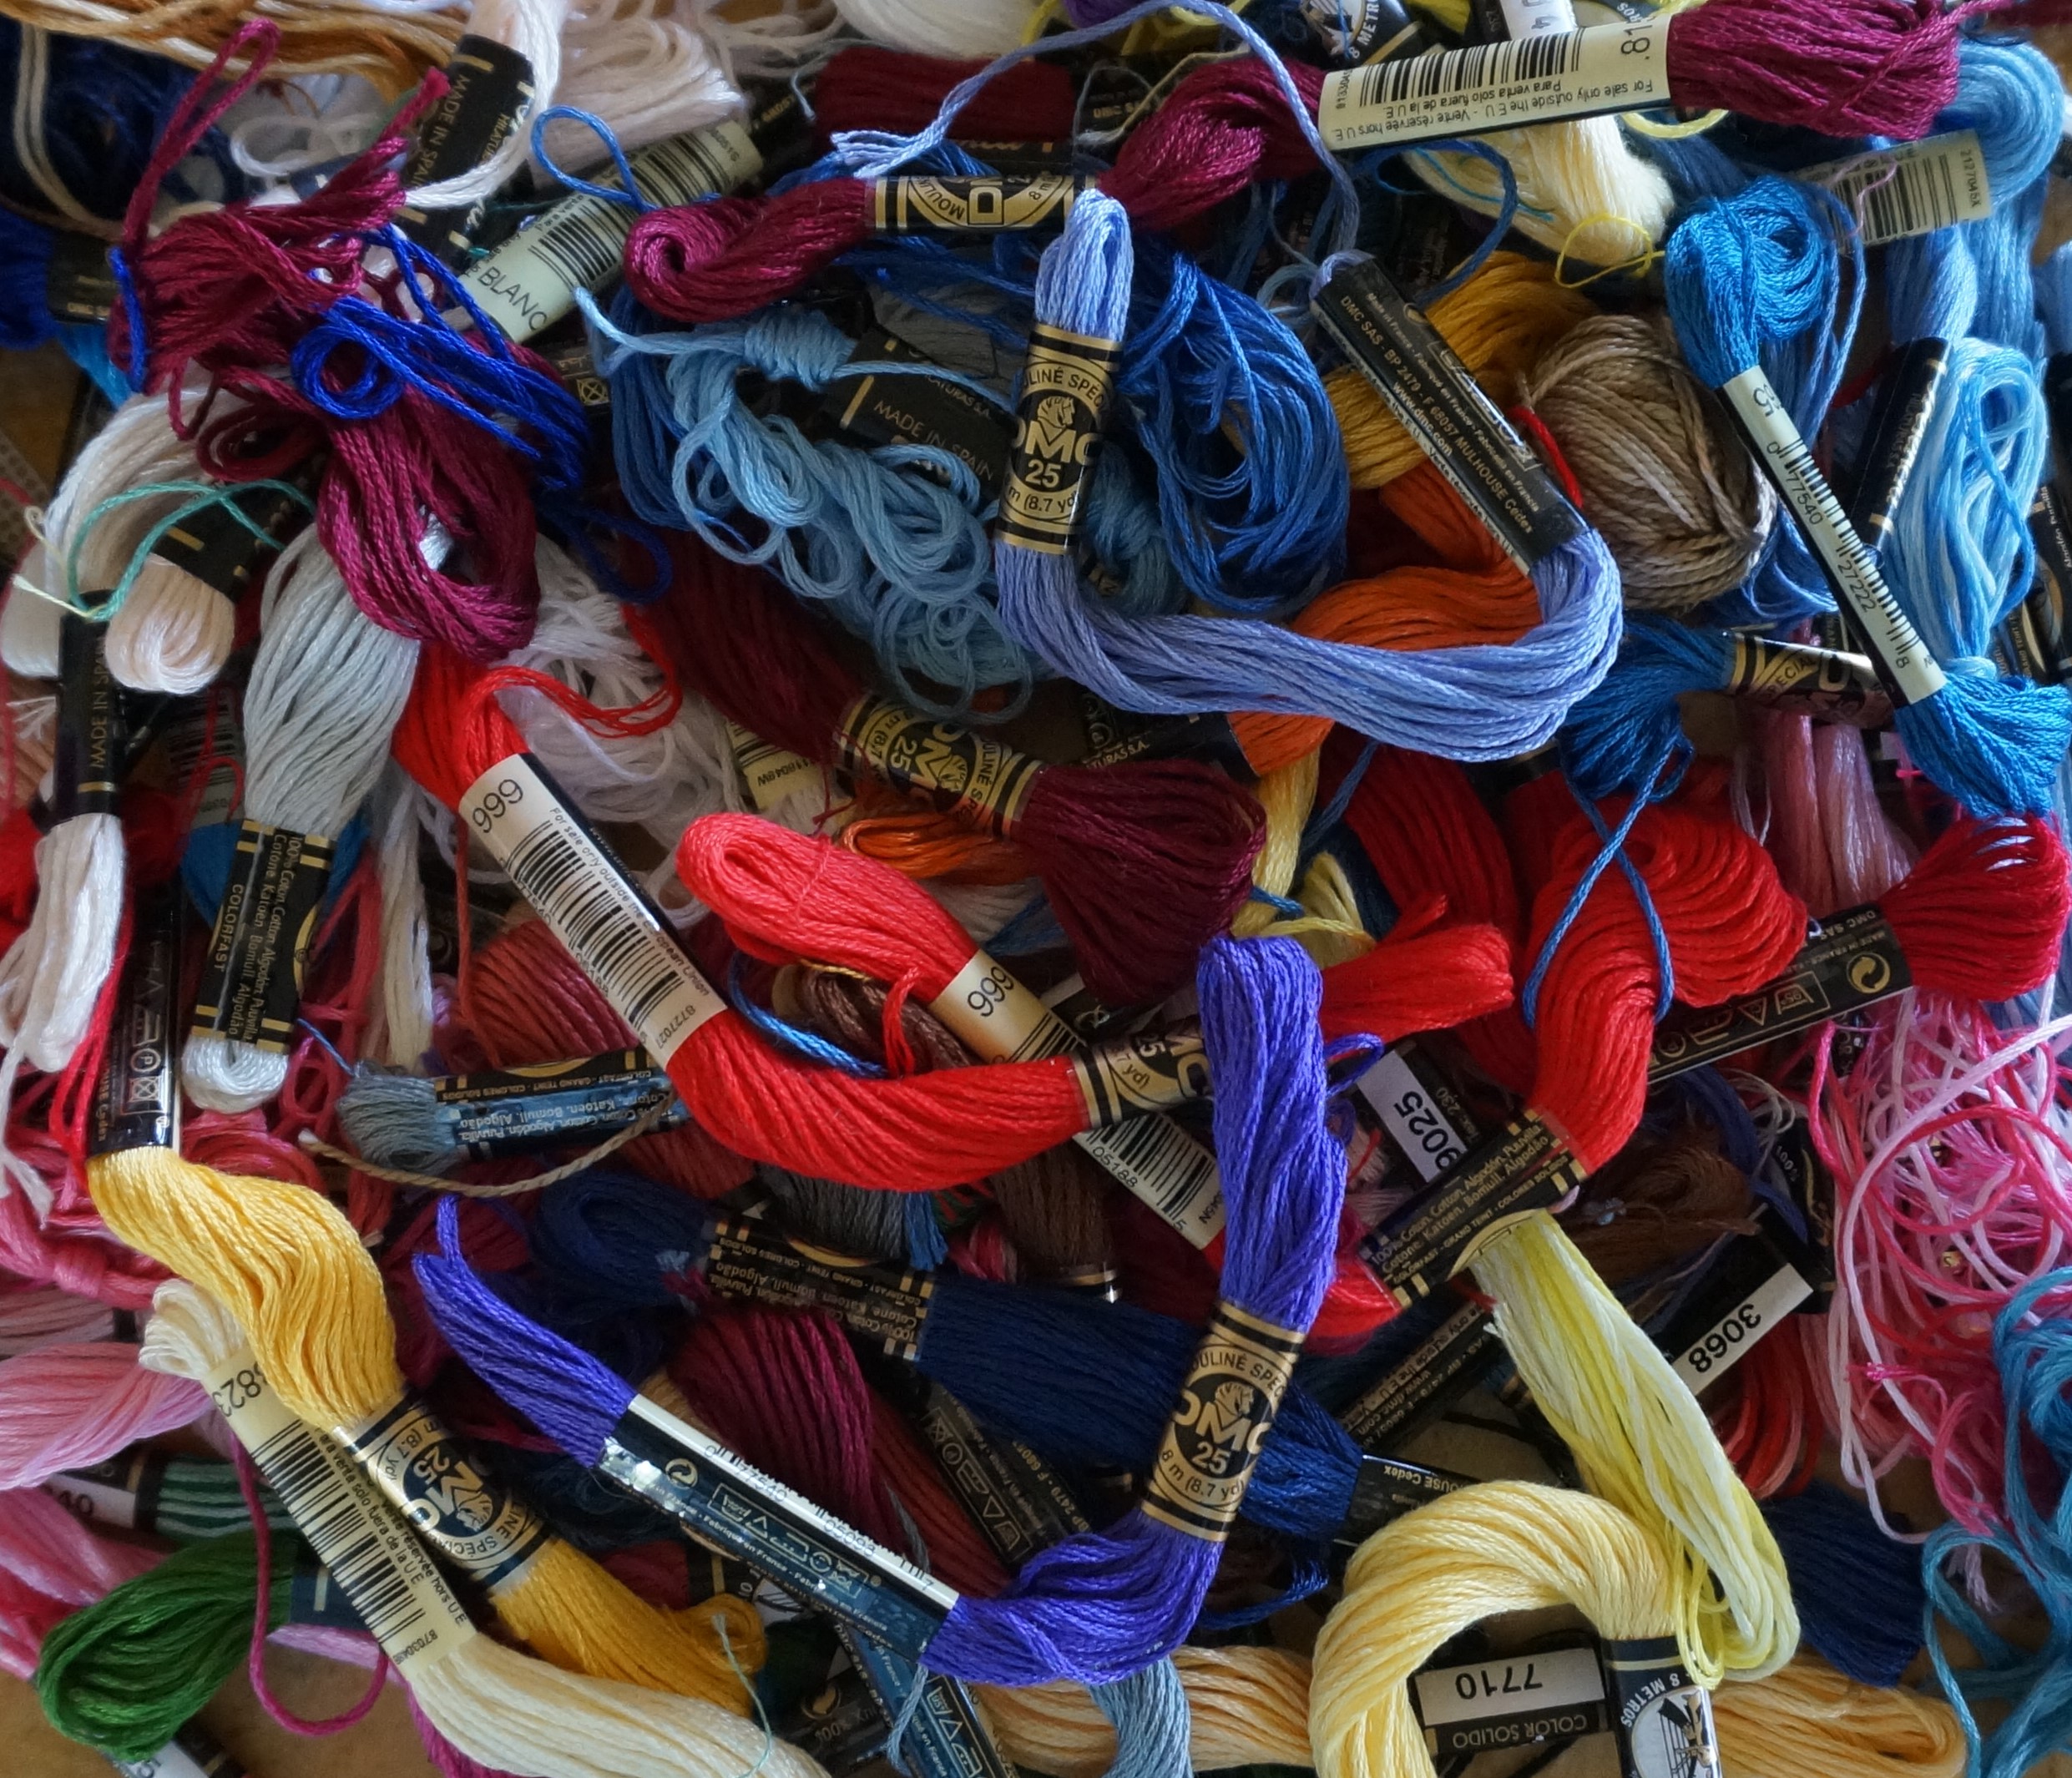
After the initial rush to get cotton masks made for all my neighbors and friends, I was out of material, elastic, and thread. Stores were closed and mail order was going to take at least a week. So into the closet I went and found some 18 and 14 mesh needlepoint canvas and a stash of thread.

Thread Stash

I had been thinking about making a needlepoint mask but wondered how it would hold up with washing. With time on my hands, this was the perfect project for lockdown. The pattern I has used for the cotton masks was not going to work with stiff needlepoint canvas.

Flat tent stitch cropped

Searching the internet, I found a pattern that I thought would work from PrettyHandyGirl.com. I used the Inside Liner pattern from Pretty Handy Girl and then set to work on my Geometric Mask on 18 mesh canvas using random colors from my stash and a classic background Flat/Tent stitch from A Pageant of Pattern for Needlepoint Canvases by Sherlee Lantz.

Geometric Needlepoint Face Mask

The stitching went quickly and soon I was ready to assemble, check the fit, and then wash it. (Finishing options will be the subject of my next blog.) The fit was a little large for me but fit my husband perfectly. Washing was a success. I washed it by hand in Woolite and hot water. Then hung it out to dry. The mask held its shape well, so on to the next one.

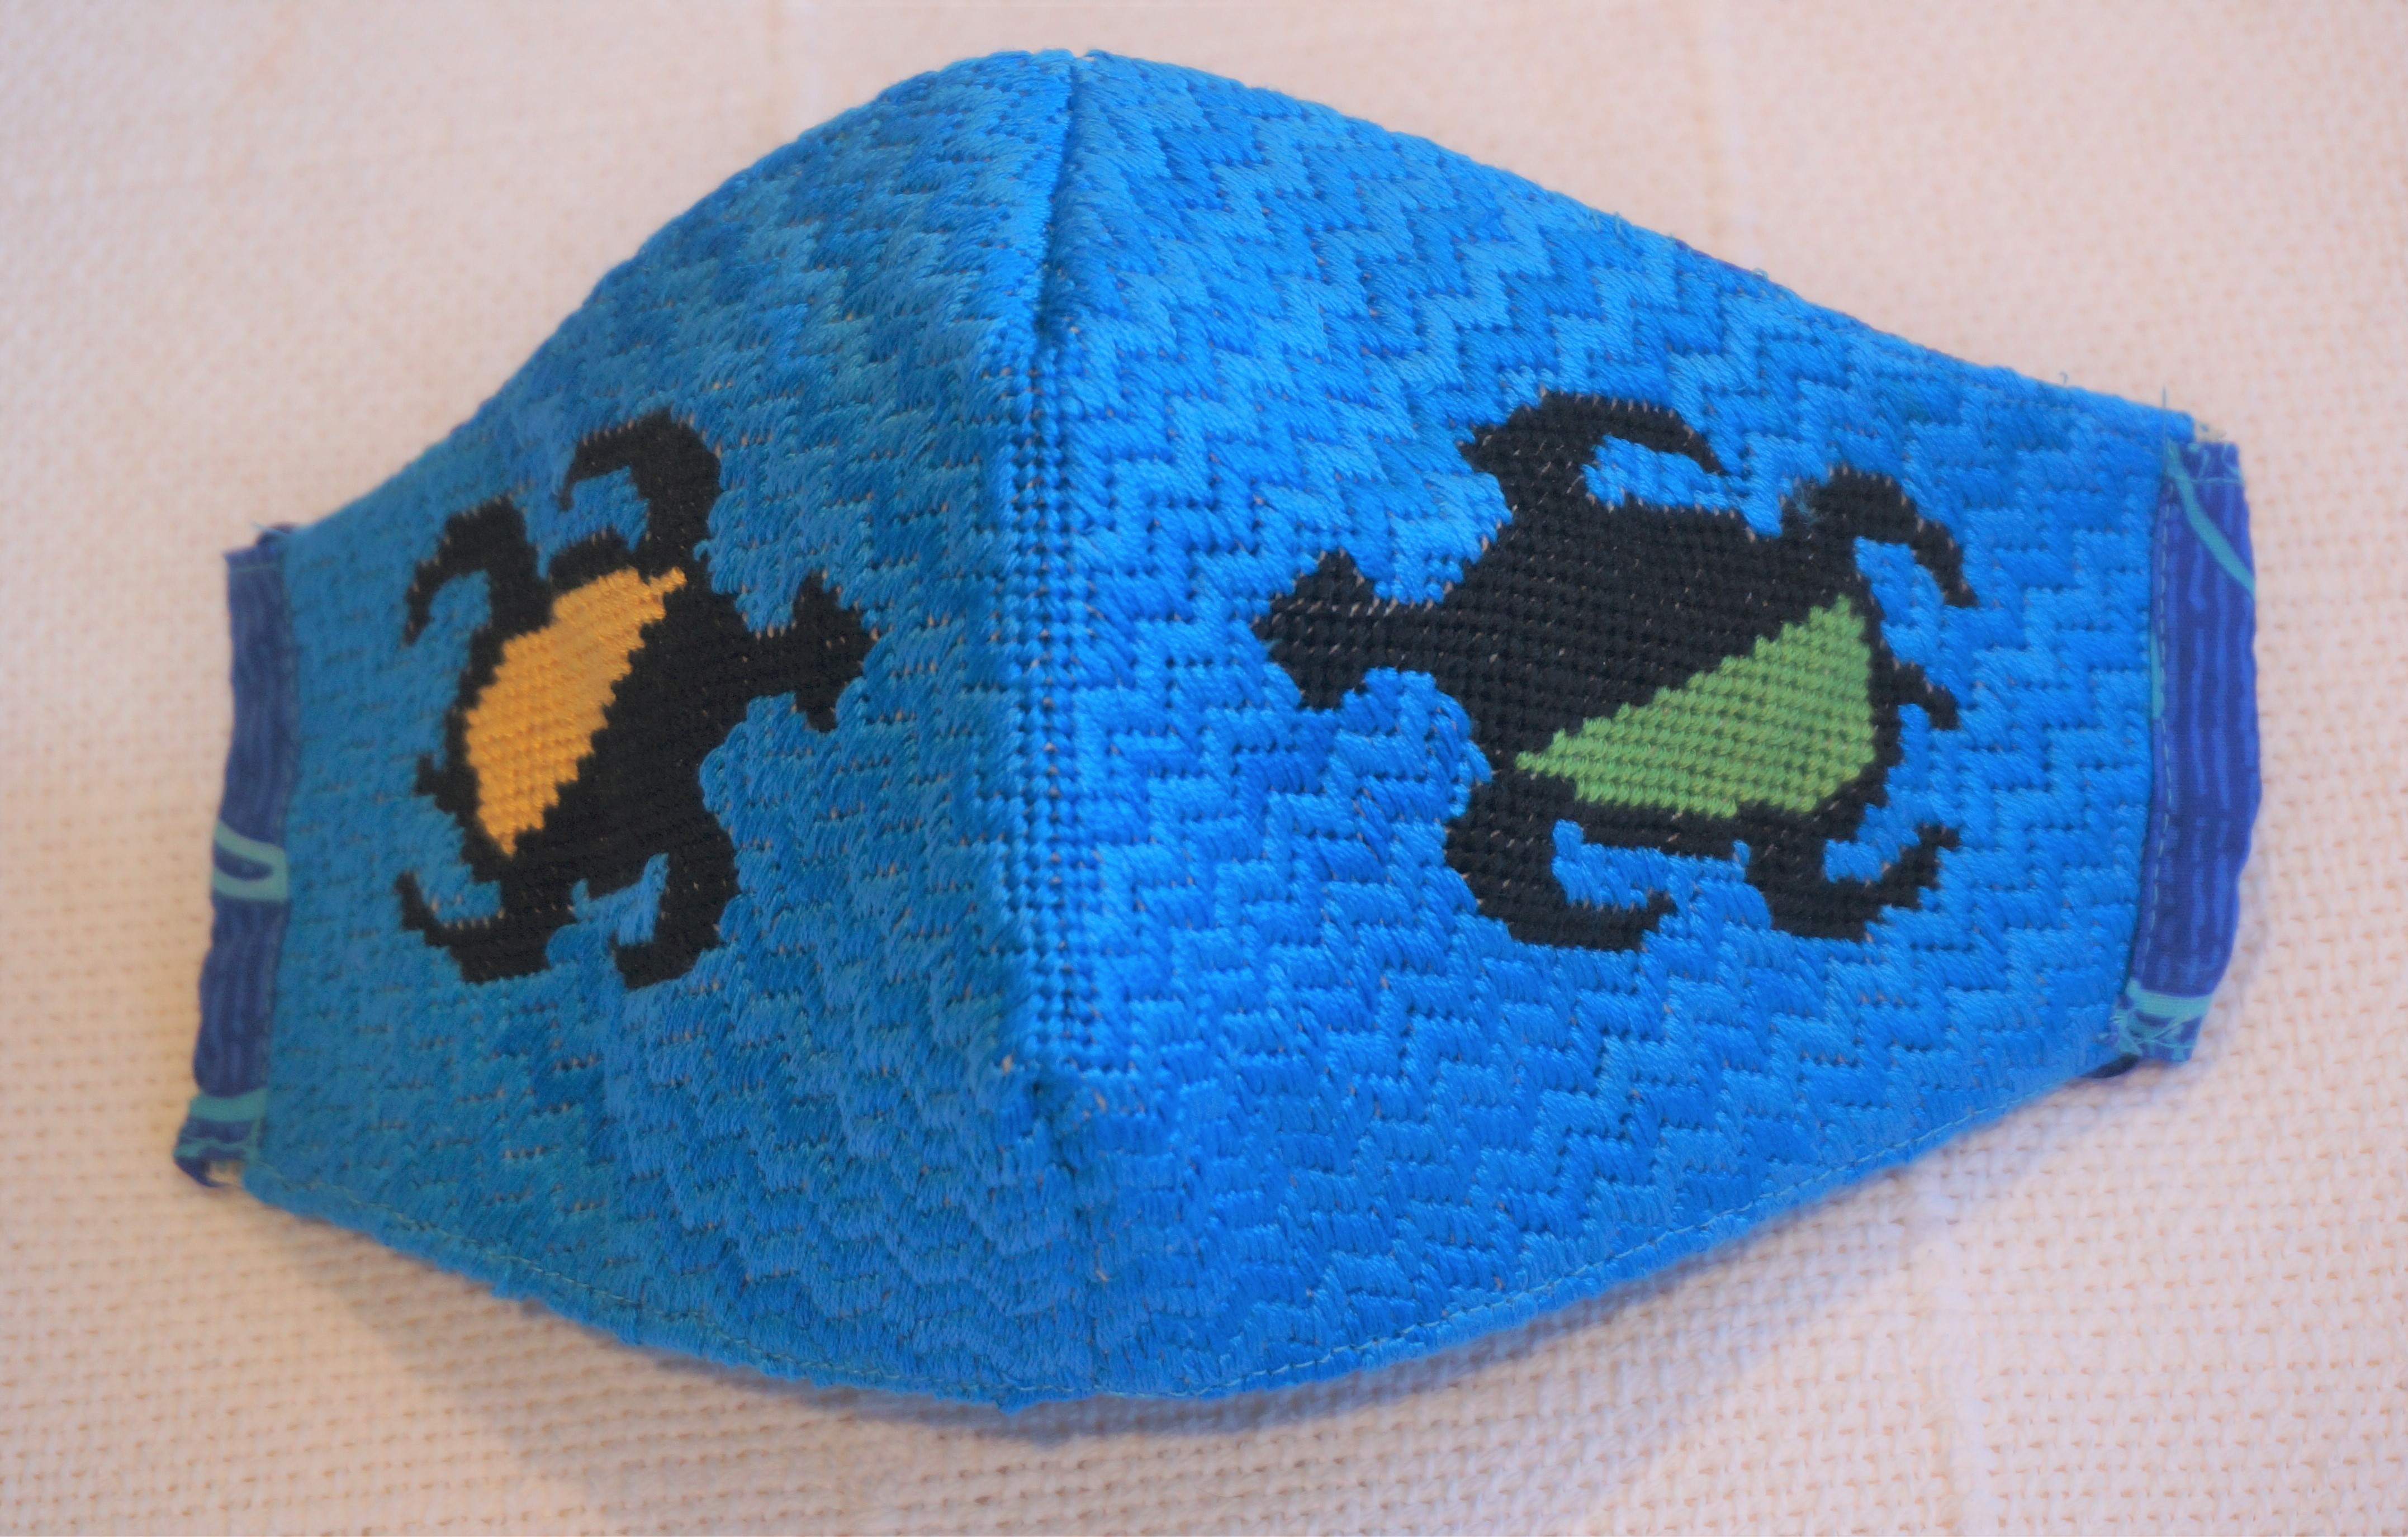
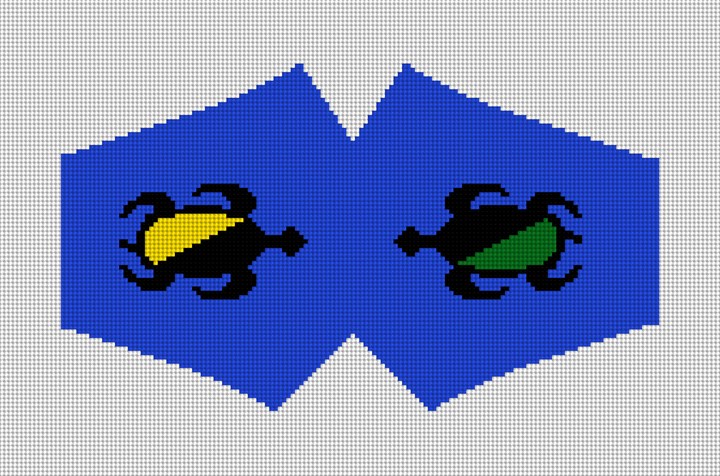
Turtle Design Needlepoint Face Mask

For the next mask, I redrew the pattern to make the top more slanted and picked out a NeedlePaint design used on a hatband – my Hawaiian turtles. The turtles were done on 14 mesh canvas using the continental stitch with the background in alternating rows of the Byzantine stitch from Jo Ippolito Christensen’s The Needlepoint Book.

I chose to alternate two different blue threads because that was what I had on hand. Alas, it was not enough and I had to ask for more from the NeedlePaint staff who have been working tirelessly to keep shipping orders while I am in lockdown elsewhere. Many thanks to them!

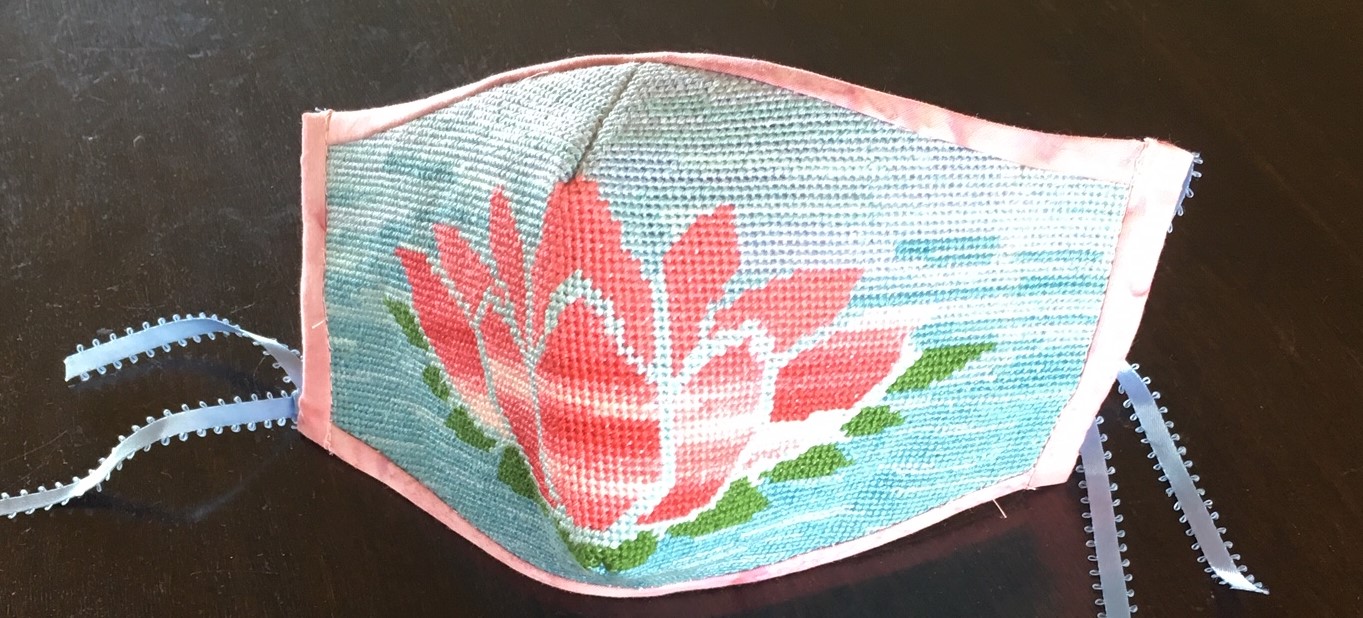
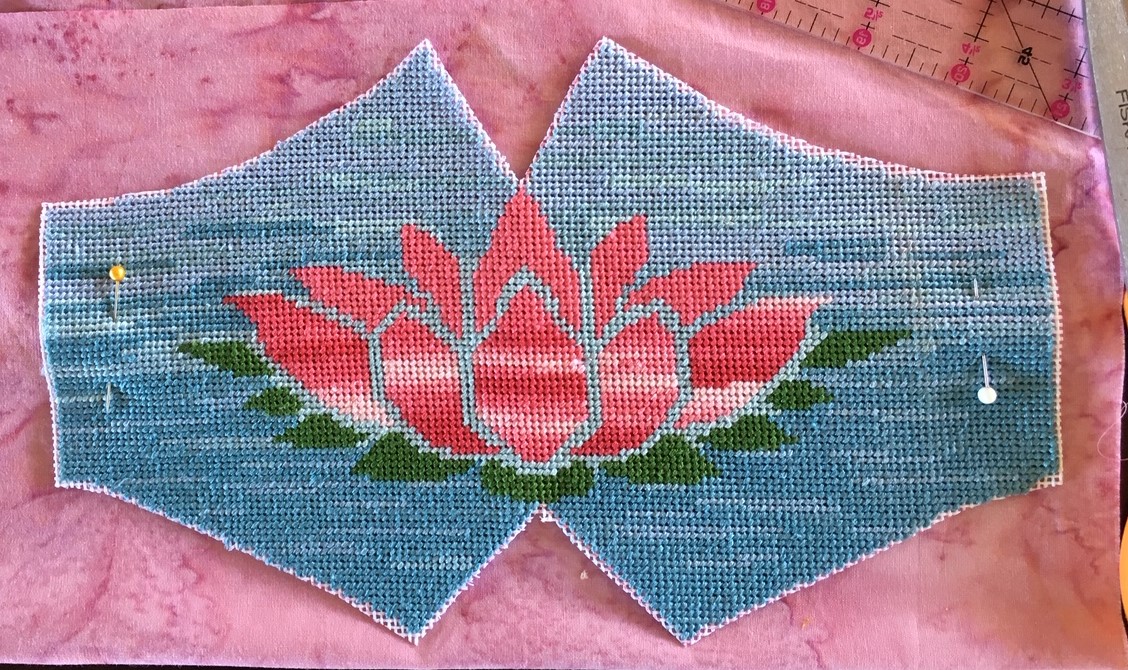
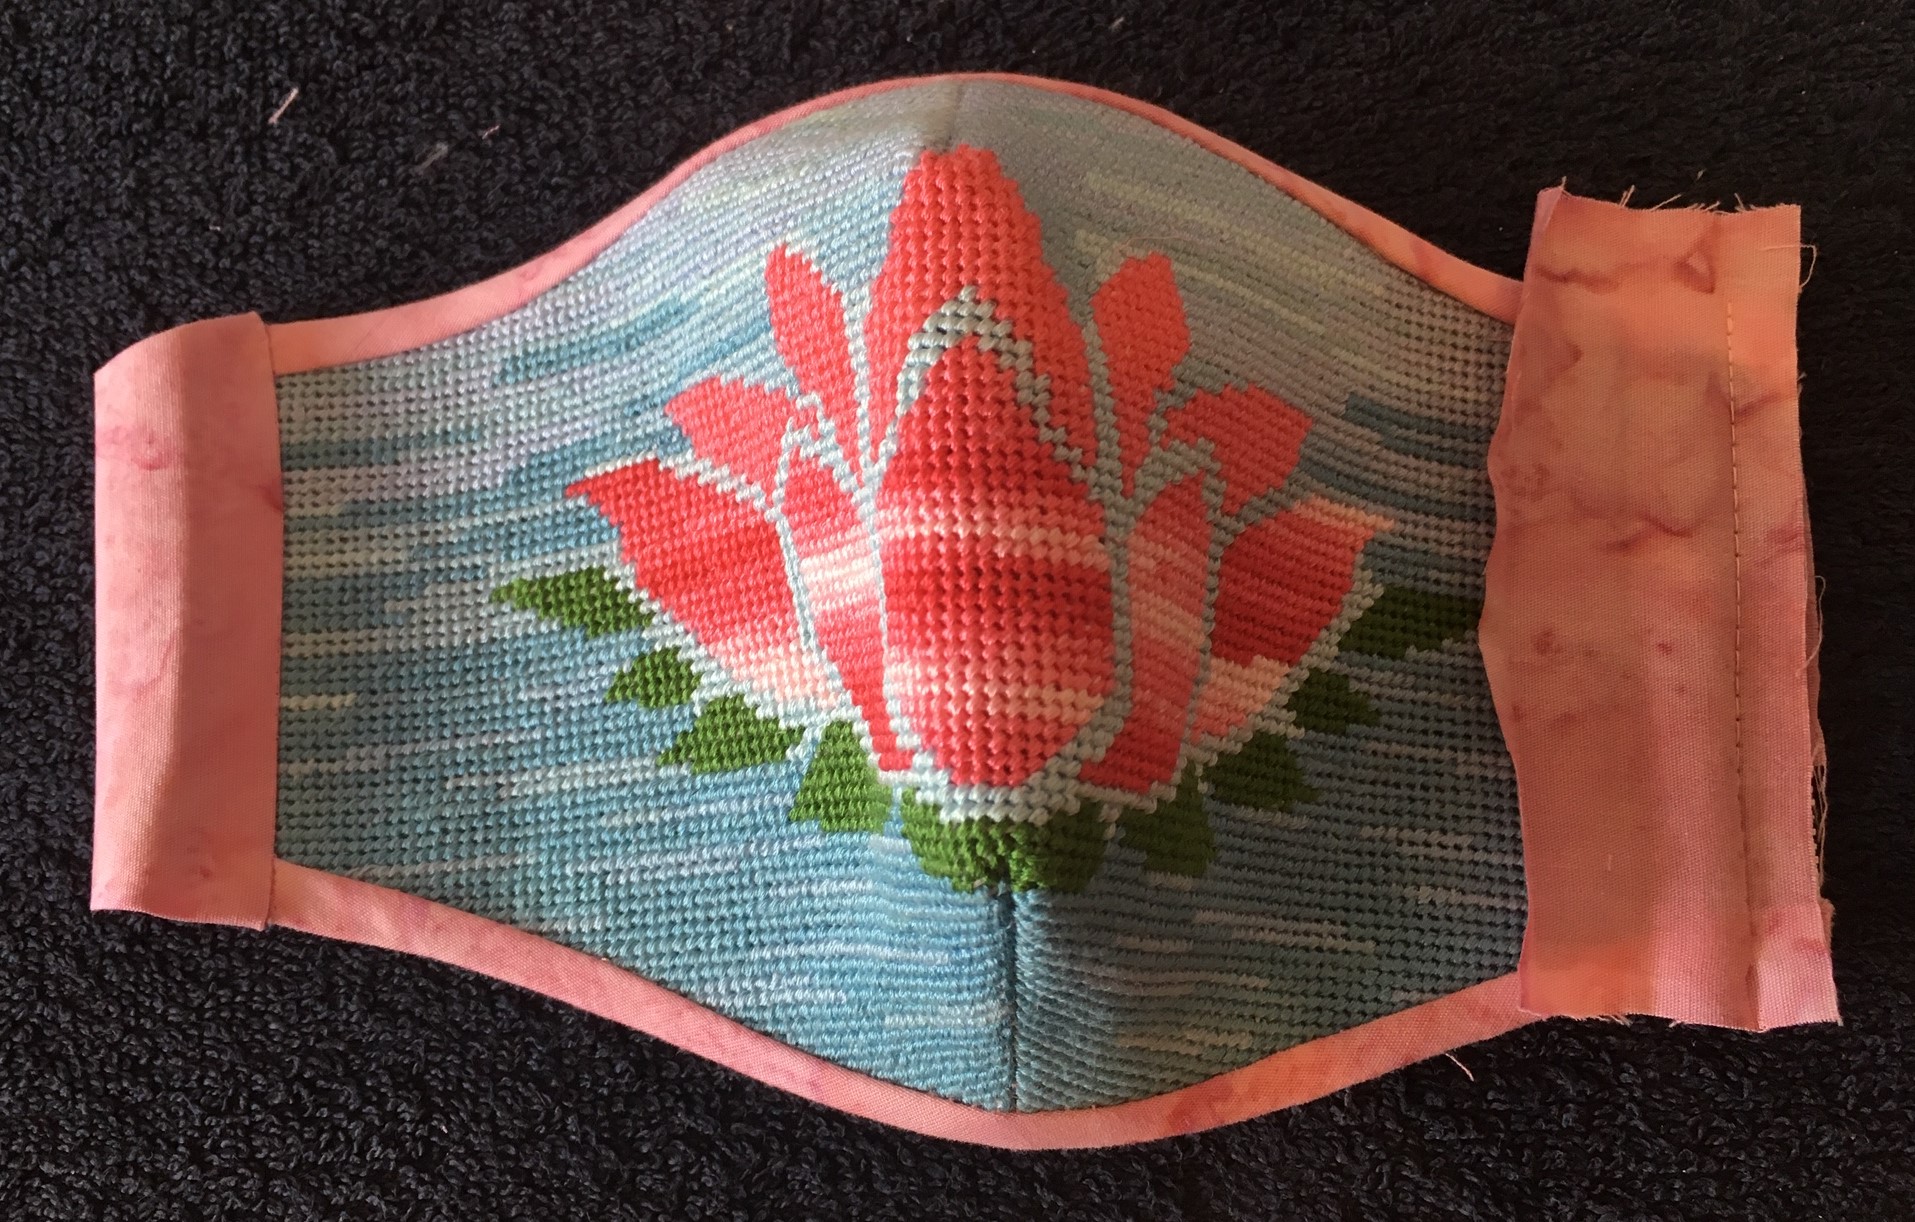
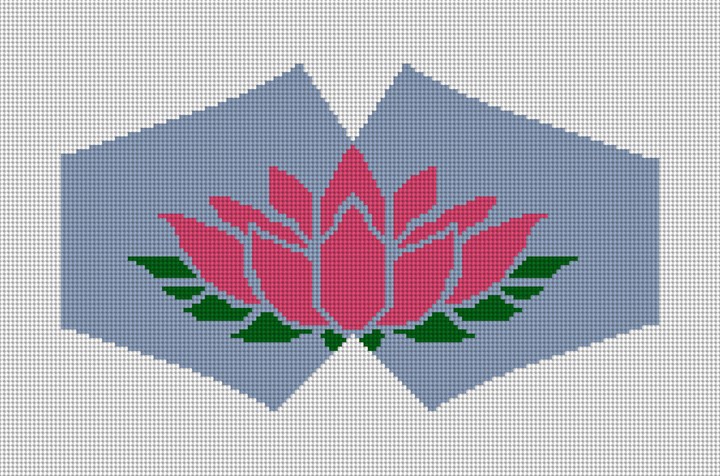
I am now on my third mask – the lotus blossom shown in the photo at the top of the blog.

Now, sewing it up!

Lotus mask

Remember your mask will not be a replacement for an N95 or surgical mask. 

There are a couple options to consider assembling your NeedlePaint mask – a filter pocket and nose clip. Pretty Handy Girl describes the material choices for the nose clip and straps. I agree with her recommendation to use the coffee bag flat ties for the nose clip. I am not a coffee drinker but luckily my husband is. However, her other suggestion works too. Her discussion of adjustable strap materials is very good. Due to unavailability of any of the materials suggested, I have been opted for ¼ inch ribbons of which I have a stash.

The materials needed are:

  • Cotton fabric for liner and strap trim
  • Cotton fabric for filter pocket (optional)
  • Ear strap material 
  • Nose clip material (optional)
  • ¼ in double fold bias tape or cotton fabric for homemade bias strip

Step 1. After blocking the finished canvas, trim away excess canvas leaving no more than 1/8” of blank canvas. Place on liner material with straight cheek edges aligning with the straight grain of the fabric. Cut one liner.

For optional filter pocket, cut a second liner of the same size. 

Trimmed

Step 2. Fold the canvas along center line with right-side together, matching the two upper nose points and the two lower chin points. Stitch 3/8” seam and press open. Repeat for liners and optional filter pocket.

If using the filter pocket, sew a ½” hem on each cheek edge.

Stiching

Step 3. Optional Nose Clip

Cut a piece of fabric 1” by ½” longer than the selected nose clip. Sew a ¼” hem on each short edge of this fabric nose sleeve. Place the nose sleeve on the liner or filter pocket centered ½” below the nose seam. Sew in place. Press so long edge lines up with top of liner or pocket.

The nose clip will be inserted after the rest of the assembly is completed.

Nose Clip

Step 4. Align NeedlePaint mask and liner with wrong sides together. If including filter pocket, place the pocket on top of the liner. Match nose and chin seams. Baste together.

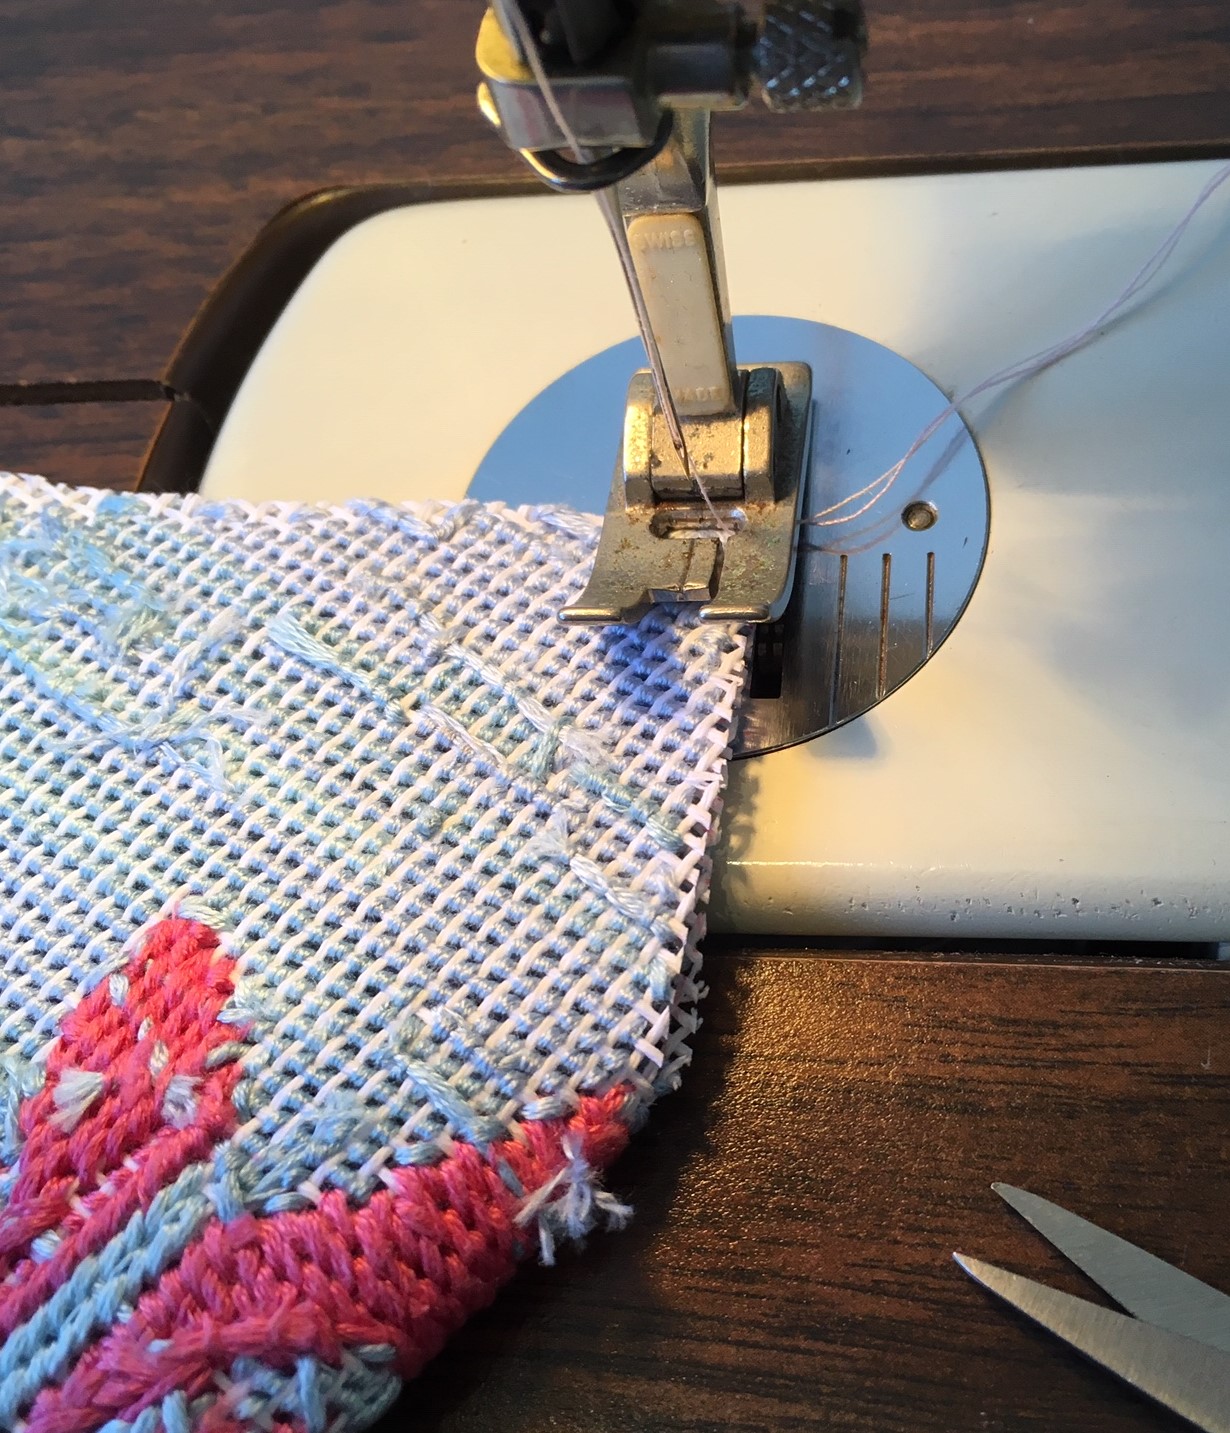
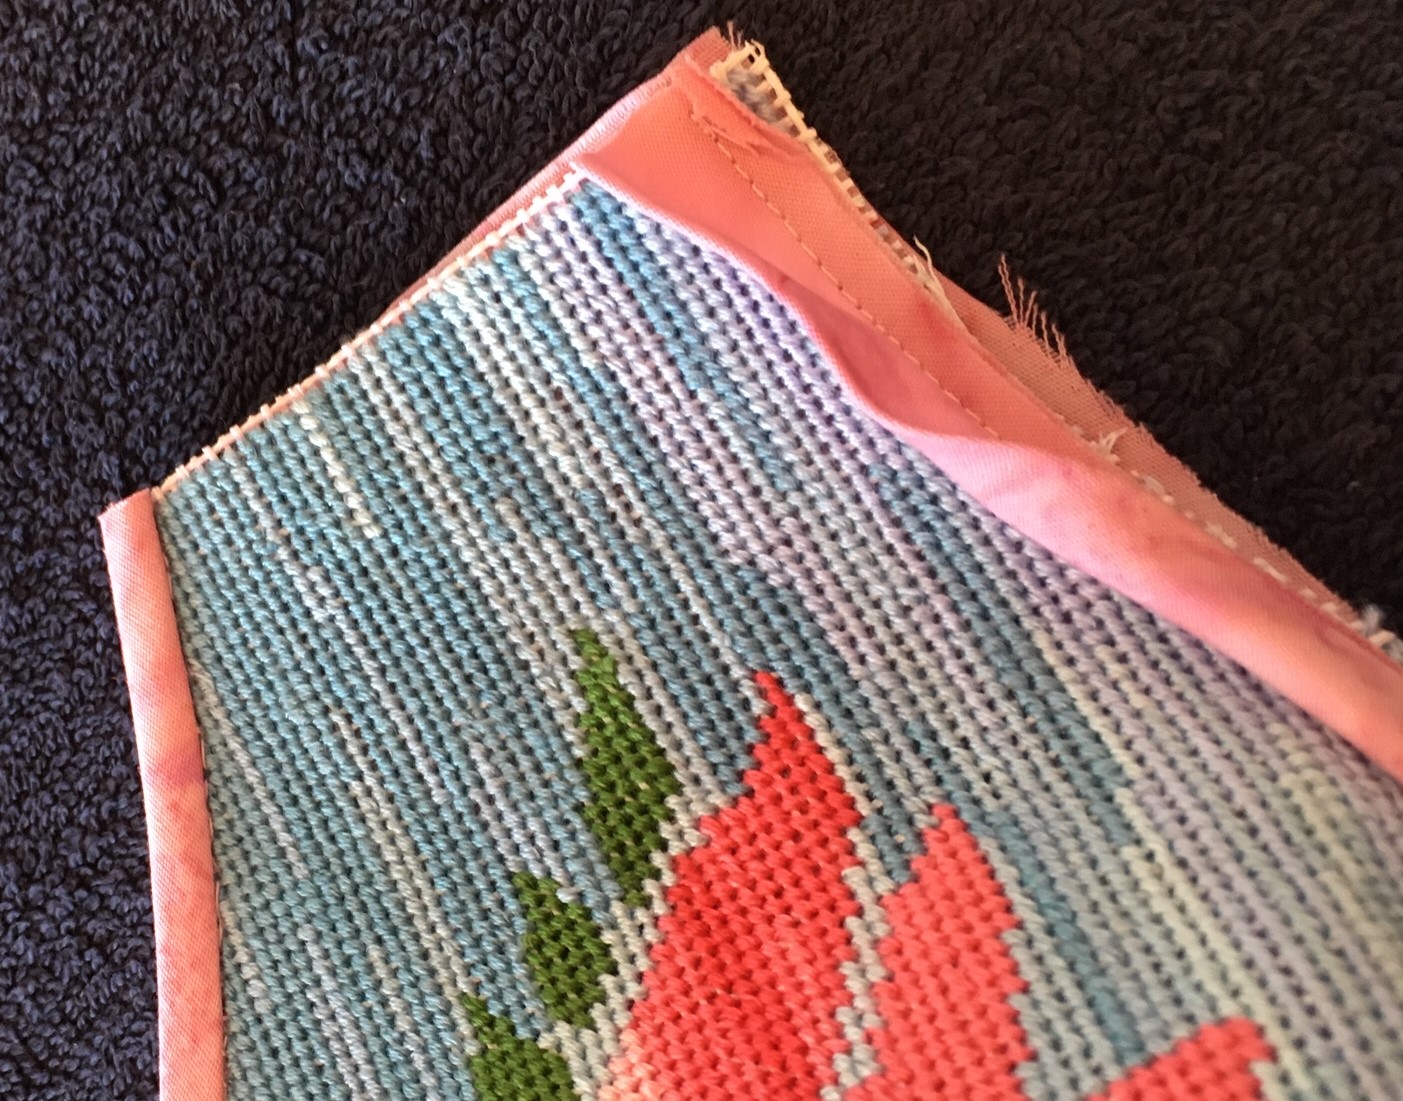
Bind the upper and lower edges of the mask with the bias tape or strips. If using ¼” double fold tape, place over the edge of the mask and liner (and optional pocket) and stitch through all thicknesses. 

Bias trim 2

The above photo is not of a mask but from another project because I do not have a source of double fold bias tape. The lotus mask was finished with my own bias strip, machine sewn on the canvas side and turned and finished by hand on the liner/pocket side.

The pre-made double fold tap is easier to use but often you can’t find a matching color for your project.

Bian Trim

Step 5. For the ear strap sleeves, cut two 1-1/2” strip of liner fabric that are ½” longer than the ear edged of the masks.  Sew to each ear edge with ¼” seam. Press top and bottom edges down. Then press a ¼’ fold on free edge and fold to back aligning the folded edges with the ear edge stitches. This will leave a ½” sleeve for the ear strap.

IMG_2595

The straps can be tucked under the fold before stitching the sleeve in place or can be threaded through with a safety pin after stitching.

Ear Sleeves

Step 6. Now it is time to insert the nose clip. It should slip easily into sleeve and then sew off the ends by hand. DONE!

Lotus Blossom Face Mask Needlepoint Canvas

Check out our new Lotus Blossom Face Mask and Sea Turtle Face Mask needlepoint canvases available on our website!

Sea Turtle Face Mask Needlepoint Canvas

Happy Stitching!

Brick Works – How to Finish a Needlepoint Brick Doorstop

Written By Peggy Bond

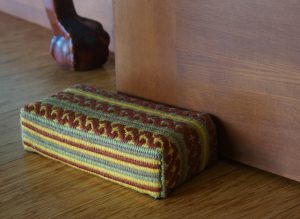
Needlepoint Brick Doorstop

A needlepoint doorstop is one of the most functional needlepoint projects you can stitch; and finishing it doesn’t require any unusual supplies or skills. If you can stitch a canvas, you can finish the doorstop.

What you need 2 2

The supplies are simple:

  • Needlepointed canvas
  • Brick
  • Lightweight quilt batting or flannel to cover the brick
  • Felt or heavy wool for the bottom of the brick
  • Needle and thread
  • Optional: a glue gun

(Note: Dimensions for these directions are for an 8″ x 4″ x 2″ concrete brick.)

Blocking Your Canvas

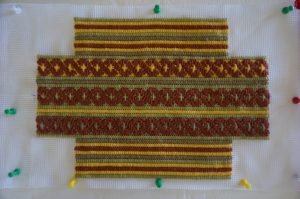
Preparing the Canvas: Begin by blocking the finished canvas so that it is square. If the canvas has been stitched on a frame, there should require minimal blocking that often can be completed with a steam iron. Put the needlepoint face down on the ironing board or towels. Set the iron for steam and hold ¼” above the canvas. While canvas if warm and damp, tack it into final shape on a Styrofoam surface or a board as shown above.

Corner

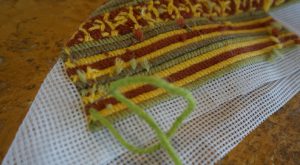
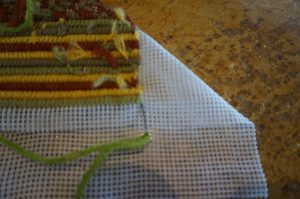
Stitch the corners of the blocked canvas by folding the right sides of each corner together as stitching through the last needlepointed stitched. This can be done by hand or by machine.

simply trim corners

Trim the mitered corners to ½” and press open. Turn canvas right sides out. 

Cut batting for brick

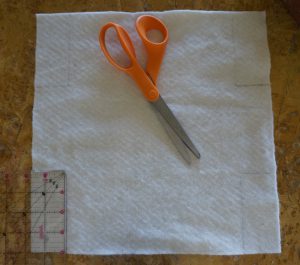
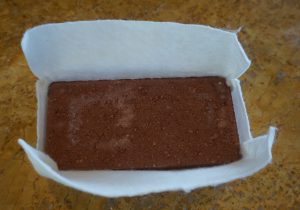
Wrapping the Brick: Since the brick has irregular edges that easily catch on the canvas, it is recommended that you cover the brick with lightweight quilt batting or flannel.  Cotton/bamboo batting is my preferred choice. This will give a smoothness to the finished project and protect the canvas from snags and wear. Cut a 12.5″ square of cotton batting and trim 4″ x 1.75″ from each corner as shown above.

Now here is where there is a choice – to glue or to sew.

Brick in the batting

Sewers will miter the edges with a ¼” seam as described above for the canvas. Again this can be done by hand or by machine. Turn the batting so that the stitched edges are to the inside, i.e. facing the brick. Insert the brick with its sharp/squared edges down.

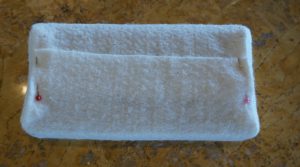
Wrapped Brick

Fold over the batting and stitch in place. The wrapping can easily be glue gunned in place. Not my thing, but a good process for this part of the finishing. A glue gun is not recommended for the final two steps of the finishing process.

Bottom of brick

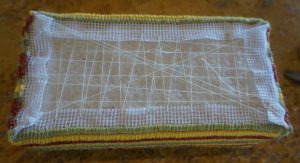
Putting It Together: Insert the covered brick into the finished needlepoint canvas with the bottom of the brick facing up. Lace the canvas in place. Cut a 8″ x 4″ rectangle of felt or heavy wool. Felt is easier to work with as it does not ravel. Stitch in place. Voila a finished doorstop.

Finished

No more slamming doors!

15541711543476711

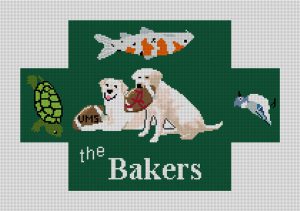
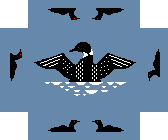
Here at NeedlePaint.com, we offer a personalized brick cover needlepoint canvas, and a custom designed needlepoint brick cover canvas for you to stitch.

NeedlePaint personalized brick cover

A-CROSS YOUR BACKGROUND

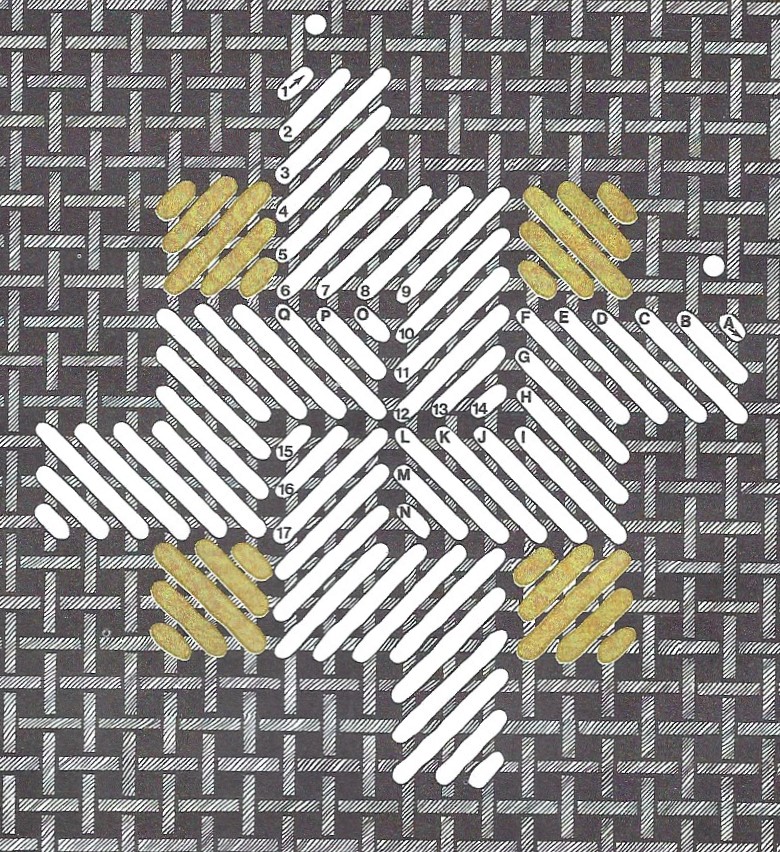
Tired of the Tent Stitch? There are several cross stitches which are great substitutes. They cover well and give texture to a needlepoint piece, or your brick cover. 

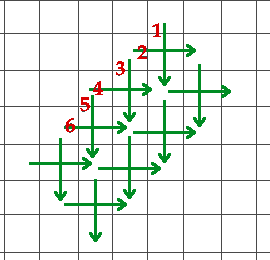
The simplest is the Small Upright Cross that is worked on the diagonal as shown below.

Small upright cross

The one thing to remember with this stitch is to keep the crosses consistent. In other words, do the vertical stitch first and then have the horizontal on cross over. Or, do it the other way around. 

Since this stitch is small and has a firm finish, I have used it on belts.

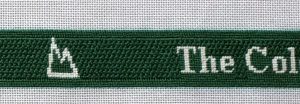
Cross section CTF Belt

For this Colorado Trail belt, the Continental tent stitch was use for the lettering and logo in white and the small areas of these were filled with green tent stitch. The tent stitch was also used for a 3-row border along both edges which will be turned over when sew to a leather backing. Then, the small upright cross was used to fill the background.

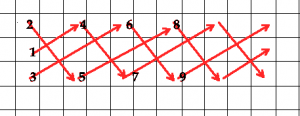
For something a little more dramatic, there is the Long-Armed Cross. This stitch has longer stitches and give more visual relief.

Lond armed cross. png

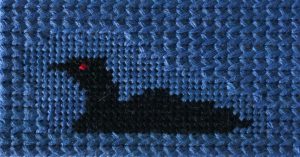
This stitch takes a bit of attention in getting started and some counting, but it is worth the effort. It made a nice wave-light background for the loon, on my Loon Brick Cover needlepoint canvas.

Loon in Long-armend Cross

Loon Brick 4 Color

Both of these examples were worked on 18-pt canvas with 6 strands of DMC floss.

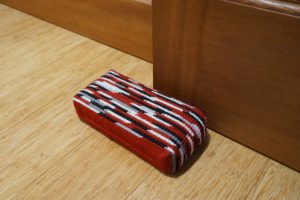
Changing canvas size and thread give a very different look as seen below on the brick on 10-pt canvas with 3 strands of Waverly wool.

Brick in Long-armed Cross

Varying lengths of red, grey, white, and black yarn were used for the top and ends in the Long-Armed Cross, and a single row of the Long-Armed Cross was stitched on each side surrounded by the Continental tent stitch.