Written by Peggy Bond
Pulled yarn stitches are often overlooked for needlepointing canvases because they do not fully cover the canvas. However, they can be used with conventional stitches and have some advantages as backgrounds. Firstly, they can be worked up quickly and secondly, they are lacy allowing a differently colored backing to show through.
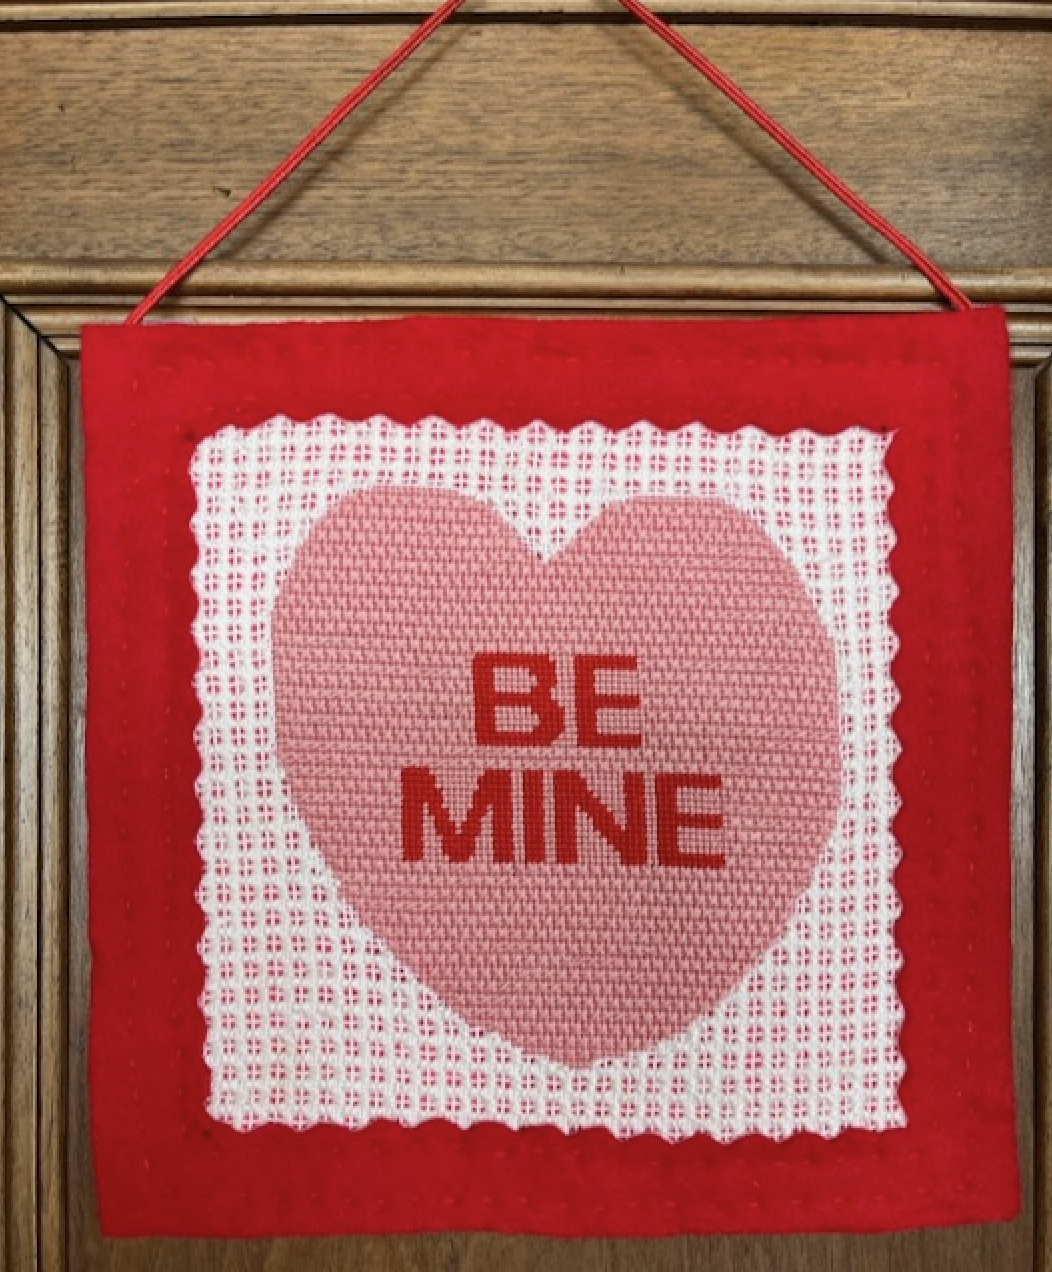
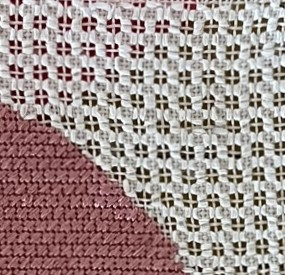
This Be Mine Valentine needlepoint ornament kit finished as a door hanger, has a pink felt backing that gives the background behind the heart, the look of checked gingham.
Up close, this is not the case.
When working pulled yarn, it is important to keep consistent tension or pull. This is what creates the pattern. The best pulled yarn stitches have equilateral pull which minimizes distortion.
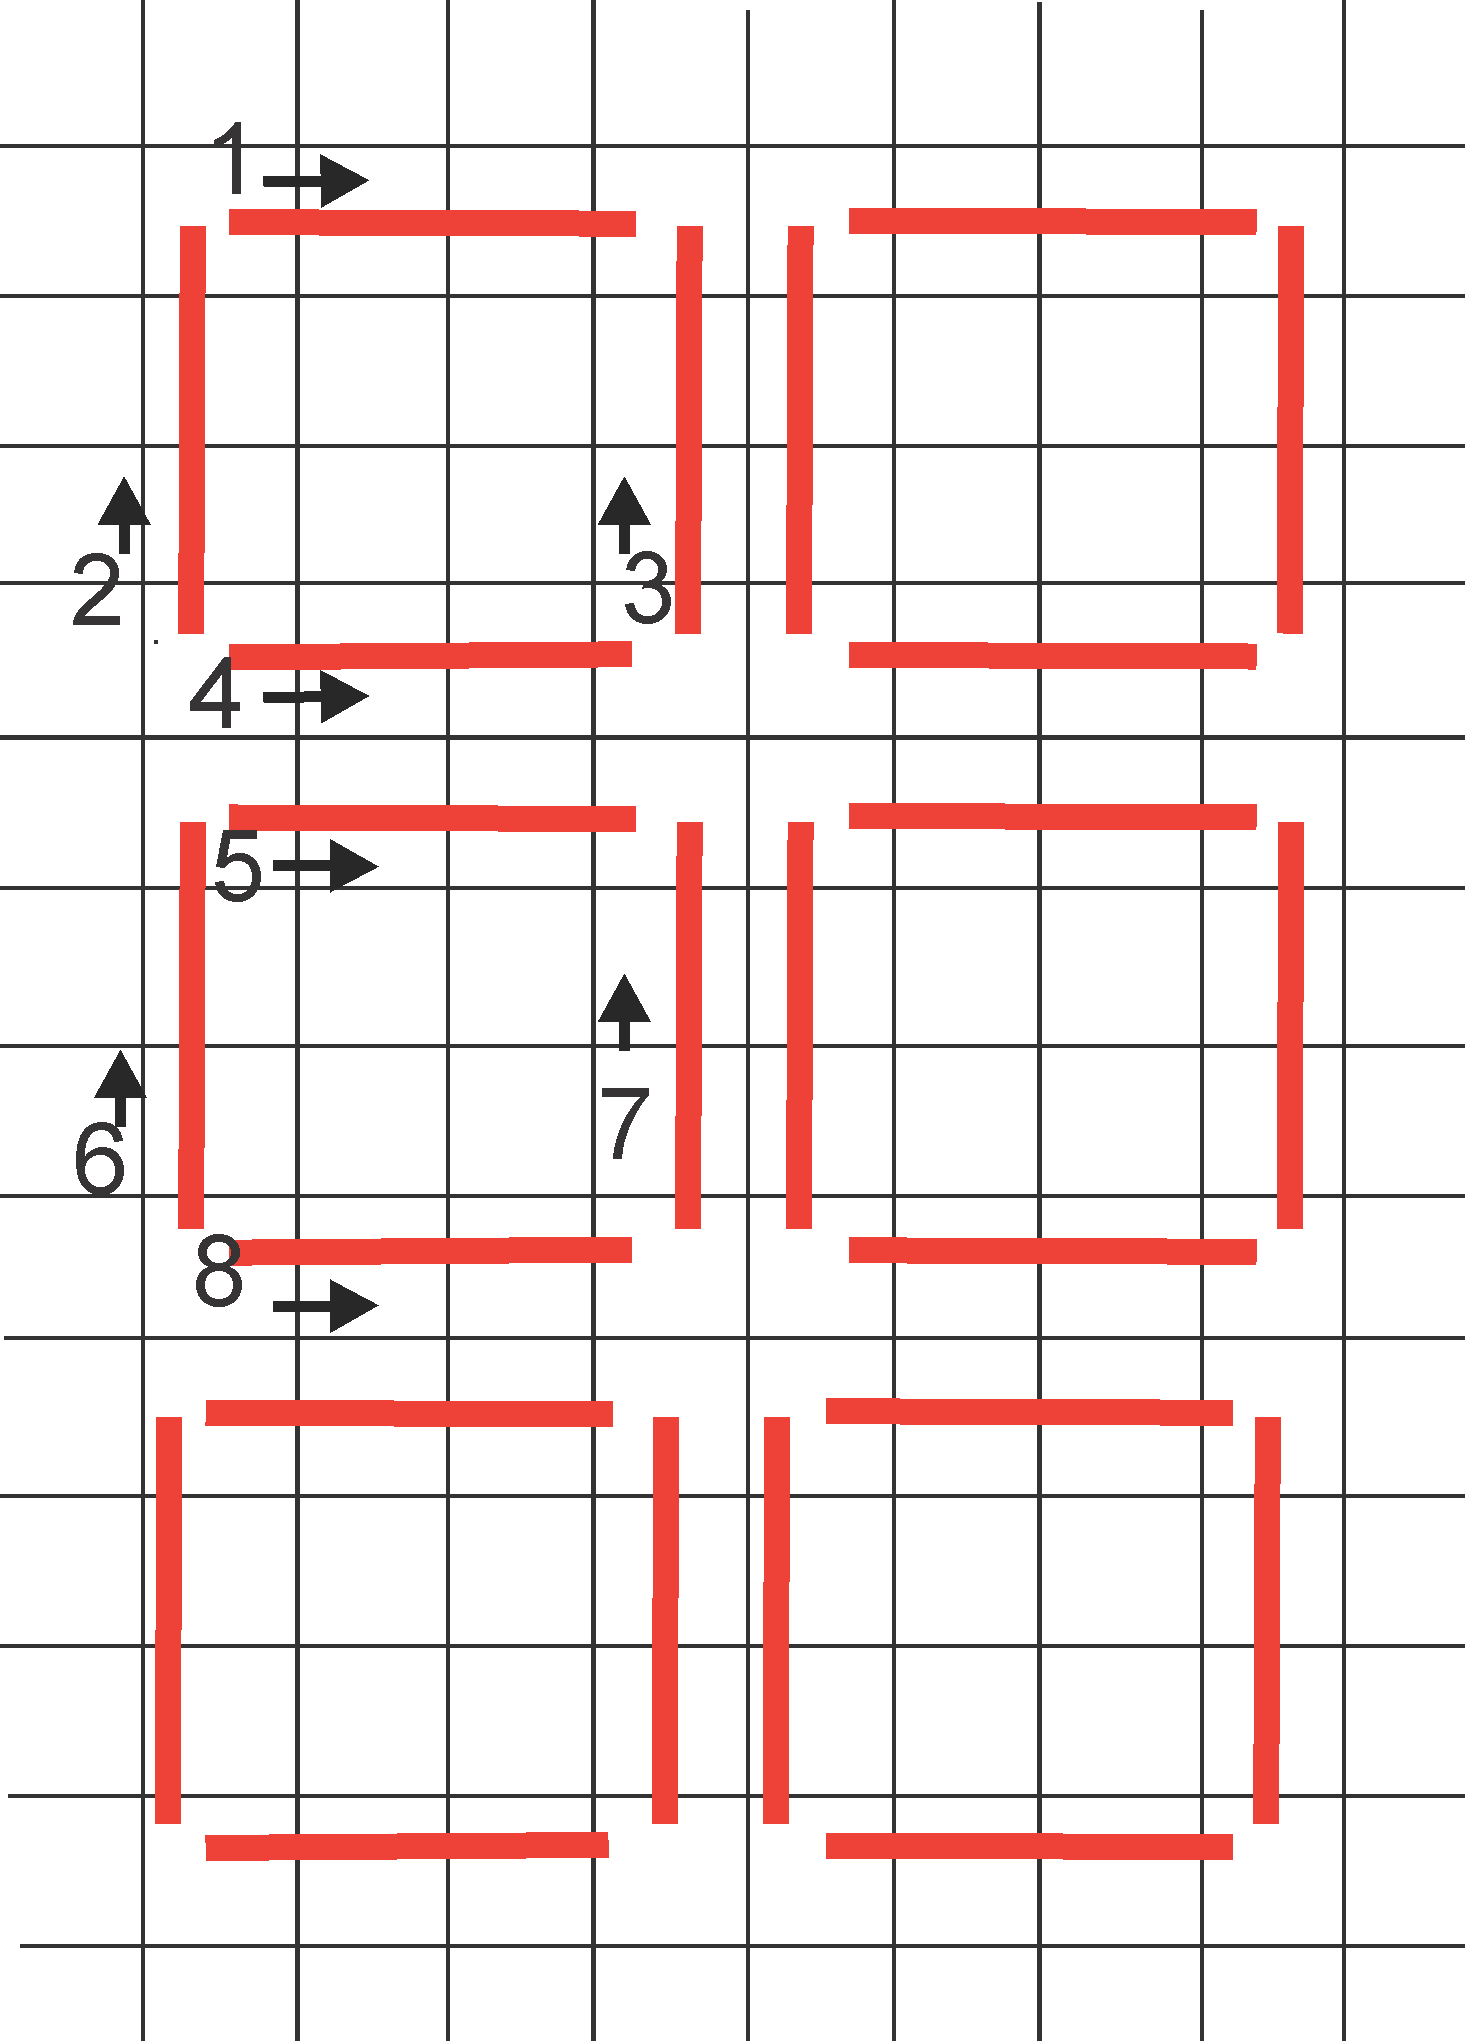
The 4-sided over 3 pattern shown here is a good example. Notice the direction of the stitches:
1 – left to right
2 – bottom left to top
3 – bottom right to top
4 – bottom left to right
The back will show a large cross stitch (X) as shown above.
My original idea for this project was to back the canvas the same felt as used for the frame. The red felt did not show through. However, the bright pink felt showed well and tied the red and pink of the heart together. Below is a photo of the four layers that used for the hanger.
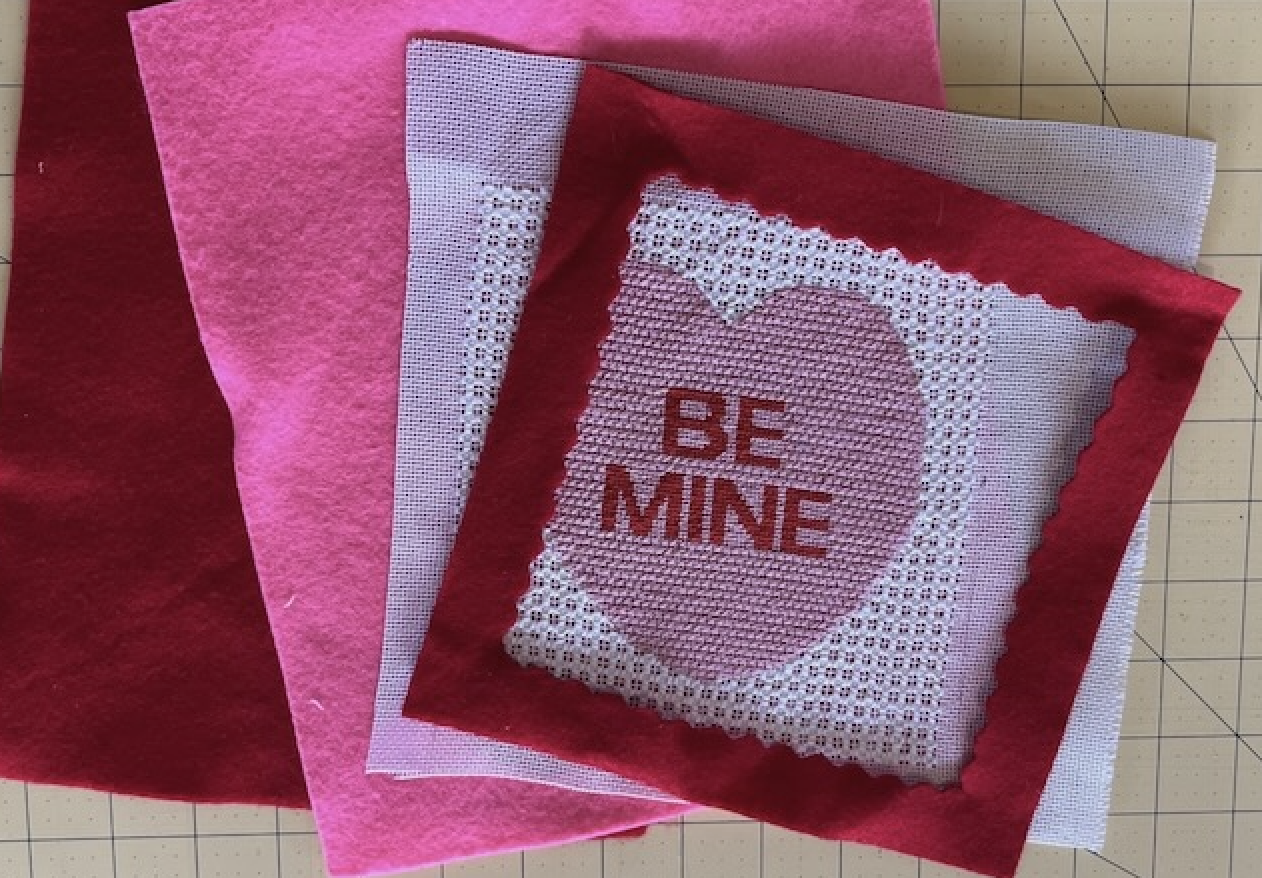
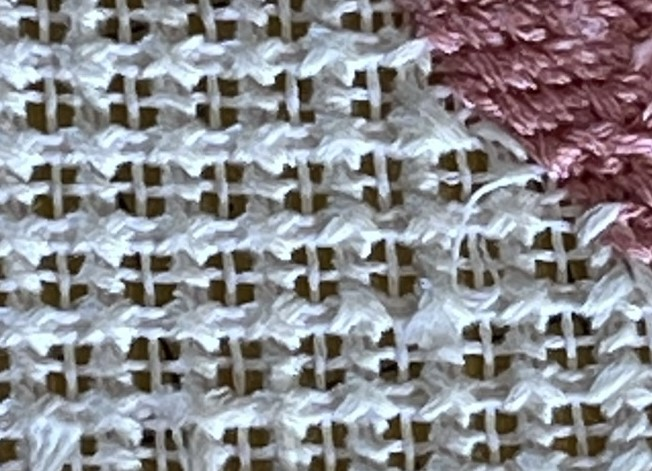
This project was stitched with white thread on white canvas and had a hot pink backing. Alternatively, it could be done with red thread on the white canvas and a white or sparkling backing. There are many options, and the only caution would be not to try pulled yarn stitches on a printed background. Pulling the stitches will expose the white of the unprinted canvas.
Please feel free to contact us with any questions you may have at: info@needlepaint.com
Happy Stitching!

Written by Karen Mason
Leave a comment