Written By Peggy Bond
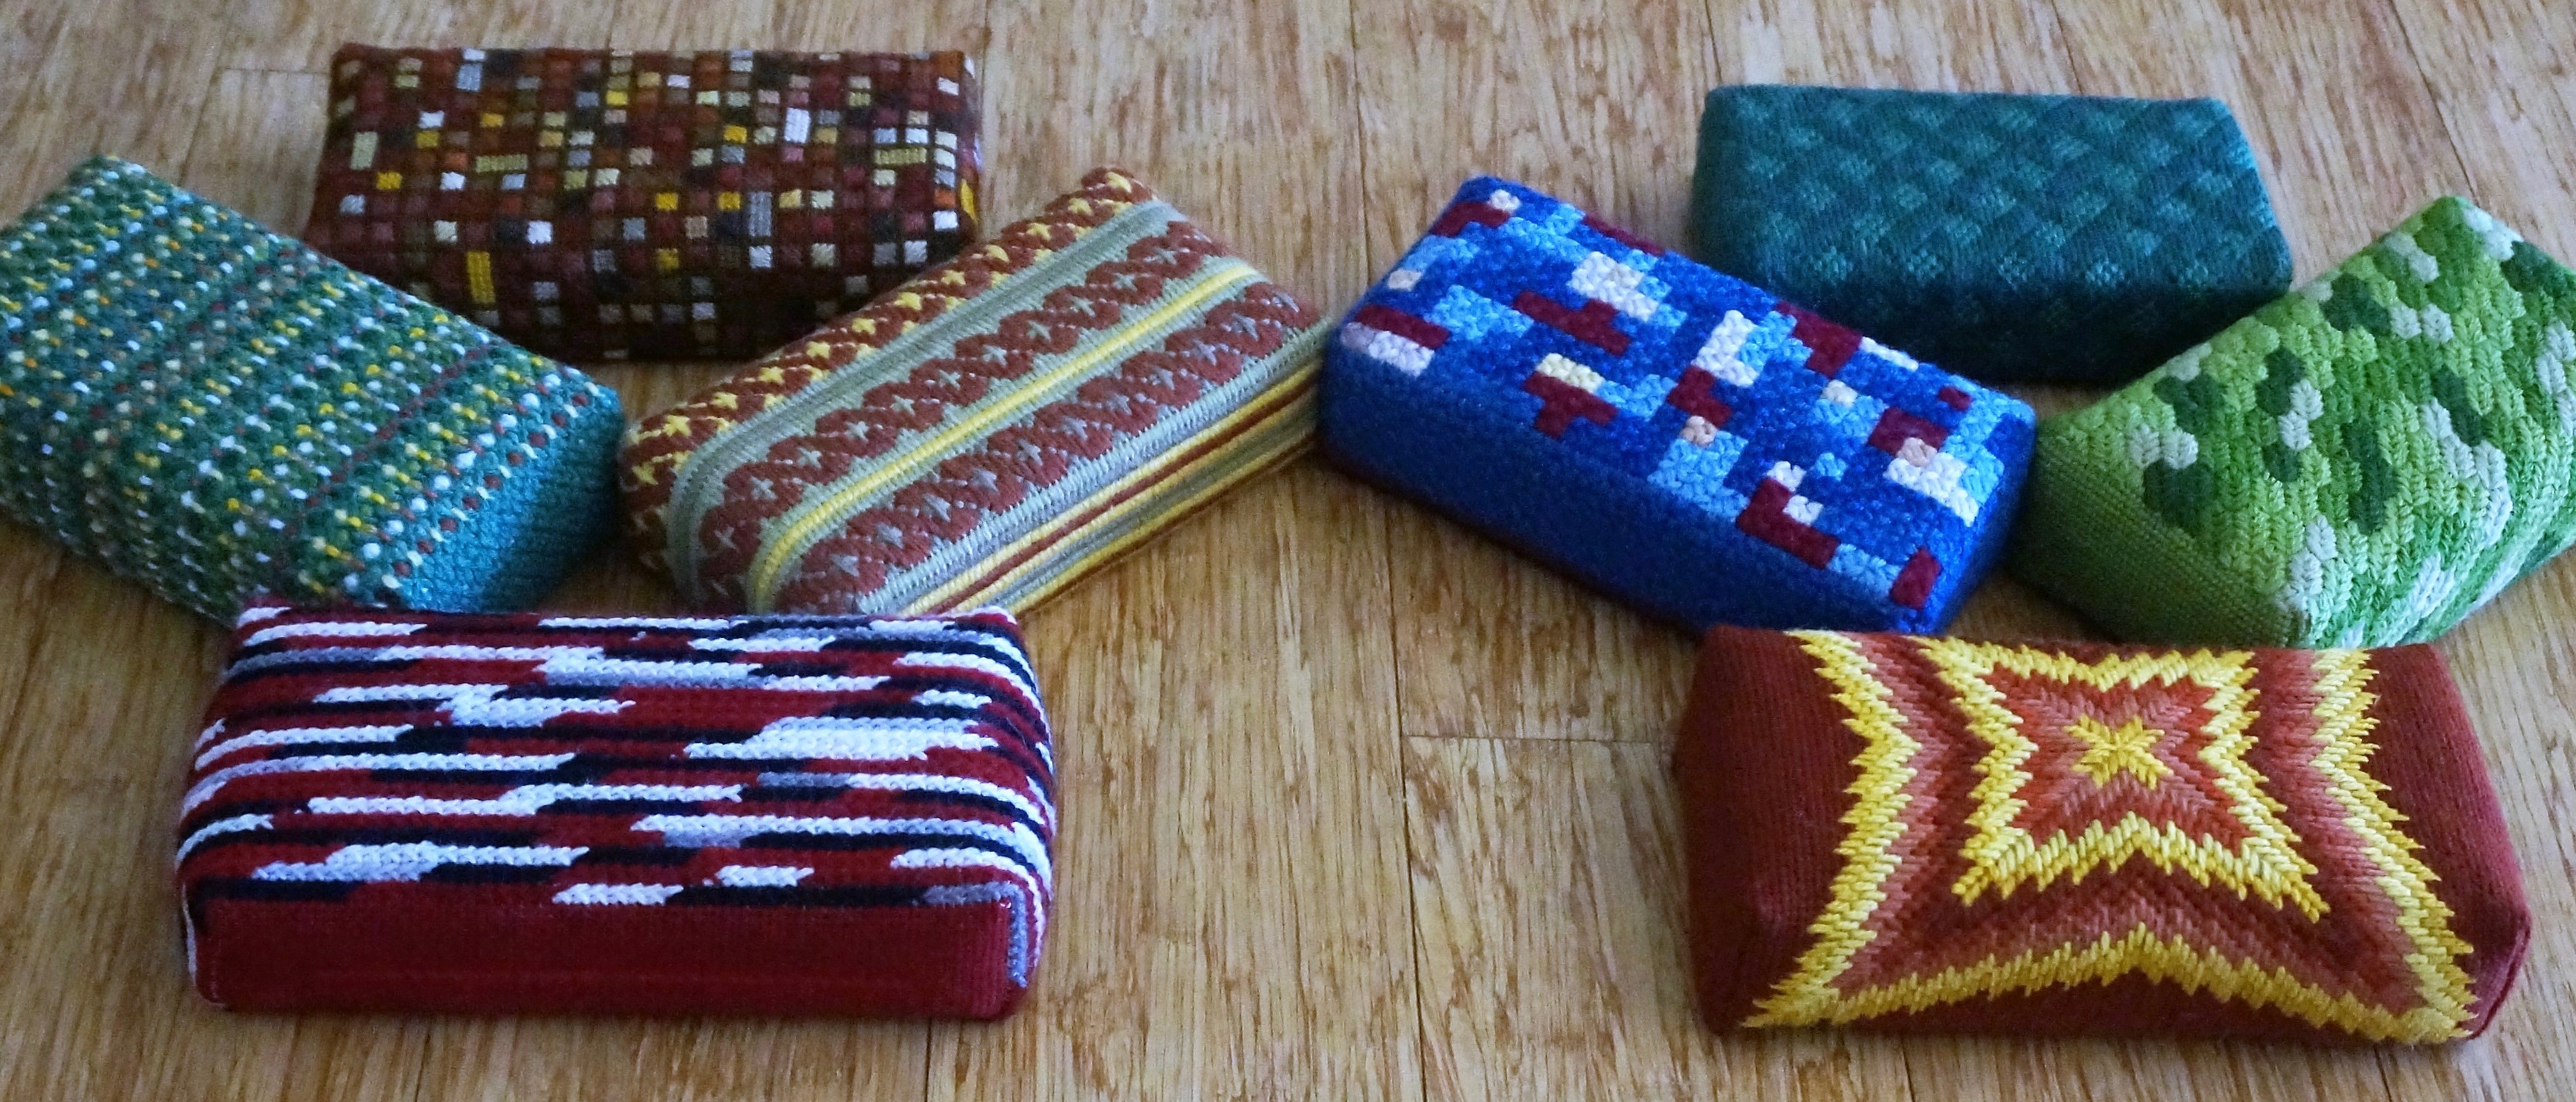
A needlepoint doorstop is one of the most functional needlepoint projects you can stitch; and finishing it doesn’t require any unusual supplies or skills. If you can stitch a canvas, you can finish the doorstop.
The supplies are simple:
- Needlepointed canvas
- Brick
- Lightweight quilt batting or flannel to cover the brick
- Felt or heavy wool for the bottom of the brick
- Needle and thread
- Optional: a glue gun
(Note: Dimensions for these directions are for an 8″ x 4″ x 2″ concrete brick.)
Preparing the Canvas: Begin by blocking the finished canvas so that it is square. If the canvas has been stitched on a frame, there should require minimal blocking that often can be completed with a steam iron. Put the needlepoint face down on the ironing board or towels. Set the iron for steam and hold ¼” above the canvas. While canvas if warm and damp, tack it into final shape on a Styrofoam surface or a board as shown above.
Stitch the corners of the blocked canvas by folding the right sides of each corner together as stitching through the last needlepointed stitched. This can be done by hand or by machine.
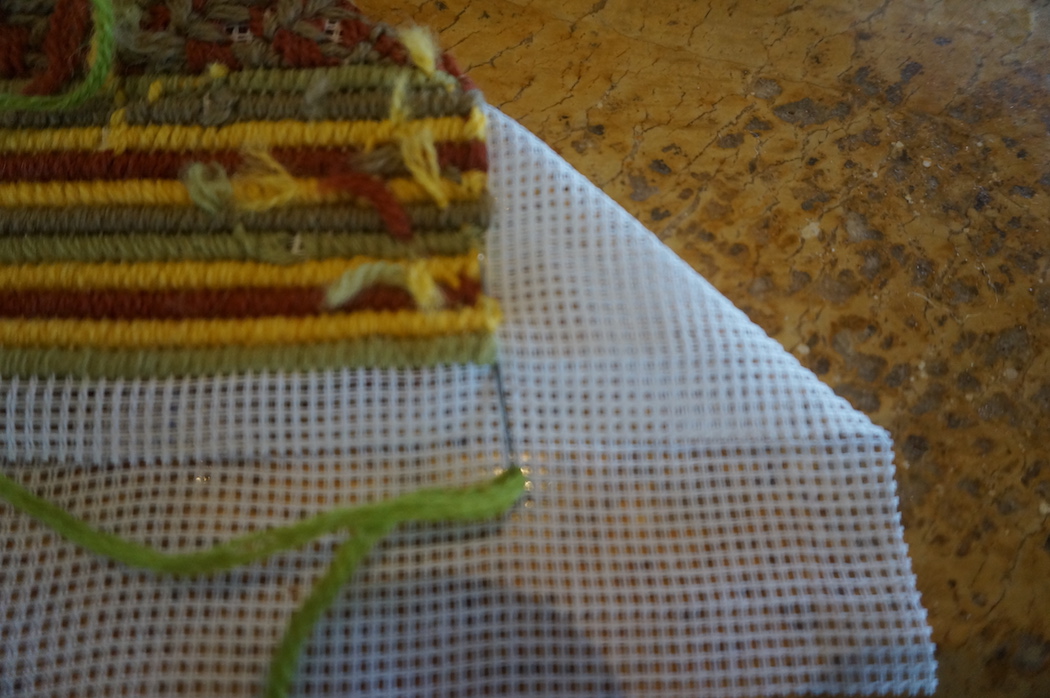
Trim the mitered corners to ½” and press open. Turn canvas right sides out.
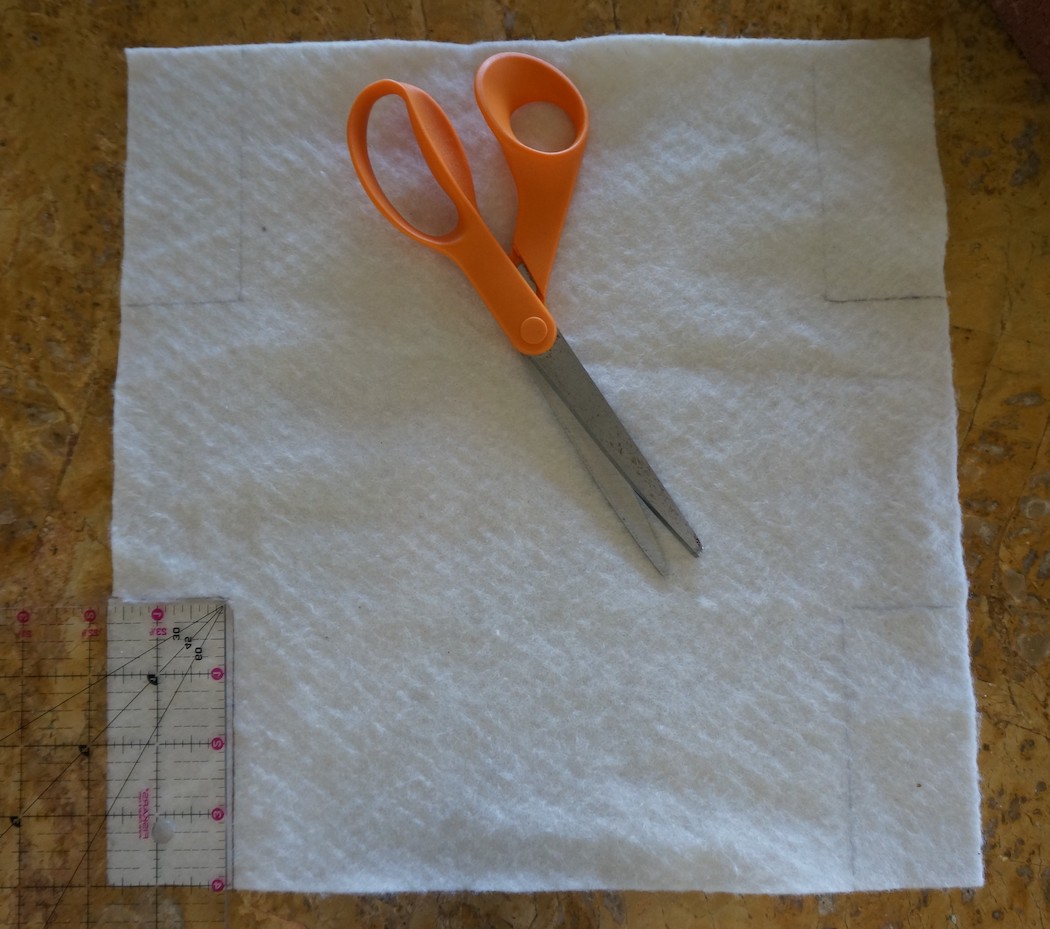
Wrapping the Brick: Since the brick has irregular edges that easily catch on the canvas, it is recommended that you cover the brick with lightweight quilt batting or flannel. Cotton/bamboo batting is my preferred choice. This will give a smoothness to the finished project and protect the canvas from snags and wear. Cut a 12.5″ square of cotton batting and trim 4″ x 1.75″ from each corner as shown above.
Now here is where there is a choice – to glue or to sew.

Sewers will miter the edges with a ¼” seam as described above for the canvas. Again this can be done by hand or by machine. Turn the batting so that the stitched edges are to the inside, i.e. facing the brick. Insert the brick with its sharp/squared edges down.

Fold over the batting and stitch in place. The wrapping can easily be glue gunned in place. Not my thing, but a good process for this part of the finishing. A glue gun is not recommended for the final two steps of the finishing process.
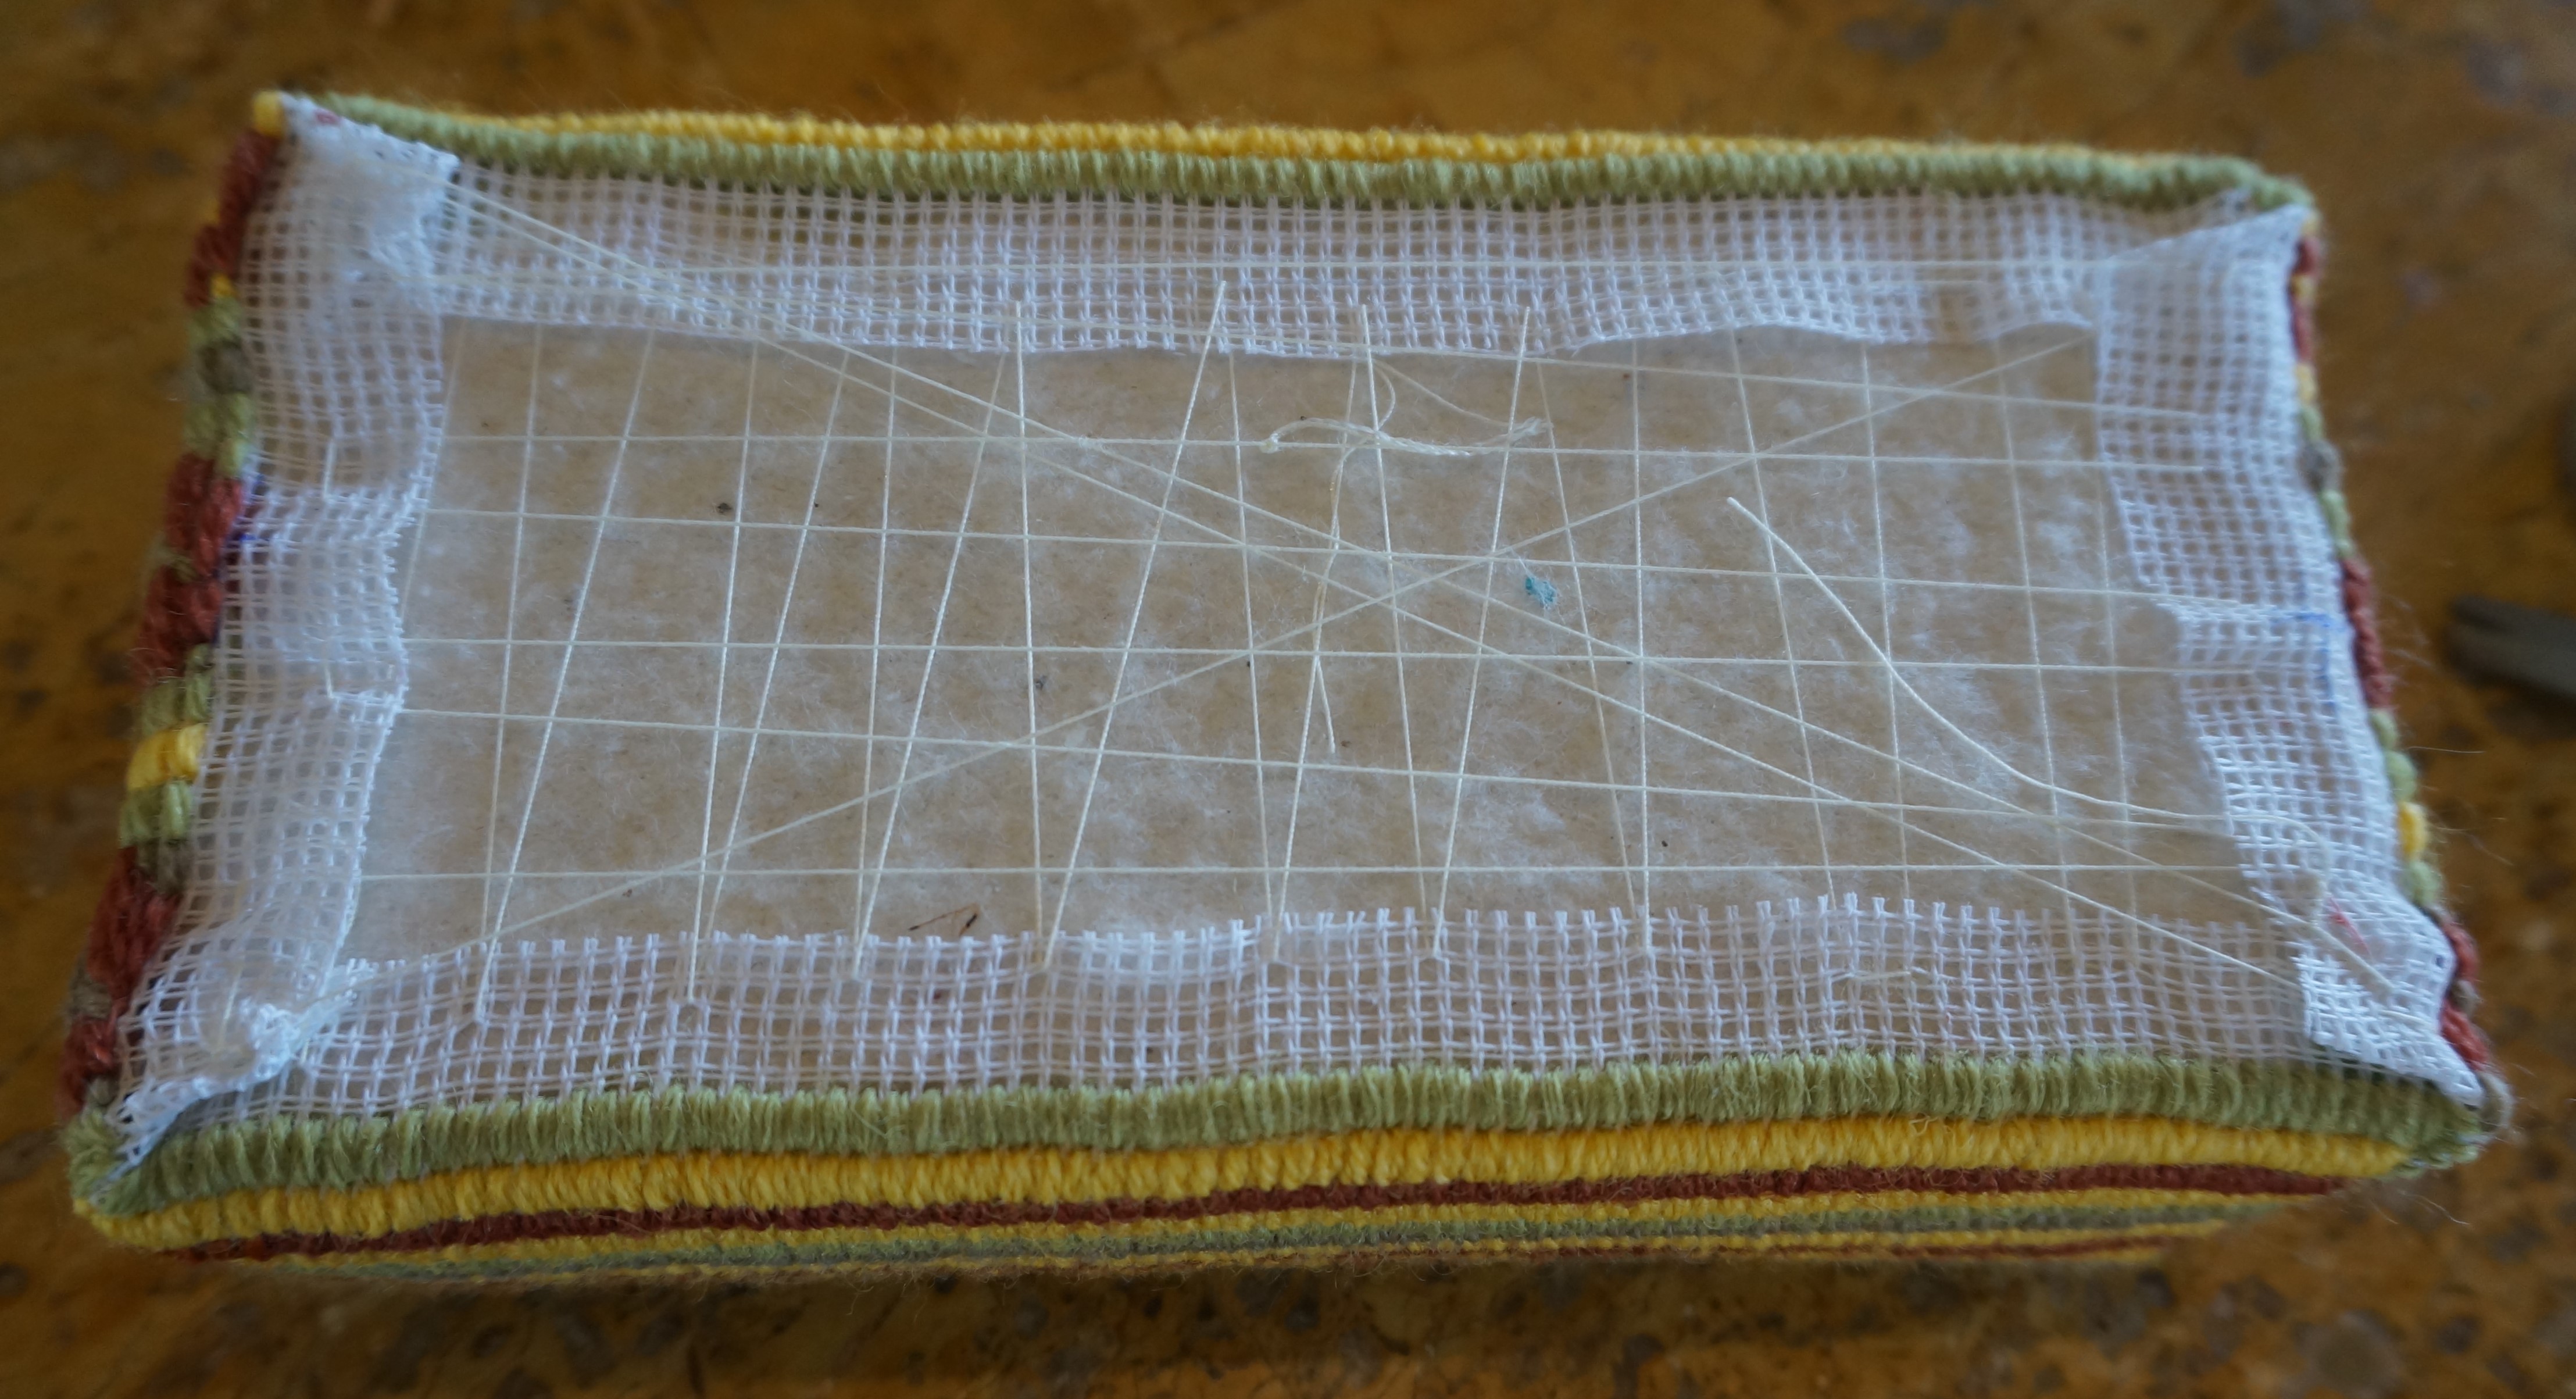
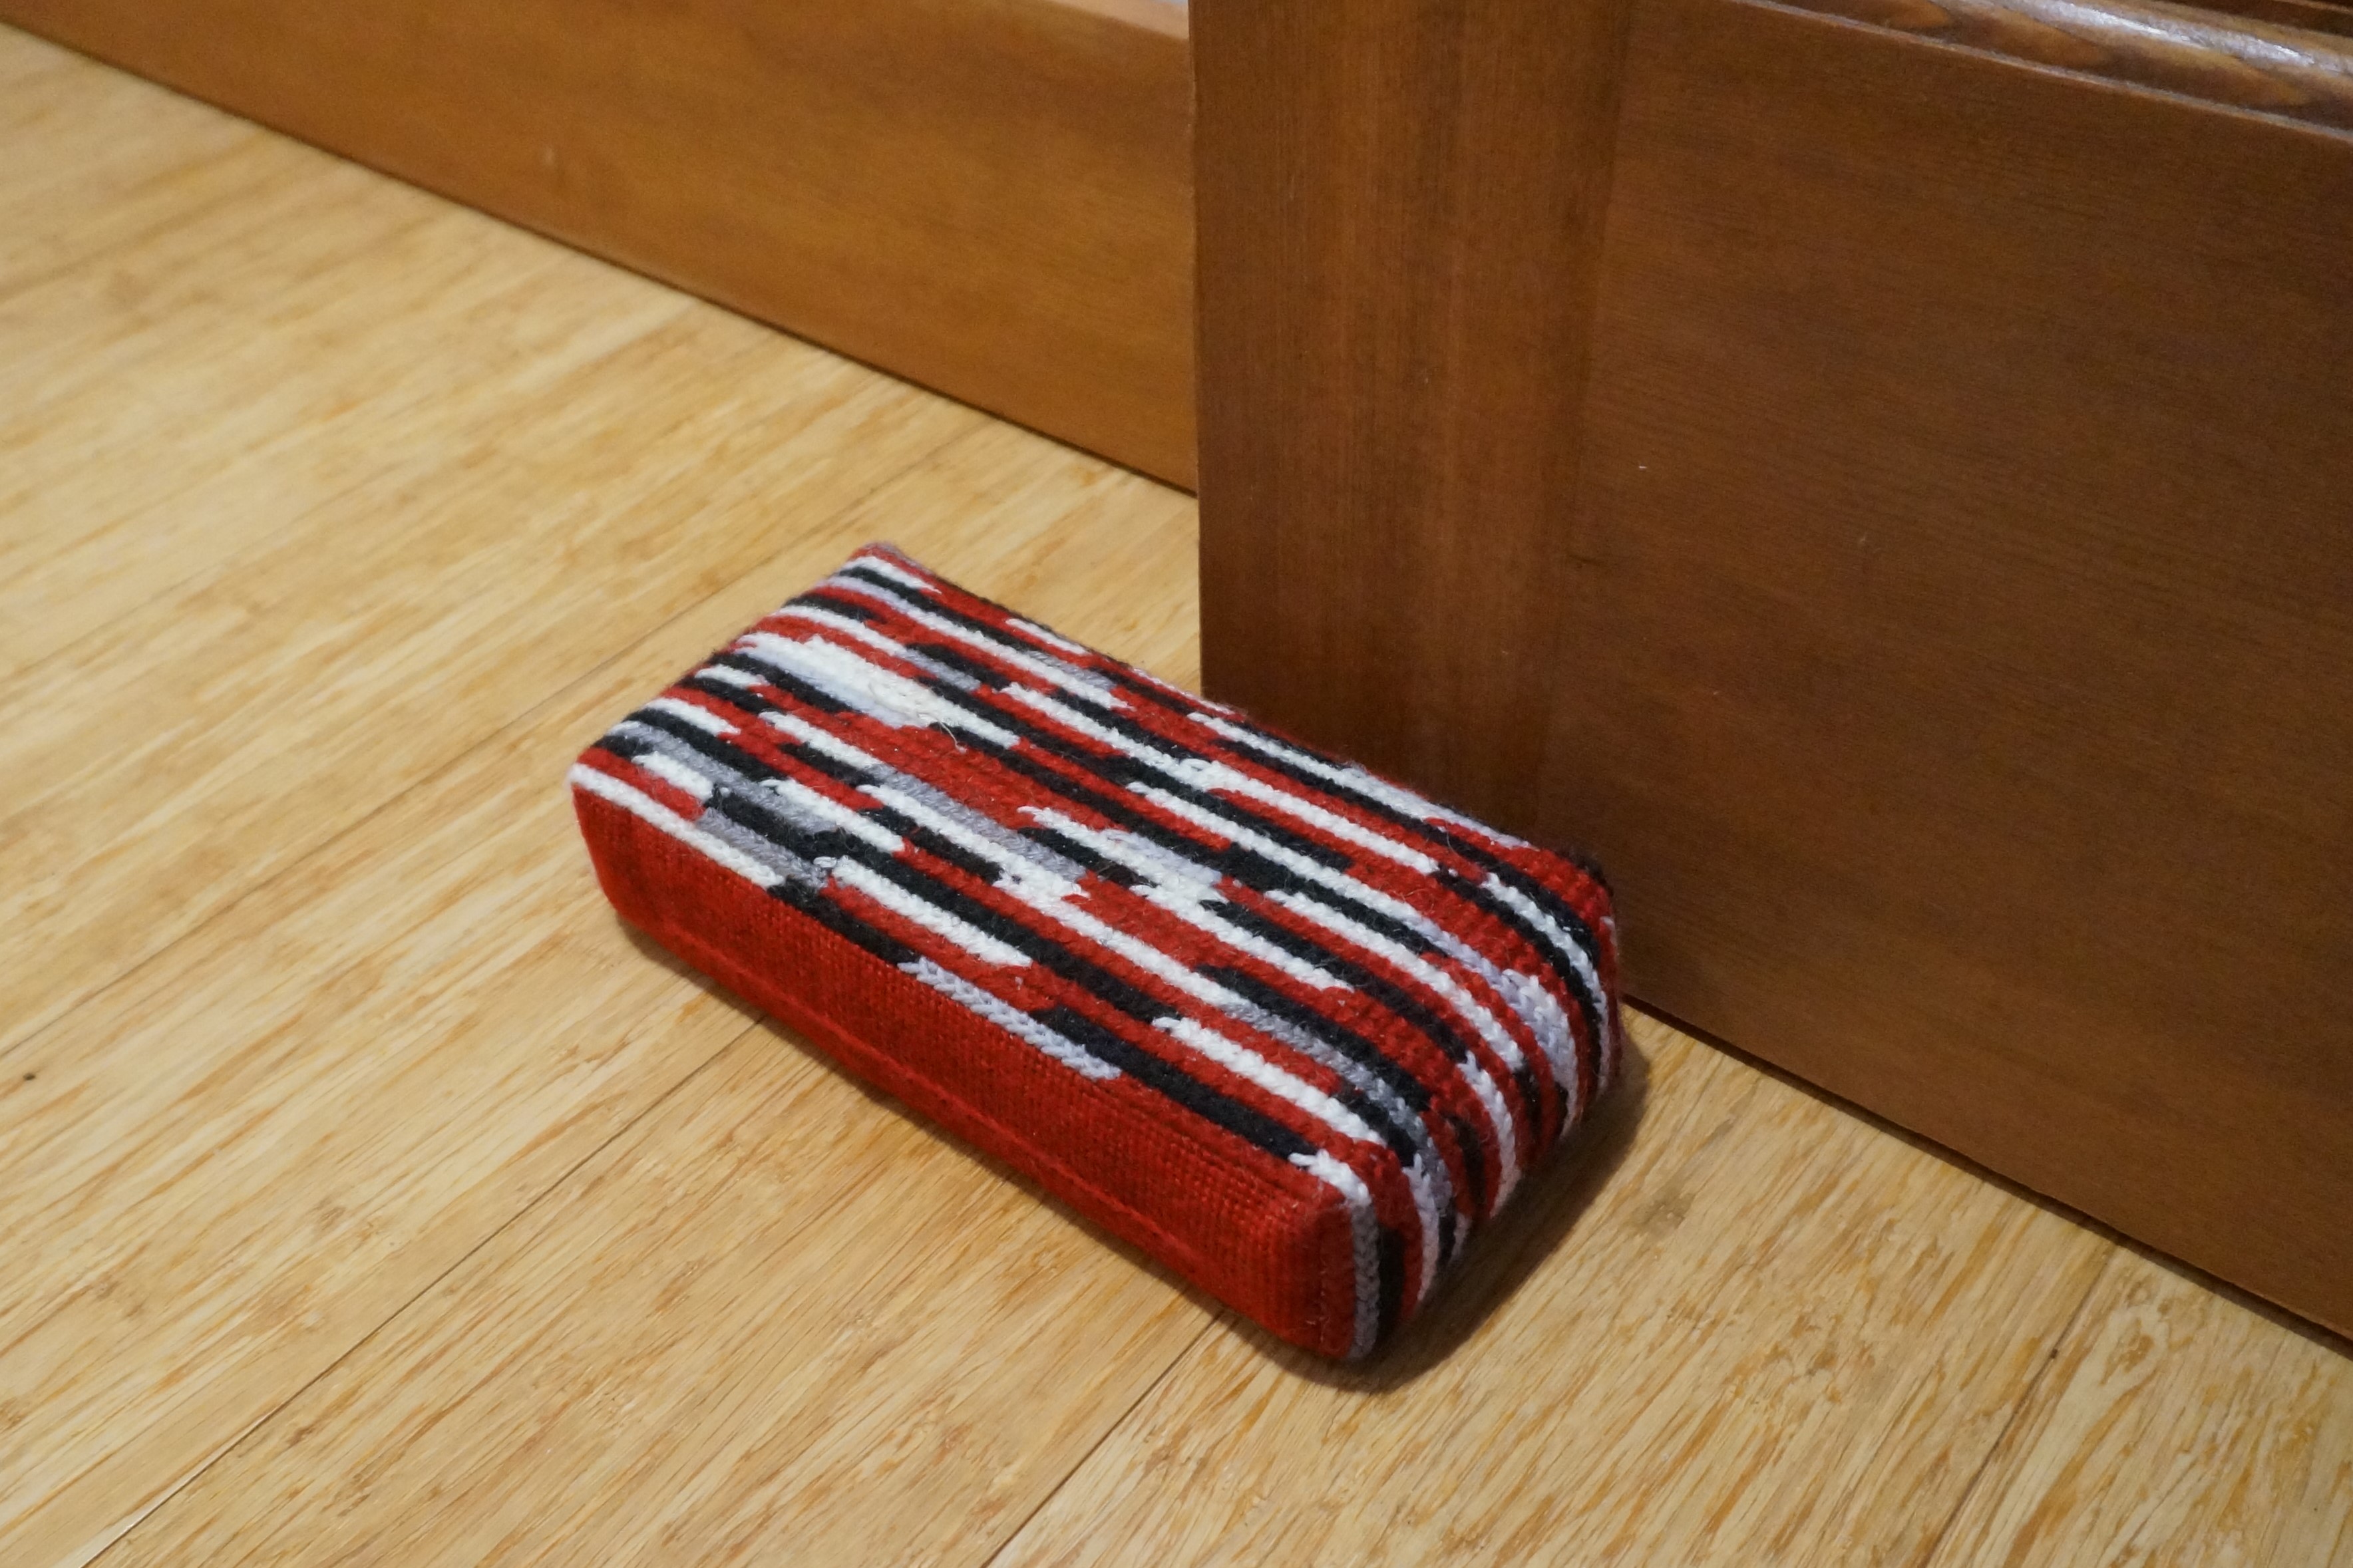
Putting It Together: Insert the covered brick into the finished needlepoint canvas with the bottom of the brick facing up. Lace the canvas in place. Cut a 8″ x 4″ rectangle of felt or heavy wool. Felt is easier to work with as it does not ravel. Stitch in place. Voila a finished doorstop.

No more slamming doors!
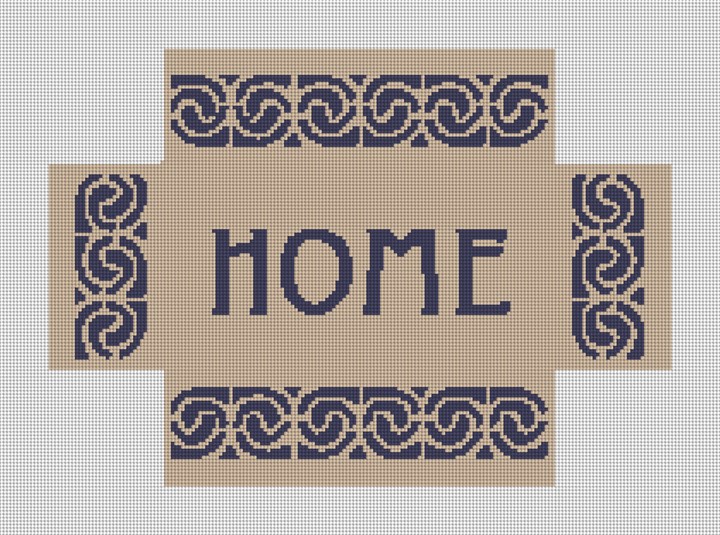
Here at NeedlePaint.com, we offer a personalized brick cover needlepoint canvas, and a custom designed needlepoint brick cover canvas for you to stitch.
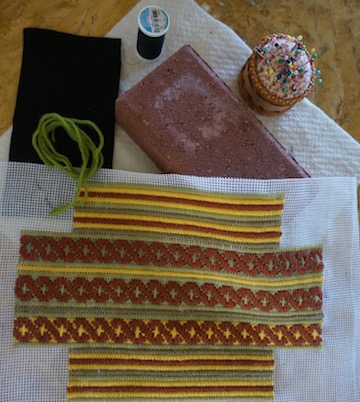
A-CROSS YOUR BACKGROUND
Tired of the Tent Stitch? There are several cross stitches which are great substitutes. They cover well and give texture to a needlepoint piece, or your brick cover.
The simplest is the Small Upright Cross that is worked on the diagonal as shown below.
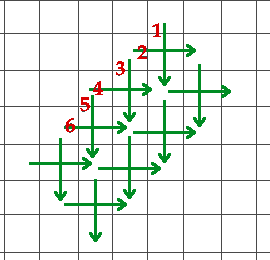
The one thing to remember with this stitch is to keep the crosses consistent. In other words, do the vertical stitch first and then have the horizontal on cross over. Or, do it the other way around.
Since this stitch is small and has a firm finish, I have used it on belts.
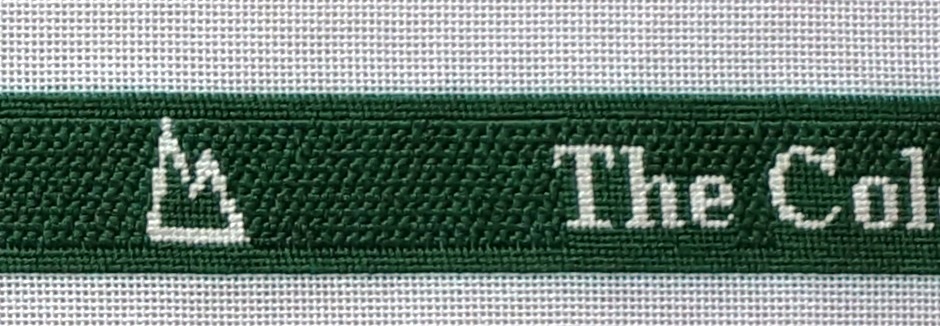
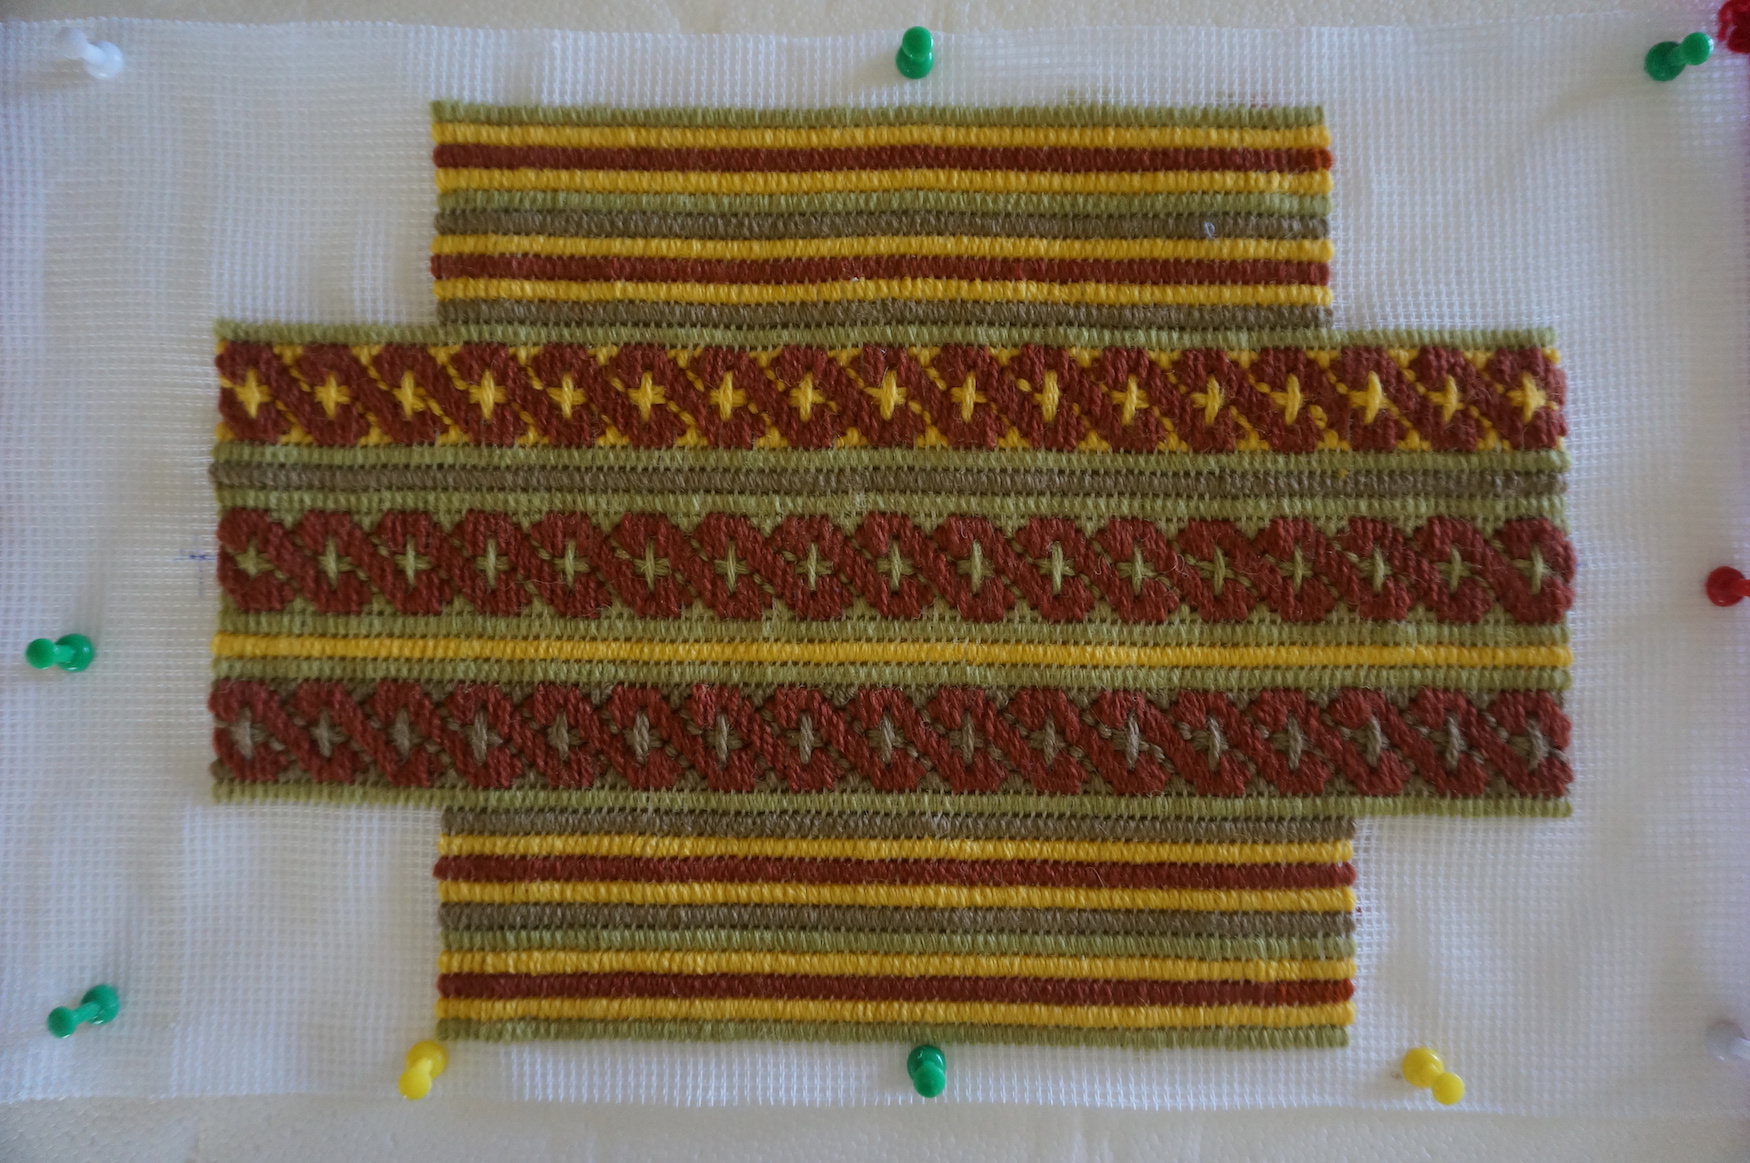
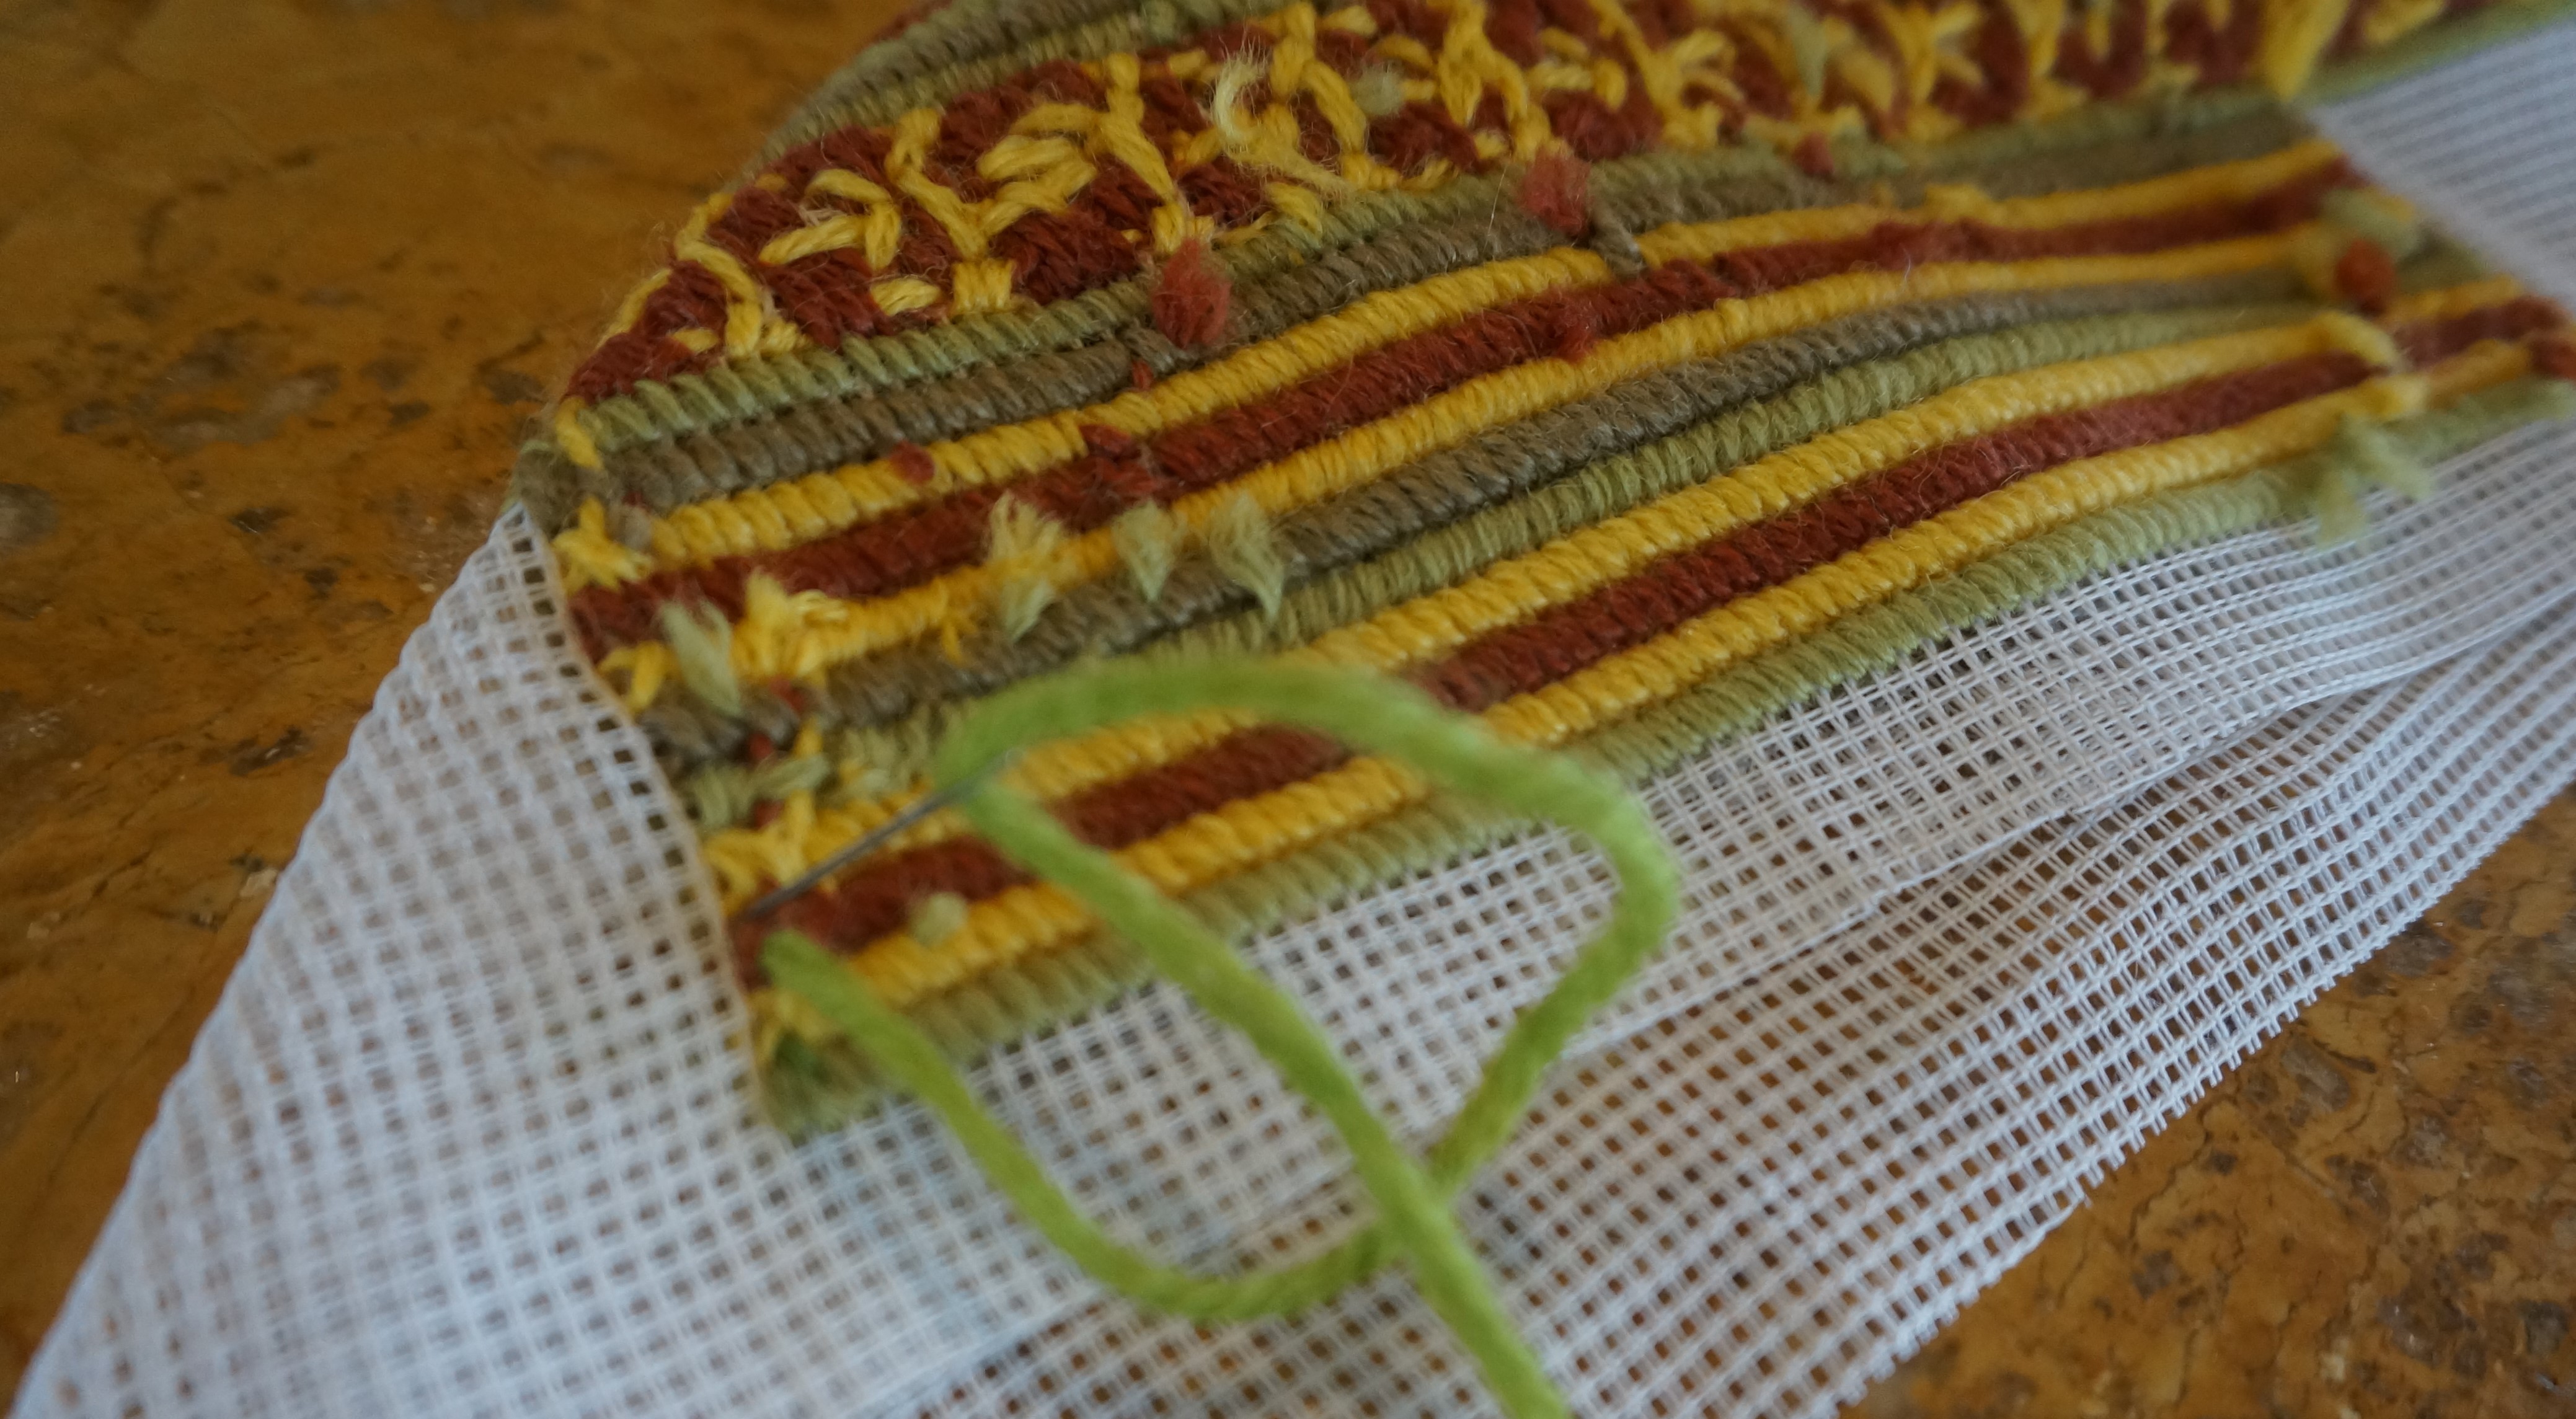
For this Colorado Trail belt, the Continental tent stitch was use for the lettering and logo in white and the small areas of these were filled with green tent stitch. The tent stitch was also used for a 3-row border along both edges which will be turned over when sew to a leather backing. Then, the small upright cross was used to fill the background.
For something a little more dramatic, there is the Long-Armed Cross. This stitch has longer stitches and give more visual relief.
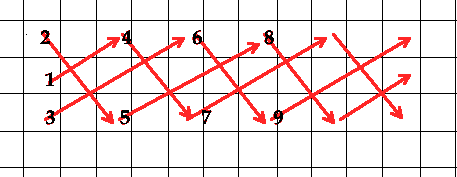
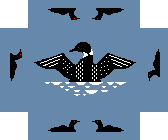
This stitch takes a bit of attention in getting started and some counting, but it is worth the effort. It made a nice wave-light background for the loon, on my Loon Brick Cover needlepoint canvas.

Both of these examples were worked on 18-pt canvas with 6 strands of DMC floss.
Changing canvas size and thread give a very different look as seen below on the brick on 10-pt canvas with 3 strands of Waverly wool.
Varying lengths of red, grey, white, and black yarn were used for the top and ends in the Long-Armed Cross, and a single row of the Long-Armed Cross was stitched on each side surrounded by the Continental tent stitch.

Comments on: "Brick Works – How to Finish a Needlepoint Brick Doorstop" (12)
Two comments.
First – be sure that the canvas will fit the chosen brick before stitching. Bricks come in many sizes, particularly vintage bricks. Adjust the size of the canvas to fit the selected brick.
Second – be sure that the selected brick is free of moisture. That will prevent mold/mildew growth in the future.
Hi Patricia,
Thank you for the very helpful hints!
Karen
NeedlePaint.com
Hi. If brick is not free of moisture how do you know for sure? Or, do you suggest leaving in sun first a day or two?
Hi Patricia,
Thank you for your message! Rebecca with customer service, contact you directly.
info@needlepaint.com
Do I stitch just one stitch in the corner or the whole side?
Sorry for the delay! We’ve been very busy during the crisis, and did not get to our blog comments as quickly as normal.
For the corners, do Not needlepoint those get the binding stitch shown in the blog after you finish the needlepoint.
I’d like to see the bottom of the brick–the directions say “stitch in place” but doesn’t explain how???? I was going to use velevt for the bottom.
Please advise.
Hi Anna,
Thanks for getting in touch!
I will reply directly from my email with a link to a great stitch to use when finishing your brick cover.
Thanks,
Karen
NeedlePaint.com
720-295-8277
Hi! The actual stitch part is 8 x 4 x 2?
Hi Kristin,
Thanks for getting in touch!
We recommend measuring the actual brick that you will be covering, as they do tend to have many variations in size. We would be happy to create a canvas for you (custom or stock design) using your actual brick measurements.
Please let us know if we can be of further help,
Karen
info@needlepaint.com
I would also like to know how to “stitch in place” the bottom of the brick cover. I bought some tan-colored felt to use.
Thanks.
Marta K.
Hi Marta,
Thanks for getting in touch!
To sew the bottom of the needlepoint brick cover to the felt, we recommend using a whip stitch, to sew the felt to the needlepoint. Here are some good instructions:
http://www.holiday-crafts-and-creations.com/whip-stitch.html
Please let us know if we can be of further help,
Thanks,
Karen
info@needlepaint.com