Written by Peggy Bond
After the initial rush to get cotton masks made for all my neighbors and friends, I was out of material, elastic, and thread. Stores were closed and mail order was going to take at least a week. So into the closet I went and found some 18 and 14 mesh needlepoint canvas and a stash of thread.
I had been thinking about making a needlepoint mask but wondered how it would hold up with washing. With time on my hands, this was the perfect project for lockdown. The pattern I has used for the cotton masks was not going to work with stiff needlepoint canvas.
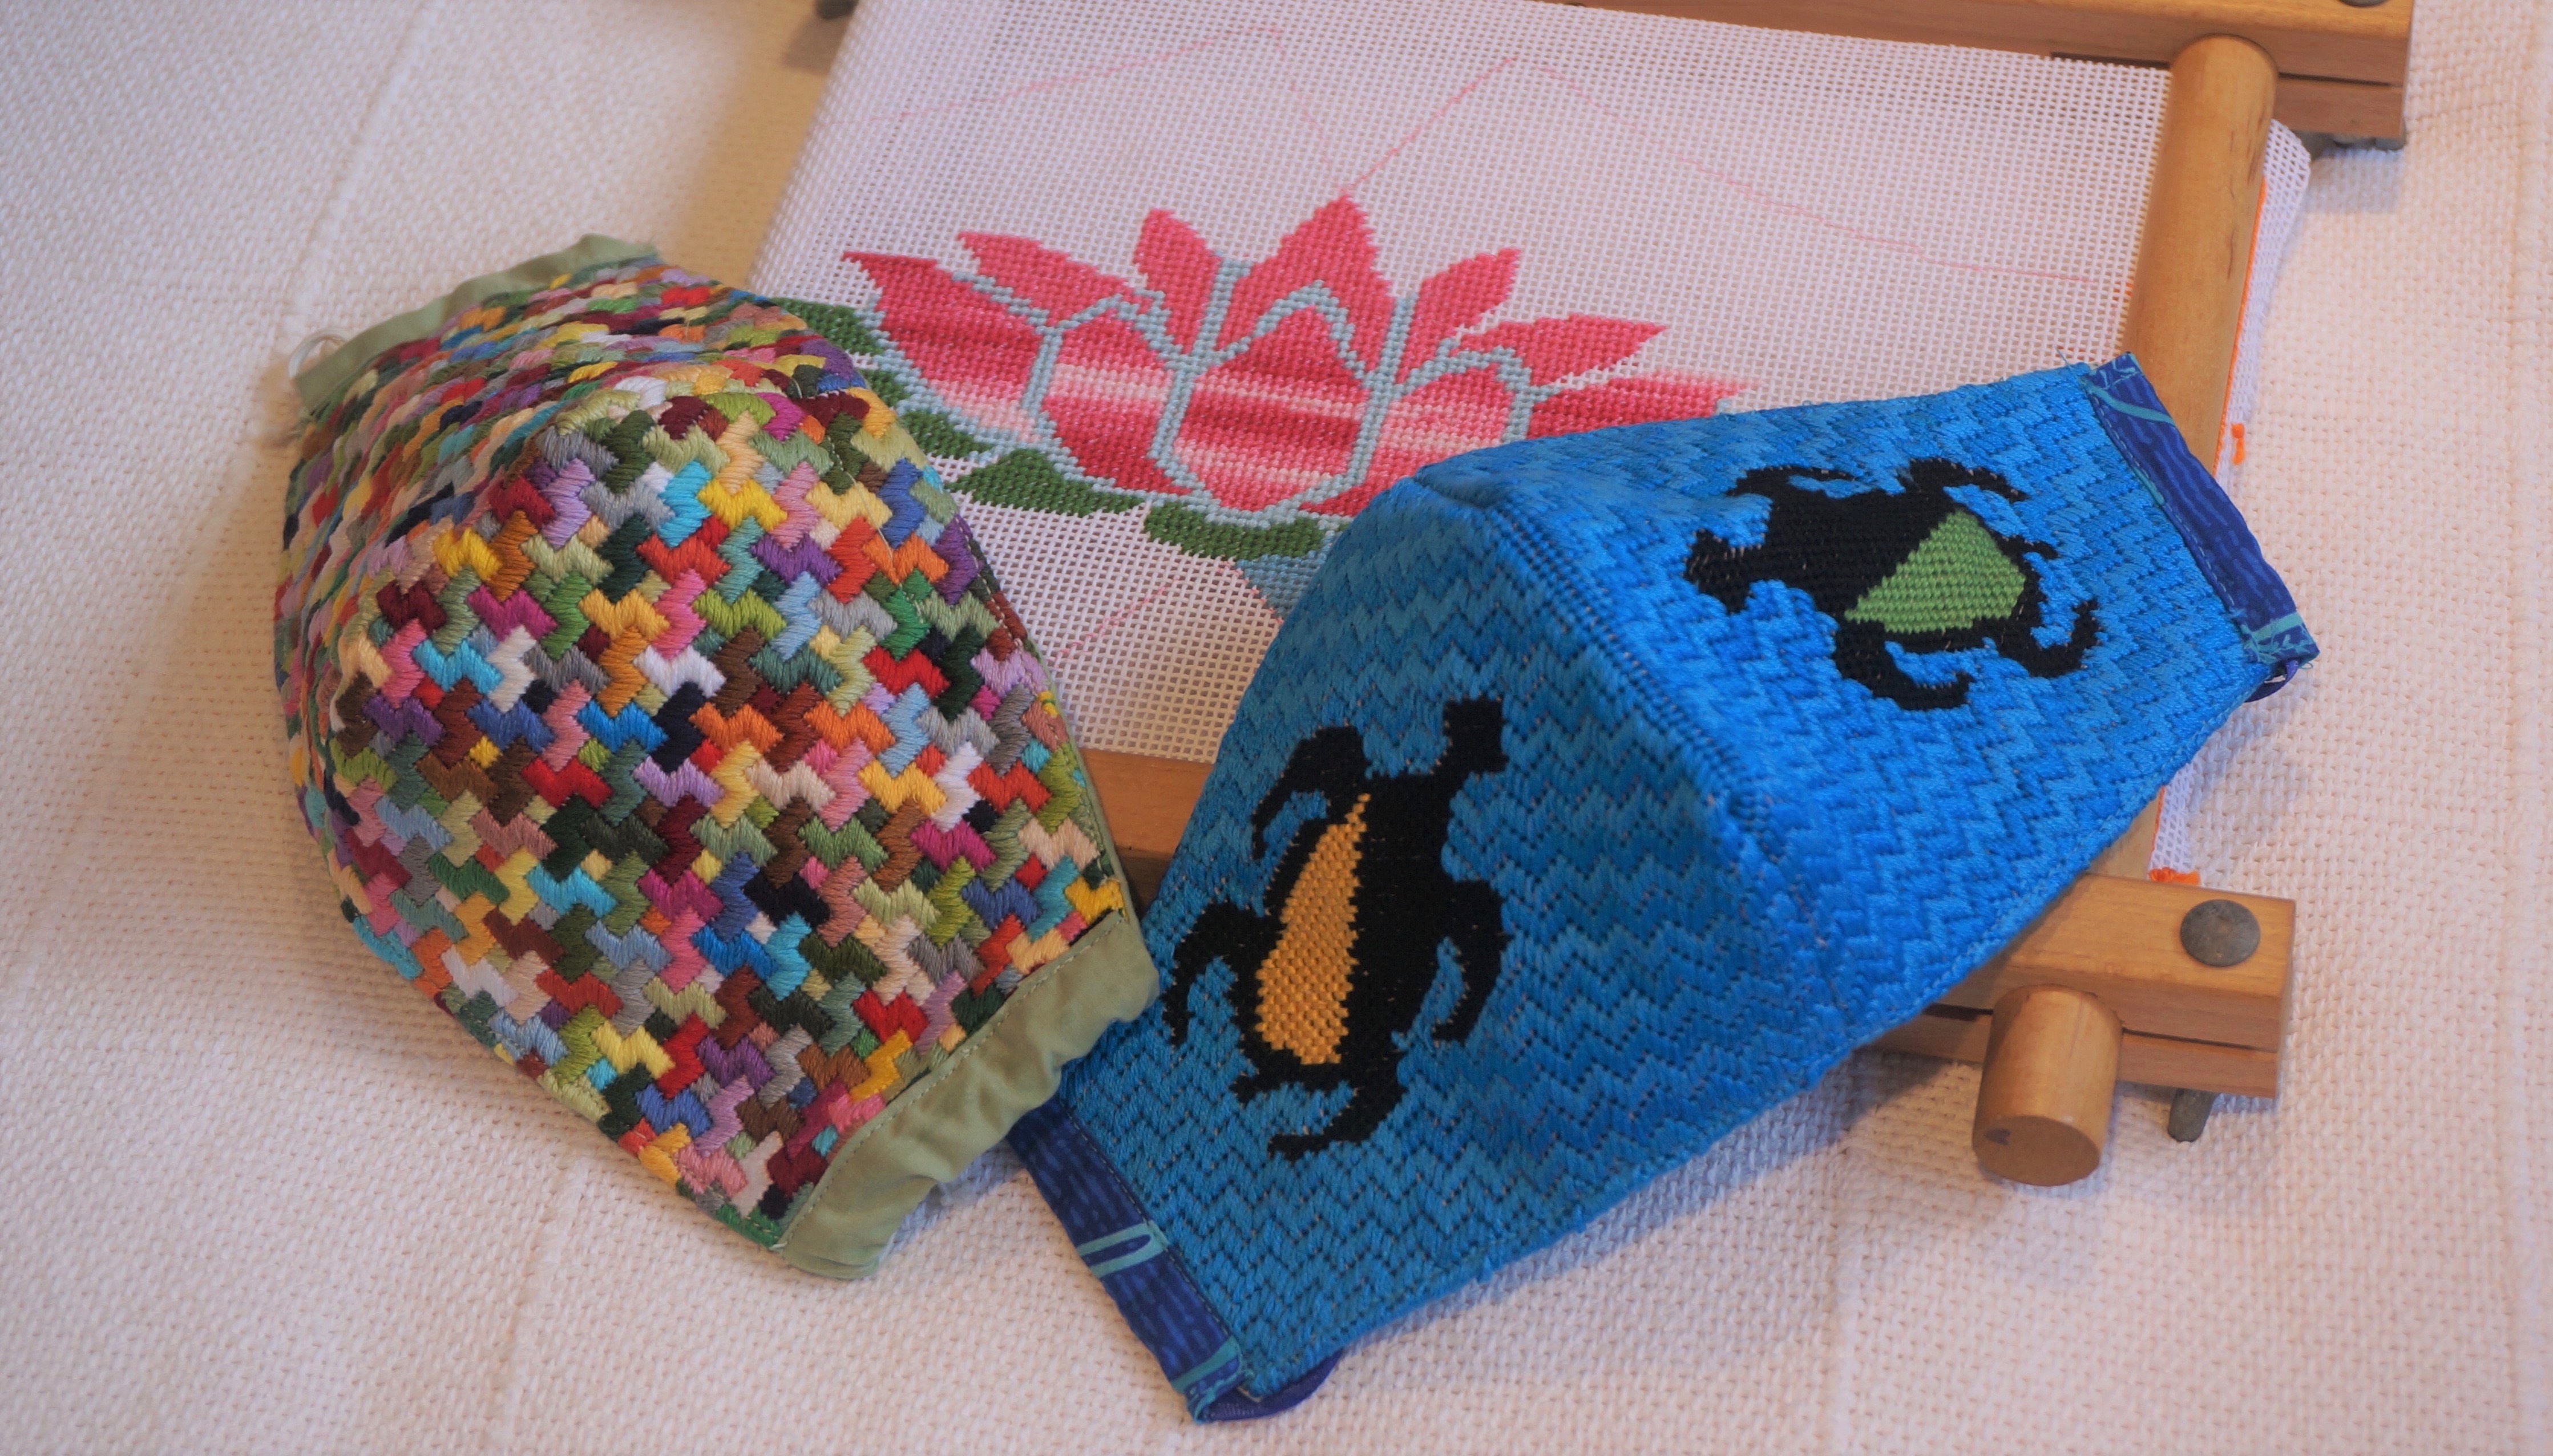
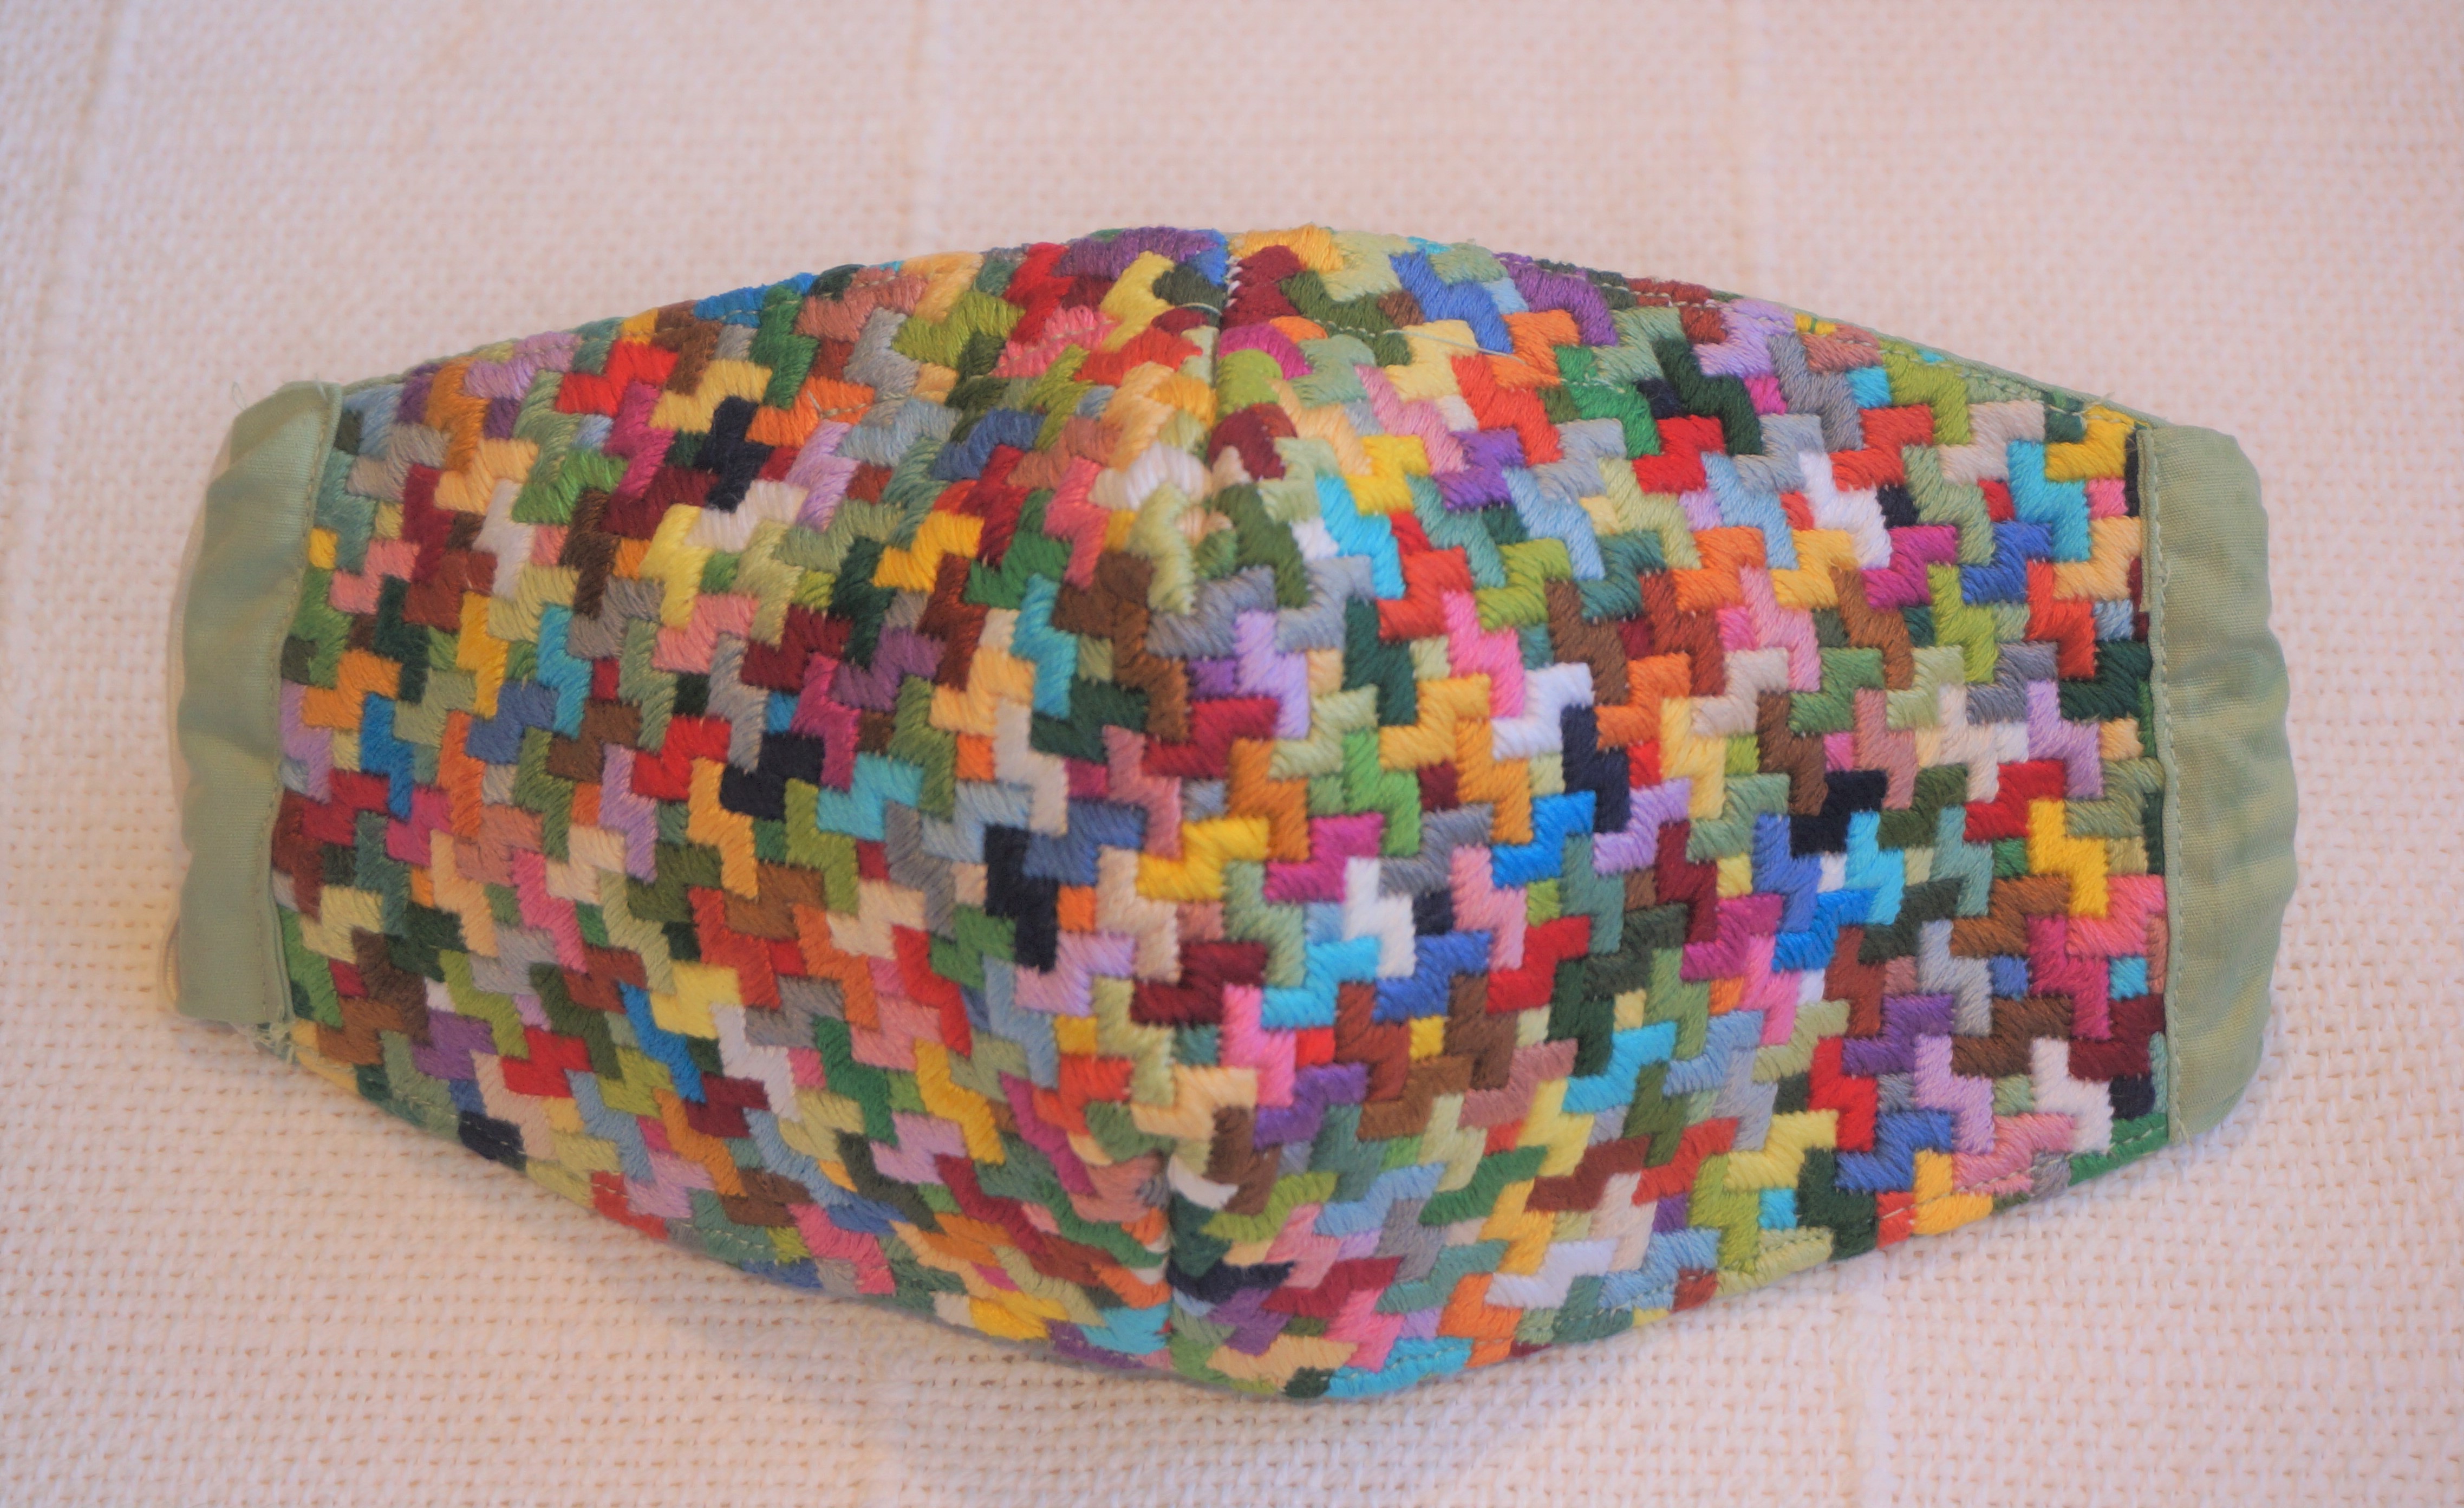
Searching the internet, I found a pattern that I thought would work from PrettyHandyGirl.com. I used the Inside Liner pattern from Pretty Handy Girl and then set to work on my Geometric Mask on 18 mesh canvas using random colors from my stash and a classic background Flat/Tent stitch from A Pageant of Pattern for Needlepoint Canvases by Sherlee Lantz.
The stitching went quickly and soon I was ready to assemble, check the fit, and then wash it. (Finishing options will be the subject of my next blog.) The fit was a little large for me but fit my husband perfectly. Washing was a success. I washed it by hand in Woolite and hot water. Then hung it out to dry. The mask held its shape well, so on to the next one.
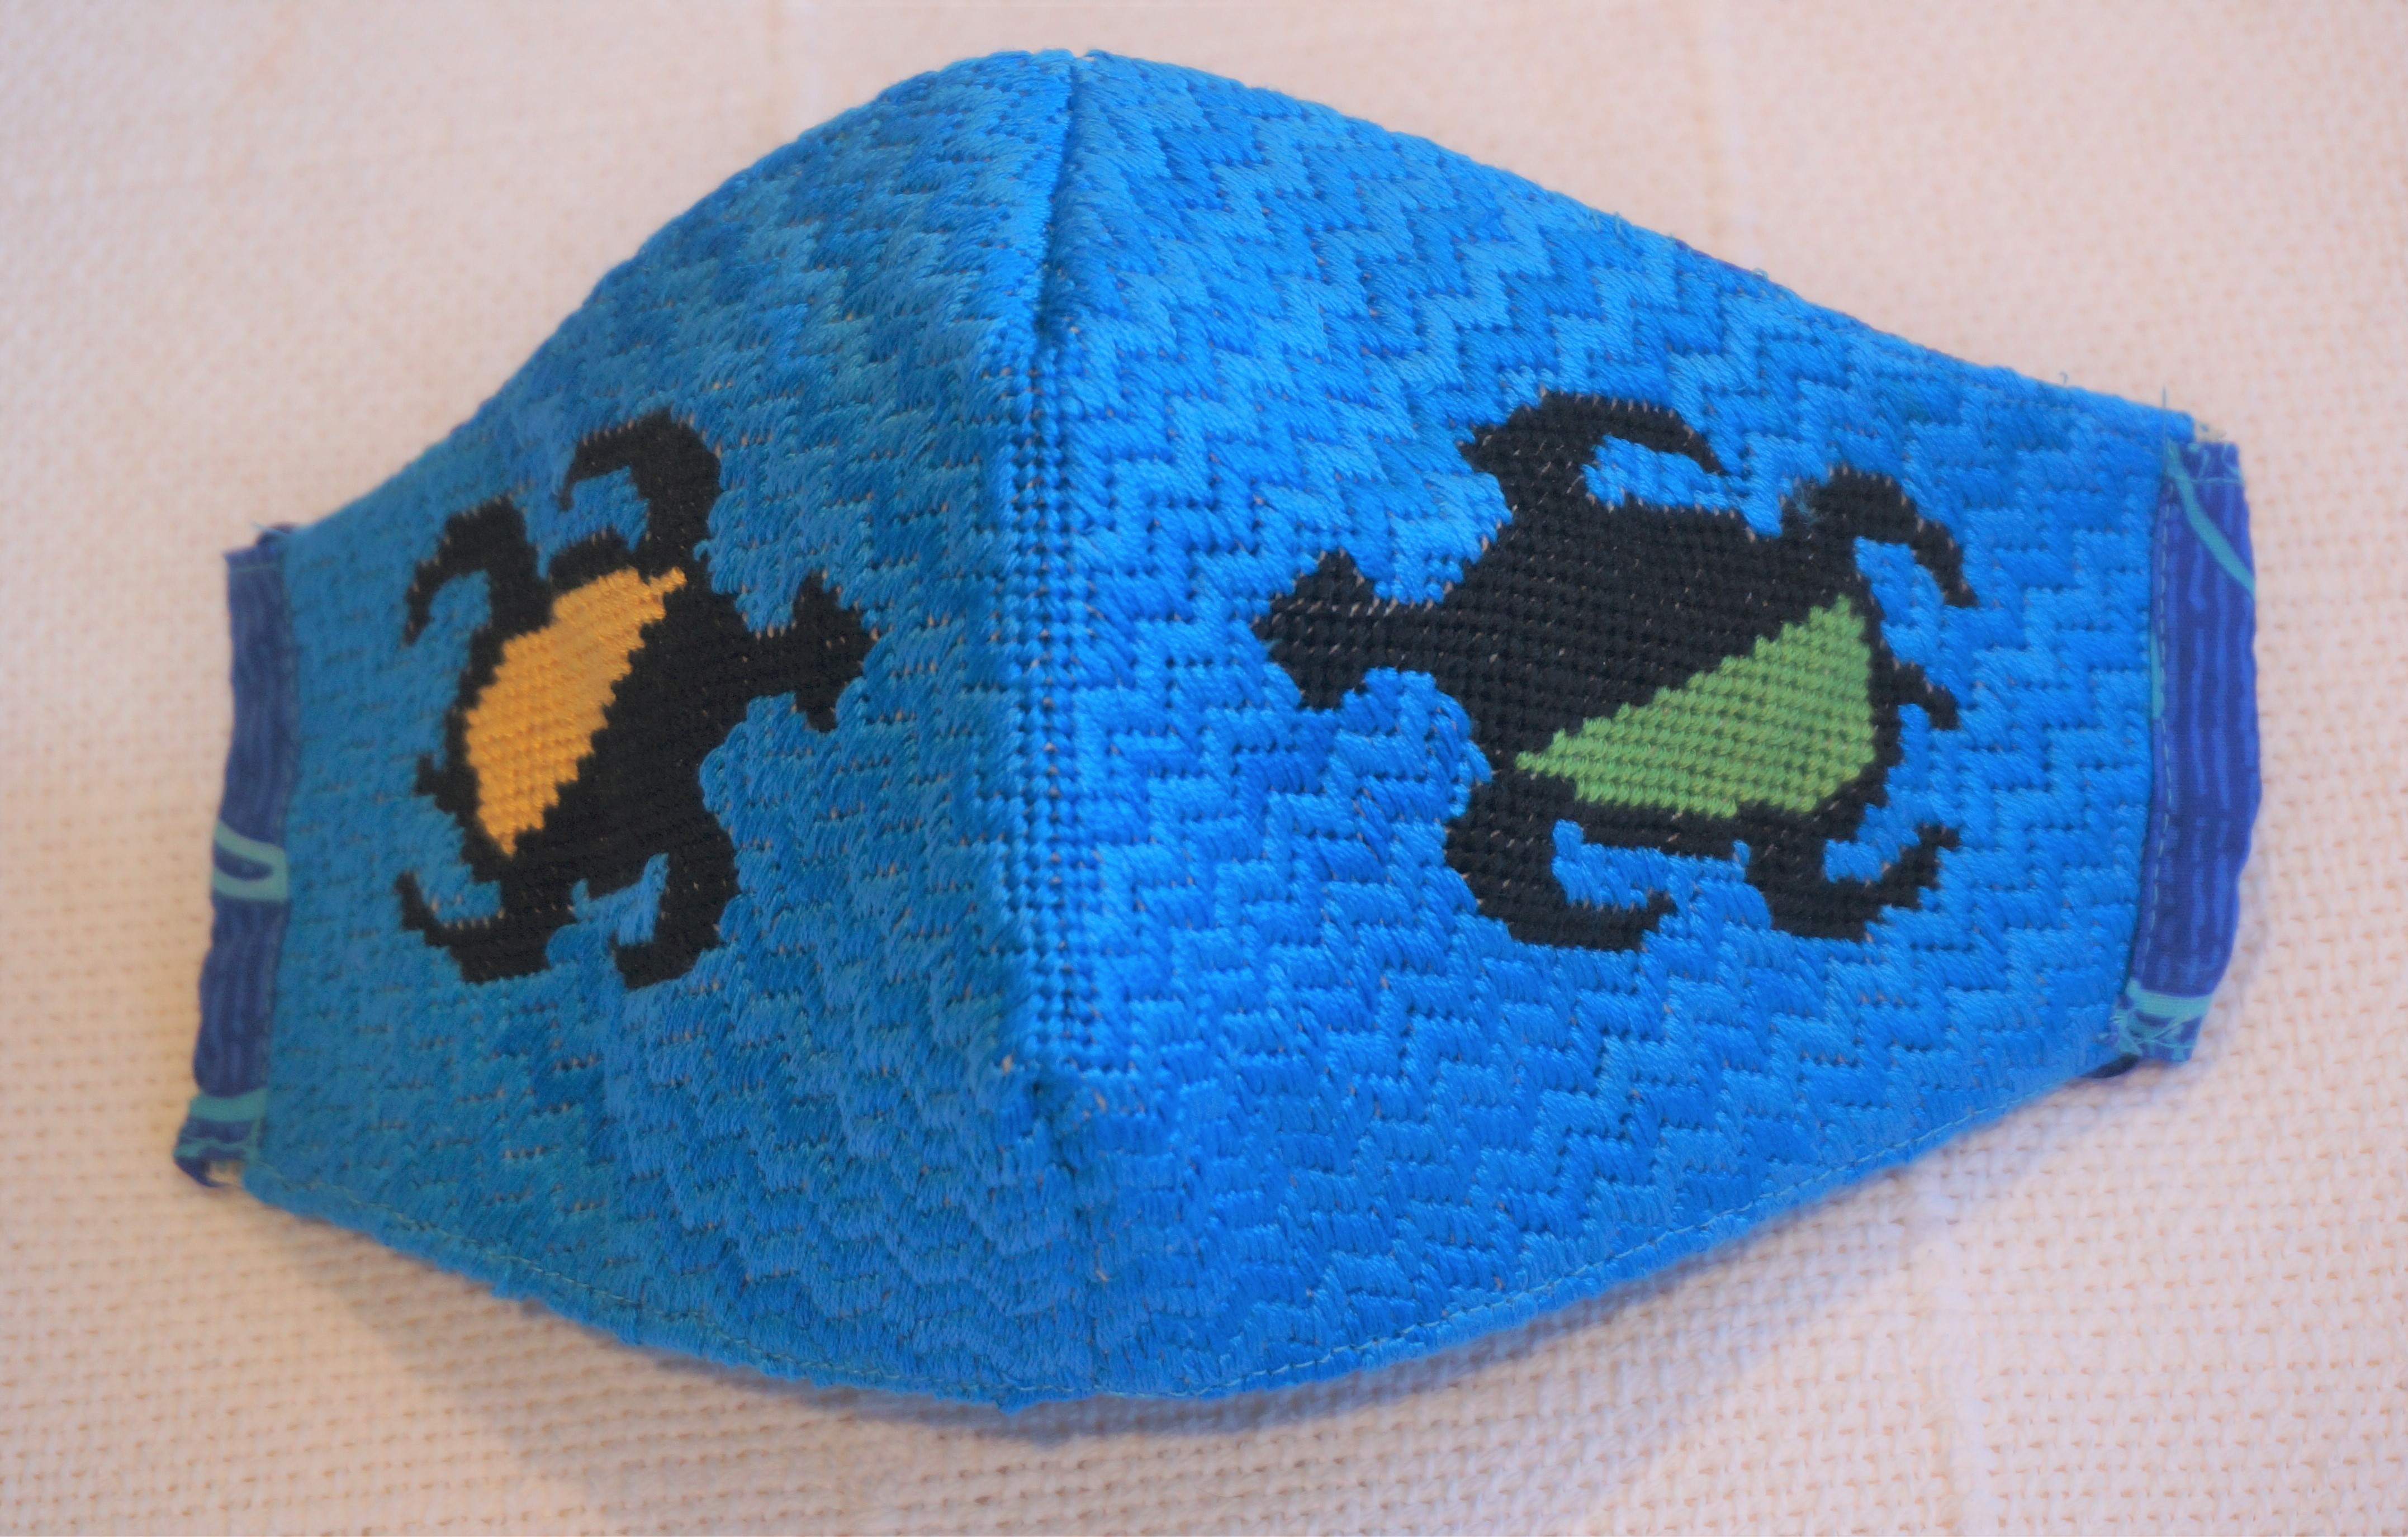
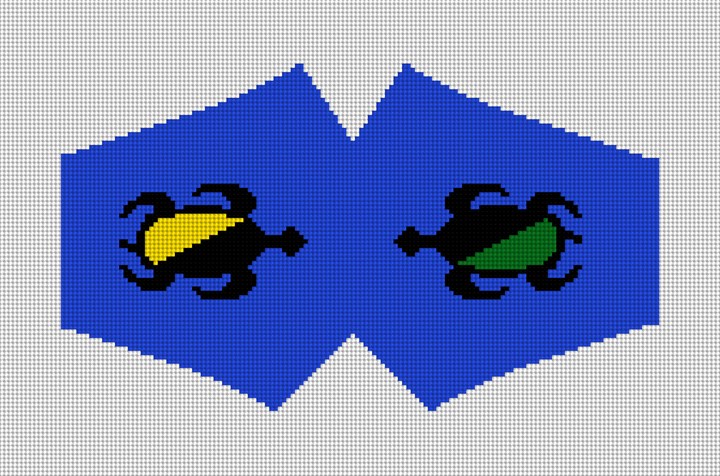
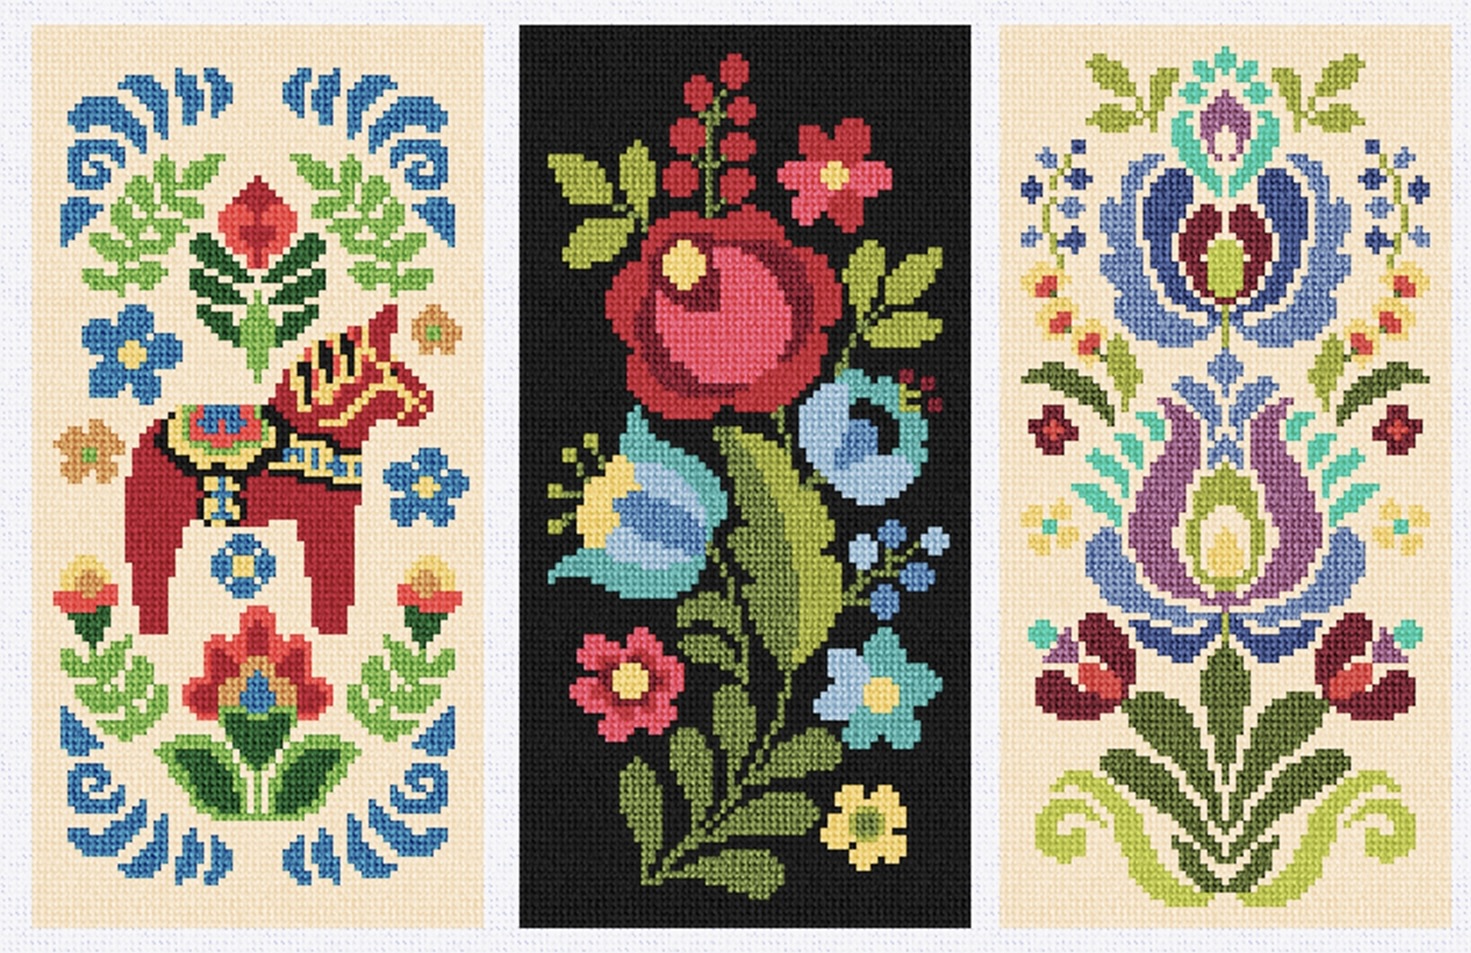
For the next mask, I redrew the pattern to make the top more slanted and picked out a NeedlePaint design used on a hatband – my Hawaiian turtles. The turtles were done on 14 mesh canvas using the continental stitch with the background in alternating rows of the Byzantine stitch from Jo Ippolito Christensen’s The Needlepoint Book.
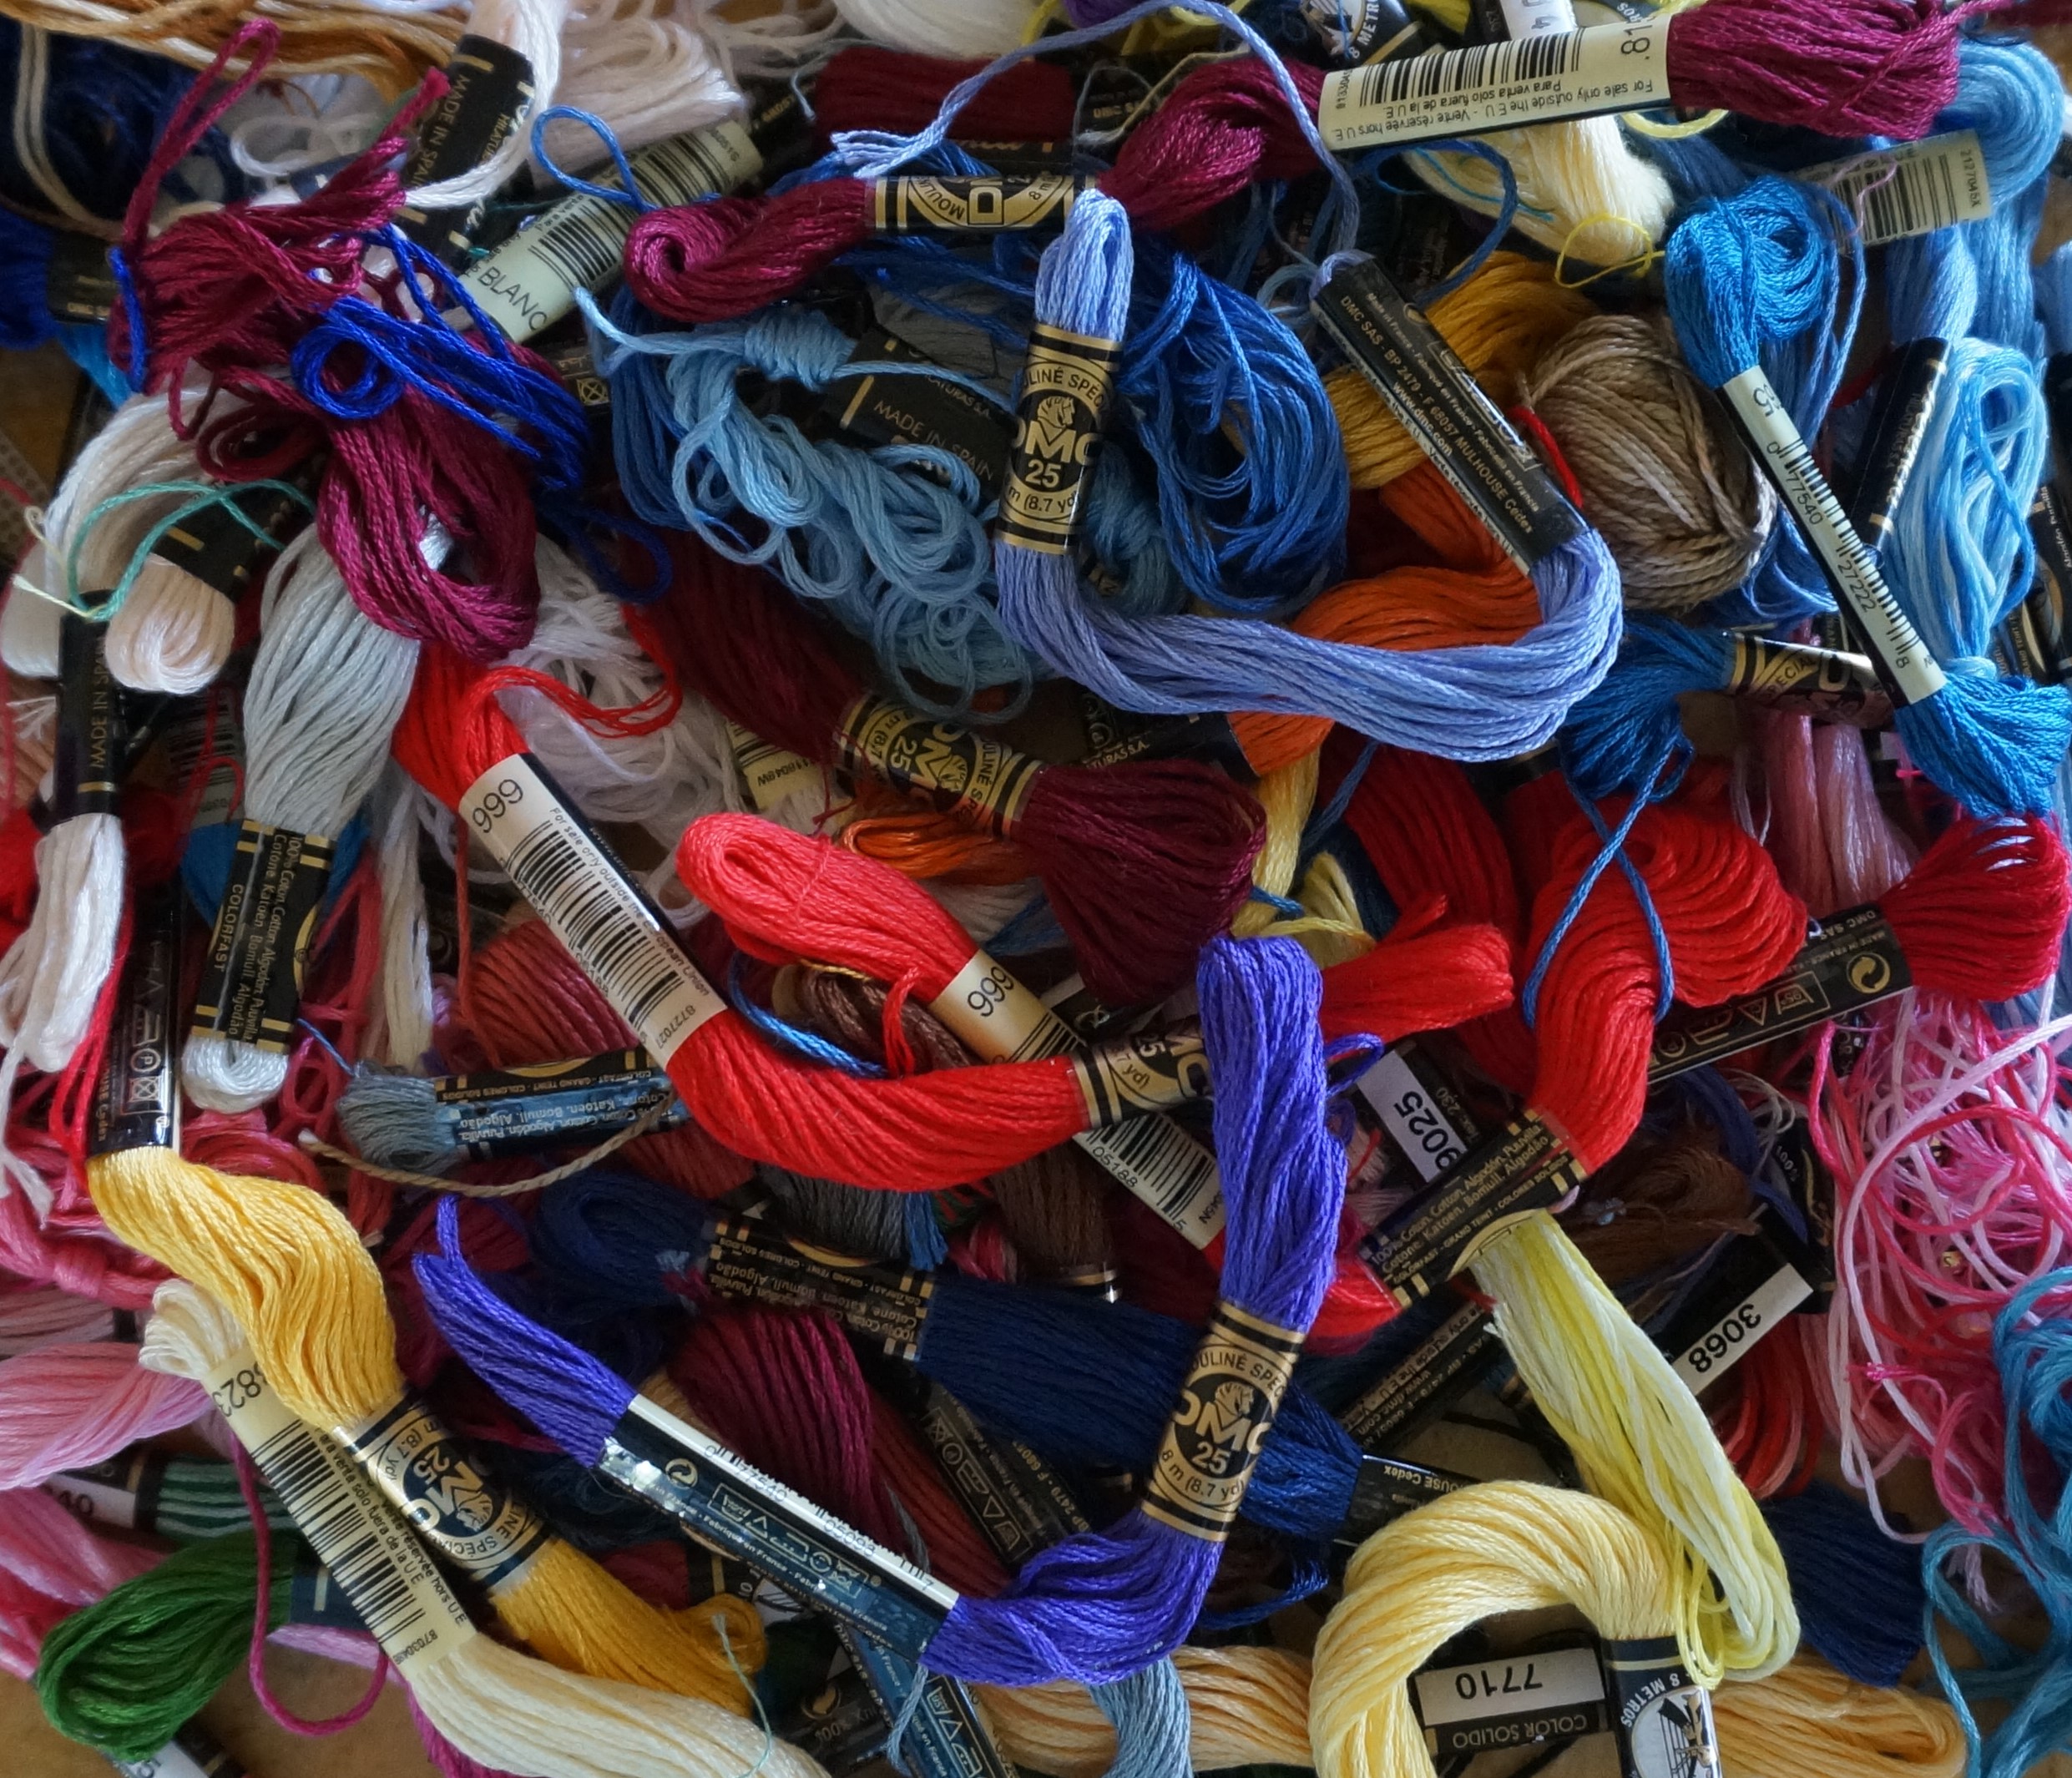
I chose to alternate two different blue threads because that was what I had on hand. Alas, it was not enough and I had to ask for more from the NeedlePaint staff who have been working tirelessly to keep shipping orders while I am in lockdown elsewhere. Many thanks to them!
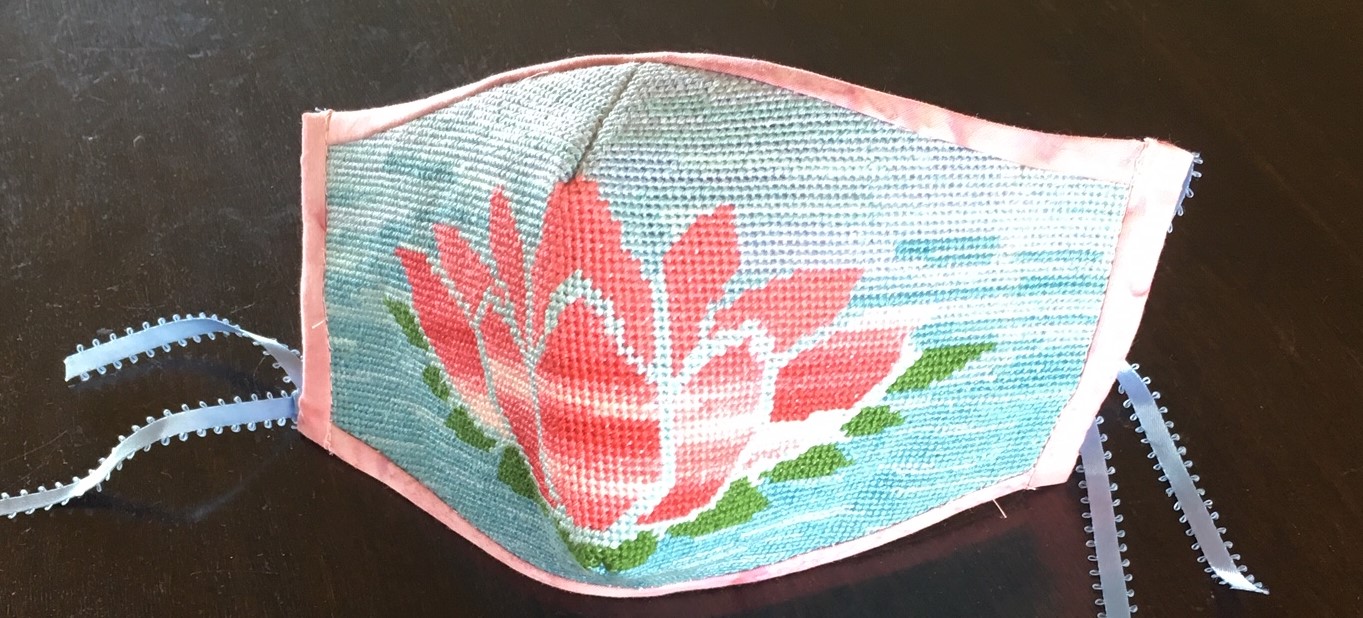
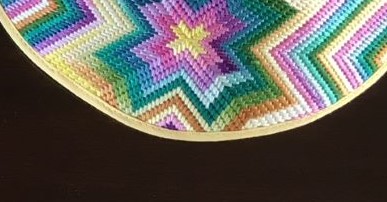
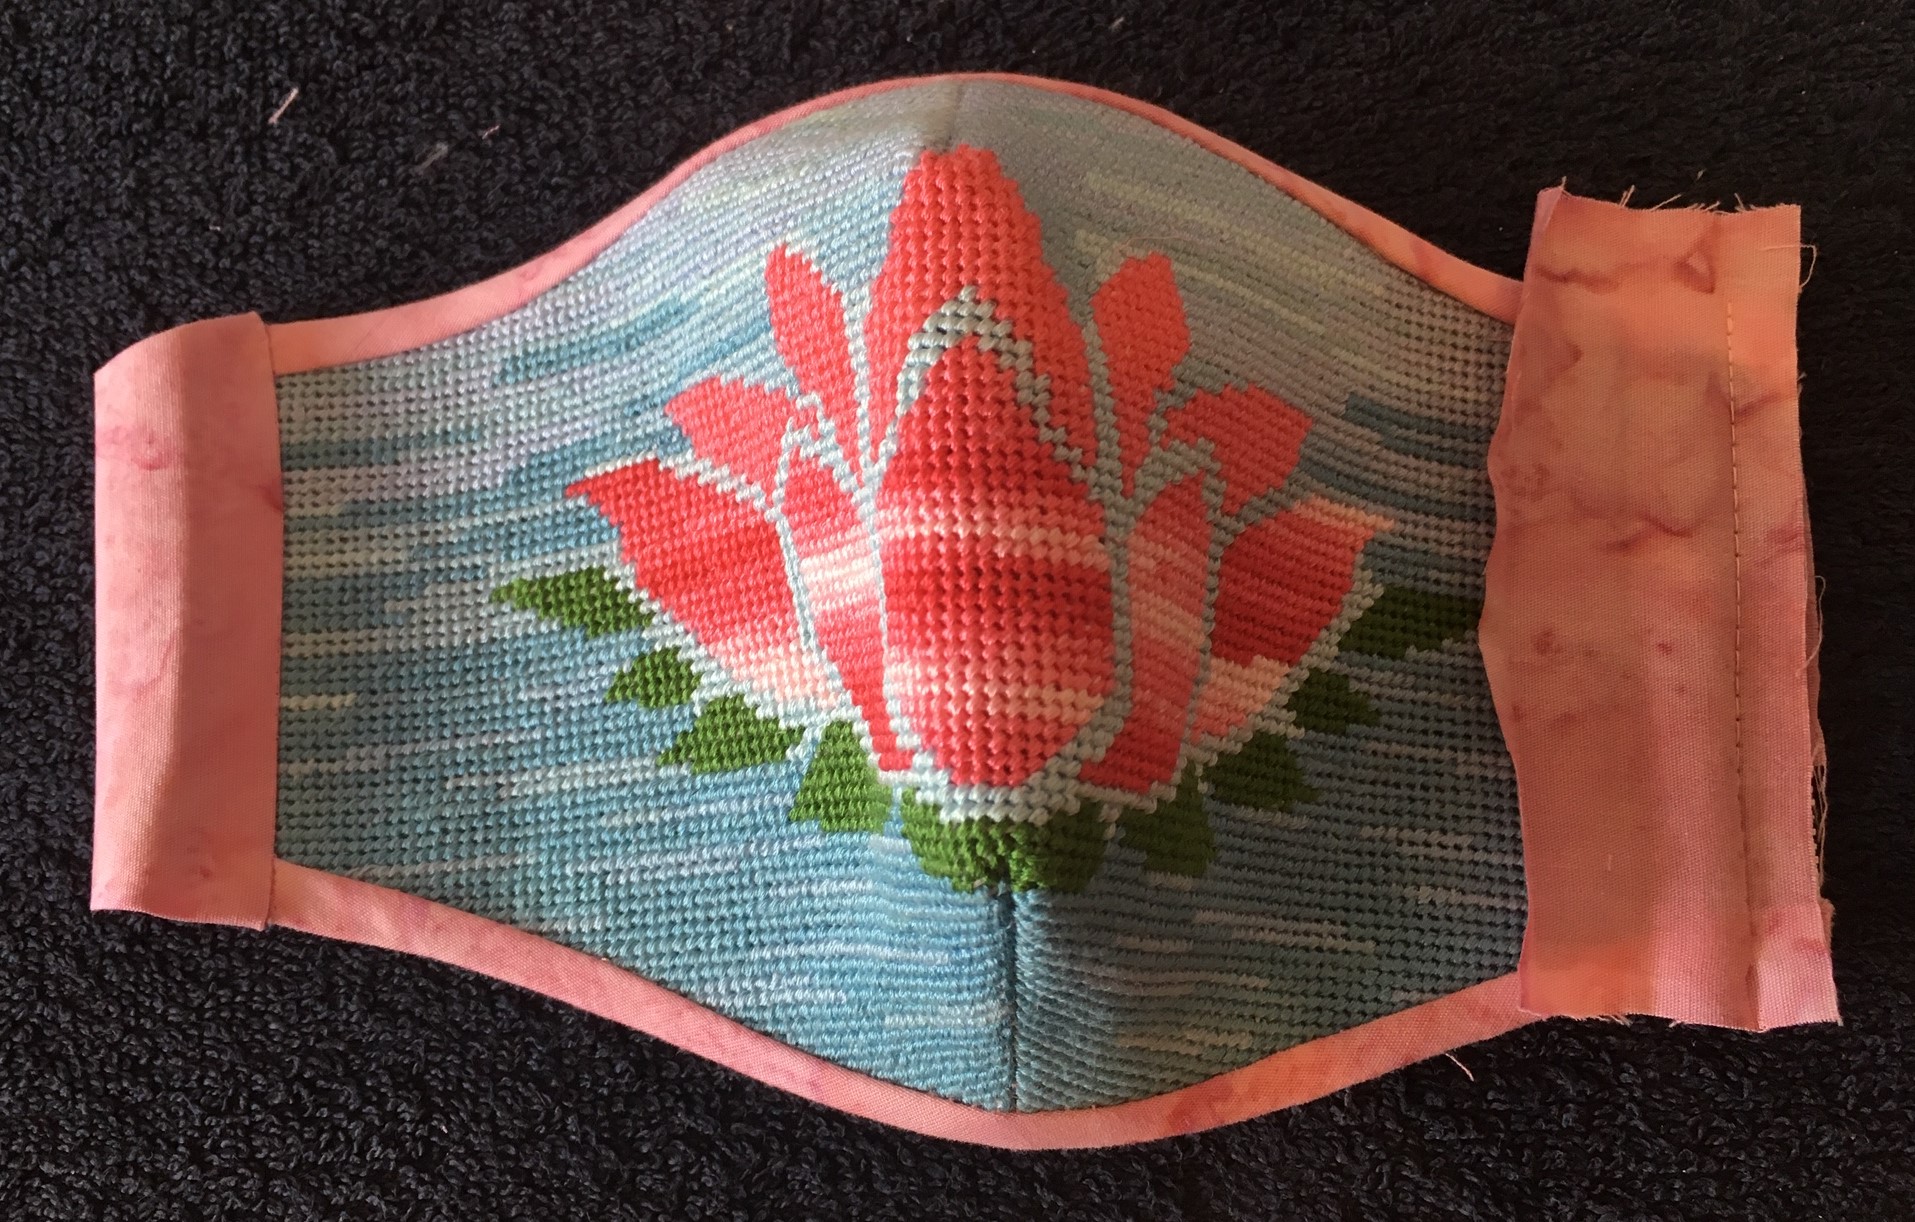
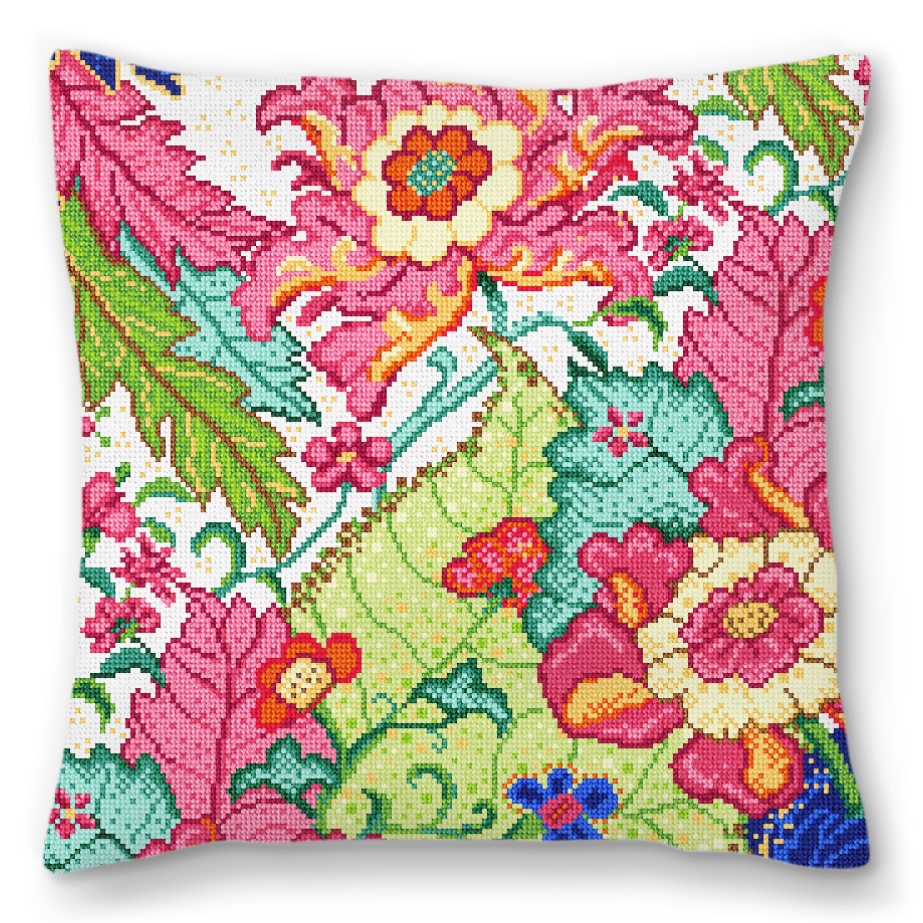
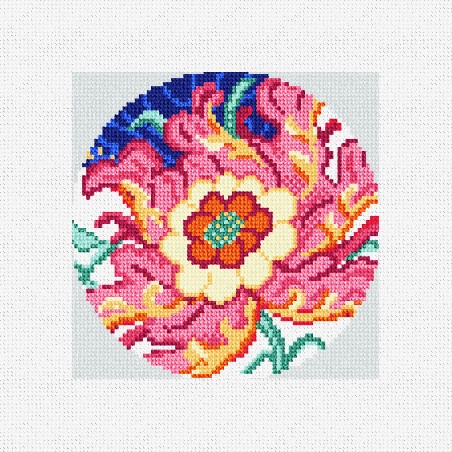
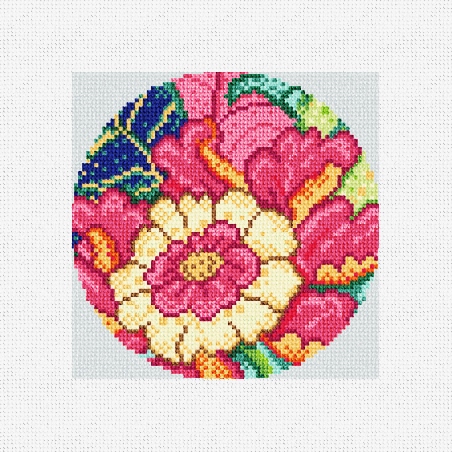
I am now on my third mask – the lotus blossom shown in the photo at the top of the blog.
Now, sewing it up!
Remember your mask will not be a replacement for an N95 or surgical mask.
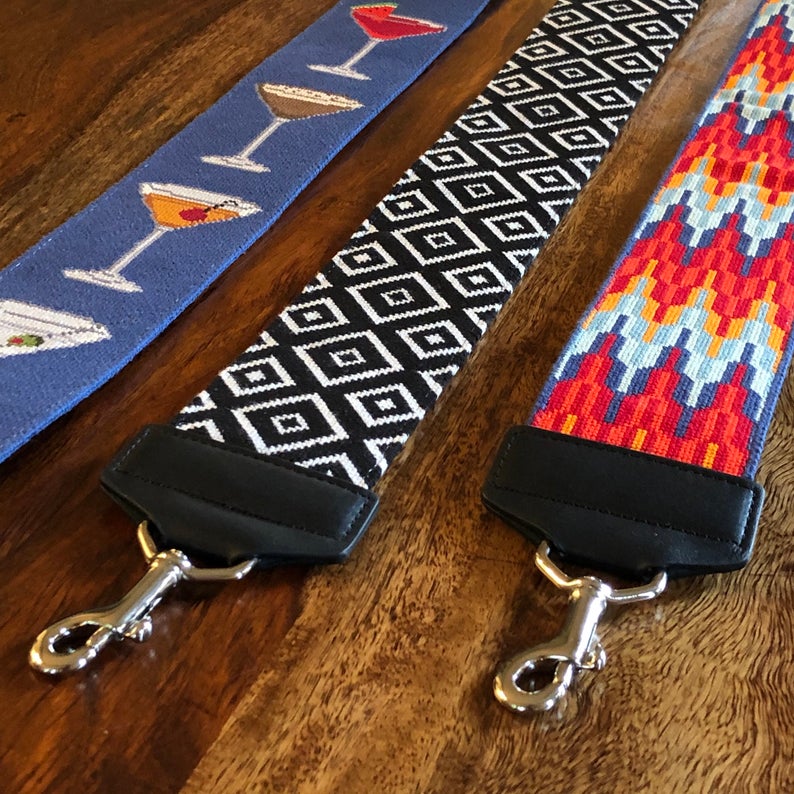
There are a couple options to consider assembling your NeedlePaint mask – a filter pocket and nose clip. Pretty Handy Girl describes the material choices for the nose clip and straps. I agree with her recommendation to use the coffee bag flat ties for the nose clip. I am not a coffee drinker but luckily my husband is. However, her other suggestion works too. Her discussion of adjustable strap materials is very good. Due to unavailability of any of the materials suggested, I have been opted for ¼ inch ribbons of which I have a stash.
The materials needed are:
- Cotton fabric for liner and strap trim
- Cotton fabric for filter pocket (optional)
- Ear strap material
- Nose clip material (optional)
- ¼ in double fold bias tape or cotton fabric for homemade bias strip
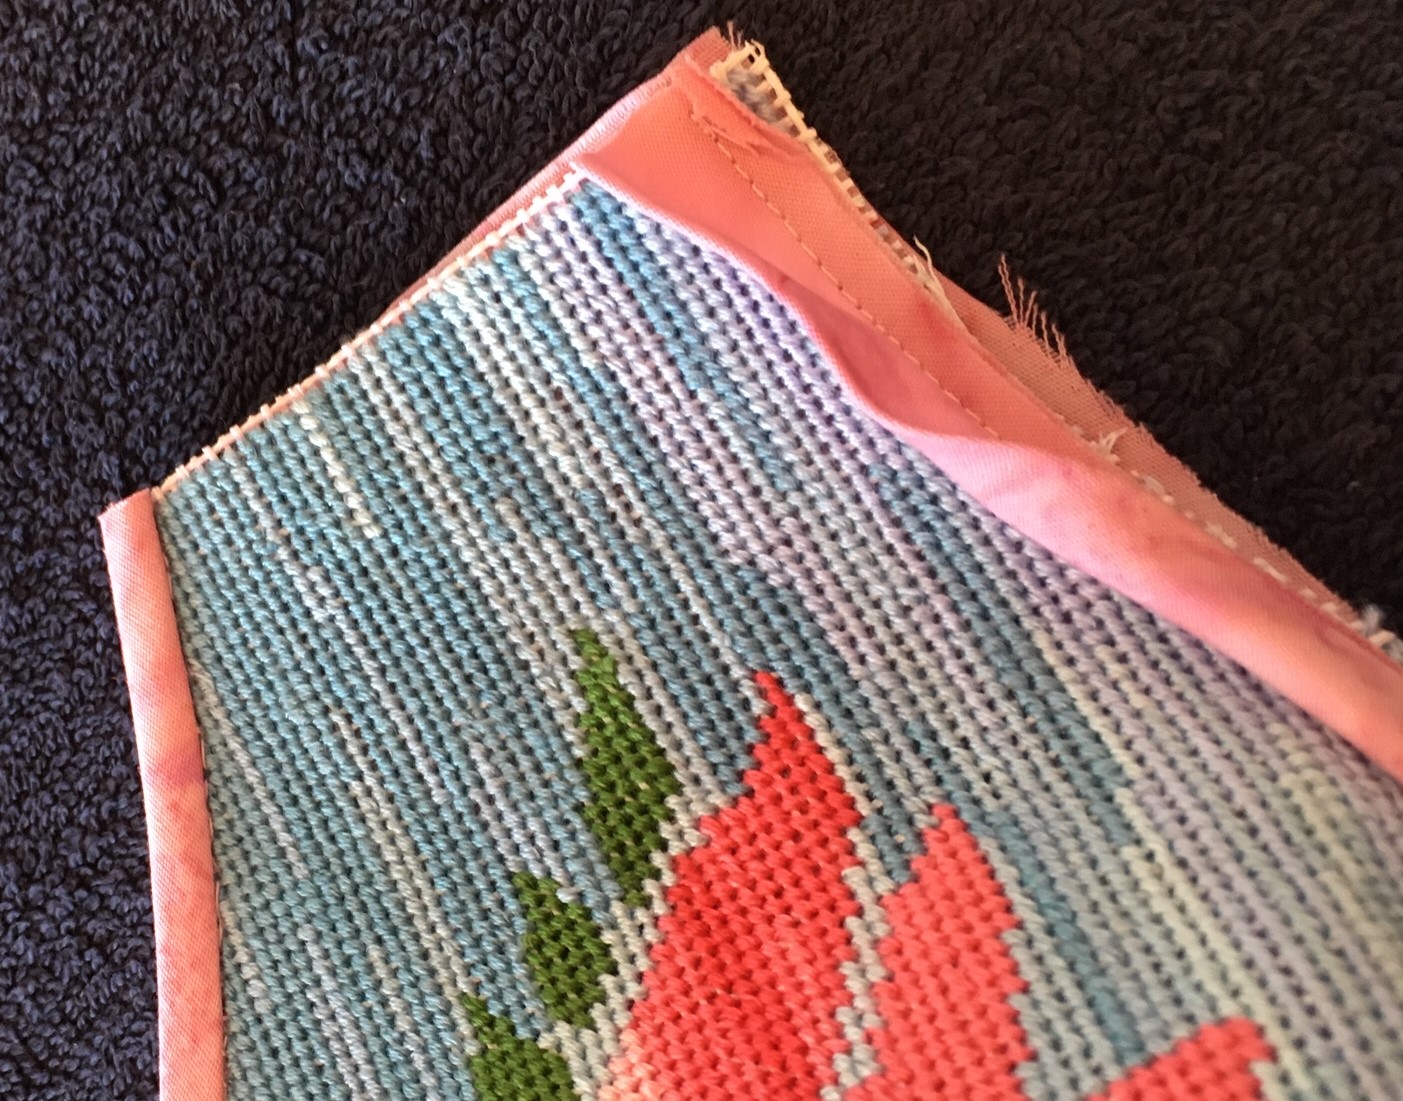
Step 1. After blocking the finished canvas, trim away excess canvas leaving no more than 1/8” of blank canvas. Place on liner material with straight cheek edges aligning with the straight grain of the fabric. Cut one liner.
For optional filter pocket, cut a second liner of the same size.
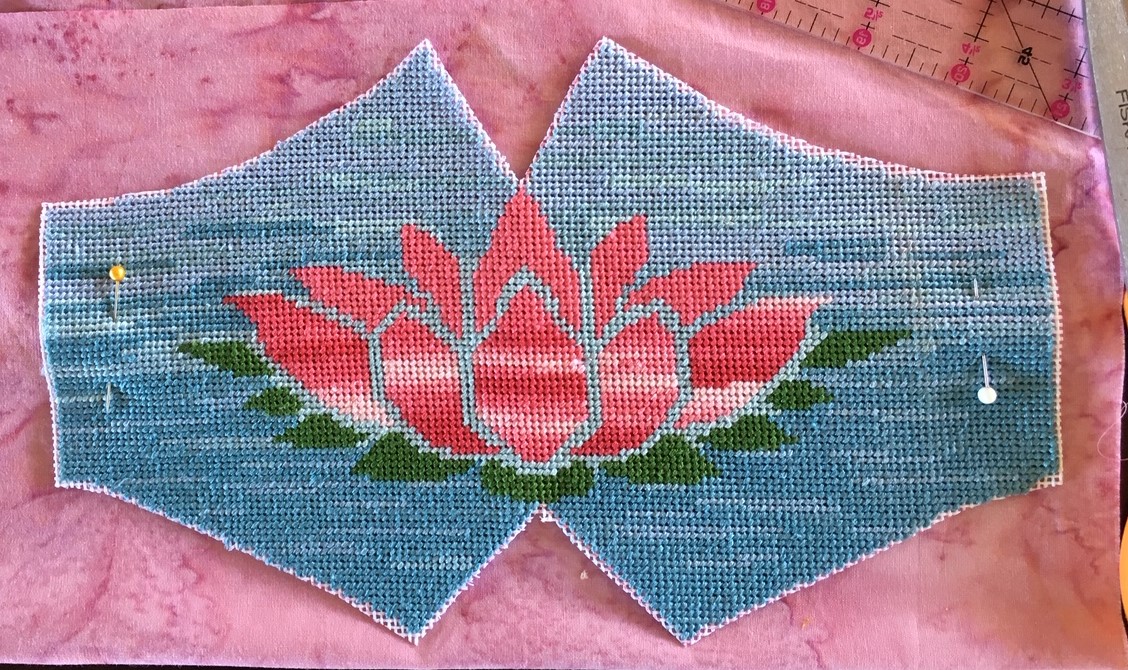
Step 2. Fold the canvas along center line with right-side together, matching the two upper nose points and the two lower chin points. Stitch 3/8” seam and press open. Repeat for liners and optional filter pocket.
If using the filter pocket, sew a ½” hem on each cheek edge.
Step 3. Optional Nose Clip
Cut a piece of fabric 1” by ½” longer than the selected nose clip. Sew a ¼” hem on each short edge of this fabric nose sleeve. Place the nose sleeve on the liner or filter pocket centered ½” below the nose seam. Sew in place. Press so long edge lines up with top of liner or pocket.
The nose clip will be inserted after the rest of the assembly is completed.
Step 4. Align NeedlePaint mask and liner with wrong sides together. If including filter pocket, place the pocket on top of the liner. Match nose and chin seams. Baste together.
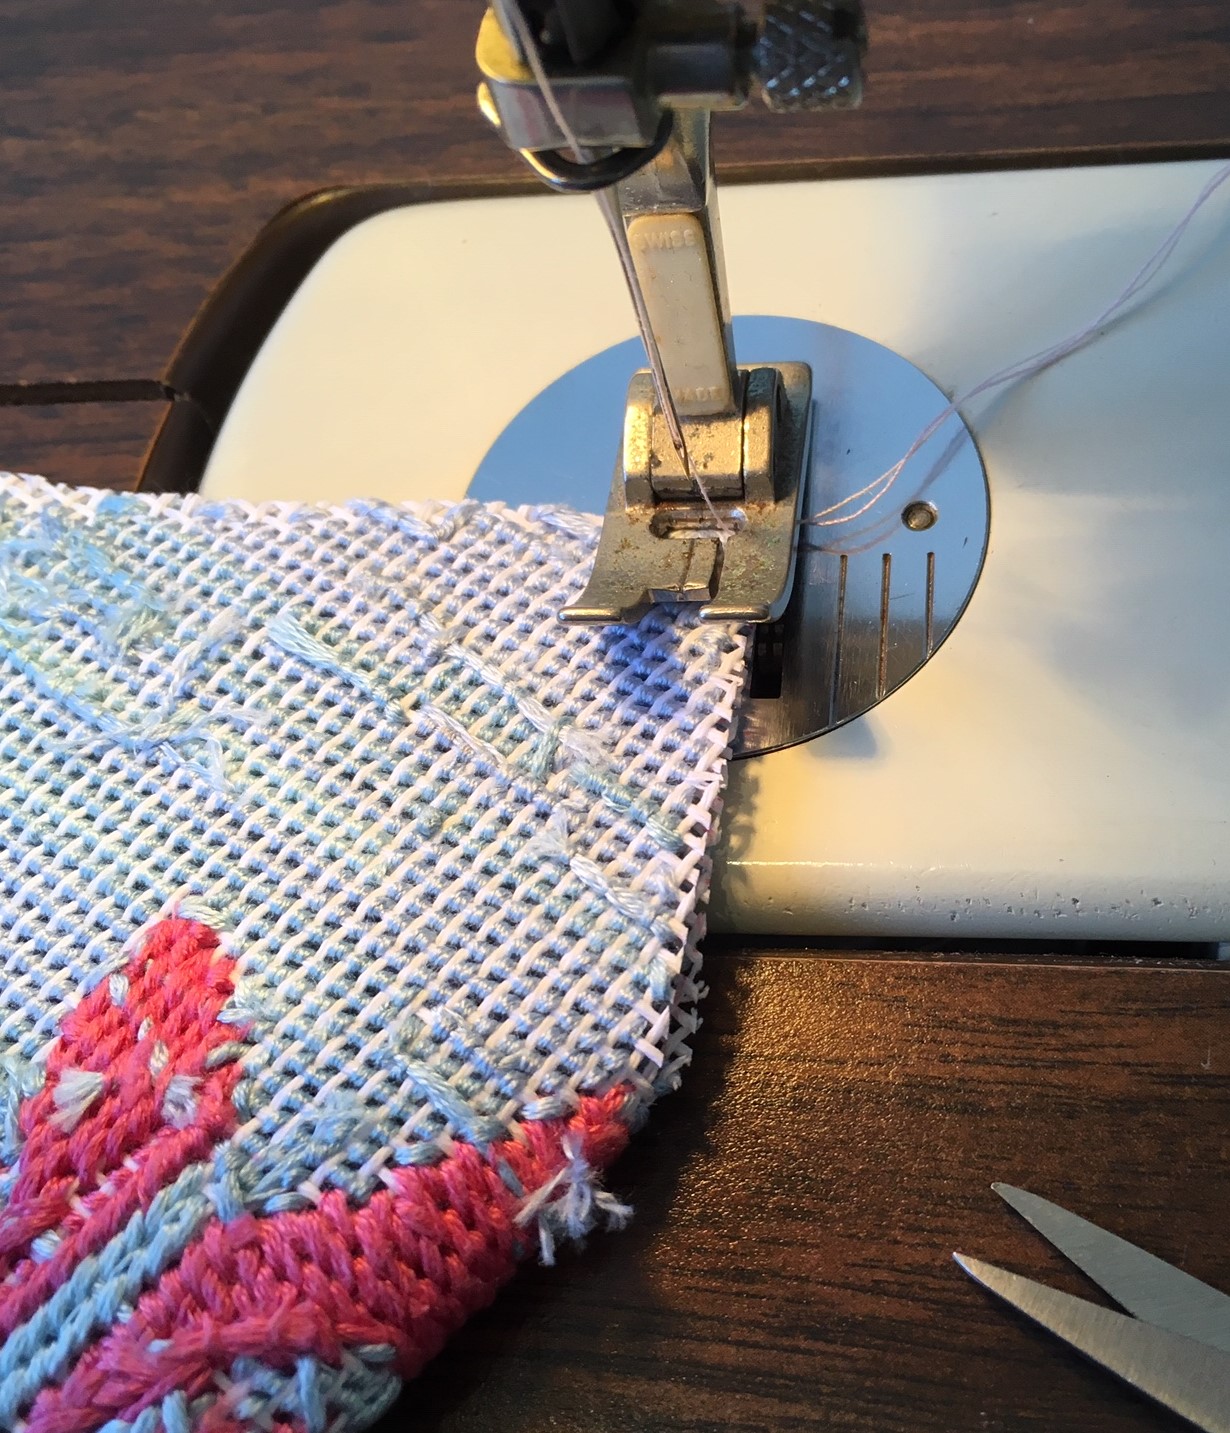
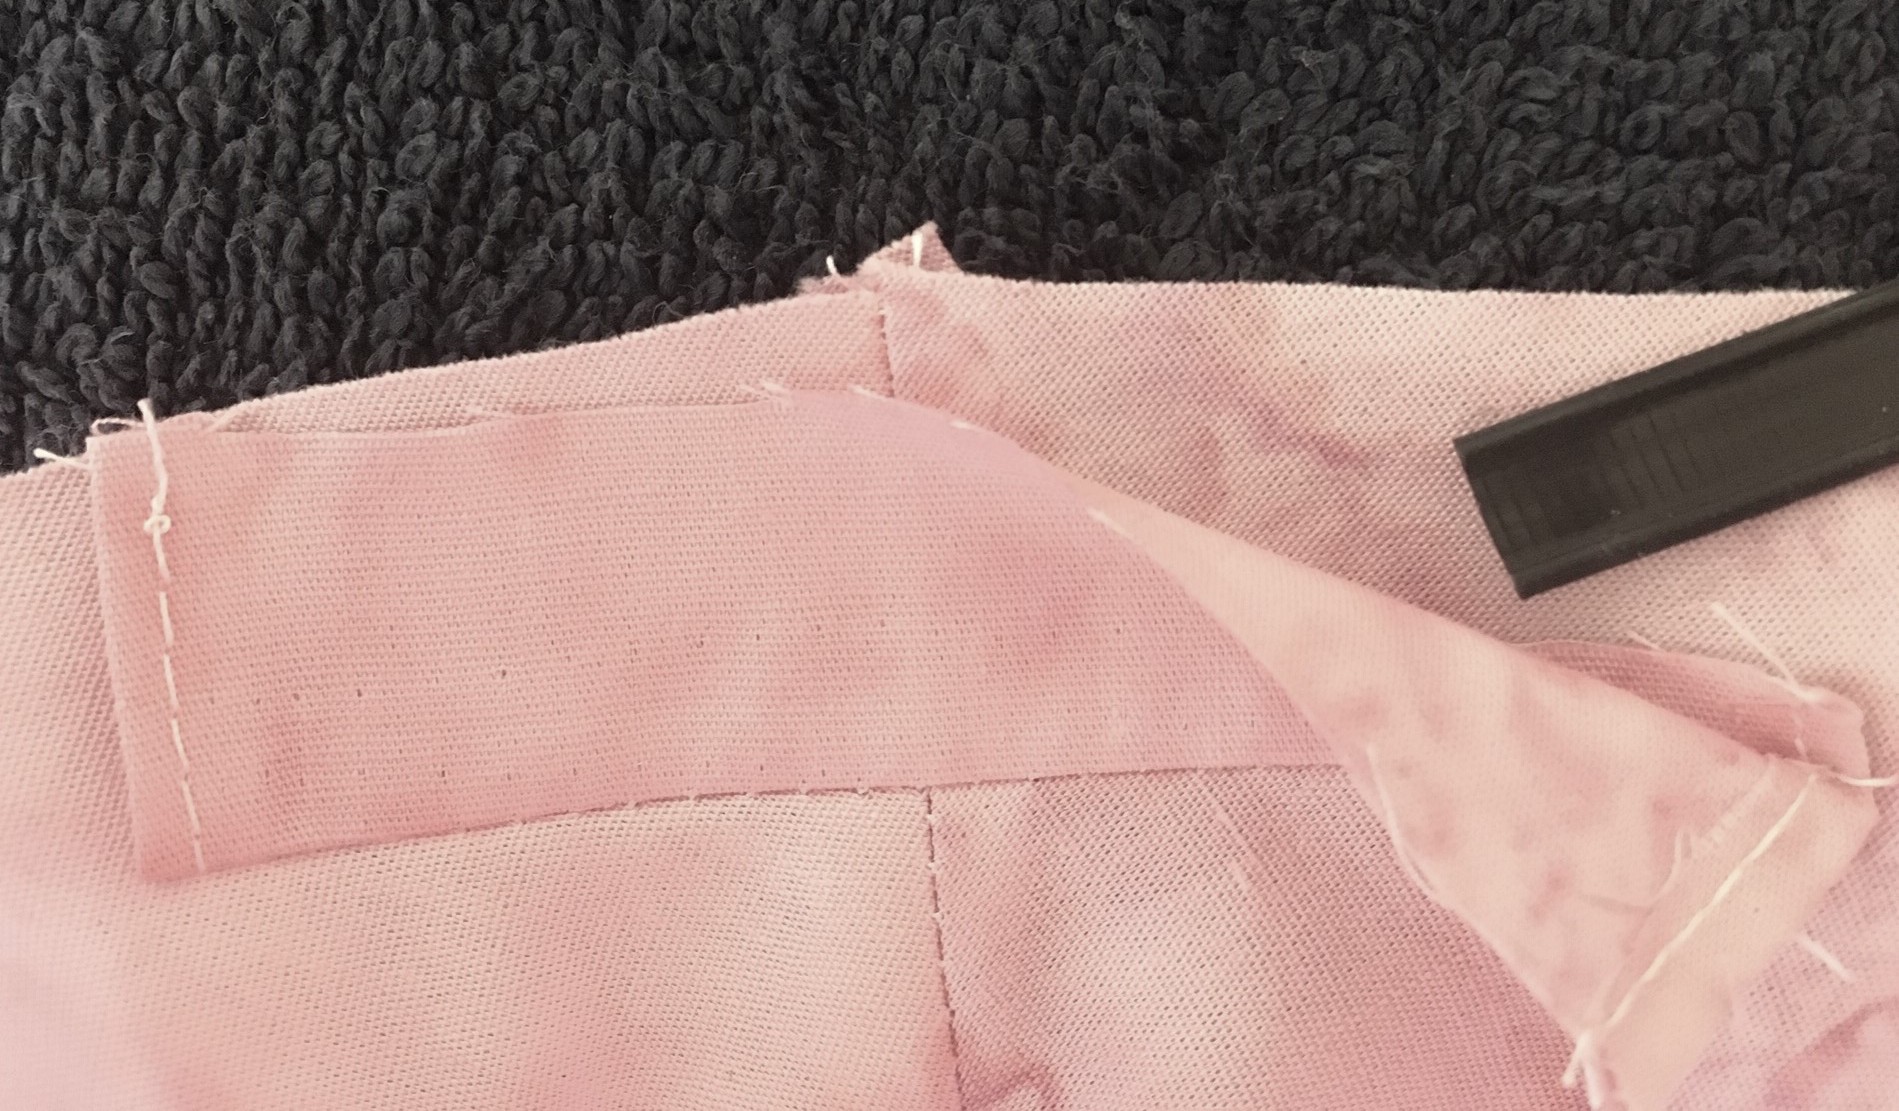
Bind the upper and lower edges of the mask with the bias tape or strips. If using ¼” double fold tape, place over the edge of the mask and liner (and optional pocket) and stitch through all thicknesses.
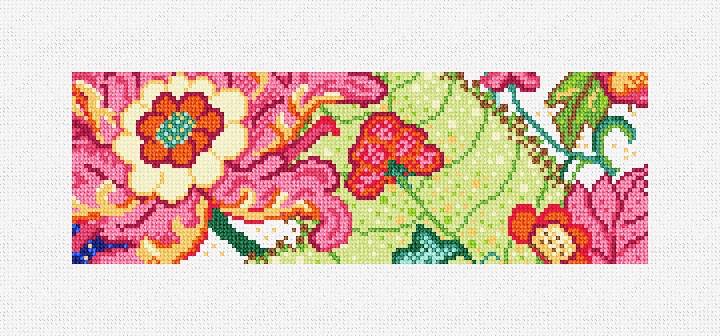
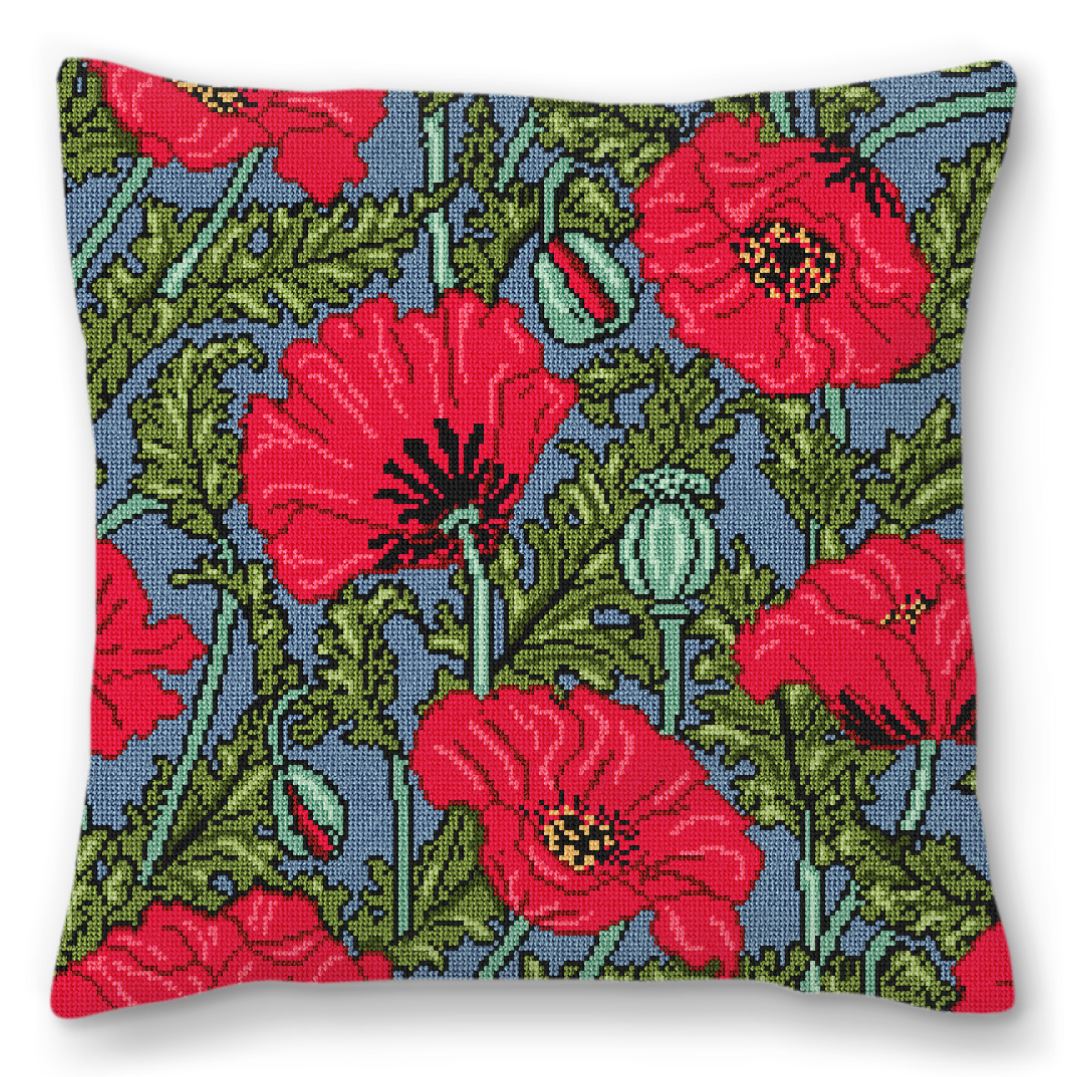
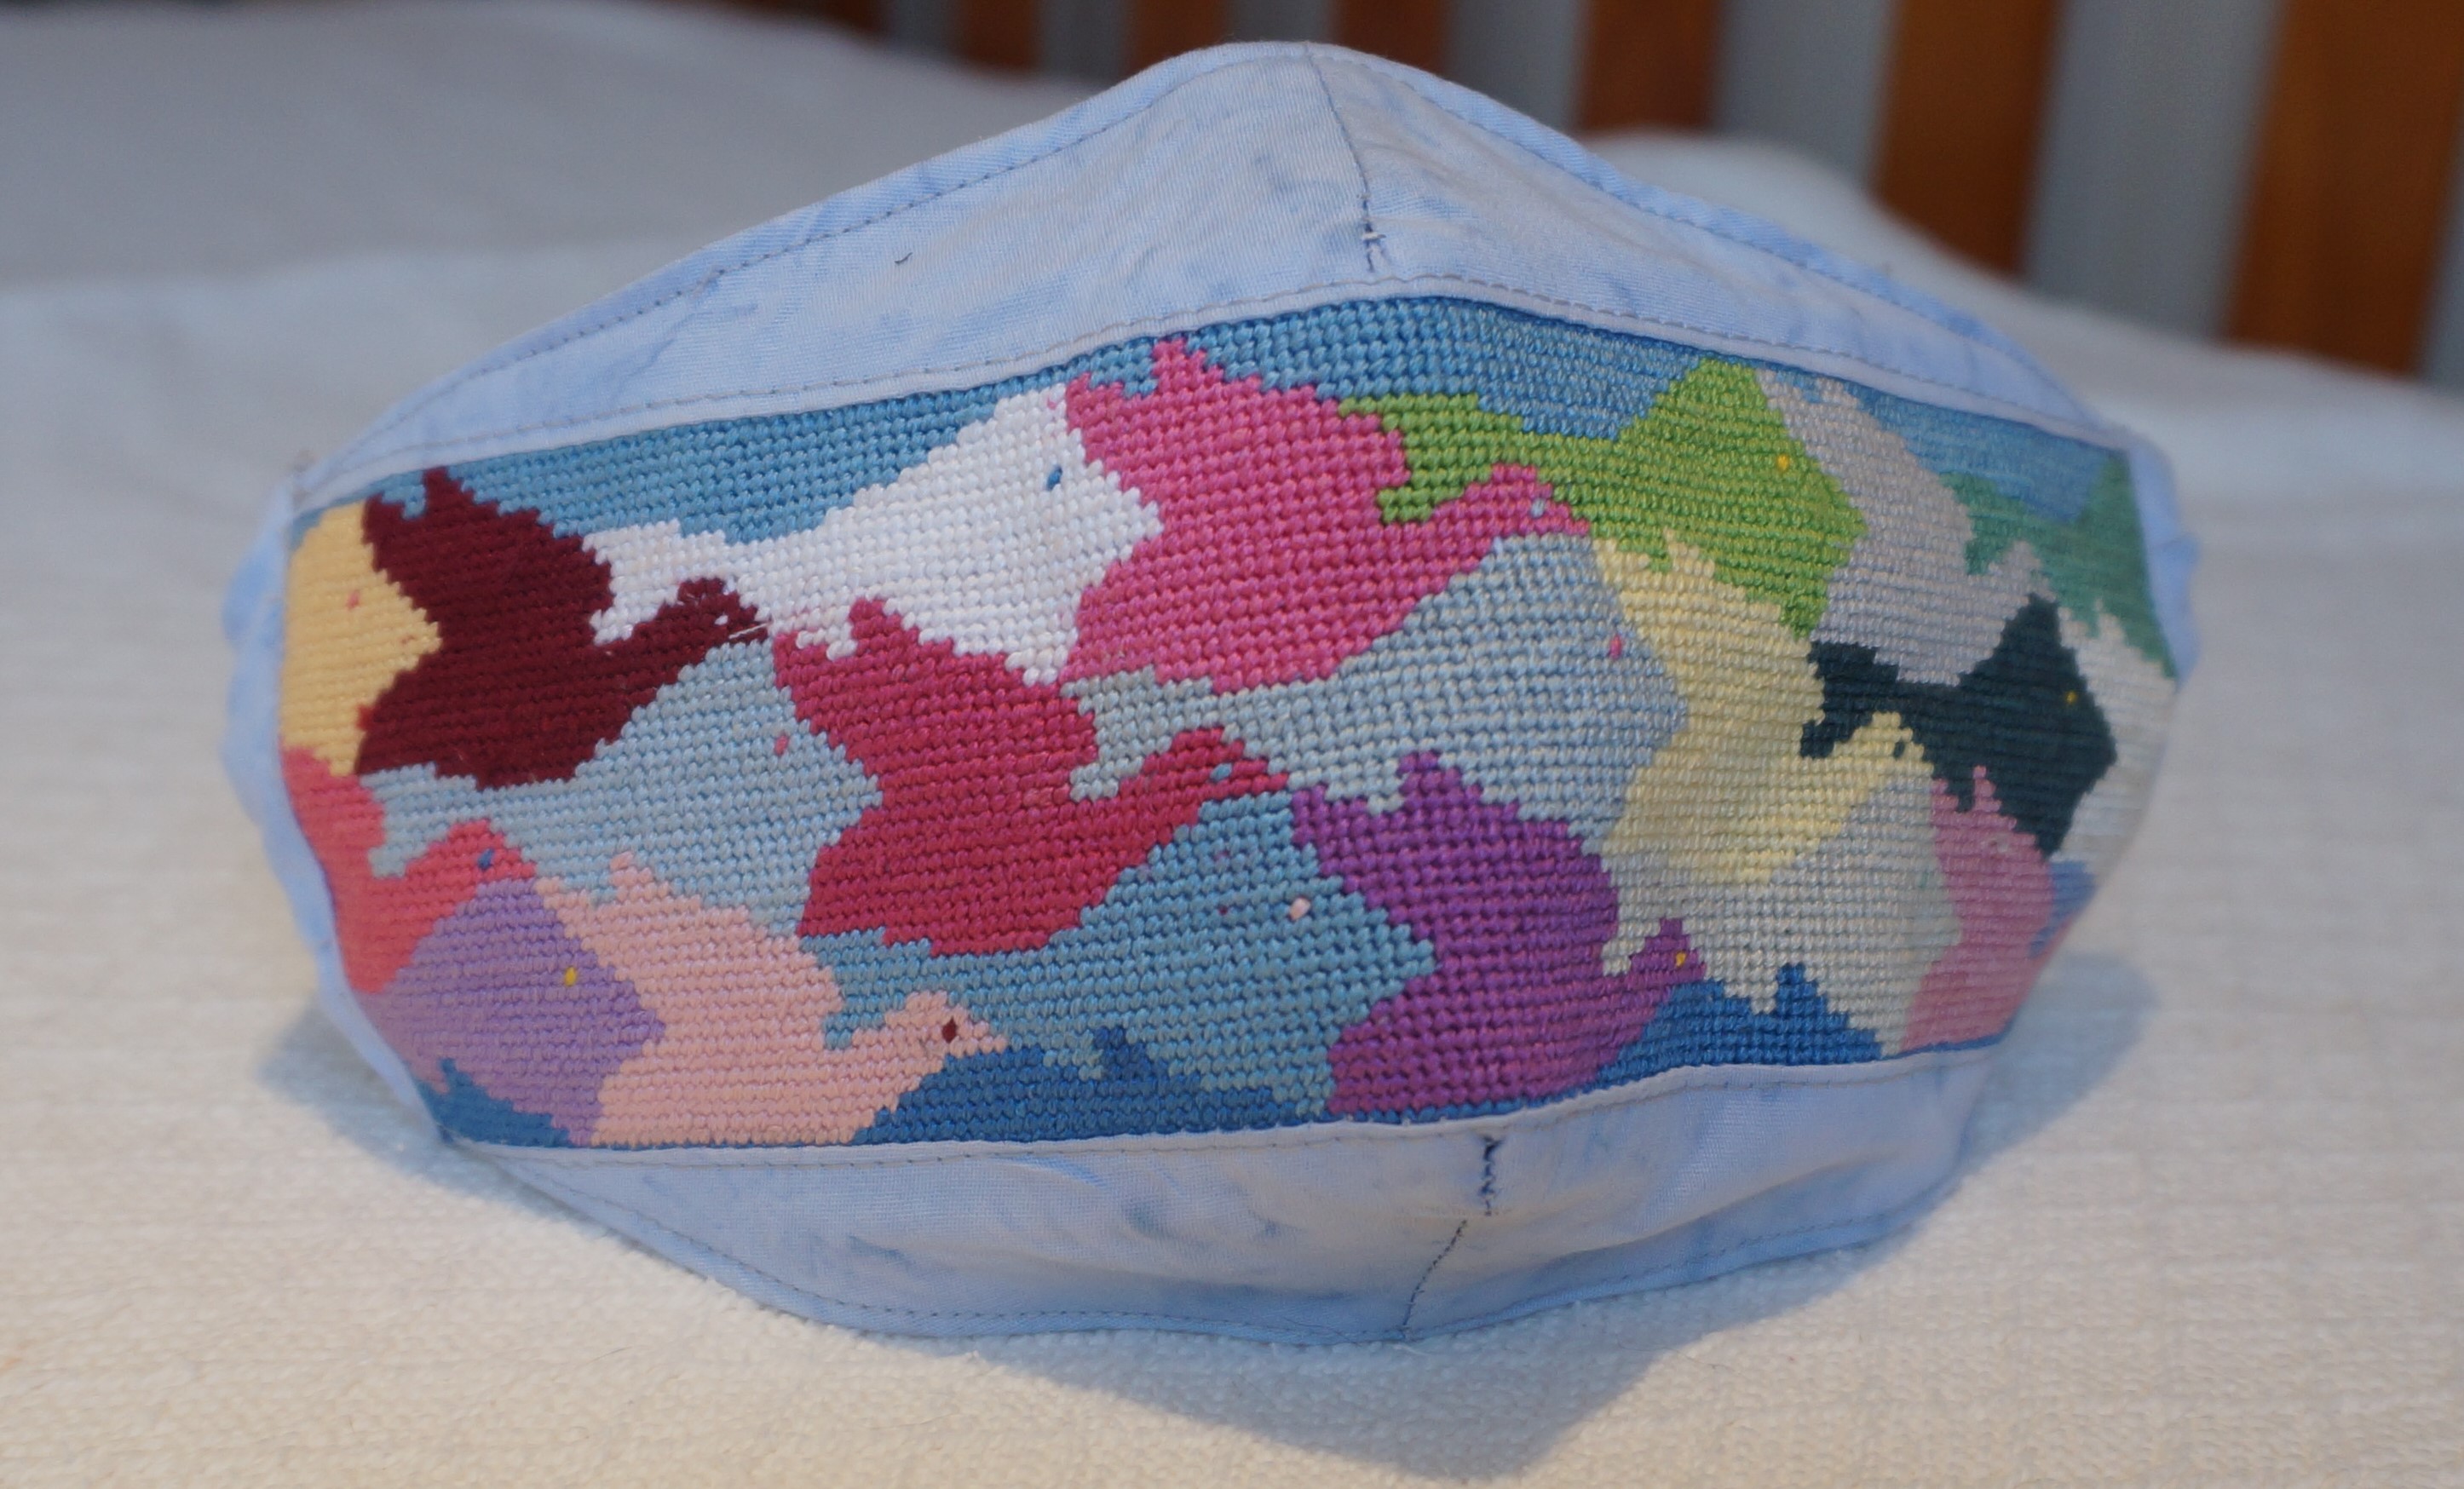
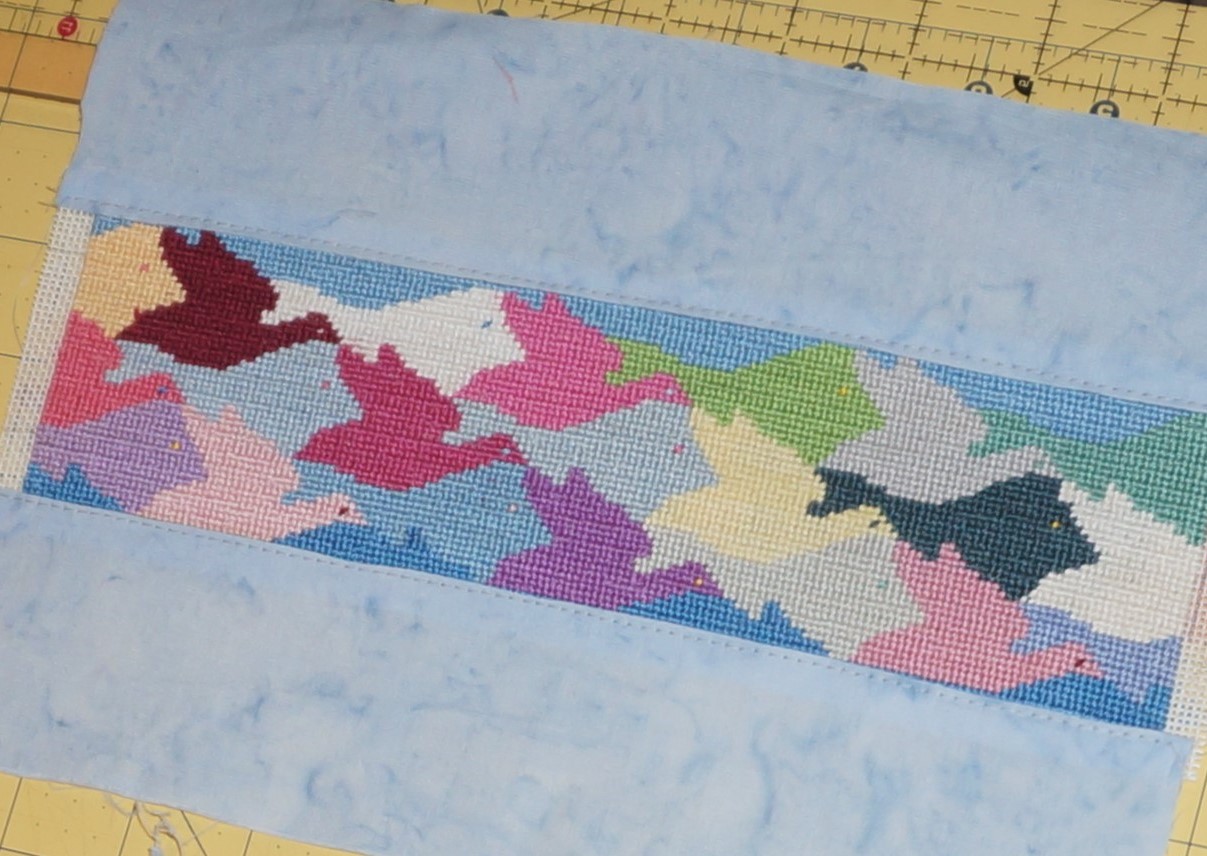
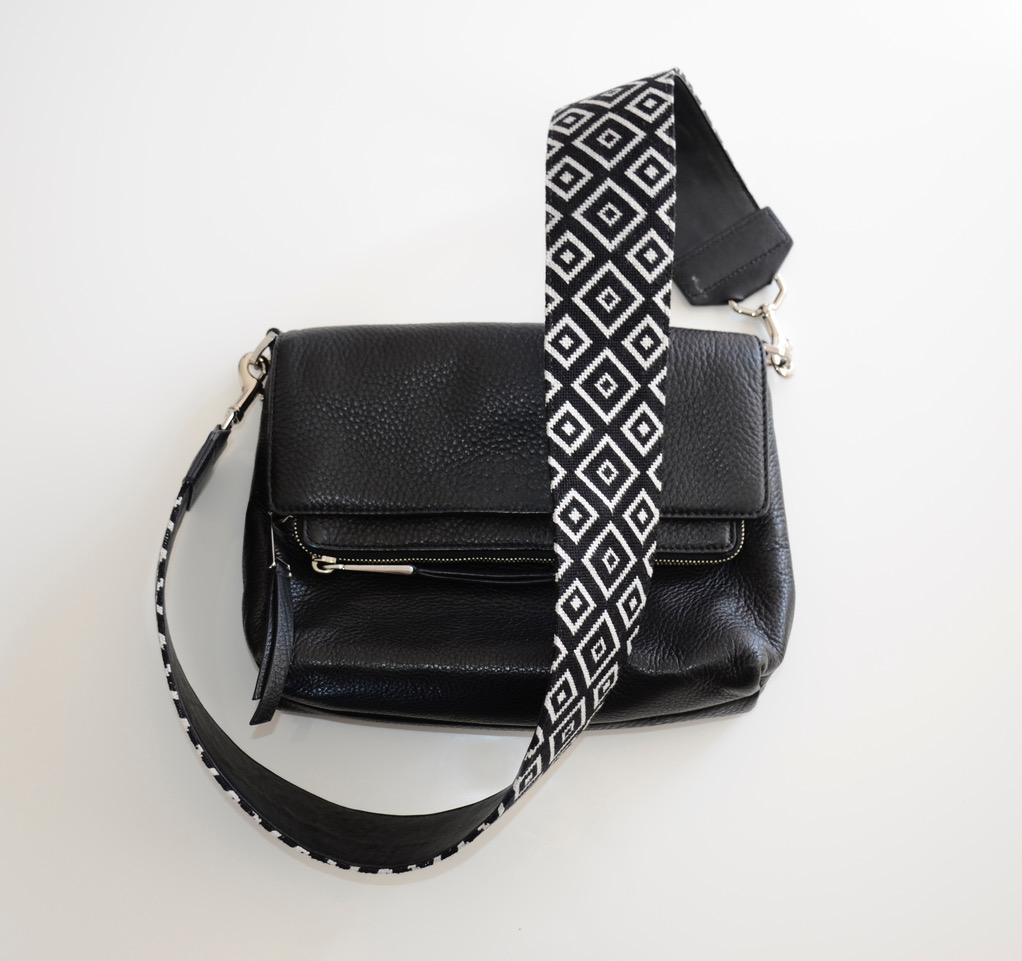
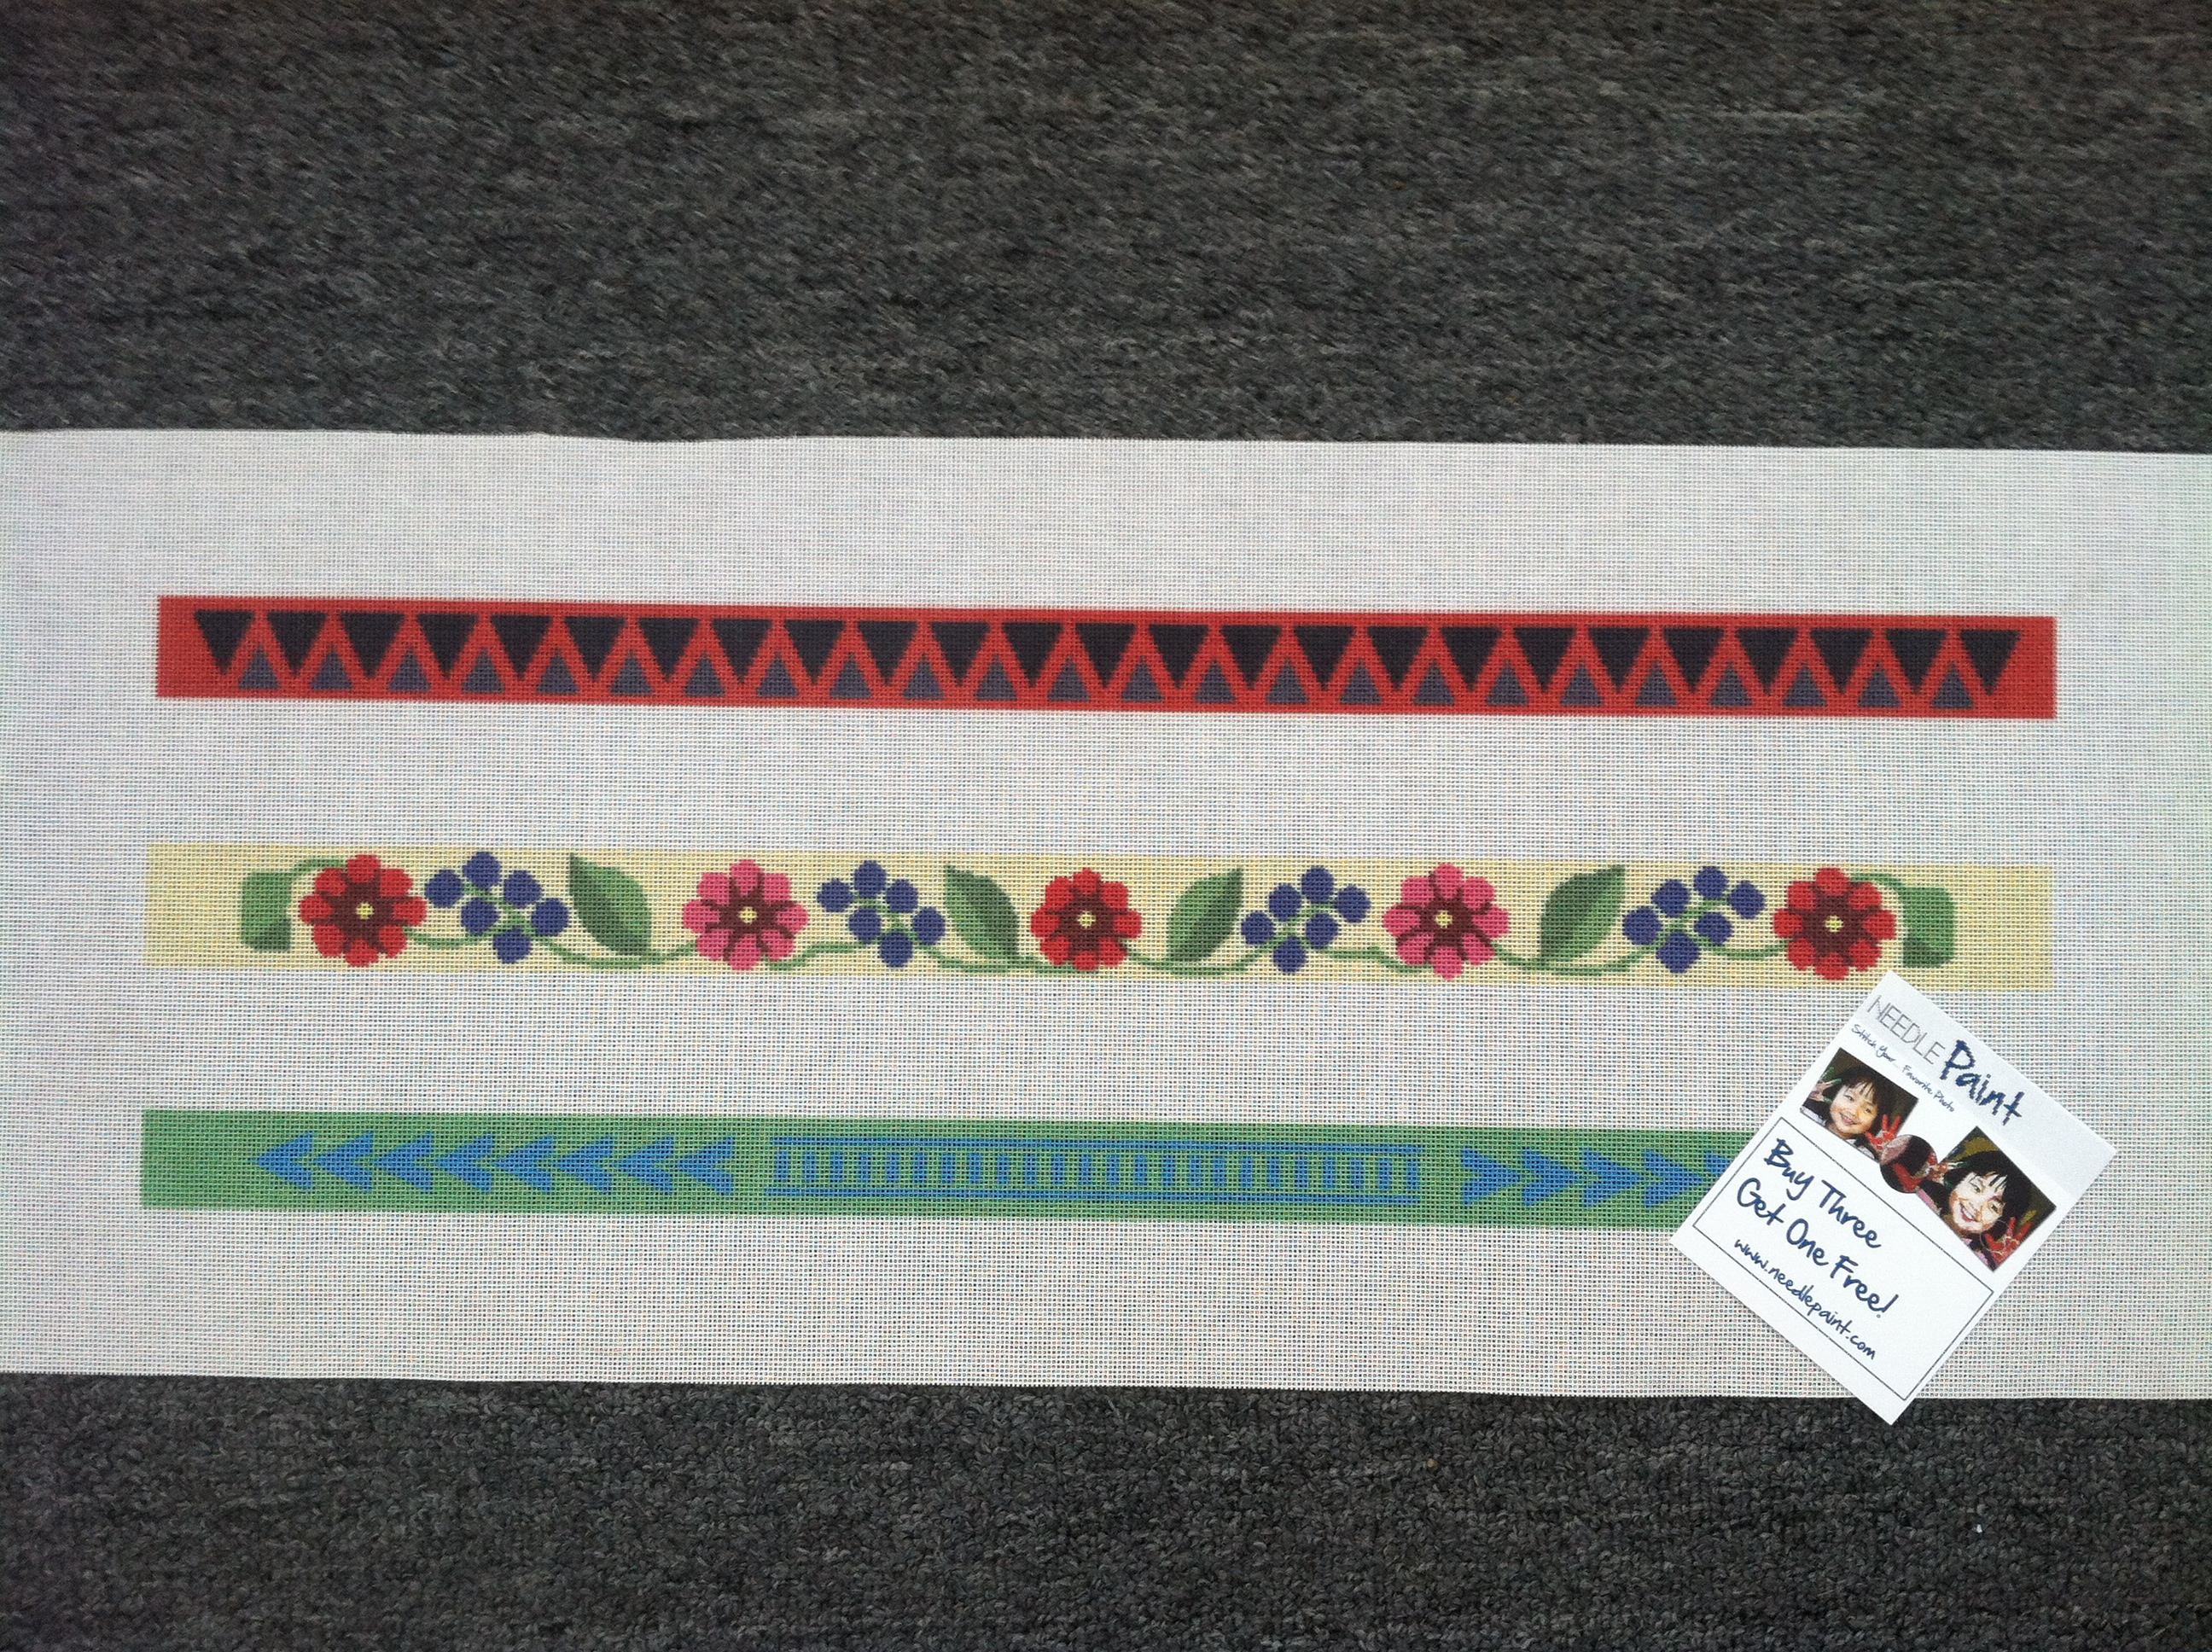
The above photo is not of a mask but from another project because I do not have a source of double fold bias tape. The lotus mask was finished with my own bias strip, machine sewn on the canvas side and turned and finished by hand on the liner/pocket side.
The pre-made double fold tap is easier to use but often you can’t find a matching color for your project.
Step 5. For the ear strap sleeves, cut two 1-1/2” strip of liner fabric that are ½” longer than the ear edged of the masks. Sew to each ear edge with ¼” seam. Press top and bottom edges down. Then press a ¼’ fold on free edge and fold to back aligning the folded edges with the ear edge stitches. This will leave a ½” sleeve for the ear strap.
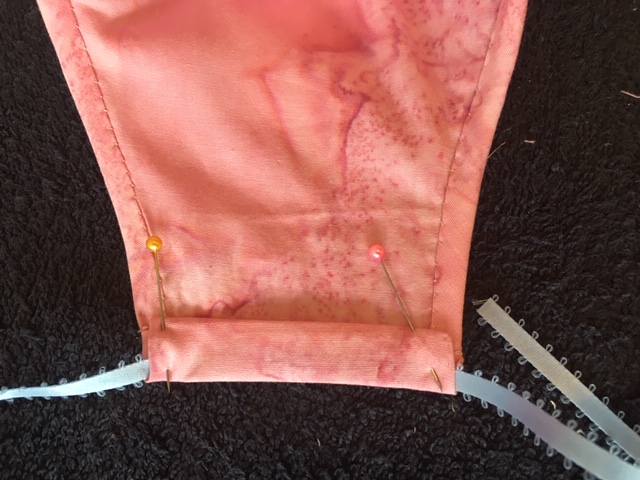
The straps can be tucked under the fold before stitching the sleeve in place or can be threaded through with a safety pin after stitching.
Step 6. Now it is time to insert the nose clip. It should slip easily into sleeve and then sew off the ends by hand. DONE!
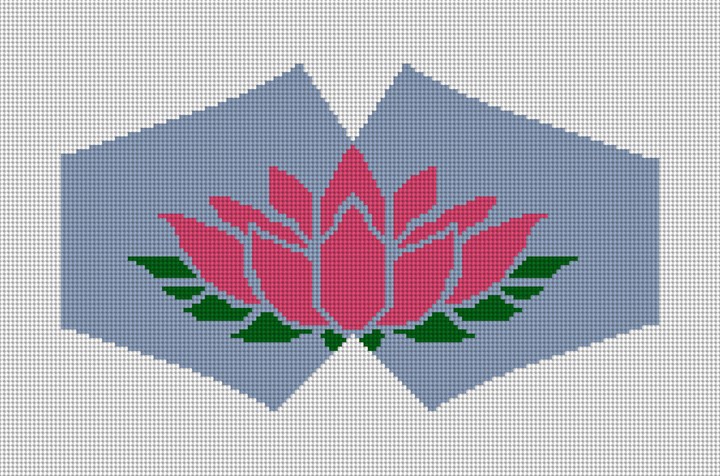
Check out our new Lotus Blossom Face Mask and Sea Turtle Face Mask needlepoint canvases available on our website!
Happy Stitching!


Recent Comments