Official blog of www.NeedlePaint.com
where you can design your own Needlepoint!

NeedlePoint Kits and Canvas Designs | Design your own Needlepoint Kit!

Archive for the ‘Custom needlepoint’ Category

Magnificent Mahjong Needlepoint Kits

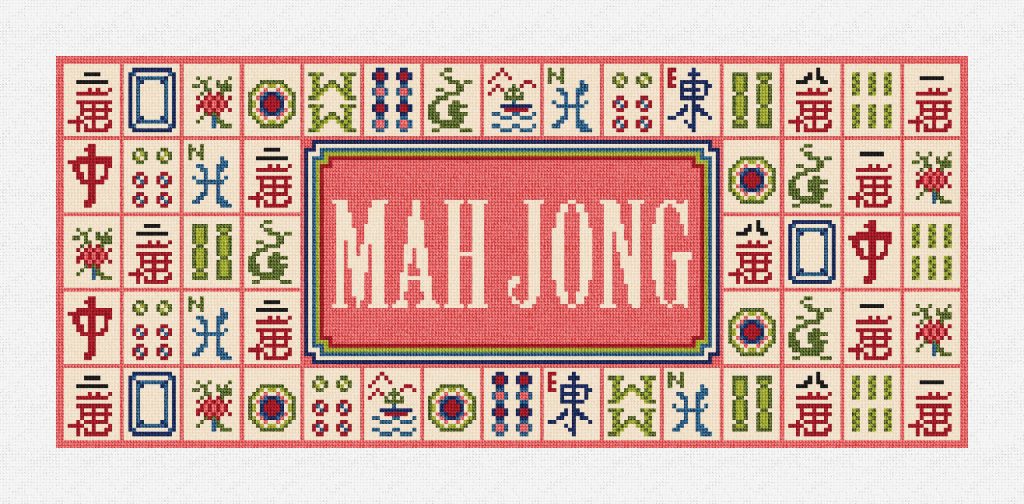
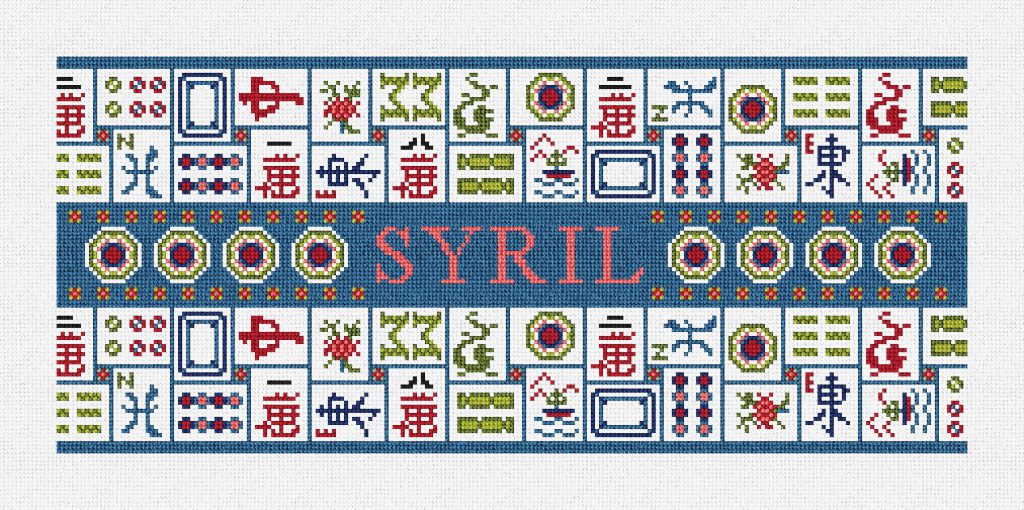
With a combination of strategy, skill, and a touch of luck, Mahjong holds an enduring fascination for players around the world. Be the envy of your fellow opponents after stitching one of these intricate needlepoint designs from NeedlePaint’s Mahjong Collection! 

Mahjong Sapphire Tile Bag Needlepoint Kit

These tile bag kits measure 16″ x 7″ on 14 mesh canvas,
and can be personalized with your name!

Mahjong Rose Tile Bag Needlepoint Kit

Mahjong designs are a unique blend of artistic expression and cultural heritage. Using classic Chinese characters and symbols, you’ll find each tile looks like a little miniature work of art.

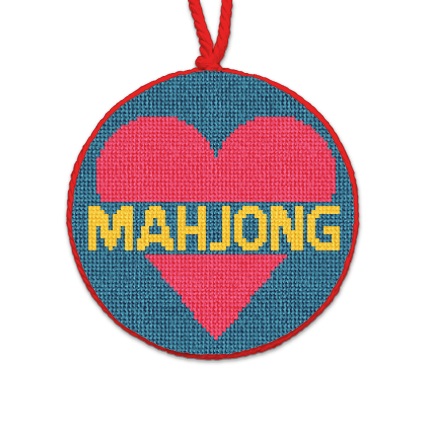
Love Mahjong Needlepoint Coaster or Ornament Kit

Our coaster and ornament kits are a 4.22″ circle on 18 mesh canvas.
Fun to stitch and finish as a coaster to enjoy while playing the game,
or as an ornament for your holiday tree.

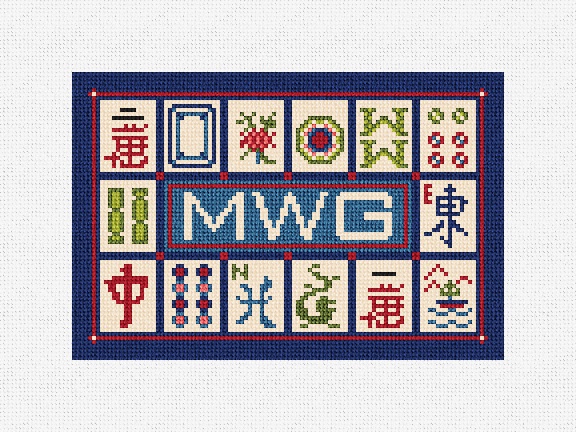
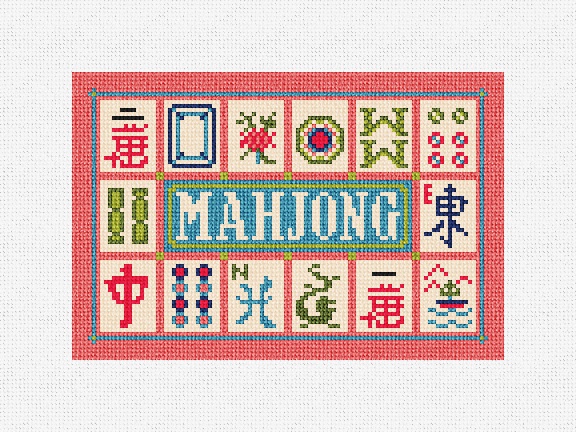
Mahjong Sapphire Card Bag Needlepoint Kit

These card bag kits measure 6″ x 4″ on 18 mesh canvas,
and can be personalized with your monogram or initials.

Mahjong Rose Card Bag Needlepoint Kit

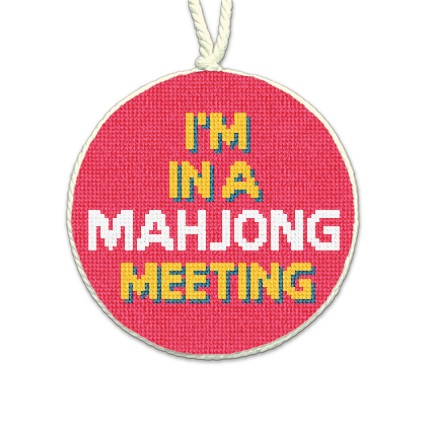
Mahjong Meeting Needlepoint Coaster or Ornament Kit

Mahjong designs use detailed geometric patterns which serve as a reminder
of the game’s strategic and mathematical aspects.

Mahjong Sapphire Needlepoint Belt Kit

Mahjong Rose Needlepoint Belt Kit

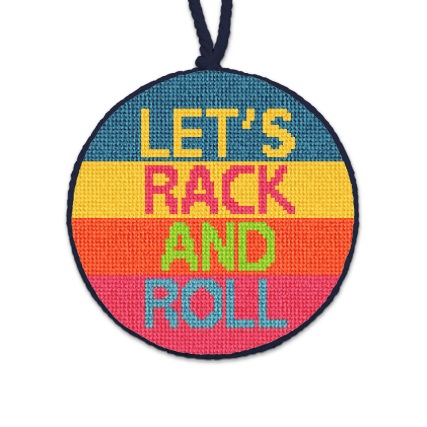
Rack And Roll Needlepoint Coaster or Ornament Kit

Mahjong symbols use iconic imagery including elements like a dragon, winds, seasons and flowers. Each image is carefully designed to evoke the cultural richness and mystic of Mahjong.

Mahjong Sapphire Needlepoint Key Fob Kit

Mahjong Rose Needlepoint Key Fob Kit

The color palettes used in Mahjong are rich and harmonious,
capturing the vibrancy of the Chinese culture and the game’s aesthetic appeal.

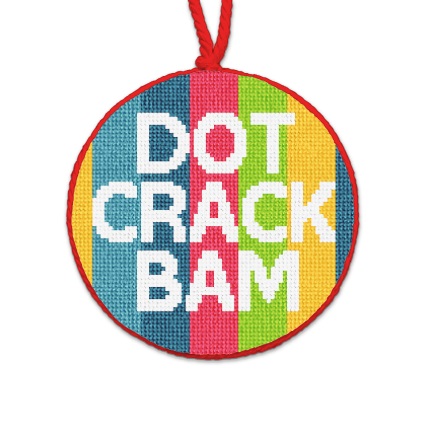
Dot Crack Bam Needlepoint Coaster or Ornament Kit

We think you will find these detailed needlepoint designs capture the
essence of the traditional Chinese tile-based game of Mahjong!

Let us help with any of your needlepoint needs, please 
contact us at: info@needlepaint.com

Stitch, Enjoy, Play!

Needlepoint Designer Favorites!

What’s on your stitch list?
At NeedlePaint, we are fortunate to have very talented designers
creating new needlepoint kits for you. Featuring belts, pillows,
stockings, ornaments and more, we asked two of our designers —
What are their favorite designs?

GWYNN

Gwynn has created original designs for NeedlePaint for over five years. As a painter, photographer and graphic artist, his designs range from whimsical to painterly with Christmas stockings a particular favorite subject. His designs can be found in our Travel, Endangered Species, Winnie-the-Pooh and National Parks collections, along with a number of stockings, pillows and seasonal designs.

Cypress Point Coastal Golf Needlepoint Belt Kit

A golfing landscape with the most amazing tranquil scene!
You can almost smell the ocean air, and feel the gentle breeze.

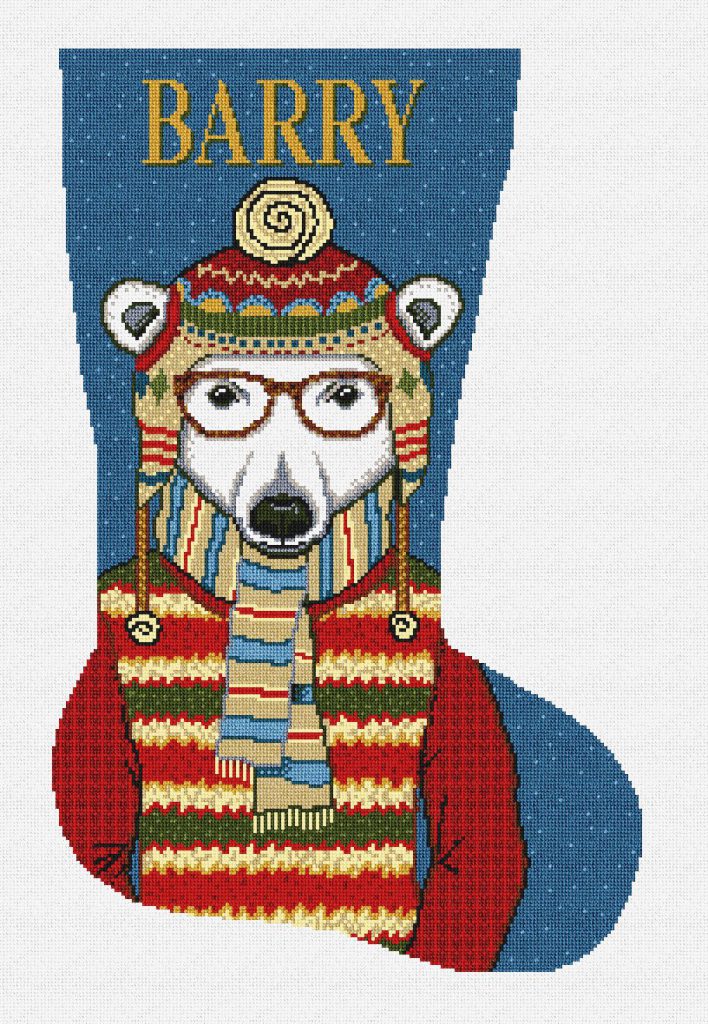
Gentleman Polar Bear Needlepoint Stocking Kit

Gentleman Polar Bear is an astronomer and master of meteorological events. 

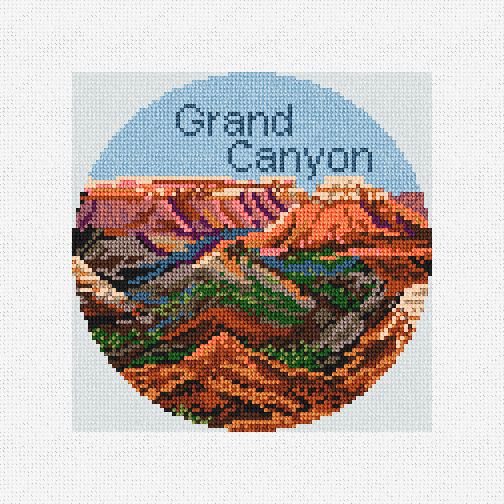
Grand Canyon National Park Needlepoint Kit

One of our most well known national parks, the Grand Canyon was the ancestral homeland to eleven American tribes, and is also one of the seven natural wonders of the world.

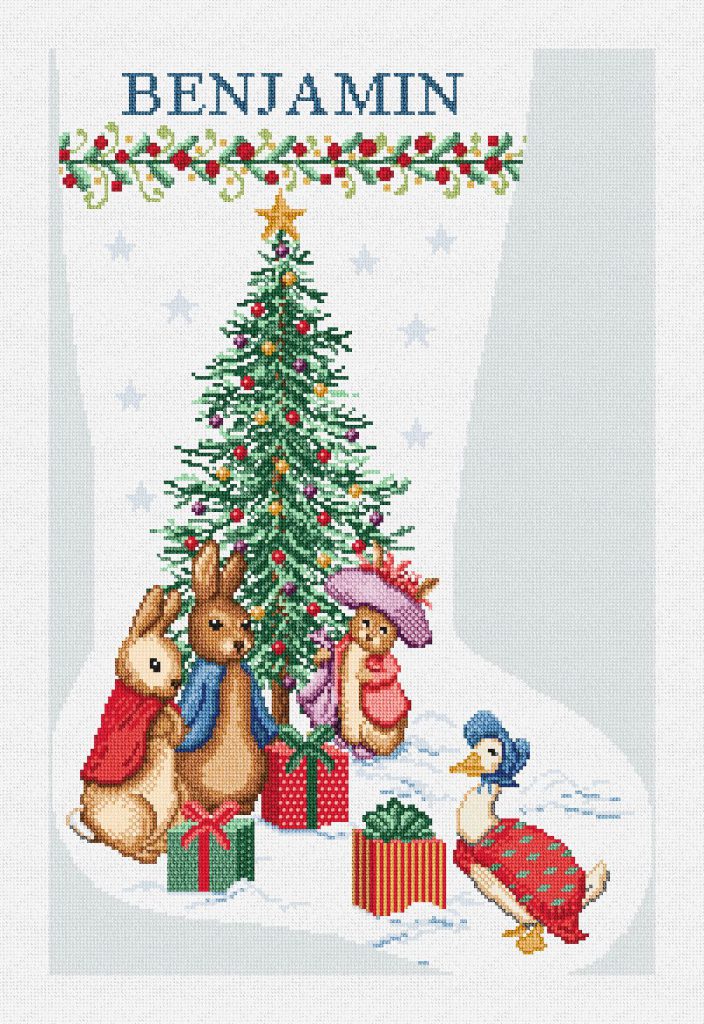
Peter’s Tree Needlepoint Stocking Kit

This stocking design was inspired by the exciting adventures and charming characters from the unforgettable storybook author Beatrix Potter and her love of nature.

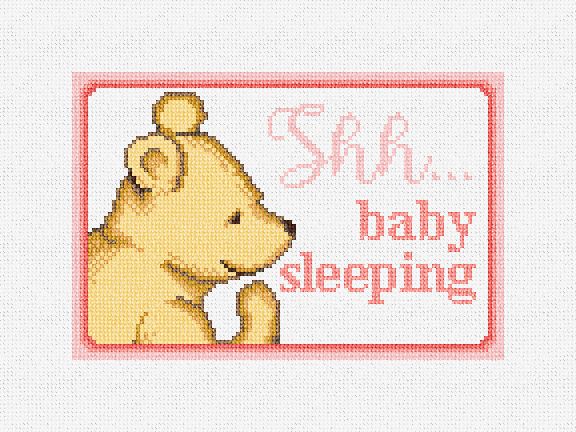
Winnie The Pooh Pink Needlepoint Door Hanger Kit

Adorable and precious, there is nothing sweeter than a sleeping baby. Winnie the Pooh wants to remind your household that Shhh . . . . there is a baby sleeping! 

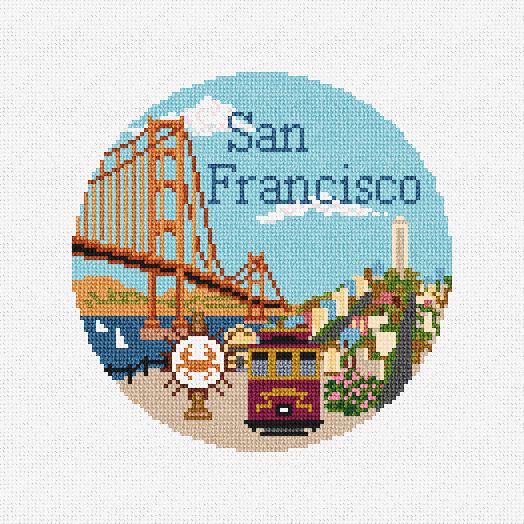
San Francisco Needlepoint Ornament Kit

The City by the Bay! Enjoy the ornaments that reflect a special vacation.

Custom designed especially for a customer!

__________________

TRACY

Tracy has been with us for 10 years, which is practically from the beginning of NeedlePaint. She has a real sense of color and scale, which she uses when interpreting a customer’s vision or image into needlepoint. Her other talents include the designing of activewear, designing repeating patterns and furniture flipping.

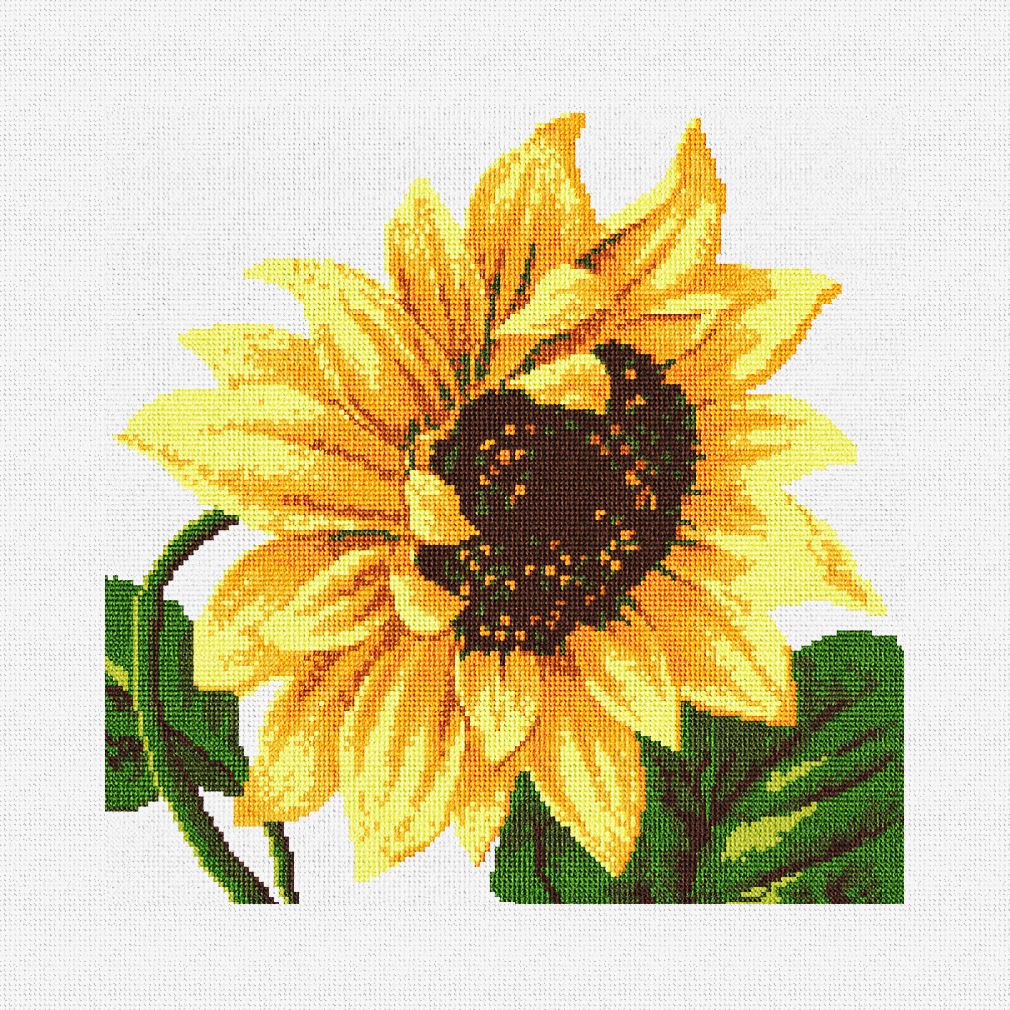
Sunflower Needlepoint Pillow Kit

Truly brilliant and joyful, sunflowers say summer like no other flower!

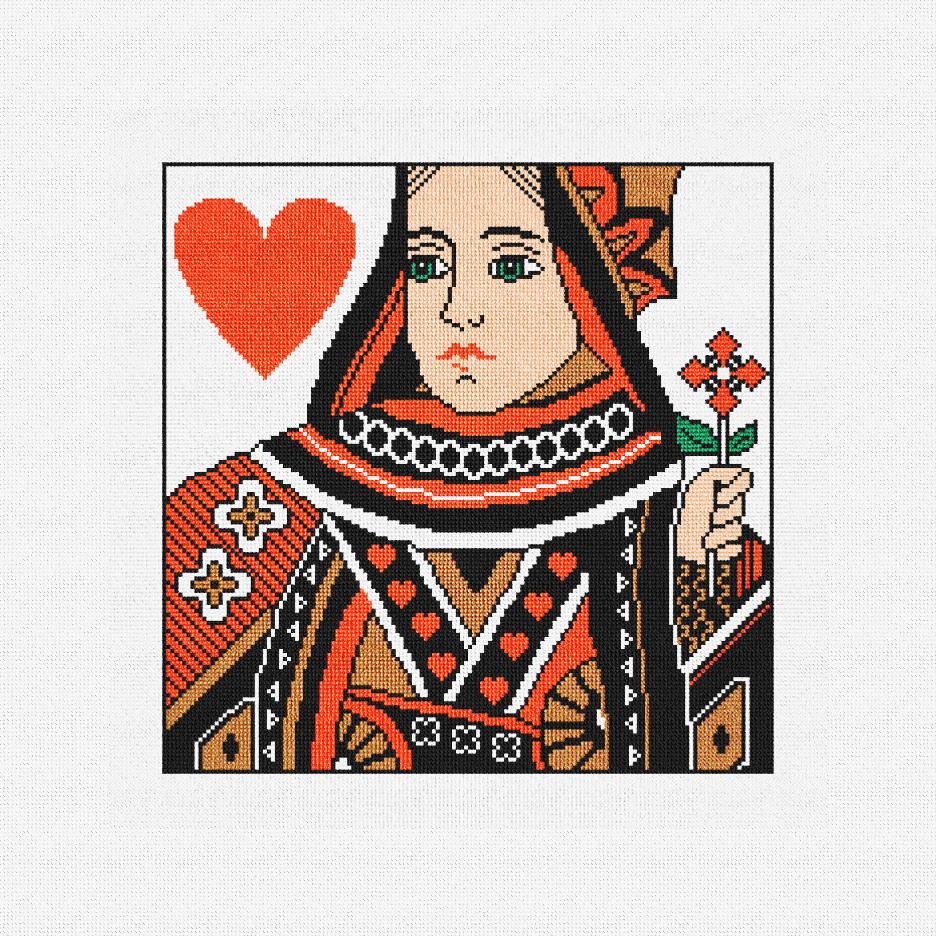
Queen of Hearts Needlepoint Pillow Kit

The Queen of Hearts has a different meaning for those who hold the card.

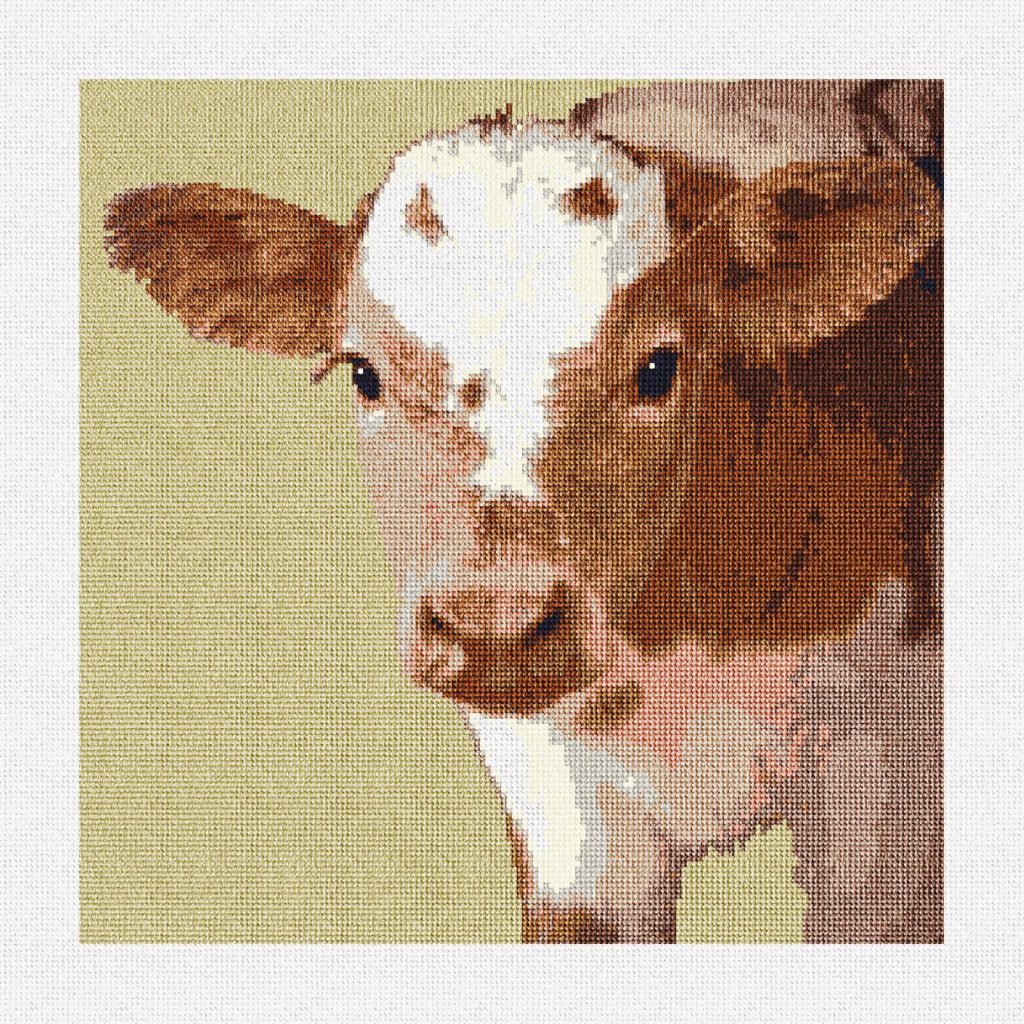
Cow Needlepoint Pillow Kit

“How now brown cow!” Out to graze, with that honest face and slower, relaxed pace of life.

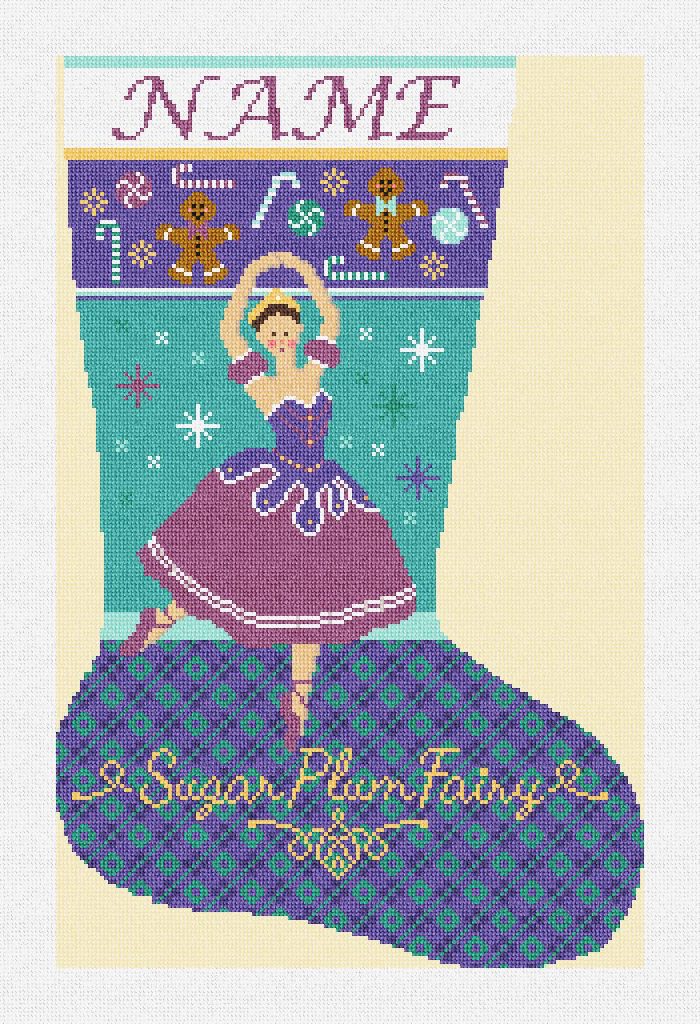
Sugar Plum Fairy Needlepoint Stocking Kit

In the Nutcracker Suite, the Sugar Plum Fairy rewards Clara and the Prince with a celebration of dances. 

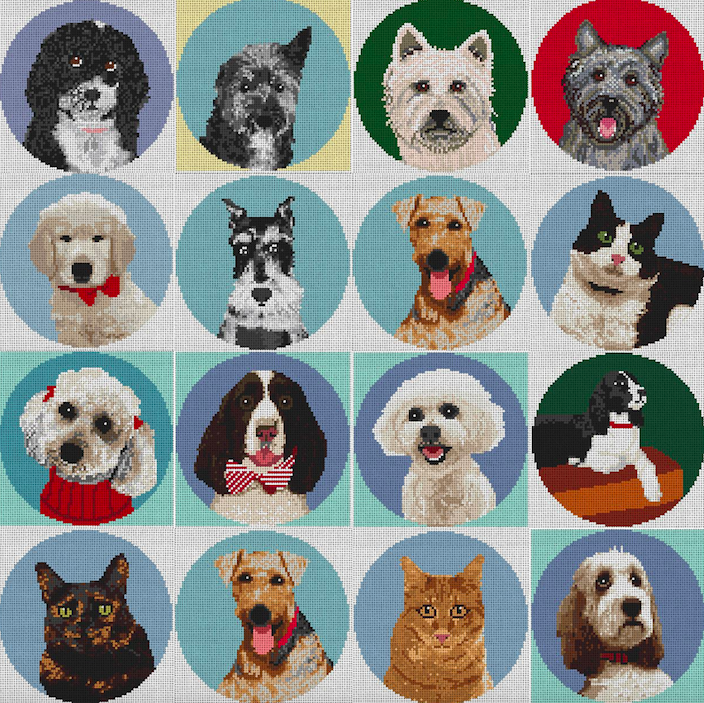
Individual Needlepoint Dog Ornament Kits to choose from!

Ornament canvases featuring your “best friend.”

Custom designed especially for a customer!

Let our designers create a custom project for you:
info@needlepaint.com

Add a favorite new kit to your stitch list!

It’s A Dog’s Life — Needlepoint Dog Collars with Style!

It’s no secret that at NeedlePaint, we love our dogs!
Check out our new needlepoint dog collar designs, featuring favorite choices from our
furry clientele with discriminating tastes, and unique personalities! 

ADVENTURE DOG
I love fetching a big stick out of the lake, but my personal favorite
is rolling in the catch of the day.” — Axel, black Labrador Retriever

Woodland Axel Needlepoint Dog Collar Kit

Rainbow Trout Skin Needlepoint Dog Collar Kit

PRINCESS DOG 
“I will dig up those flowers if I want to!” — Rosie, Border Collie

Spring Floral Needlepoint Dog Collar Kit

Periwinkle Flora Needlepoint Dog Collar Kit

DOG DAYS DOG
“Summer, sweet summer, making a splash wherever I go!”
— Sport, Springer Spaniel and Dog Paddle Champion

Swimming Pool Needlepoint Dog Collar Kit

Summer Fruit Needlepoint Dog Collar Kit

DREAMER DOG
“It all looks good from up here on the new sofa!” — Dizzy, Basset Hound

Tie Dye Needlepoint Dog Collar Kit

Stained Glass Needlepoint Dog Collar Kit

TRAVELER DOG
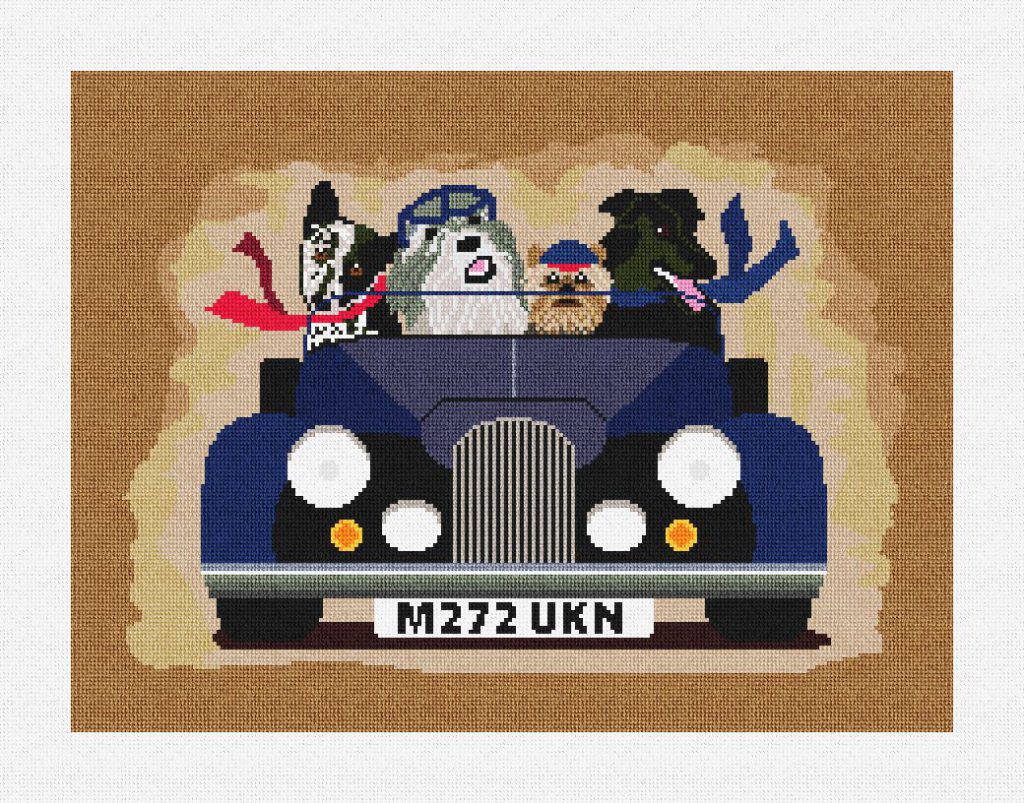
A drive through the desert to the west coast? I wanna go, I wanna go!”
— Toby, Golden Retriever

Sunny Beach Needlepoint Dog Collar Kit

Warm Desert Needlepoint Dog Collar Kit

PREPPY DOG
“My goal today: dress the part and stay out of trouble.” — Baxter, French Bulldog

Checkerboard Needlepoint Dog Collar Kit

Tangerine Medallion Needlepoint Dog Collar Kit

ROCKSTAR DOG
“Going with the flow is my jam.” — Spike, Rottweiler

Rose and Thorns Needlepoint Dog Collar Kit

Malachite Needlepoint Dog Collar Kit

DOG OF ALL TRADES
“They rescued me, but in reality it was I who rescued them.” — Jack, Heinz 57

Life Treasures Needlepoint Dog Collar Kit
Our designers will help turn your ideas into a unique dog collar design!
or
Dog Collar Builder Needlepoint Dog Collar Kit 
Create your very own one-of-a-kind custom Needlepoint dog collar
with our new interactive Dog Collar Builder!

It’s a dog’s life — play, stay, rollover, eat, sleep, sit and look cute
in that new needlepoint dog collar I so lovingly stitched for you.

We offer dog collar needlepoint kits,
a dog collar leather finishing service,
and fully finished dog collars.

Let us know how we can help at: info@needlepaint.com

Stitch something sweet for your “best friend”!

Stitch A Custom Designed Needlepoint Stocking Kit!

written by Gwynn Goodner

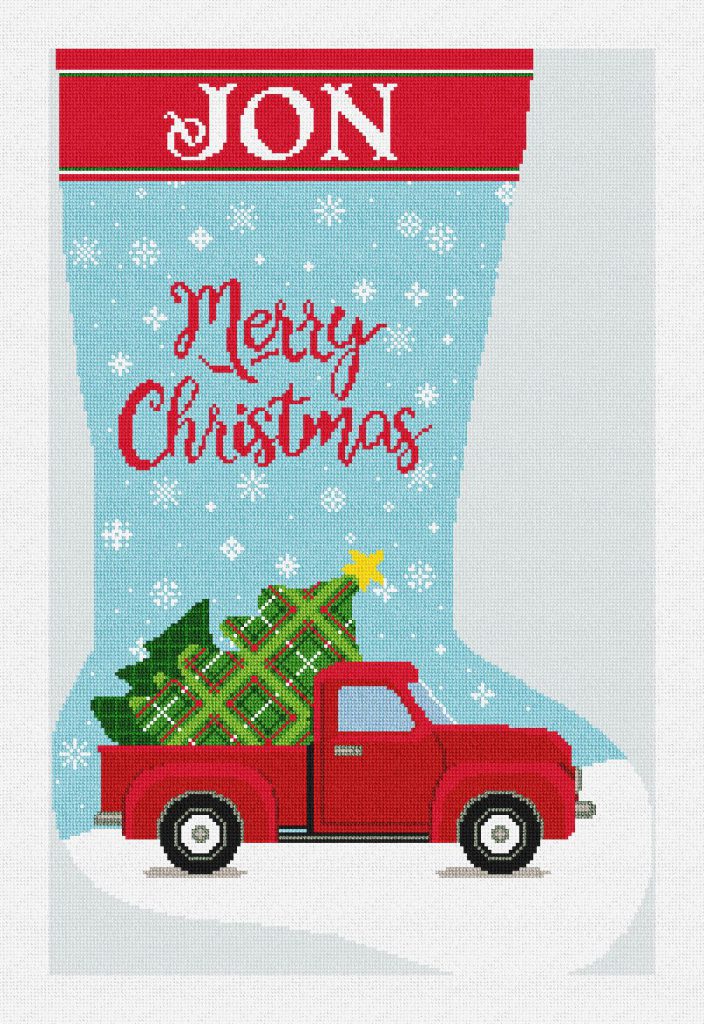
Needlepoint stockings are priceless family treasures, and now you can have stockings that are custom-designed for your family! We can help you create a personalized stocking that reflects the interests of every member of your family. Many customers find an existing design from our stock inventory and personalize it with a name, but if you want something completely unique, have us design one for you.

The First Step
Place your order for a custom needlepoint stocking kit through this link:
https://www.needlepaint.com/needlepoint-kits/custom-christmas-stocking-needlepoint-kit-1950

The Second Step
Choose a theme and design style.

The process starts with the customer choosing a theme—it can be anything from a sports interest to a travel destination. Our designers will take that theme and dress it out to a beautiful, personal design.

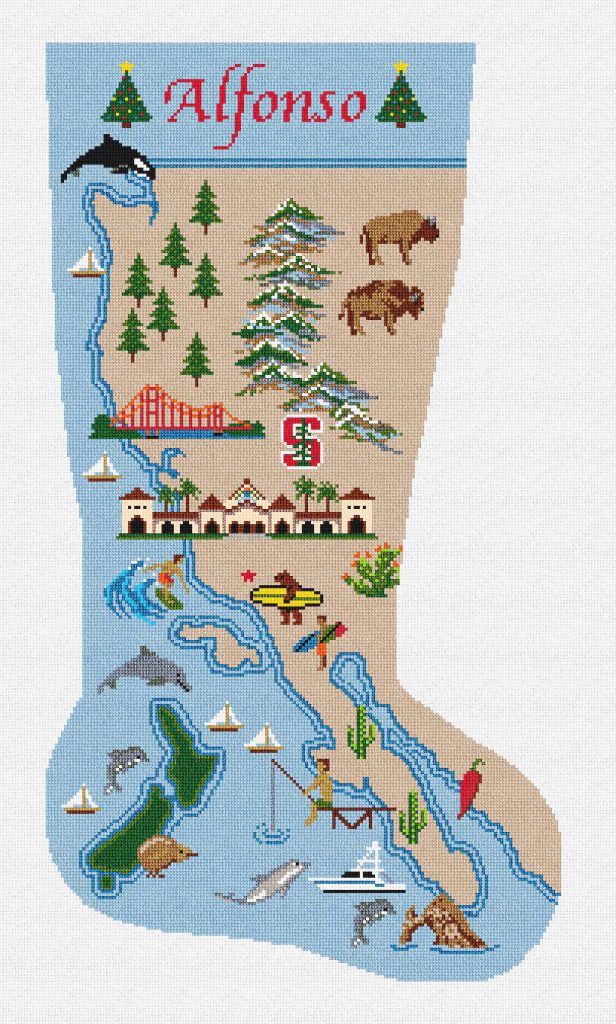
Once you have chosen a theme, a few small additional elements can be added if you want. Here is an example. The customer who commissioned this design wanted the West Coast as the theme and added various features up and down the coast. 

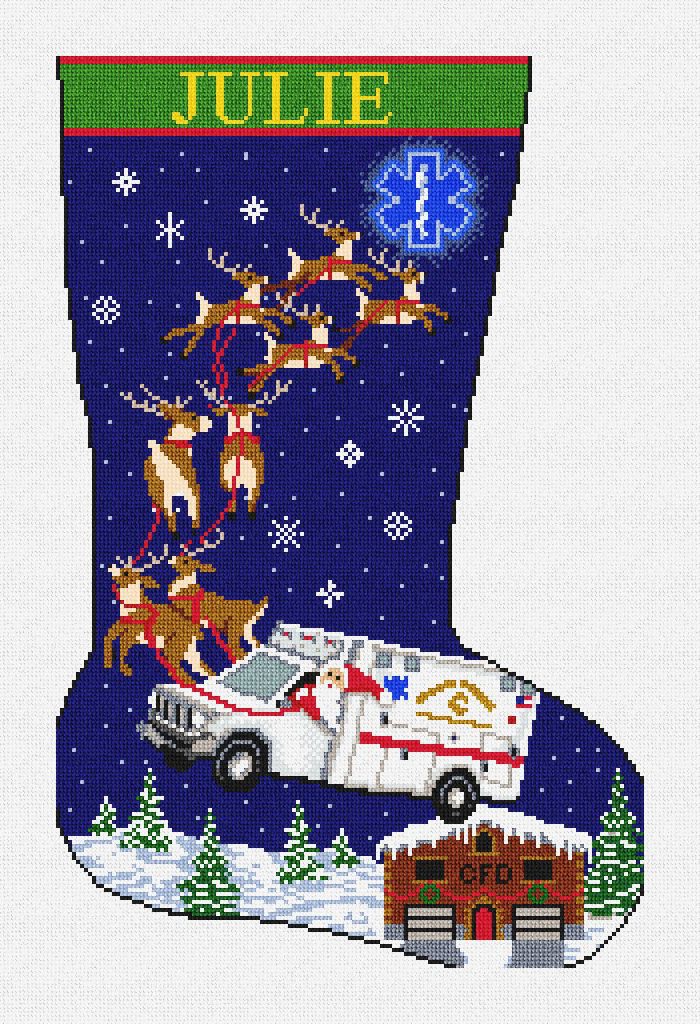
A different approach is to choose a theme such as a profession. This piece was done for a client whose daughter was an EMT. She wanted something in the holiday spirit that reflected her love for her work, so now it’s Santa to the rescue! 

The possibilities are endless! It is important to remember that there should be one primary element of focus so our designers can create a scenario that makes a statement. Along with that primary element, we can often add smaller images or background that will work within the scene. 

A main subject, a secondary subject and background item will make the best stocking design. 

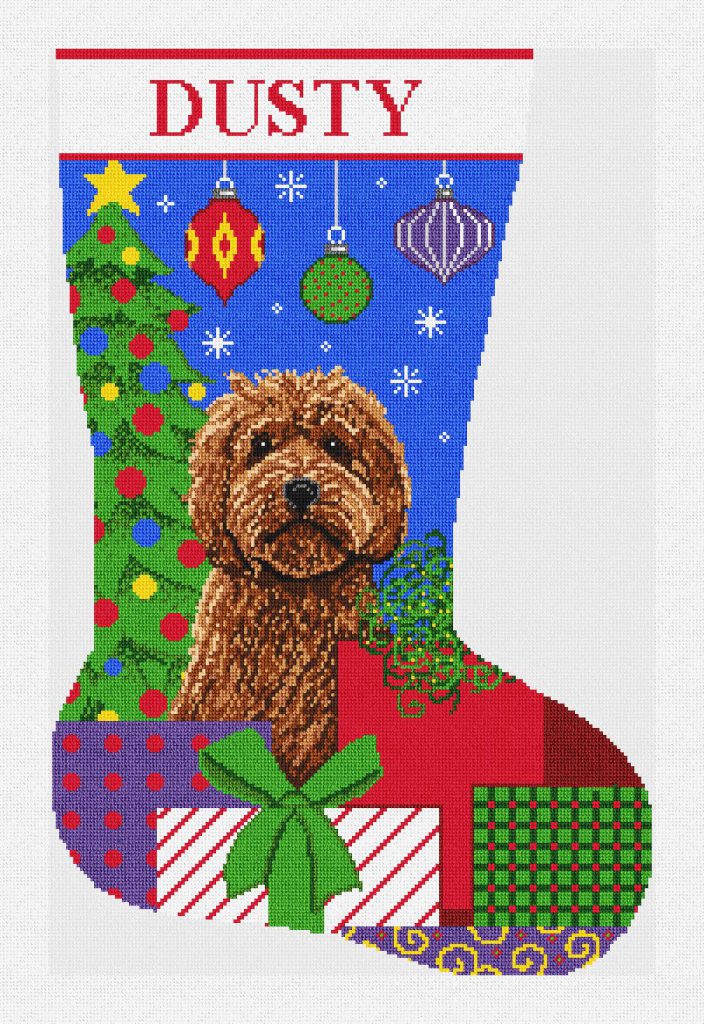
Follow the rule of threes. For this example:
1. the dog is the main subject.
2. the presents a secondary.
3. the tree a background element.
This type of design approach makes for a more unified scene and a better overall result.

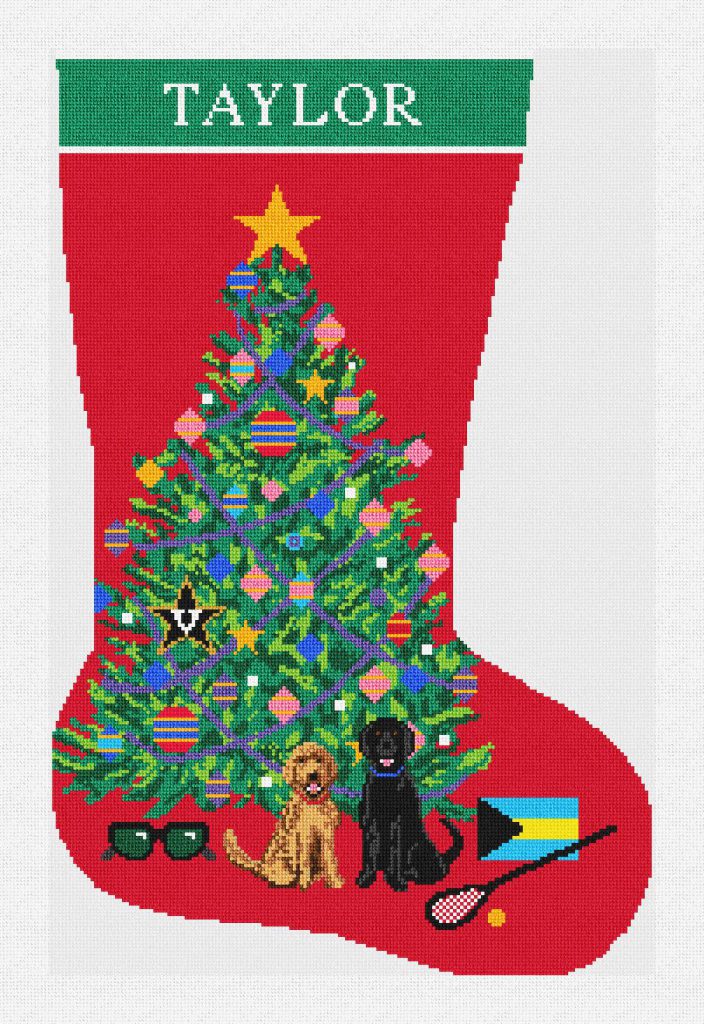
Here’s an example of a Christmas tree as the main image with the recipient’s interests reflected in the décor and presents on and around the tree.

Another thing to consider is the style of art you want for your stocking. We can take a more graphic approach, which results in cleaner lines and a bold visual statement.

Or we can take a more illustrative style that gives a more shaded, nuanced result.

Doing a Google image search is a great way to start. A simple search such as “Santa skateboarding,” or “Great Dane dressed as angel” will yield great inspiration for your stocking. You’ll be surprised at how many images pop up and provide good poses or direction for the designer to follow! Save some favorite images from your search and include them when you make your order to help inspire the design. 

When you place your order, please include all design requests and any images or links to images that may help our designers. You can include these in your order notes or in an email to info@needlepaint.com.

Once we have your order and this information, you will receive a layout from one of our designers in 7-10 business days. It is helpful to have images for our designers to follow so they have an idea of what you have in mind. 

The Third Step
You’ve submitted your ideas, and now our designer will begin creating your design!

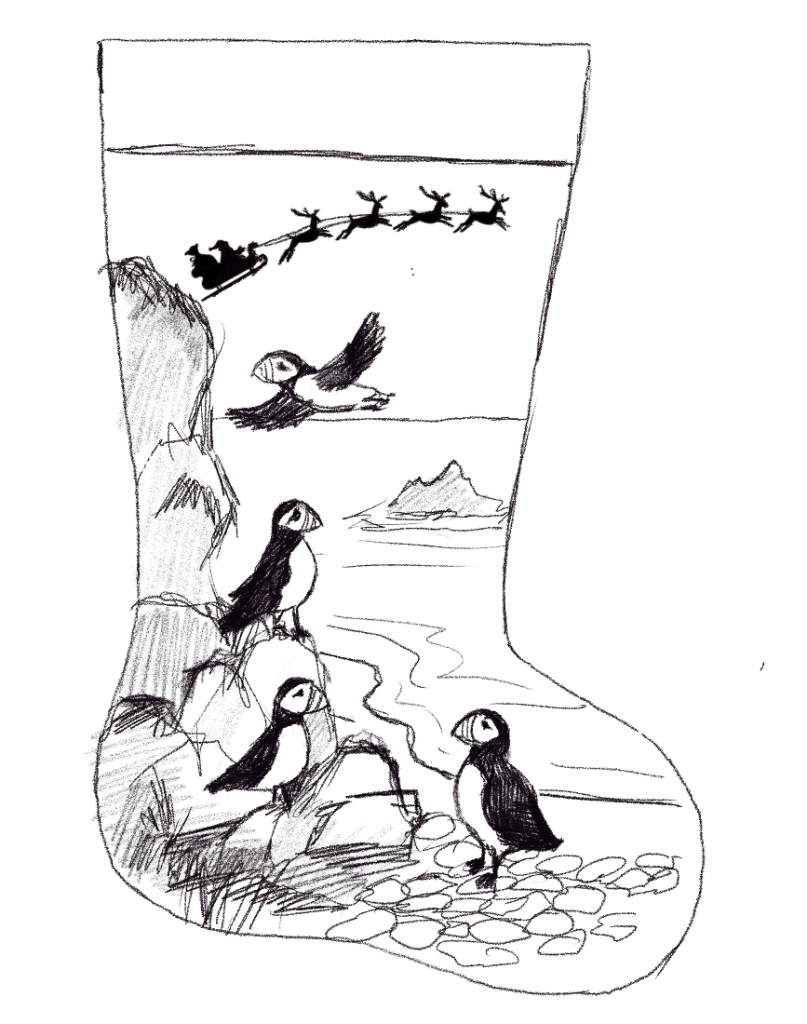
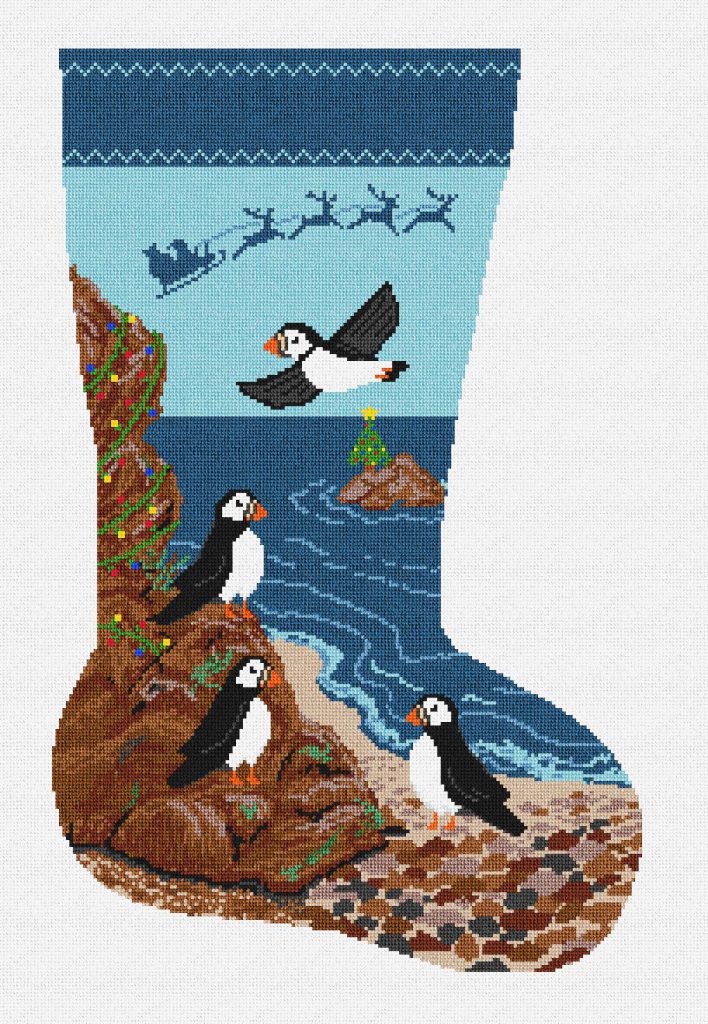
When you receive your layout it may look something like this. The layout is a rough sketch showing the approximate size and position for the major elements on the stocking. You will have an opportunity to do a round of changes to the layout and once it is approved, you will receive a proof of the colored version of your design. 

Further small adjustments can be made at this point
to render the perfect stocking for your family member.

Things to keep in mind when you are considering a custom stocking design:

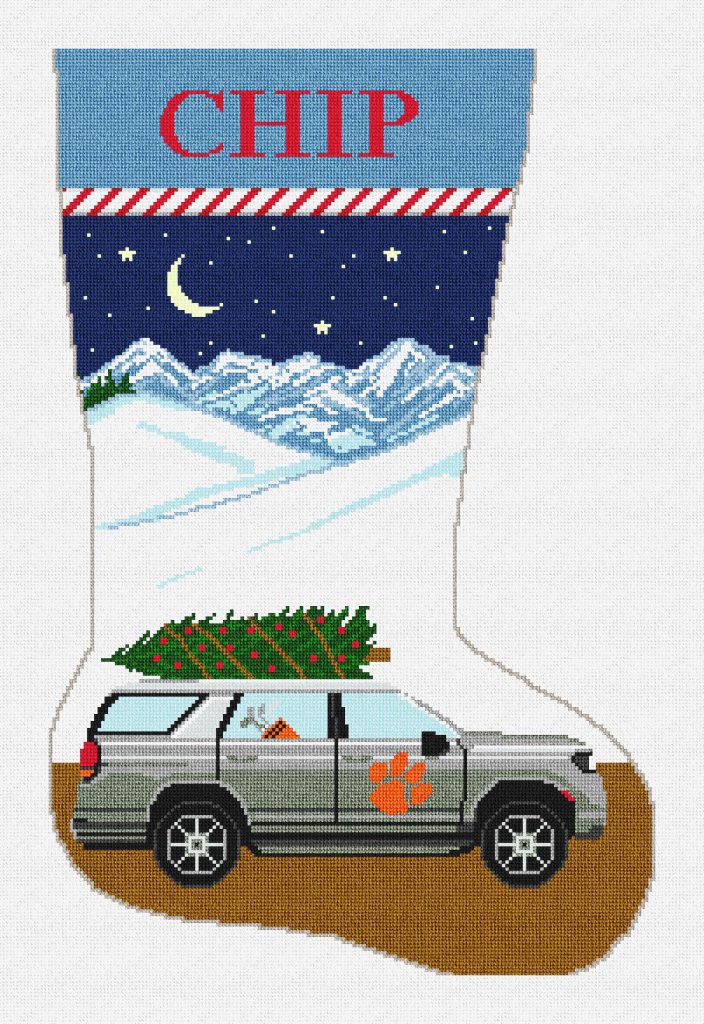
The general shape of a stocking is vertical, so horizontal objects (like cars, boats etc.) may need to be made smaller to fit and are generally placed in the lower 1/3 of the shape to maximize their size.

Vertical images such as Christmas trees or a nutcracker are ideal subjects for a stocking.

More isn’t necessarily better. Editing and curating the things you want on a stocking makes for a better finished piece. Too many items can make a stocking look cluttered and hard to see the individual elements. Simplifying the visuals makes for a cleaner, more cohesive design.

Our designers have also recreated heirloom stockings that have been lost over time. One customer lost their prized childhood stocking in Hurricane Sandy and commissioned us to recreate it from some old family photos. Using the photos as reference we were able to make a stocking that preserved the special holiday memories that they thought had been lost for good.

At NeedlePaint we pride ourselves in making the most attractive, personal and affordable custom canvases on the market, and it’s all just a click away.

We would love to help create a unique stocking design for you.
Please contact us with any questions that you may have at: info@needlepaint.com

Stitch a priceless family treasure!
NeedlePaint Gift Giving Made Easy!

Even with the best of intentions, holiday shopping can get out of control. The main culprit — lack of time. We’ve found that most people do not plan their holiday gifts 2-3 months in advance. 

Let NeedlePaint simplify your gift list! We can create a digital gift card preview of a finished NeedlePaint product, that you would like to gift. These can be printed out and put into a Christmas card with a note to your recipient saying that their custom needlepoint belt, wallet, flask, card wallet, pillow or key fob is being stitched and will be ready in a few weeks. 

NeedlePaint Digital Gift Card Preview

It normally takes us 3-5 business days to create your preview once your order has been placed. We begin stitching your order, once your design has been approved. We can create a digital gift card preview if you approve your order before December 21st. Quick and easy to print on your home computer, wrap it up, and put it under the tree or in a stocking.

“Stitch your own” Needlepoint canvases are still available for orders placed before December 7th with regular shipping (shipped on December 11th) and orders placed before December 14 available with rush shipping (shipped December 18th). 


We can even create a digital gift certificate in any dollar amount
for those who like to stitch their own canvas.

IMG_1929

Let us know how we can help with your gift list at: info@needlepaint.com. 

Check that off of your list!

Stitch a NeedlePaint Custom Canvas!

The possibilities are limitless when creating a custom needlepoint canvas! NeedlePaint would love to help translate your ideas and create a special canvas to stitch.

Where to begin: We often recommend our custom needlepoint photo program on the NeedlePaint website. For some photos this works great. For other photos, your editing options may be a bit limited, so we have another solution for you. 

Another Solution: Our designers can draw and create a custom canvas for you to stitch. Simply send us a photo, sketch, graphic, a quote, or any idea that you may have in mind. We can add an artistic touch to your image and control some of the elements, such as: adjusting the composition; adding or removing items; changing the background or colors; emphasize certain features; and adding personality to bring something special out in the subject. The possibilities are limitless, our designers are very talented!

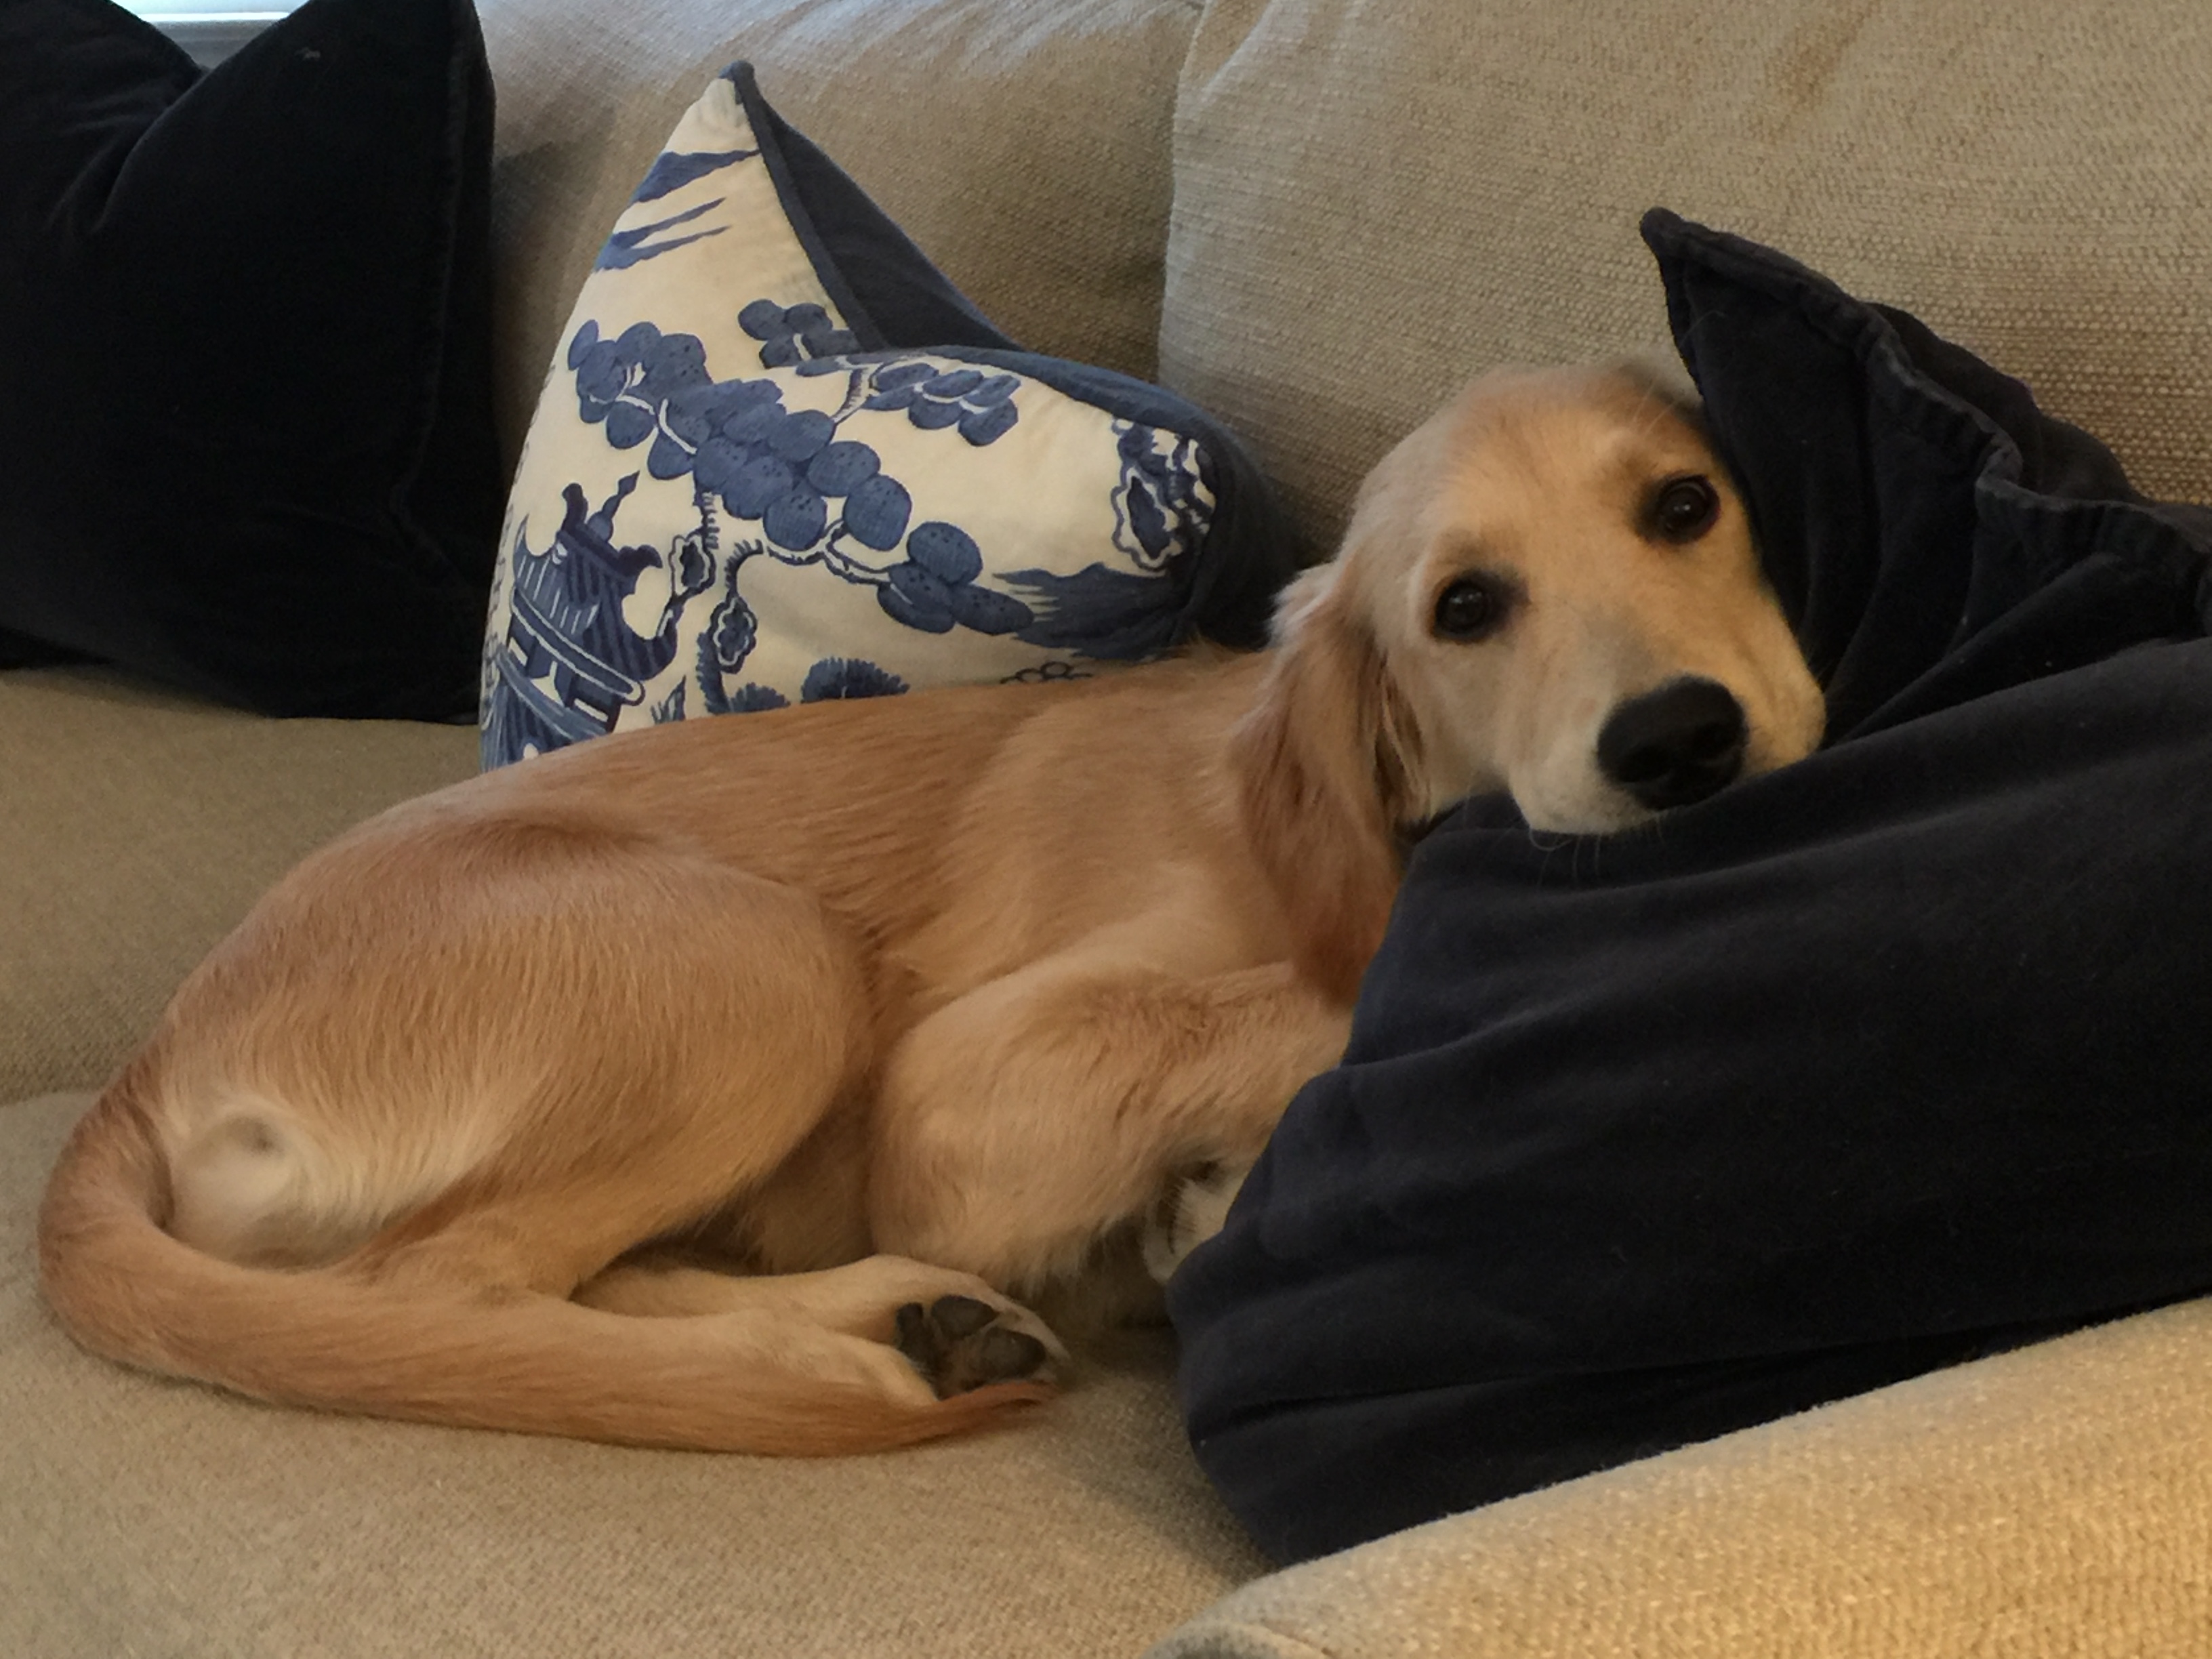
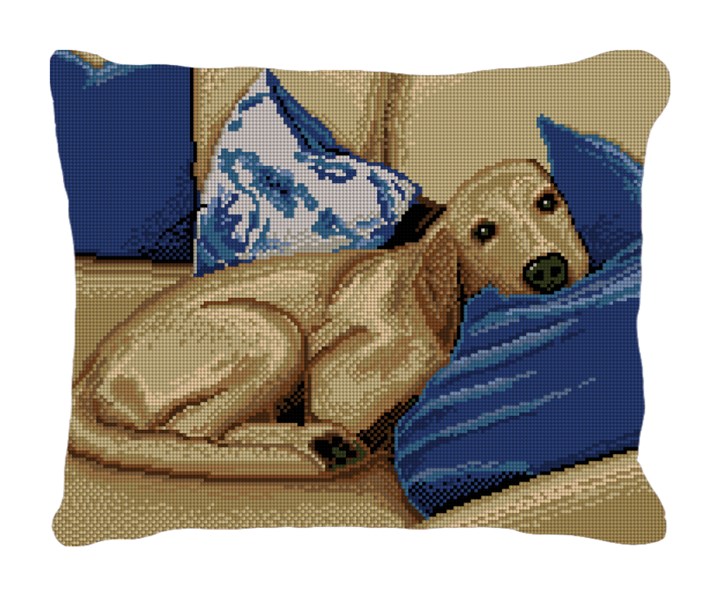
9F6E2EC7-EA85-4A8F-A35A-BA0099C1AD64This custom canvas appears very similar to what the original photo looks like. The black pillows were changed to blue, and the dog has an artistic touch. The overall image is much like that of a portrait, an artist would paint on canvas.


Sleepy Pup Needlepoint Pillow Canvas

Sleepy Pup Needlepoint Pillow Canvas

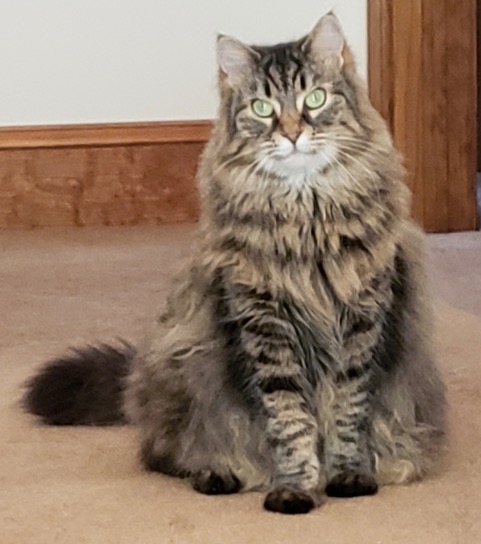
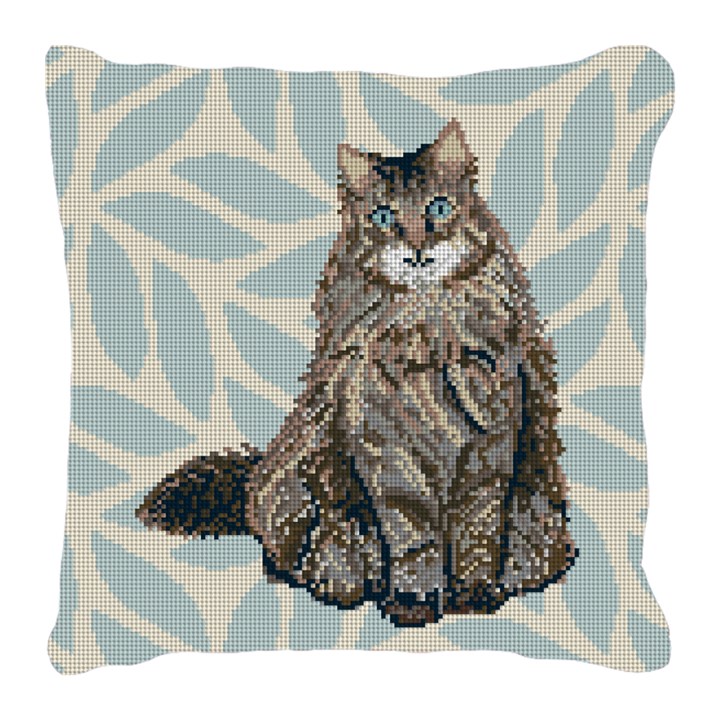
fullsizeoutput_39b8On this canvas, we drew the cat into the computer, much like an artist would draw with a pencil and paper. The ordinary background was removed, and replaced with a subtle colorful texture. We thought it would be fun to change the color of the eyes and make them match the background.

Timid Tabby Cat Needlepoint Pillow Canvas

Timid Tabby Cat Needlepoint Pillow Canvas

Perfect Day Needlepoint Pillow Canvas

Perfect Day Needlepoint Pillow Canvas

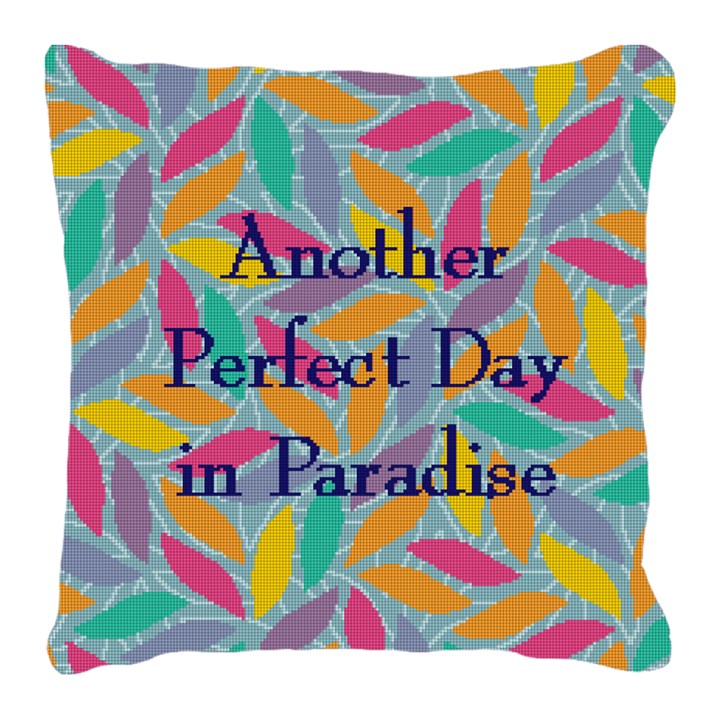
We can create a custom graphic with a favorite quote or saying that may be special to you. This quote was created with classic typography, and then a special patterned background was added. The results: a fun and colorful needlepoint canvas to stitch!

A custom “designer” drawn portrait or graphic canvas, captures a moment in time. Once stitched, it will become a special keepsake for your family. We would be happy to help create a custom canvas for you, simply contact us at: info@needlepaint.com

Happy Stitching!

NeedlePaint Mask Version 2

Written by Peggy BondEscher Mask

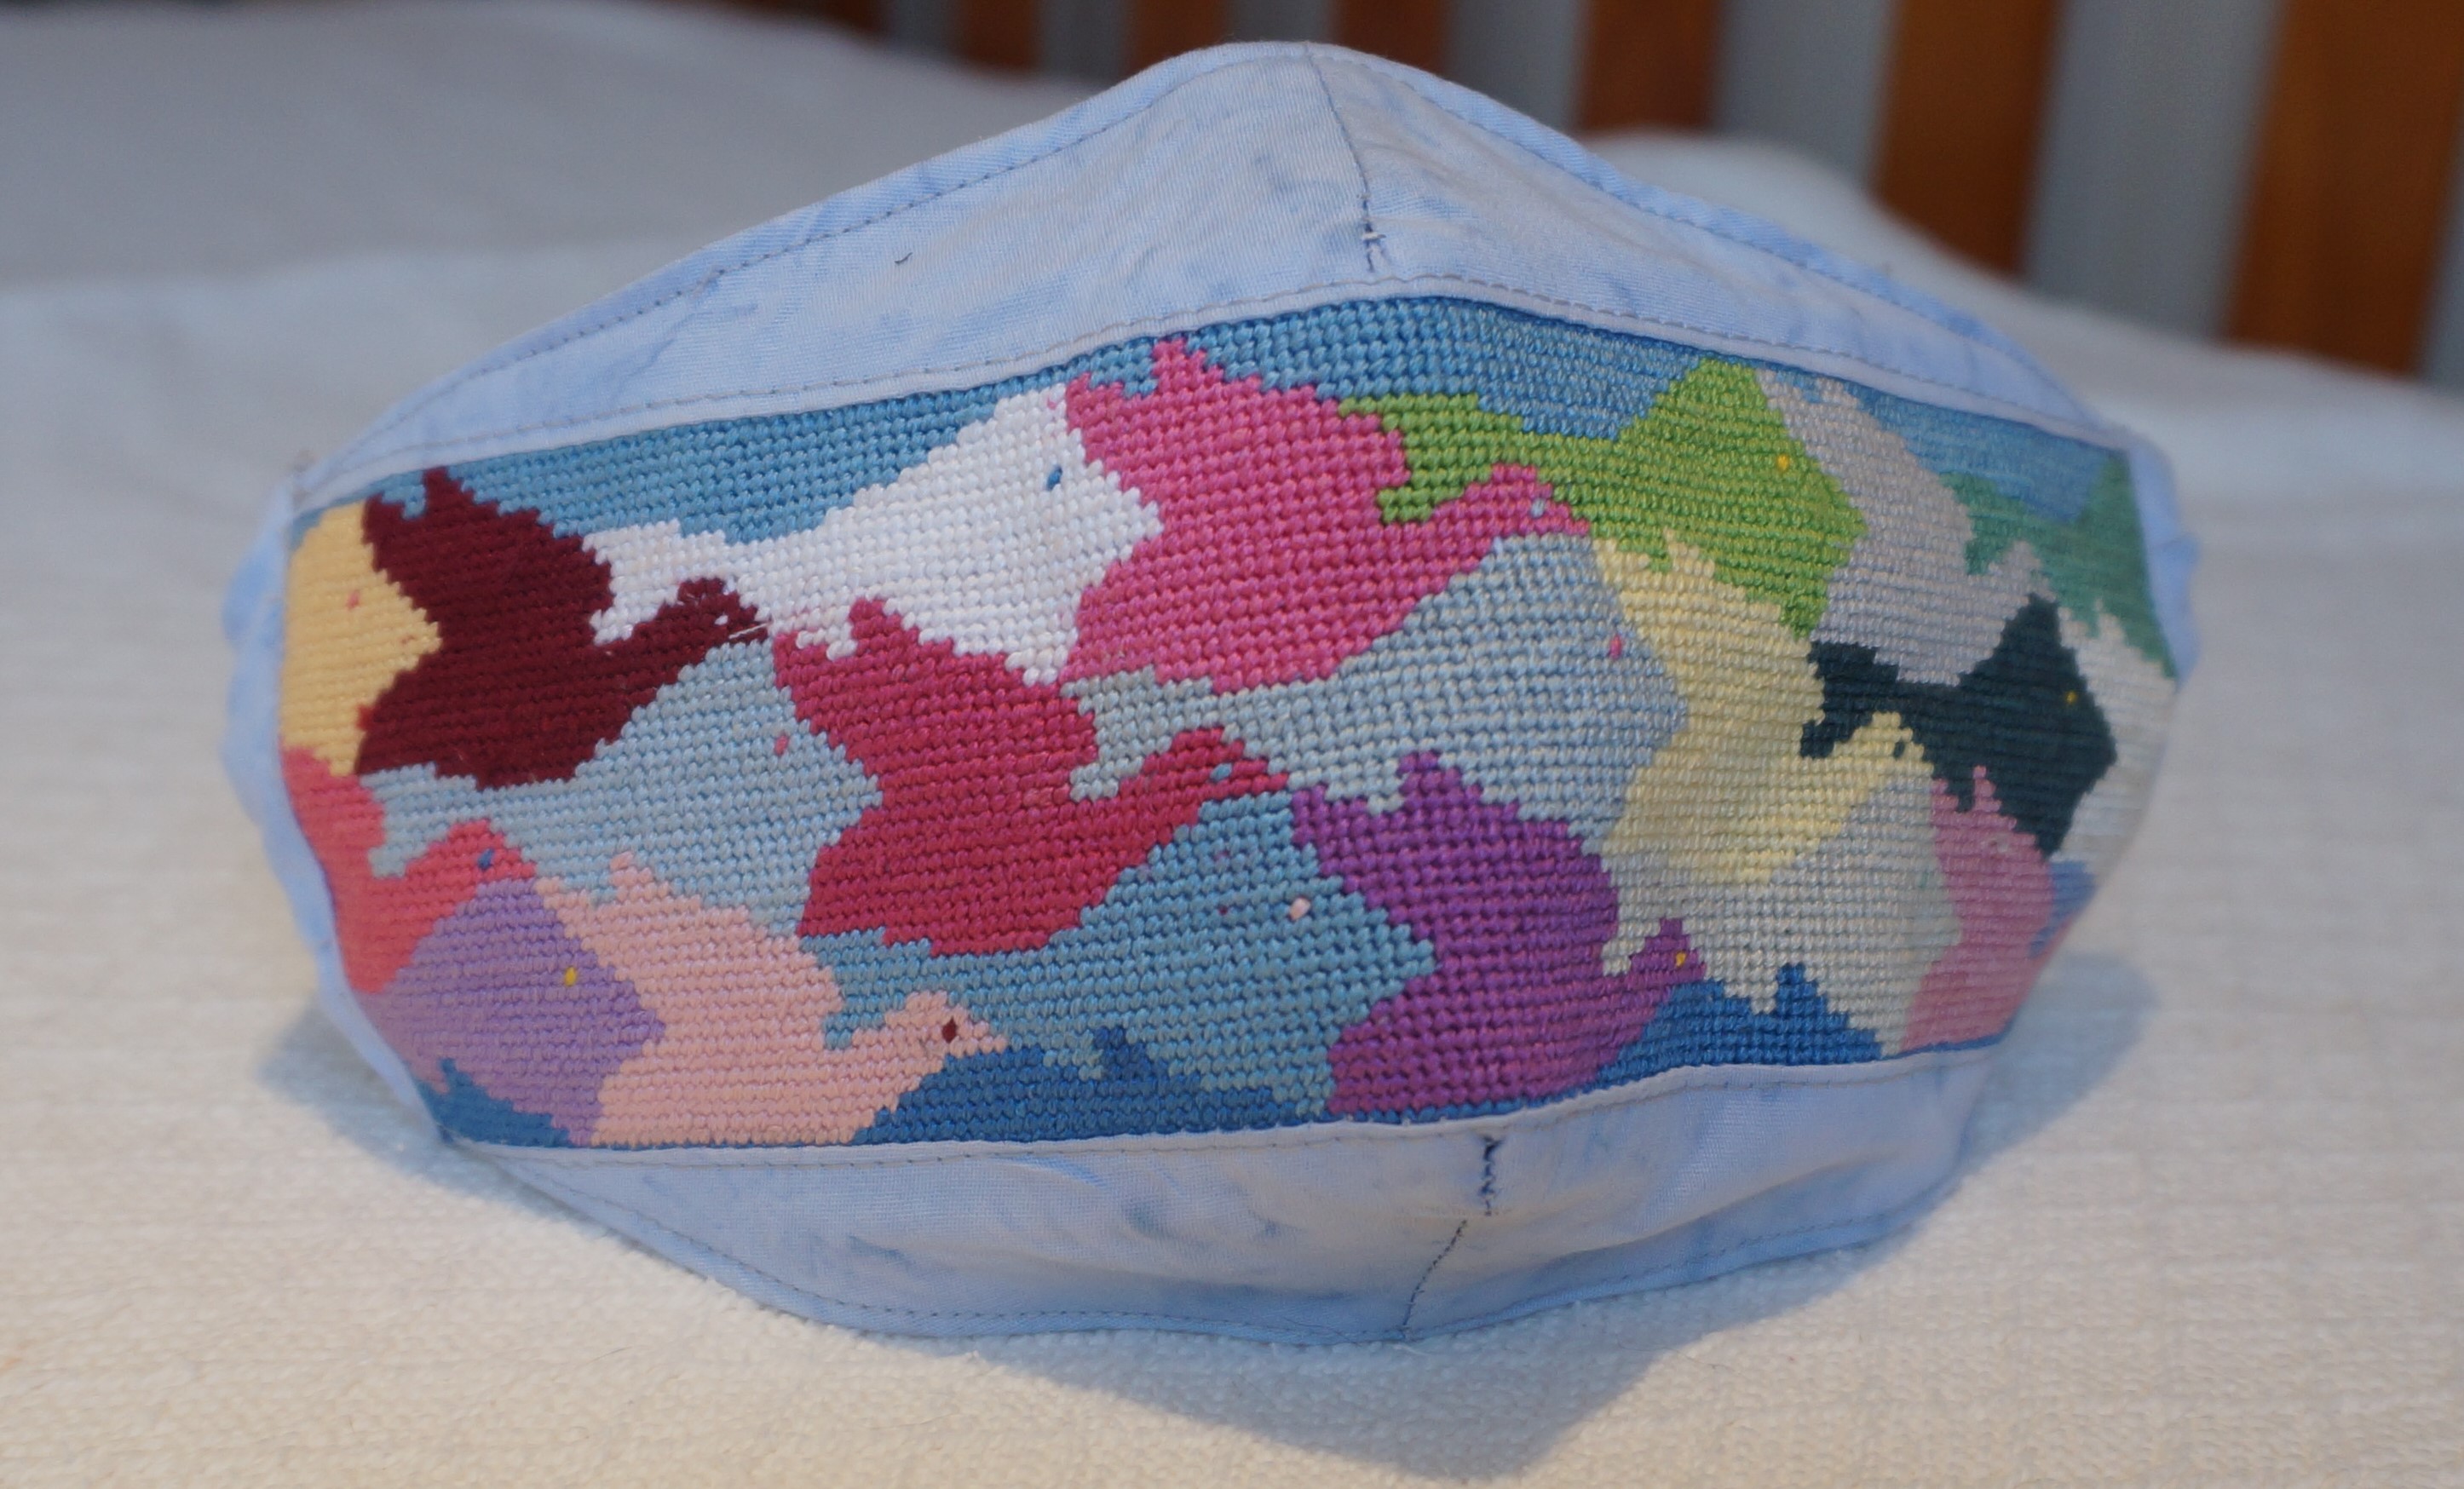
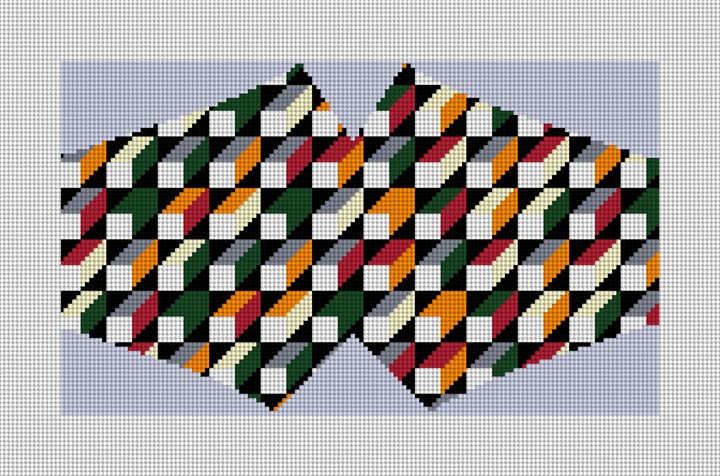
The new NeedlePaint mask, inspired by M.C. Escher, is designed for quick stitching and assembly. It is slightly lighter weight with fabric for the nose and chin portions, but the central needlepoint band retains its form to allow freedom of air flow.

Since the band is a 9-1/4” x 2-3/4” rectangle, it can be stitched in about one half of the time of our full NeedlePaint masks. The mask is a little less formal.

The materials needed are:

  • Cotton fabric for liner and strap trim
  • Cotton fabric for filter pocket (optional)
  • Ear strap material
  • Nose clip material (optional)

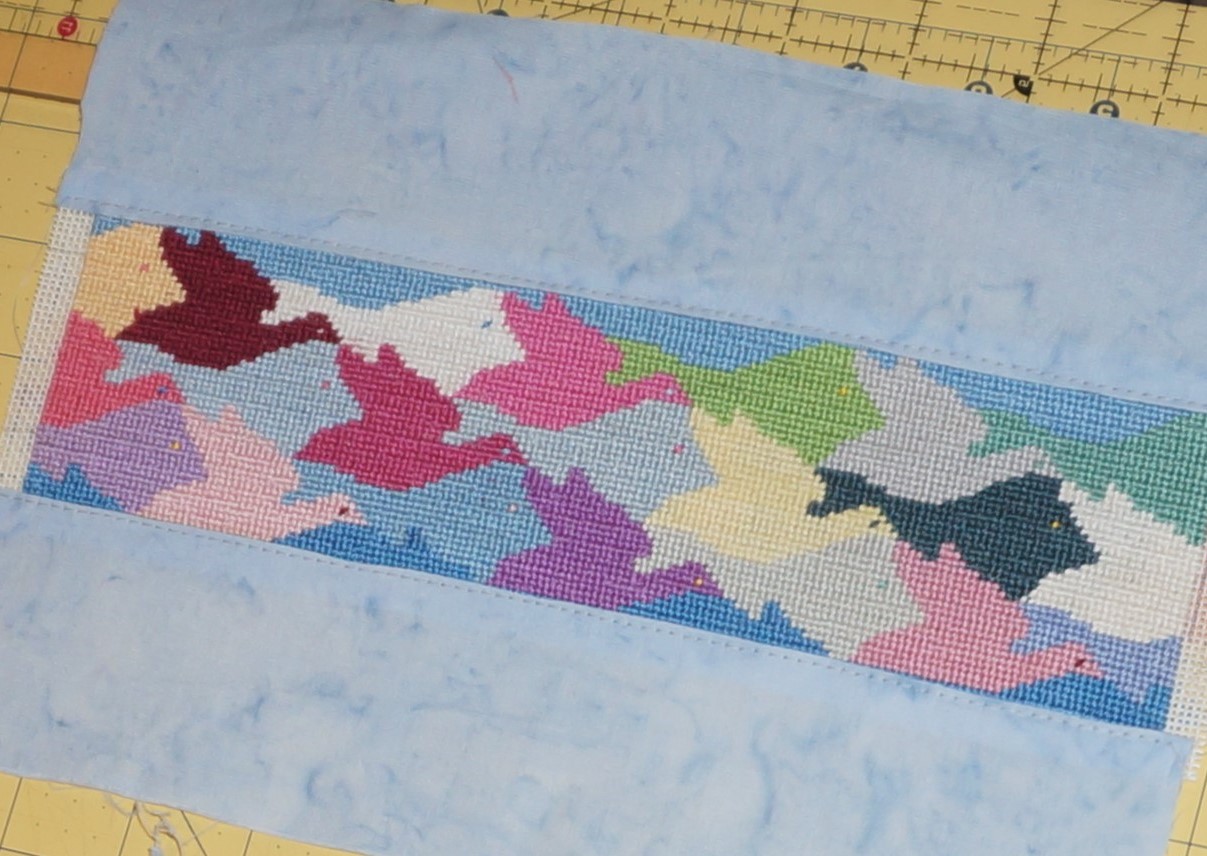
Step 1. After blocking the finished canvas, trim away excess canvas leaving no more than 1/4” of blank canvas. Cut two 10 “ x  3” strips of cotton fabric which will serve for the nose and chin portions of the mask. (One could go two tone and make the nose and chin portions of different colors.)

With right sides together sew strips to the top and bottom of your needlepoint canvas. Press fabric away from canvas. Do not press seam open. Top stitch the fabric side of each seam.

Position the mask pattern so that the needlepoint band is centered between the nose and chin darts and cut out the mask. The shaped pattern is similar to our Geometric Face Mask shown below. Using the same pattern cut one liner or two if making the optional filter pocket.

Top Sticch

Step 2. Fold the canvas along center line with right-sides together, matching the two upper nose points and the two lower chin points. Stitch 3/8” seam and press open. Repeat for liners and optional filter pocket.

If using the filter pocket, sew a ½” hem on each cheek edge.

Nose Clip

Step 3. Cut a piece of fabric 1” by ½” longer than the selected nose clip. Sew a ¼” hem on each short edge of this fabric nose sleeve. Place the nose sleeve on the liner or filter pocket centered ½” below the nose seam. Sew in place. Press so long edge lines up with top of liner or pocket.

The nose clip will be inserted after the rest of the assembly is completed.

Step 4. Place right sides together, carefully aligning the seams of the nose and chin darts on all pieces. If using the optional filter pocket, it will be the closest to needlepoint mask.

Sew the ¼” seam along the top and bottom of the mask and turn the mask inside out. Be careful not to pull on the edge of the needlepoint canvas as it can separate easily. Press the seamed edges and top stitch.

IMG_2595

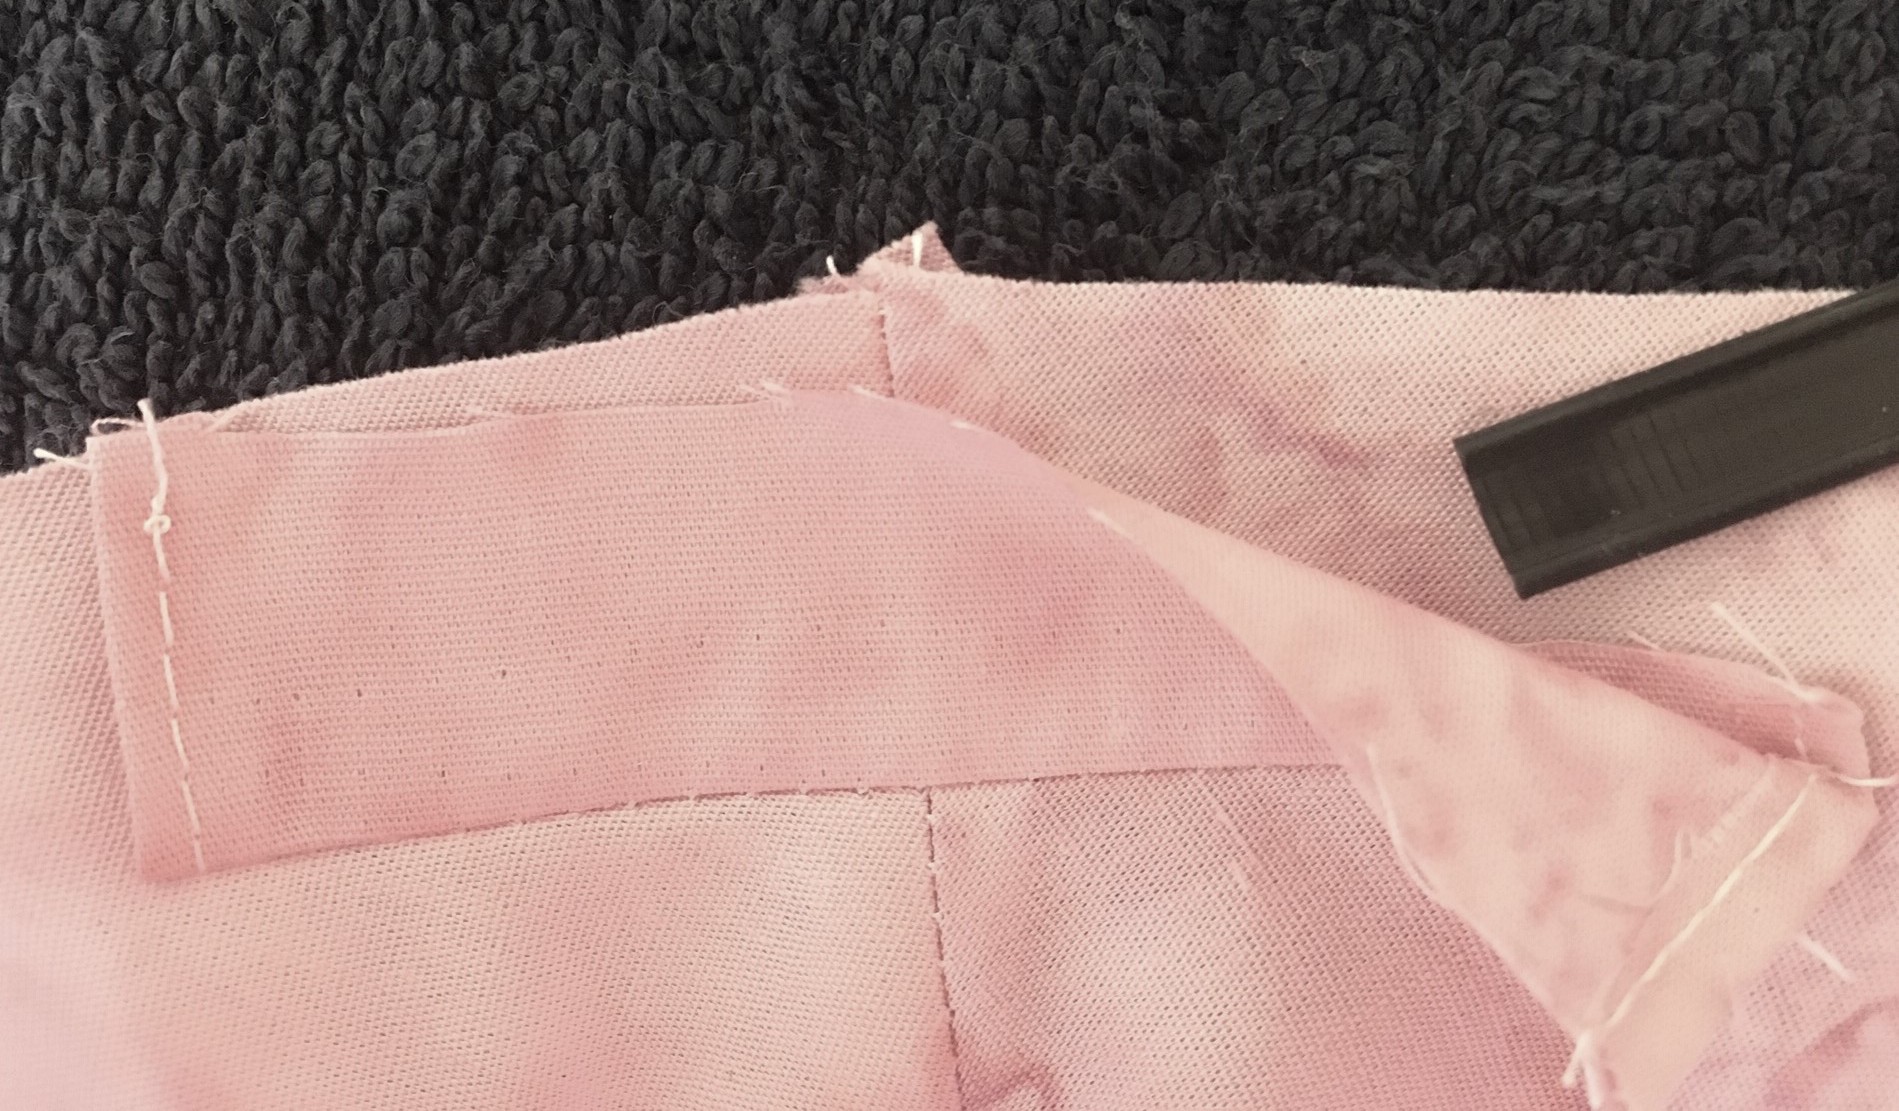
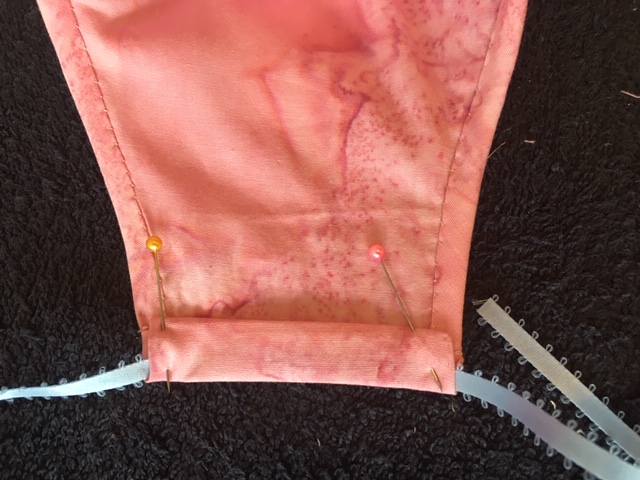
Step 5. For the ear strap sleeves, cut two 1-1/2” strip of liner fabric that are ½” longer than the ear edges of the mask. Sew to each ear edge with ¼” seam. Press top and bottom edges down. Then press a ¼’ fold on free edge and fold to back aligning the folded edges with the ear edge stitches. This will leave a ½” sleeve for the ear strap.

The straps can be tucked under the fold before stitching the sleeve in place or can be threaded through with a safety pin after stitching.

Check out these two new designs we have created for you!

201214212828956

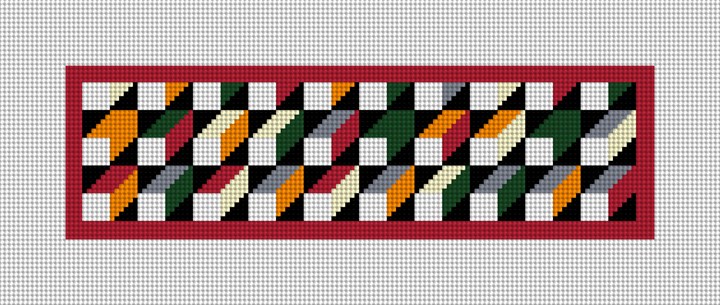
Mosaic Face Mask Panel Needlepoint Canvas

2016142165470554

Geometric Face Mask Needlepoint Canvas

NeedlePaint Masks Unmasked!

Written by Peggy Bond

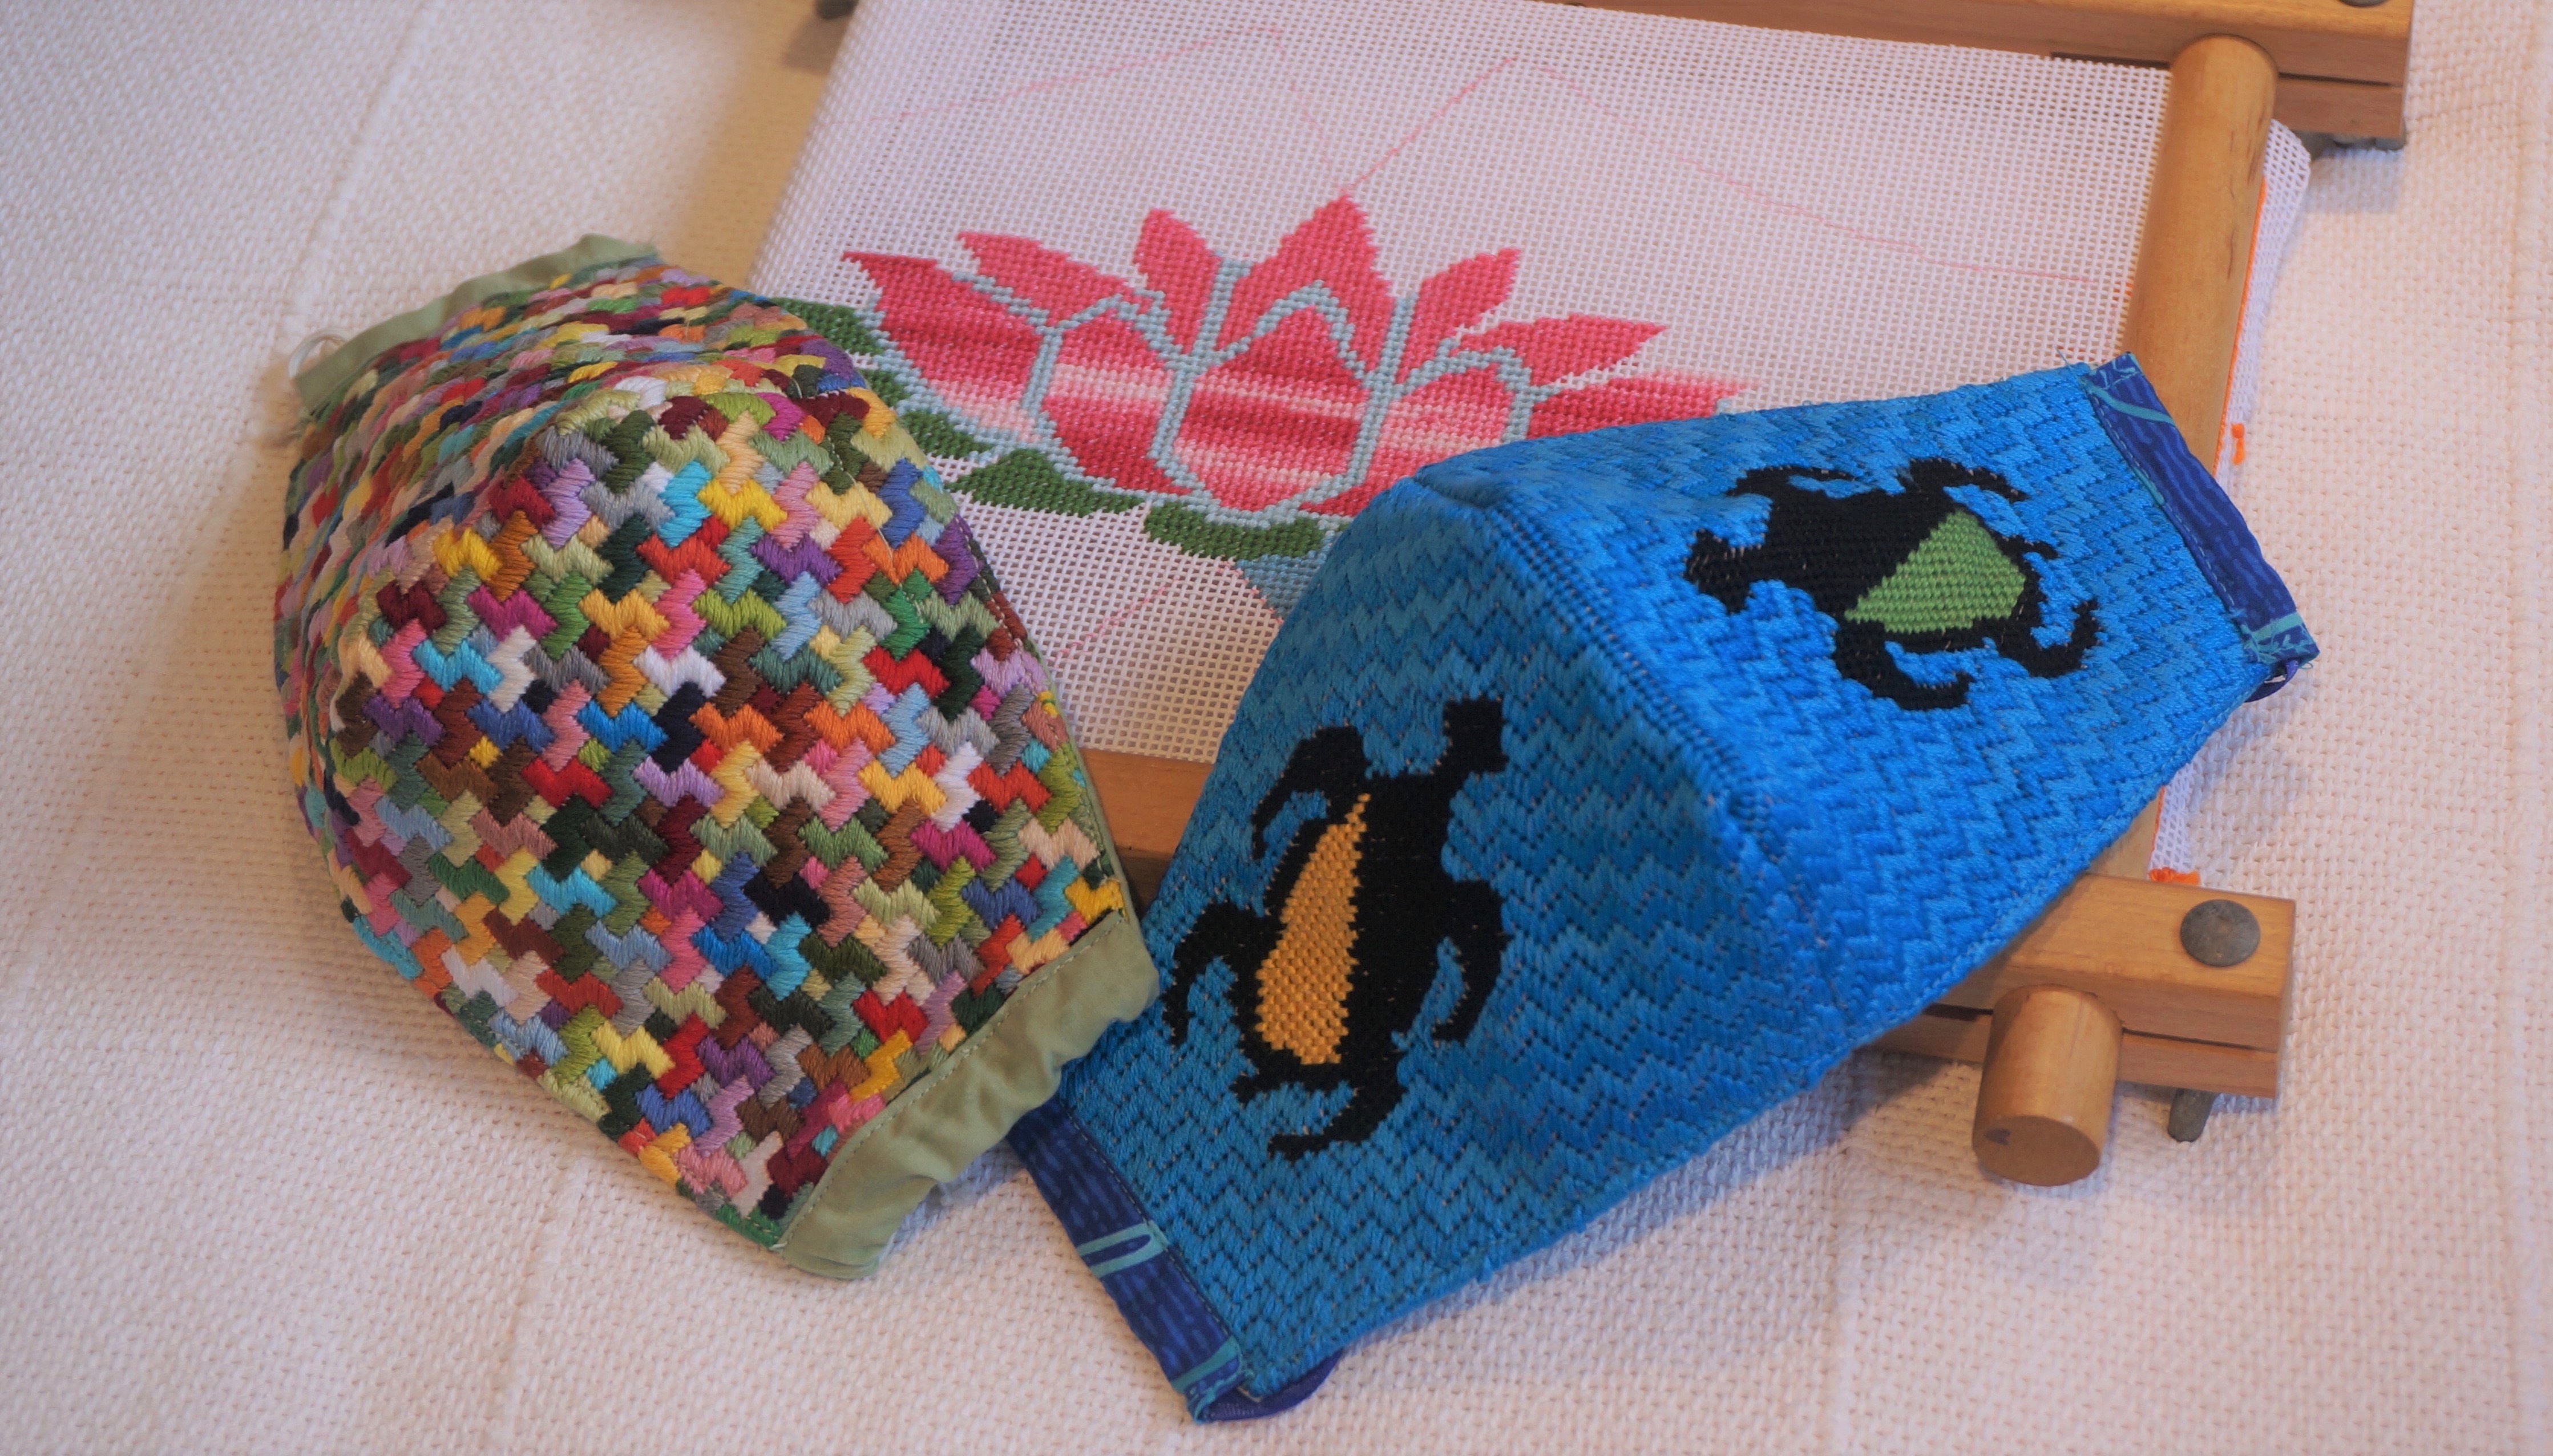
Two needlepoint face masks

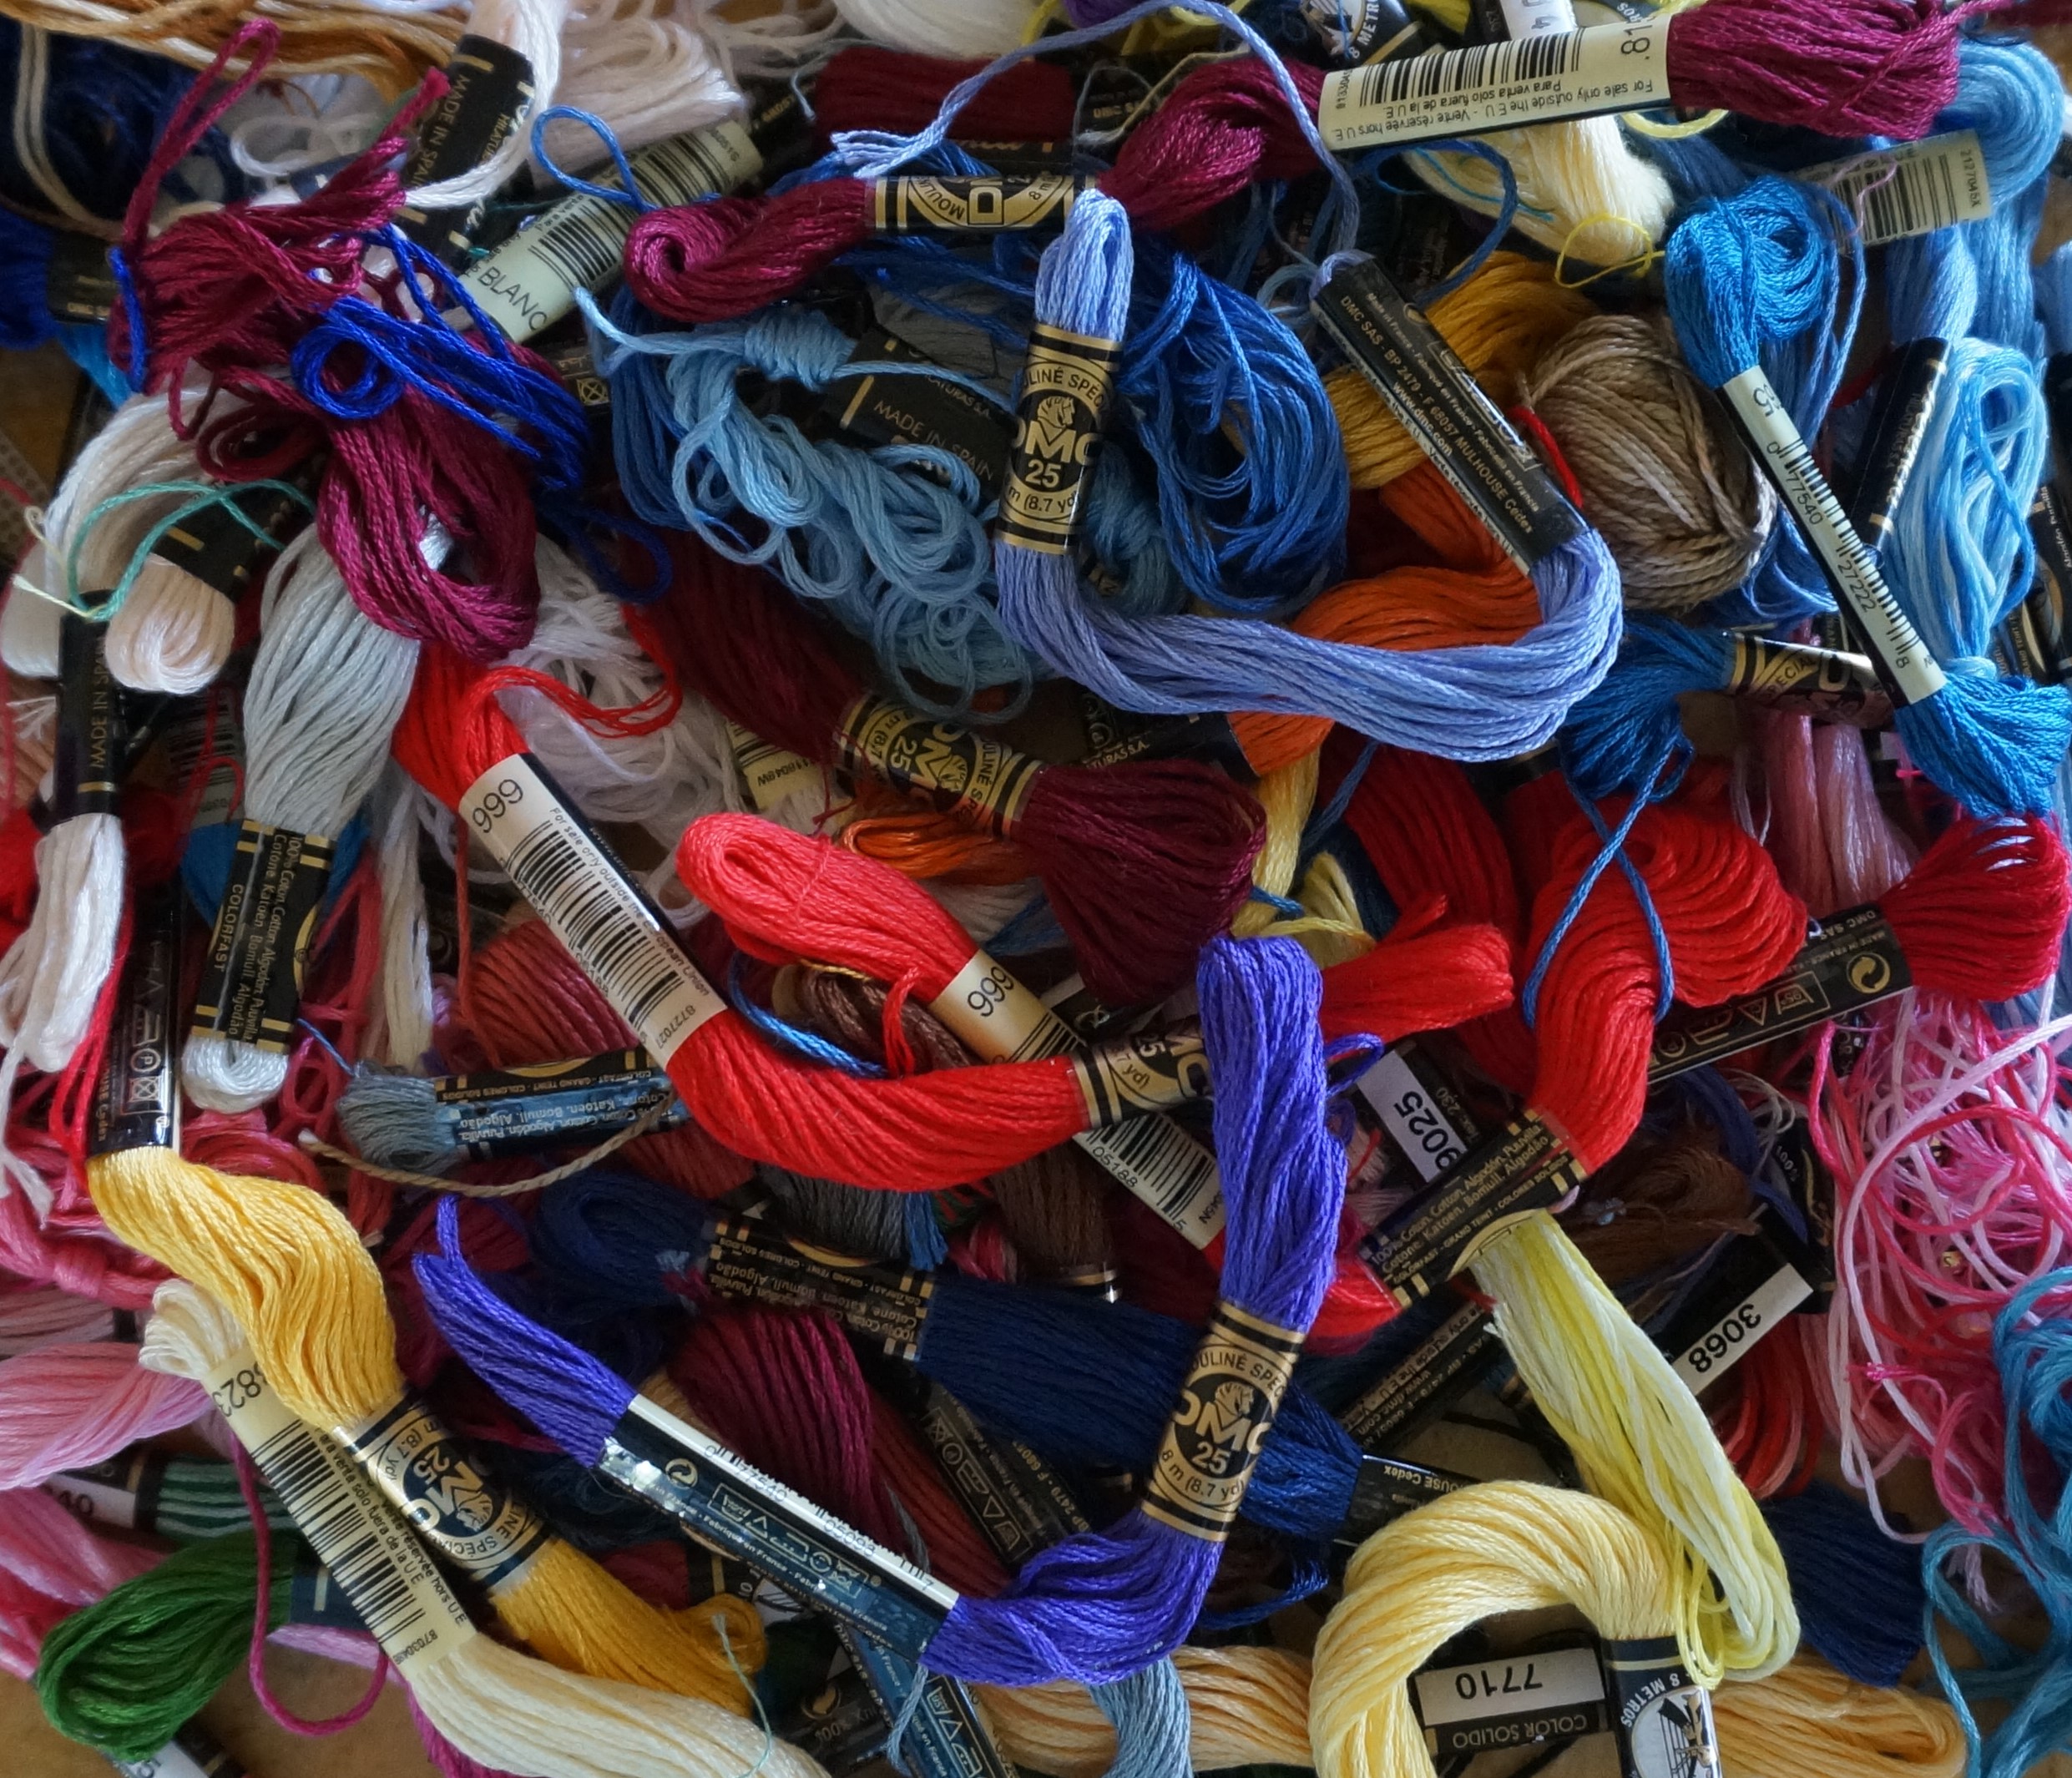
After the initial rush to get cotton masks made for all my neighbors and friends, I was out of material, elastic, and thread. Stores were closed and mail order was going to take at least a week. So into the closet I went and found some 18 and 14 mesh needlepoint canvas and a stash of thread.

Thread Stash

I had been thinking about making a needlepoint mask but wondered how it would hold up with washing. With time on my hands, this was the perfect project for lockdown. The pattern I has used for the cotton masks was not going to work with stiff needlepoint canvas.

Flat tent stitch cropped

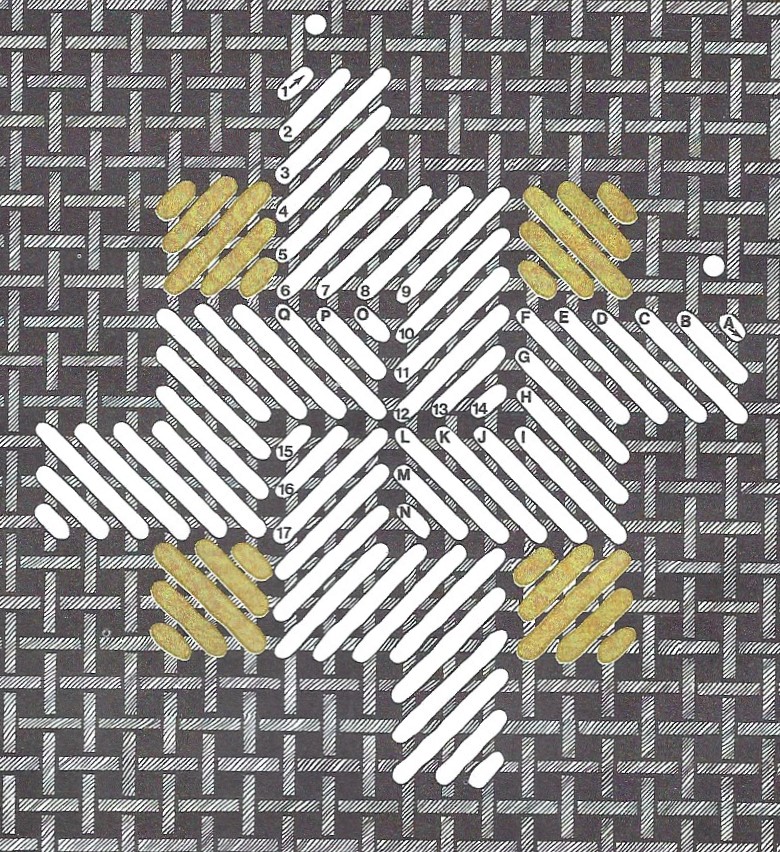
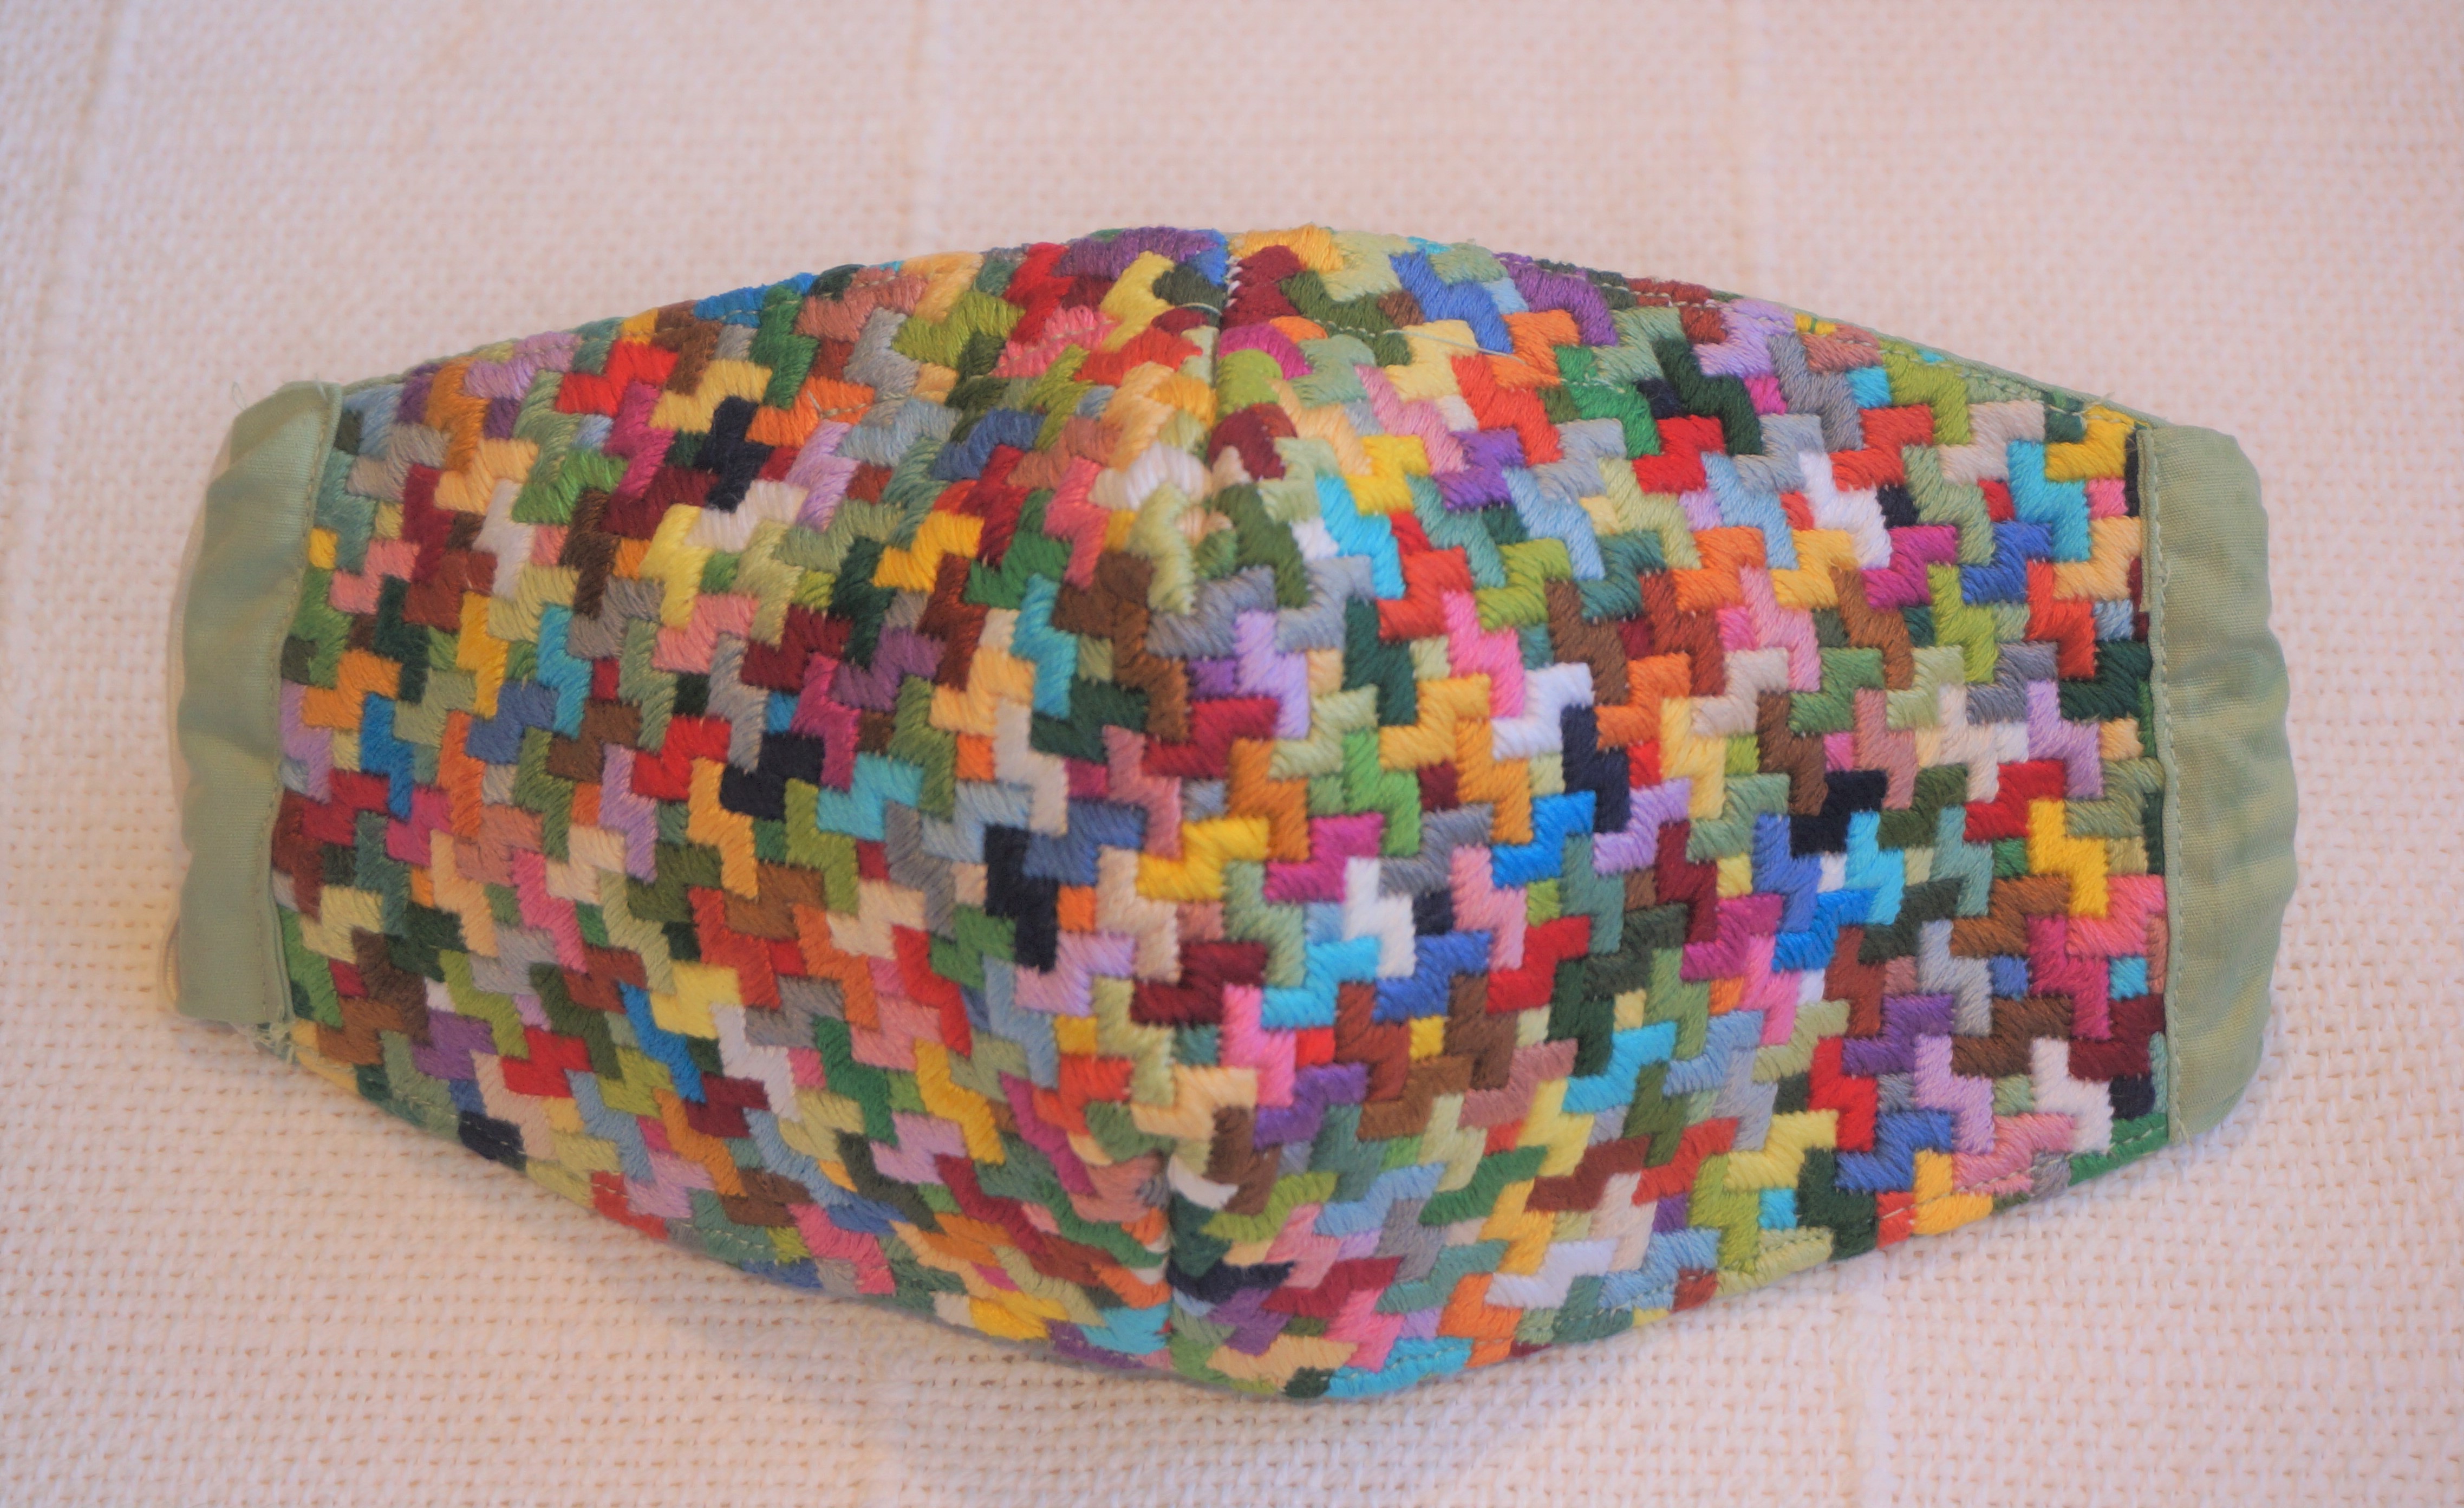
Searching the internet, I found a pattern that I thought would work from PrettyHandyGirl.com. I used the Inside Liner pattern from Pretty Handy Girl and then set to work on my Geometric Mask on 18 mesh canvas using random colors from my stash and a classic background Flat/Tent stitch from A Pageant of Pattern for Needlepoint Canvases by Sherlee Lantz.

Geometric Needlepoint Face Mask

The stitching went quickly and soon I was ready to assemble, check the fit, and then wash it. (Finishing options will be the subject of my next blog.) The fit was a little large for me but fit my husband perfectly. Washing was a success. I washed it by hand in Woolite and hot water. Then hung it out to dry. The mask held its shape well, so on to the next one.

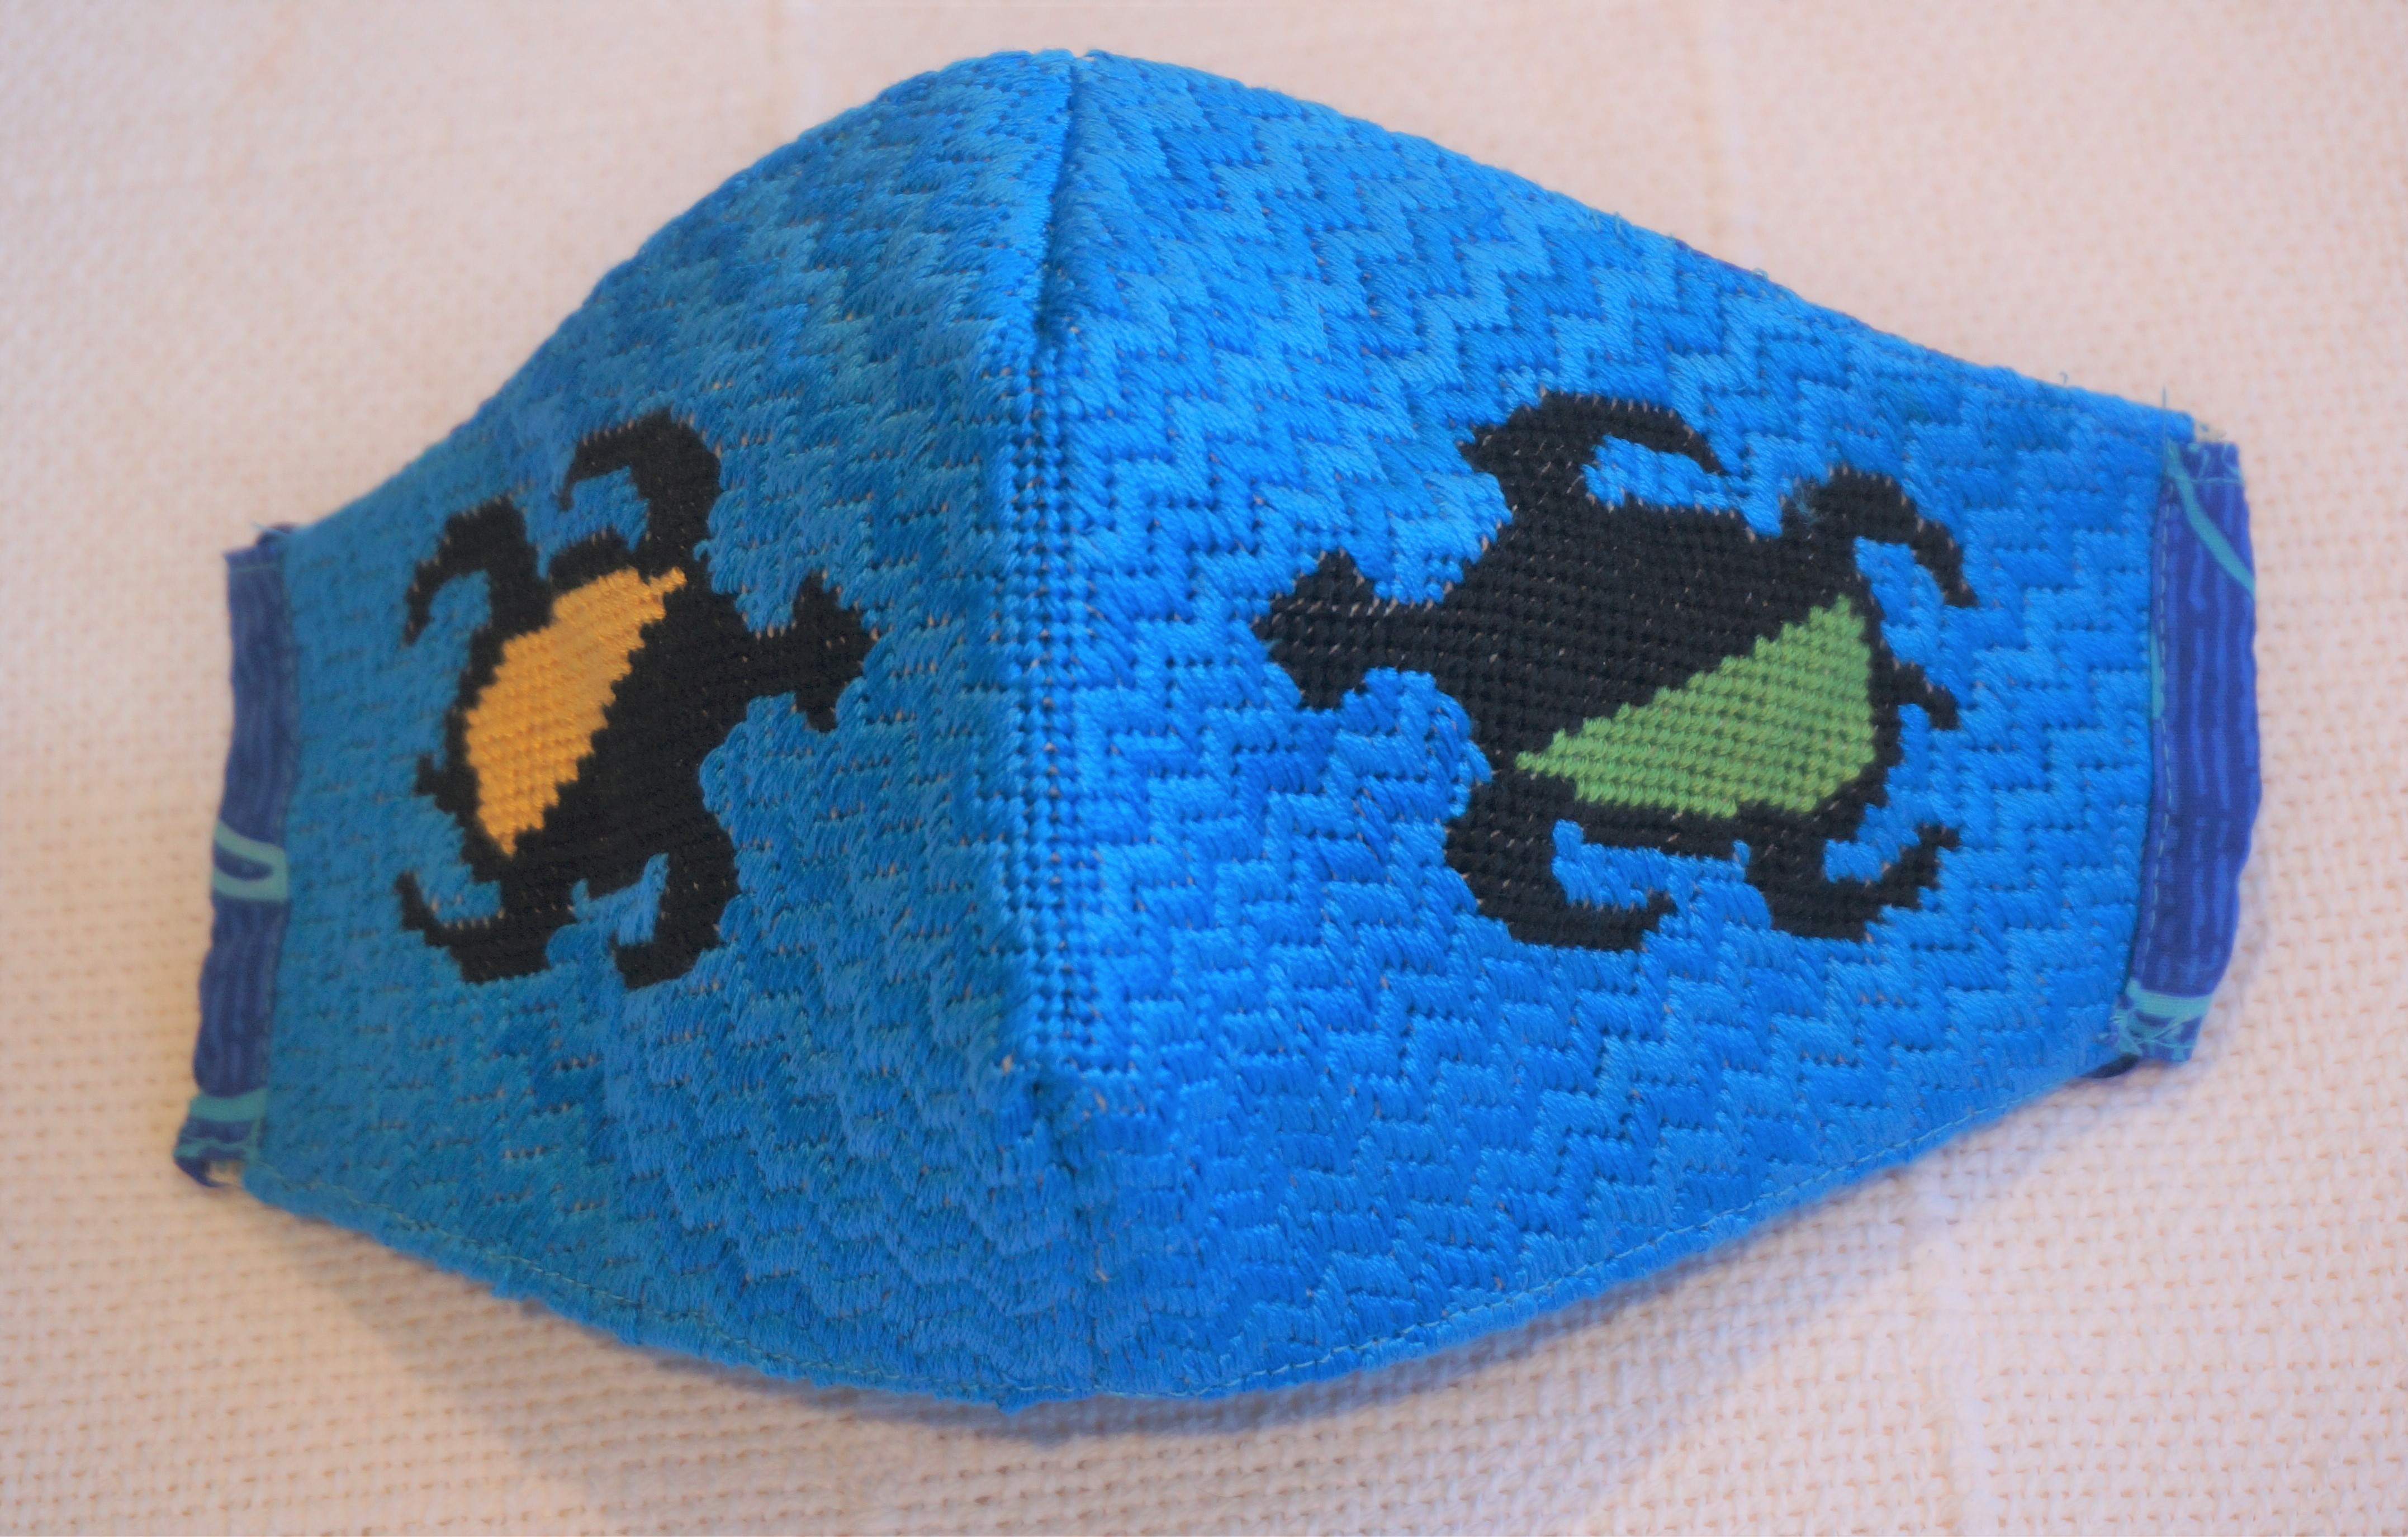
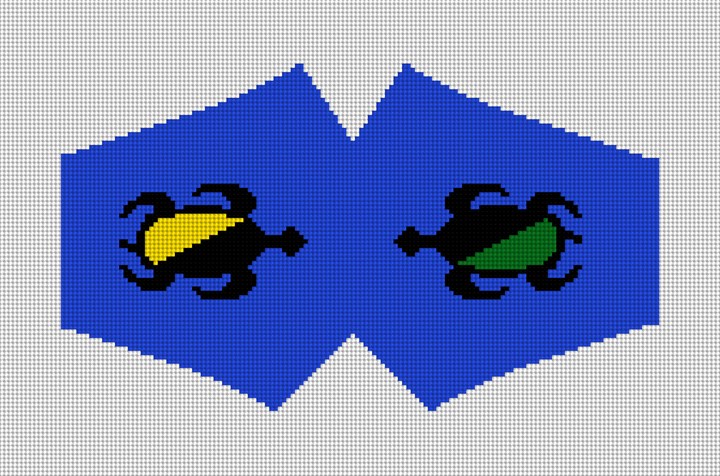
Turtle Design Needlepoint Face Mask

For the next mask, I redrew the pattern to make the top more slanted and picked out a NeedlePaint design used on a hatband – my Hawaiian turtles. The turtles were done on 14 mesh canvas using the continental stitch with the background in alternating rows of the Byzantine stitch from Jo Ippolito Christensen’s The Needlepoint Book.

I chose to alternate two different blue threads because that was what I had on hand. Alas, it was not enough and I had to ask for more from the NeedlePaint staff who have been working tirelessly to keep shipping orders while I am in lockdown elsewhere. Many thanks to them!

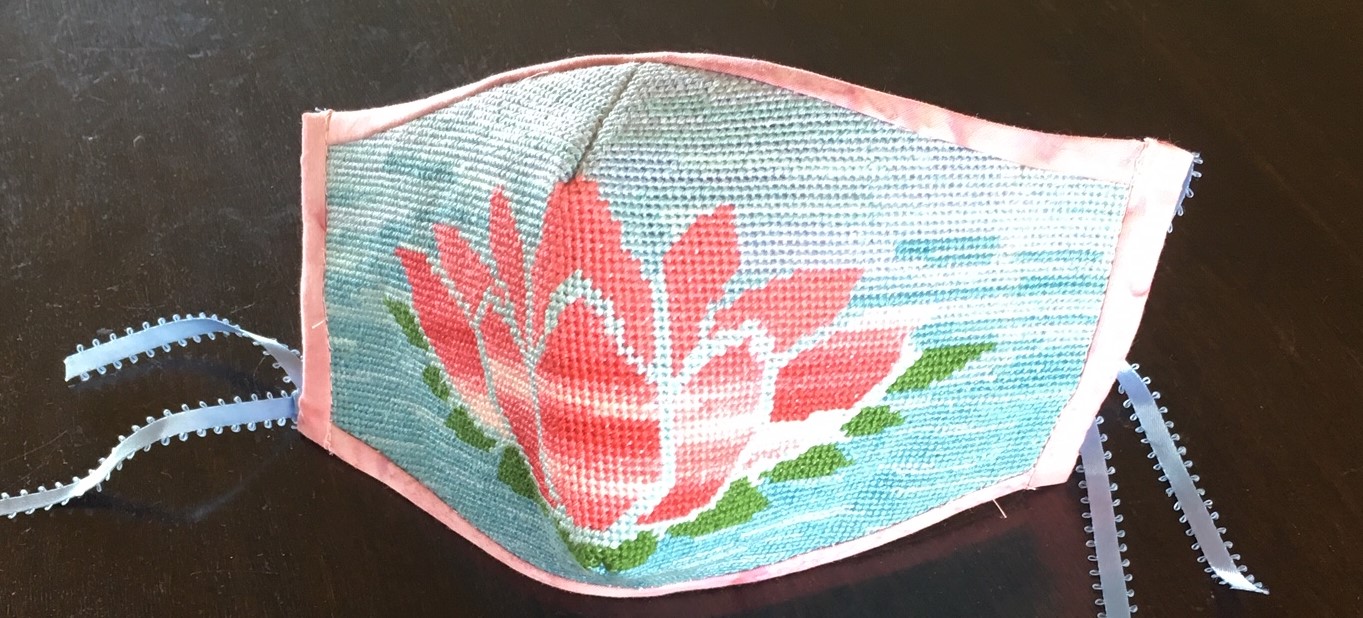
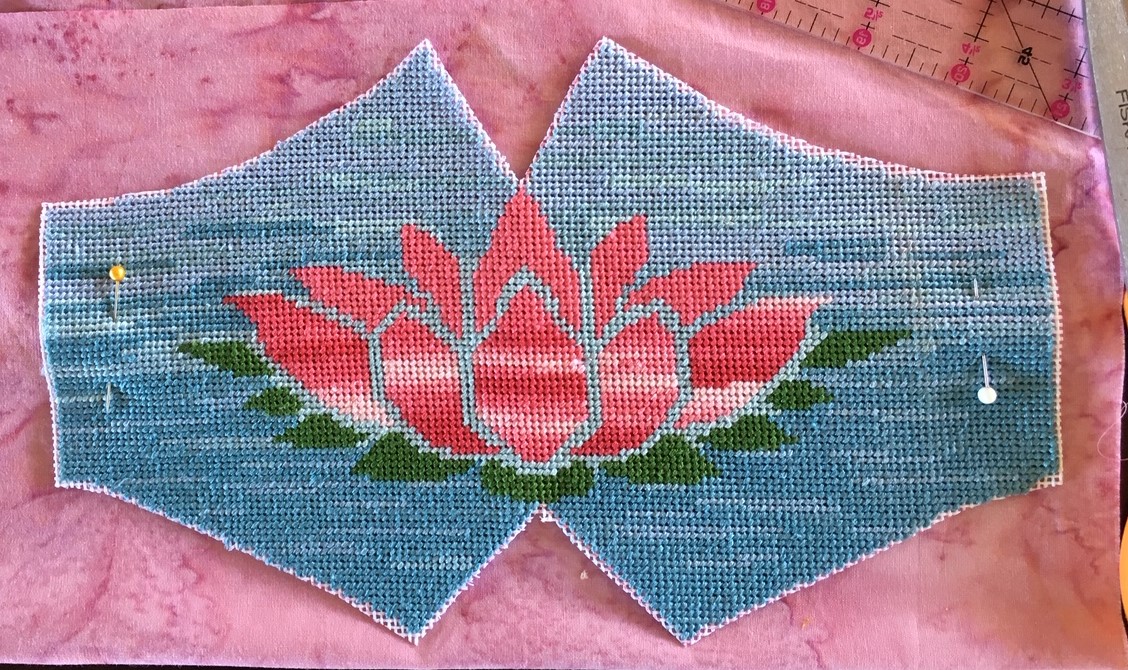
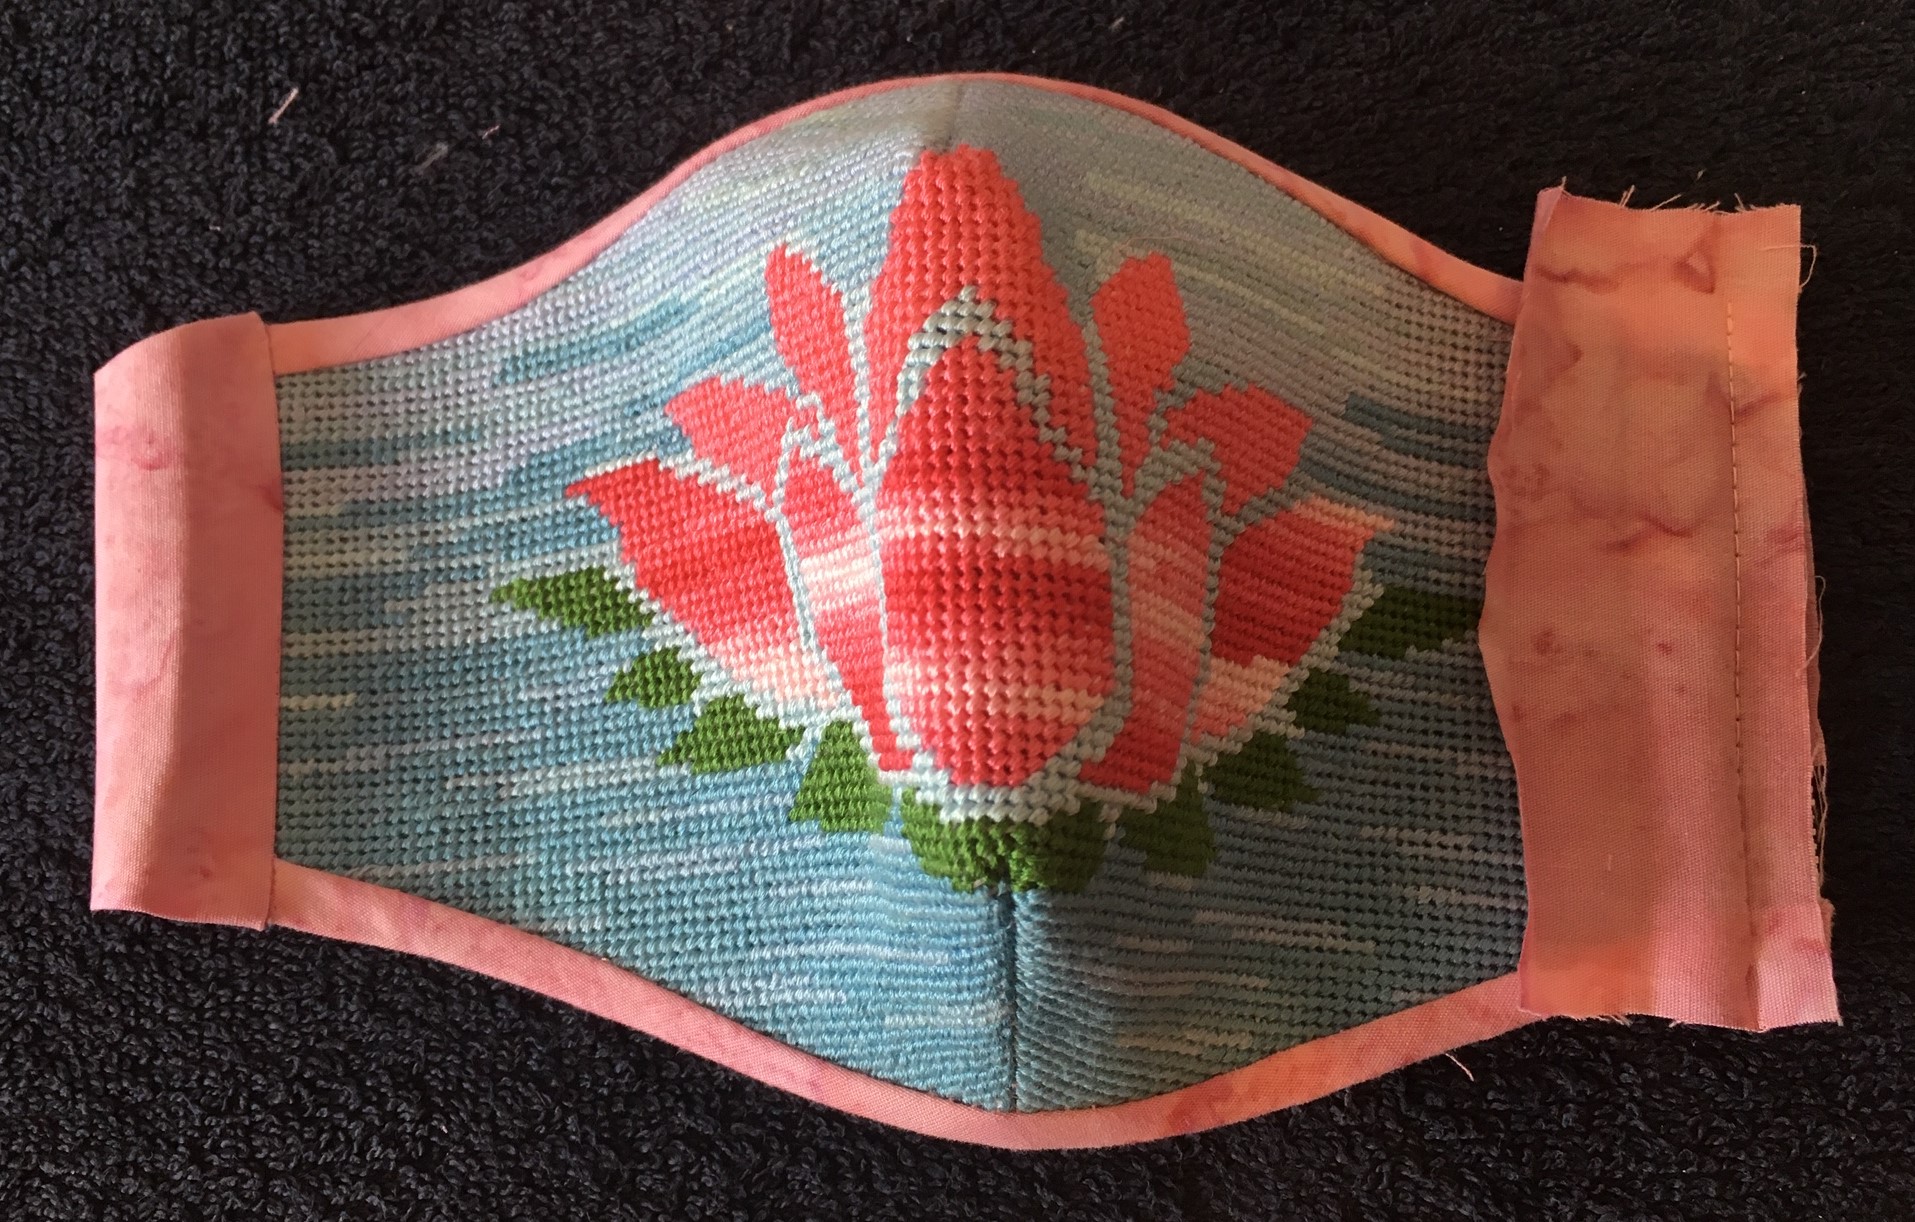
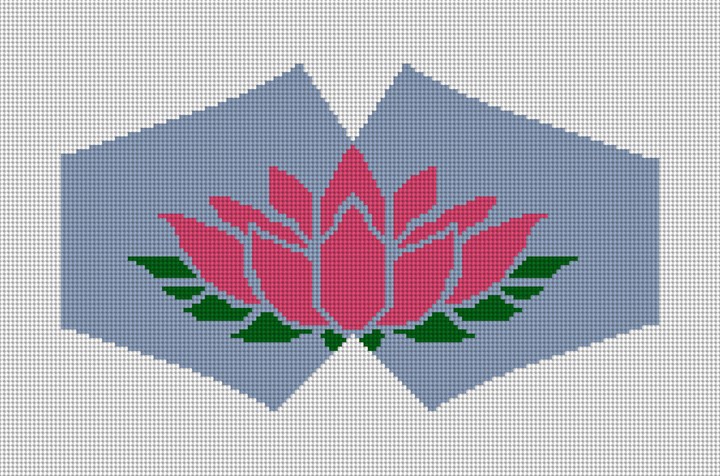
I am now on my third mask – the lotus blossom shown in the photo at the top of the blog.

Now, sewing it up!

Lotus mask

Remember your mask will not be a replacement for an N95 or surgical mask. 

There are a couple options to consider assembling your NeedlePaint mask – a filter pocket and nose clip. Pretty Handy Girl describes the material choices for the nose clip and straps. I agree with her recommendation to use the coffee bag flat ties for the nose clip. I am not a coffee drinker but luckily my husband is. However, her other suggestion works too. Her discussion of adjustable strap materials is very good. Due to unavailability of any of the materials suggested, I have been opted for ¼ inch ribbons of which I have a stash.

The materials needed are:

  • Cotton fabric for liner and strap trim
  • Cotton fabric for filter pocket (optional)
  • Ear strap material 
  • Nose clip material (optional)
  • ¼ in double fold bias tape or cotton fabric for homemade bias strip

Step 1. After blocking the finished canvas, trim away excess canvas leaving no more than 1/8” of blank canvas. Place on liner material with straight cheek edges aligning with the straight grain of the fabric. Cut one liner.

For optional filter pocket, cut a second liner of the same size. 

Trimmed

Step 2. Fold the canvas along center line with right-side together, matching the two upper nose points and the two lower chin points. Stitch 3/8” seam and press open. Repeat for liners and optional filter pocket.

If using the filter pocket, sew a ½” hem on each cheek edge.

Stiching

Step 3. Optional Nose Clip

Cut a piece of fabric 1” by ½” longer than the selected nose clip. Sew a ¼” hem on each short edge of this fabric nose sleeve. Place the nose sleeve on the liner or filter pocket centered ½” below the nose seam. Sew in place. Press so long edge lines up with top of liner or pocket.

The nose clip will be inserted after the rest of the assembly is completed.

Nose Clip

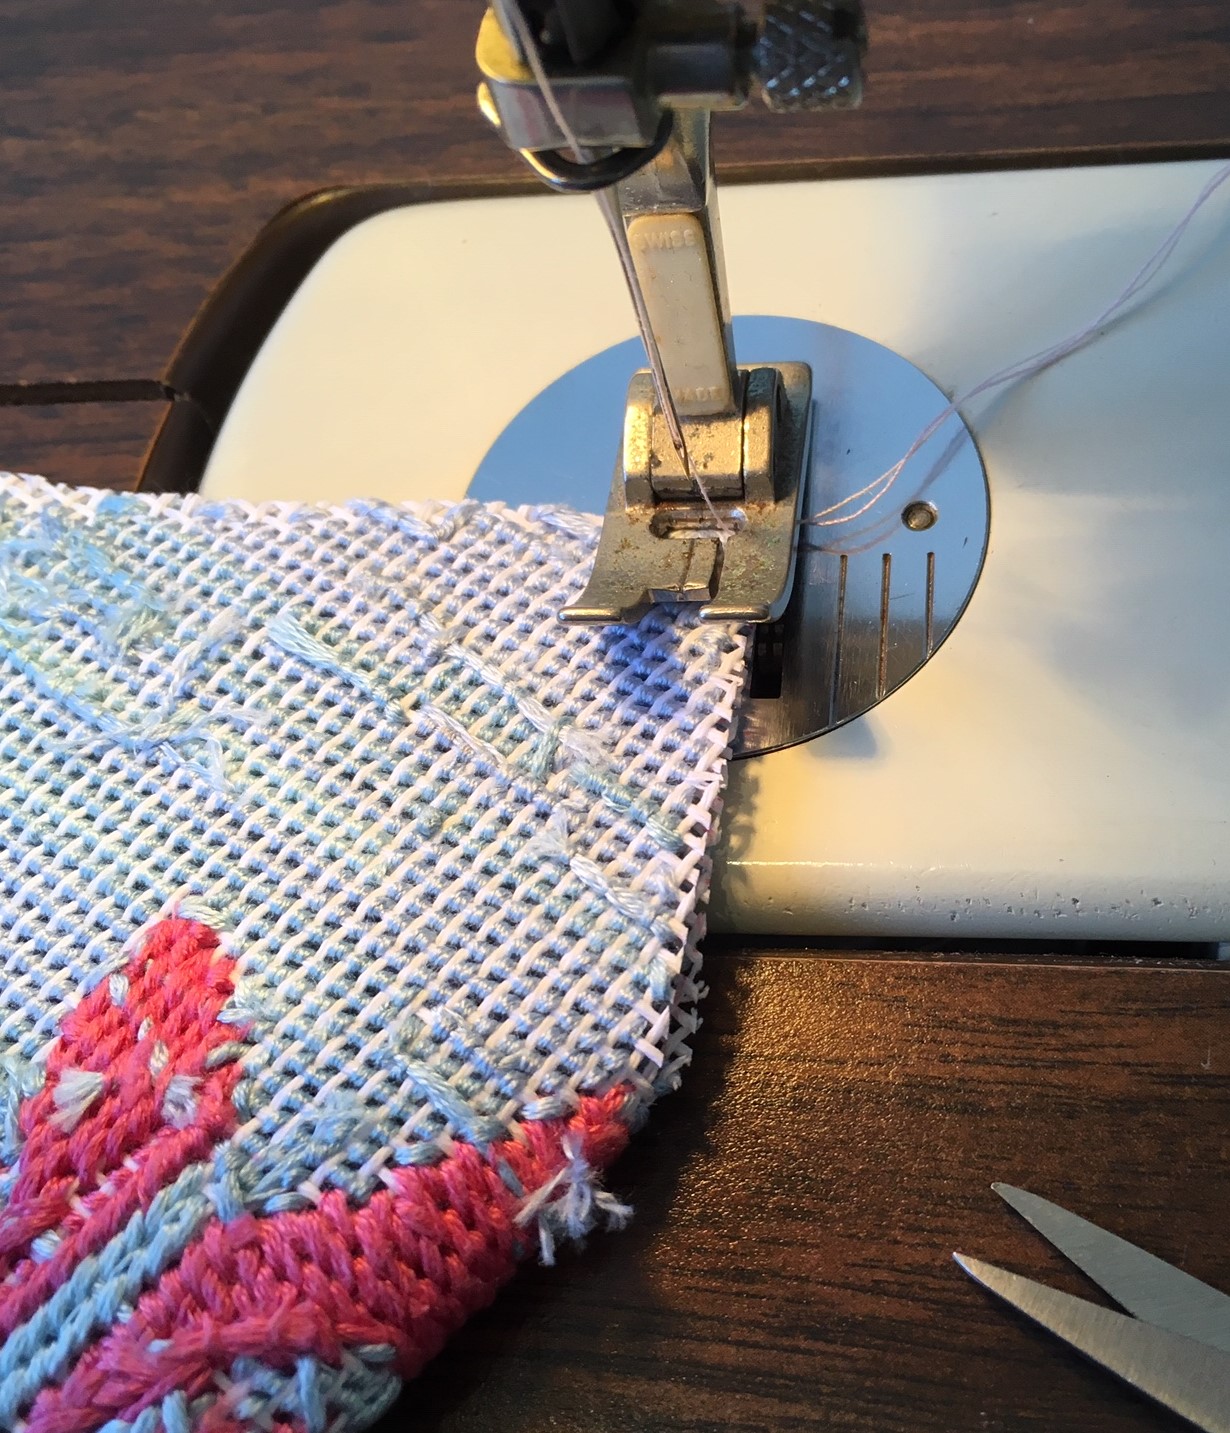
Step 4. Align NeedlePaint mask and liner with wrong sides together. If including filter pocket, place the pocket on top of the liner. Match nose and chin seams. Baste together.

Bind the upper and lower edges of the mask with the bias tape or strips. If using ¼” double fold tape, place over the edge of the mask and liner (and optional pocket) and stitch through all thicknesses. 

Bias trim 2

The above photo is not of a mask but from another project because I do not have a source of double fold bias tape. The lotus mask was finished with my own bias strip, machine sewn on the canvas side and turned and finished by hand on the liner/pocket side.

The pre-made double fold tap is easier to use but often you can’t find a matching color for your project.

Bian Trim

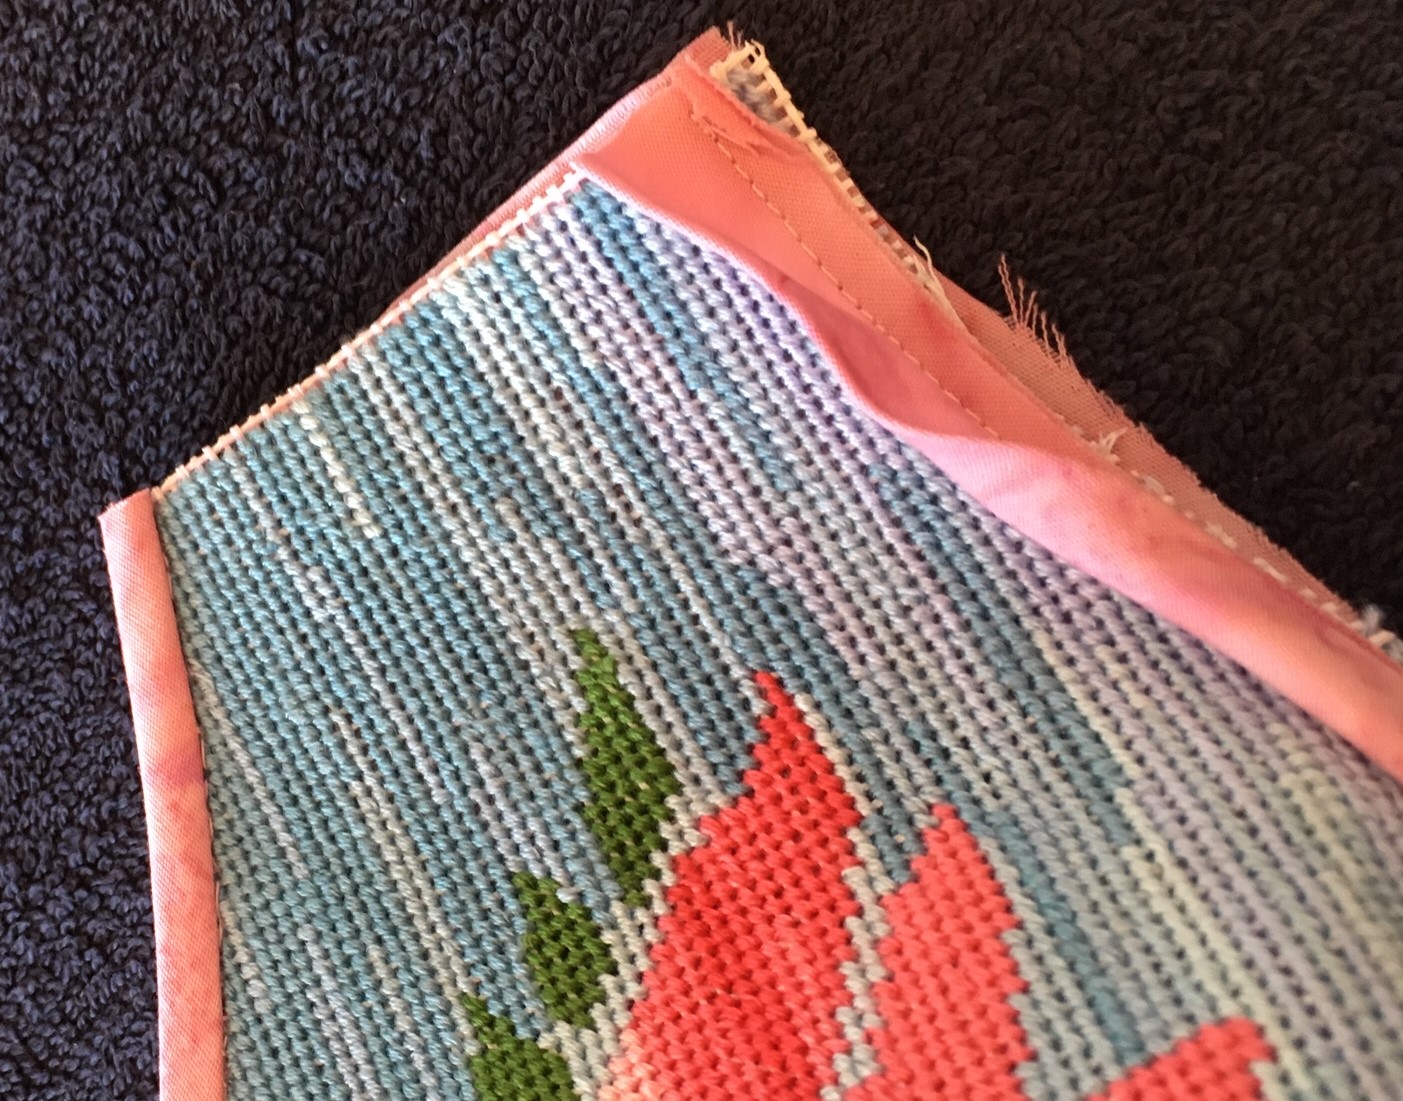
Step 5. For the ear strap sleeves, cut two 1-1/2” strip of liner fabric that are ½” longer than the ear edged of the masks.  Sew to each ear edge with ¼” seam. Press top and bottom edges down. Then press a ¼’ fold on free edge and fold to back aligning the folded edges with the ear edge stitches. This will leave a ½” sleeve for the ear strap.

IMG_2595

The straps can be tucked under the fold before stitching the sleeve in place or can be threaded through with a safety pin after stitching.

Ear Sleeves

Step 6. Now it is time to insert the nose clip. It should slip easily into sleeve and then sew off the ends by hand. DONE!

Lotus Blossom Face Mask Needlepoint Canvas

Check out our new Lotus Blossom Face Mask and Sea Turtle Face Mask needlepoint canvases available on our website!

Sea Turtle Face Mask Needlepoint Canvas

Happy Stitching!

NeedlePaint’s Fresh View of the Great Outdoors!

At NeedlePaint we’ve been anxiously anticipating our next adventure outdoors, to explore the great wilderness of our National Parks. In the meantime, we’ve been busy bringing the outdoors inside, with beautifully designed panoramic views of our National Parks for you to needlepoint. 

I am constantly amazed at the level of detail our designers can create in such a small amount of space. On 18 mesh canvas, with 18-20 stitches in height on a belt canvas to design within, we watch as these landscapes unfold, and see how one single stitch can illustrate so much.

NeedlePaint National Parks

National Parks Needlepoint Belt Canvas

The conservation of “wild nature” for future generations, is a symbol of national pride, and is the main idea of what the National Parks program is all about. This stunning panoramic view on our National Parks design includes: Zion Canyon, Bryce Canyon, Yosemite, Tetons, Yellow Stone, Grand Canyon, Glacier and Acadia National Parks. We will also include your monogram or initials inside of the National Parks sign!

NeedlePaint Rocky Mountains

Rocky Mountain National Park Needlepoint Belt Canvas 

Ahh . . . . the spectacular and breathtaking views of the Rocky Mountains! At NeedlePaint we are lucky to have the most beautiful view of this landscape in our own backyard. Comprised of three thousand miles of mountains, national forests, monuments, and recreations areas. This mountain range spreads from British Columbia and Alberta in Canada down through Idaho, Montana, Wyoming, Colorado, and New Mexico.

NeedlePaint Yellowstone

Yellowstone National Park Needlepoint Belt Canvas

This national treasure lies on top of a volcanic hot spot! Featuring 3500 square miles of canyons, forests, alpine rivers, gushing geysers and abundant wildlife. We have designed this belt canvas with Yellowstone landmarks from left to right to include: the park entrance sign, the entrance gate, an elk family, Old Faithful with hot air balloons, Grand Prismatic Spring, a bison family, and Roosevelt Arch.

These designs are available as belt canvases to stitch or finished needlepoint belts. Have an idea for a custom landscape design you would like to see come to life? We would love to design one for you. Feel free to contact us at info@needlepaint.com

Enjoy Earth Day, and Happy Stitching!

Family Crests NeedlePaint Style!

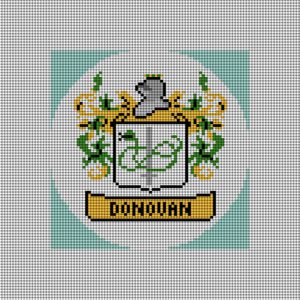
Today, it’s quite popular for individuals to research their family history. Only to discover that their “last name” was once represented with a family crest, used to identify their family. We’ve designed several NeedlePaint canvases that you can stitch, to celebrate your family name. 

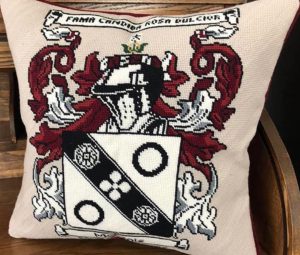
Your crest will be modified to our design, featuring the knights helmet, shield and scroll with your family name. The colors and design will match your crest, and the ornament on the helmet will be changed to match, too. Not sure what your family crest looks like? We would be happy to help do the research for you.


NeedlePaint family crest pillow

Our Family Crest needlepoint pillow canvases, are customizable with your choice of overall canvas size, mesh size, and thread options of DMC embroidery floss or Waverly wool.

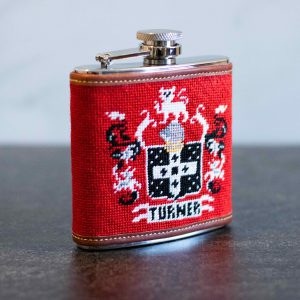
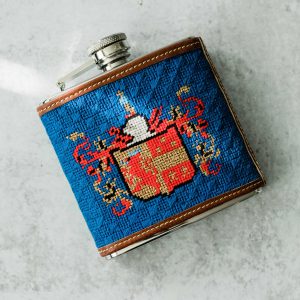
NeedlePaint family crest flask 1.4        NeedlePaint family crest flask 1.4-2

Let us create a custom family crest flask canvas for you to stitch, for that special family member on your gift list! 


2039281239970554

Decorate your holiday tree, by stitching several family crest ornaments including each of the historic crests that make up your family.


.Family Crest Belt 1.5

Family Crest Needlepoint Belt 2

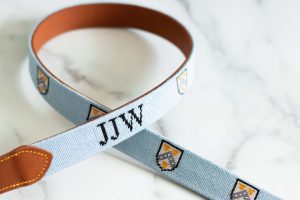
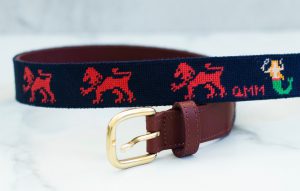
Stitch a special belt canvas with your family crest! Although a belt canvas isn’t quite as tall as what an entire crest design might require, we can use the center shield or even individual elements from the original crest for your design. 


Family Crest needlepoint wallet

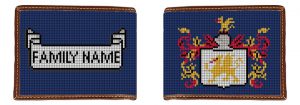
Create a one of a kind family crest wallet, by stitching your family crest on the front, and your family name on the back.


Don’t have a traditional family crest associated with your last name. Why not let us invent one for you? Our designers can create a crest from scratch, specific to your families interests, hobbies, sports, pets, philosophy or religion.

Ask us about our finishing services for pillow, flask, ornament, belt and wallet canvases. We also can stitch and finish any of our family crest needlepoint products for you, just let us know. Please send us a note at info@needlepaint.com, we would be happy to help you with your family crest project.

Happy Stitching!