Official blog of www.NeedlePaint.com
where you can design your own Needlepoint!

NeedlePoint Kits and Canvas Designs | Design your own Needlepoint Kit!

Posts tagged ‘how to needlepoint’

NeedlePaint Mask Version 2

Written by Peggy BondEscher Mask

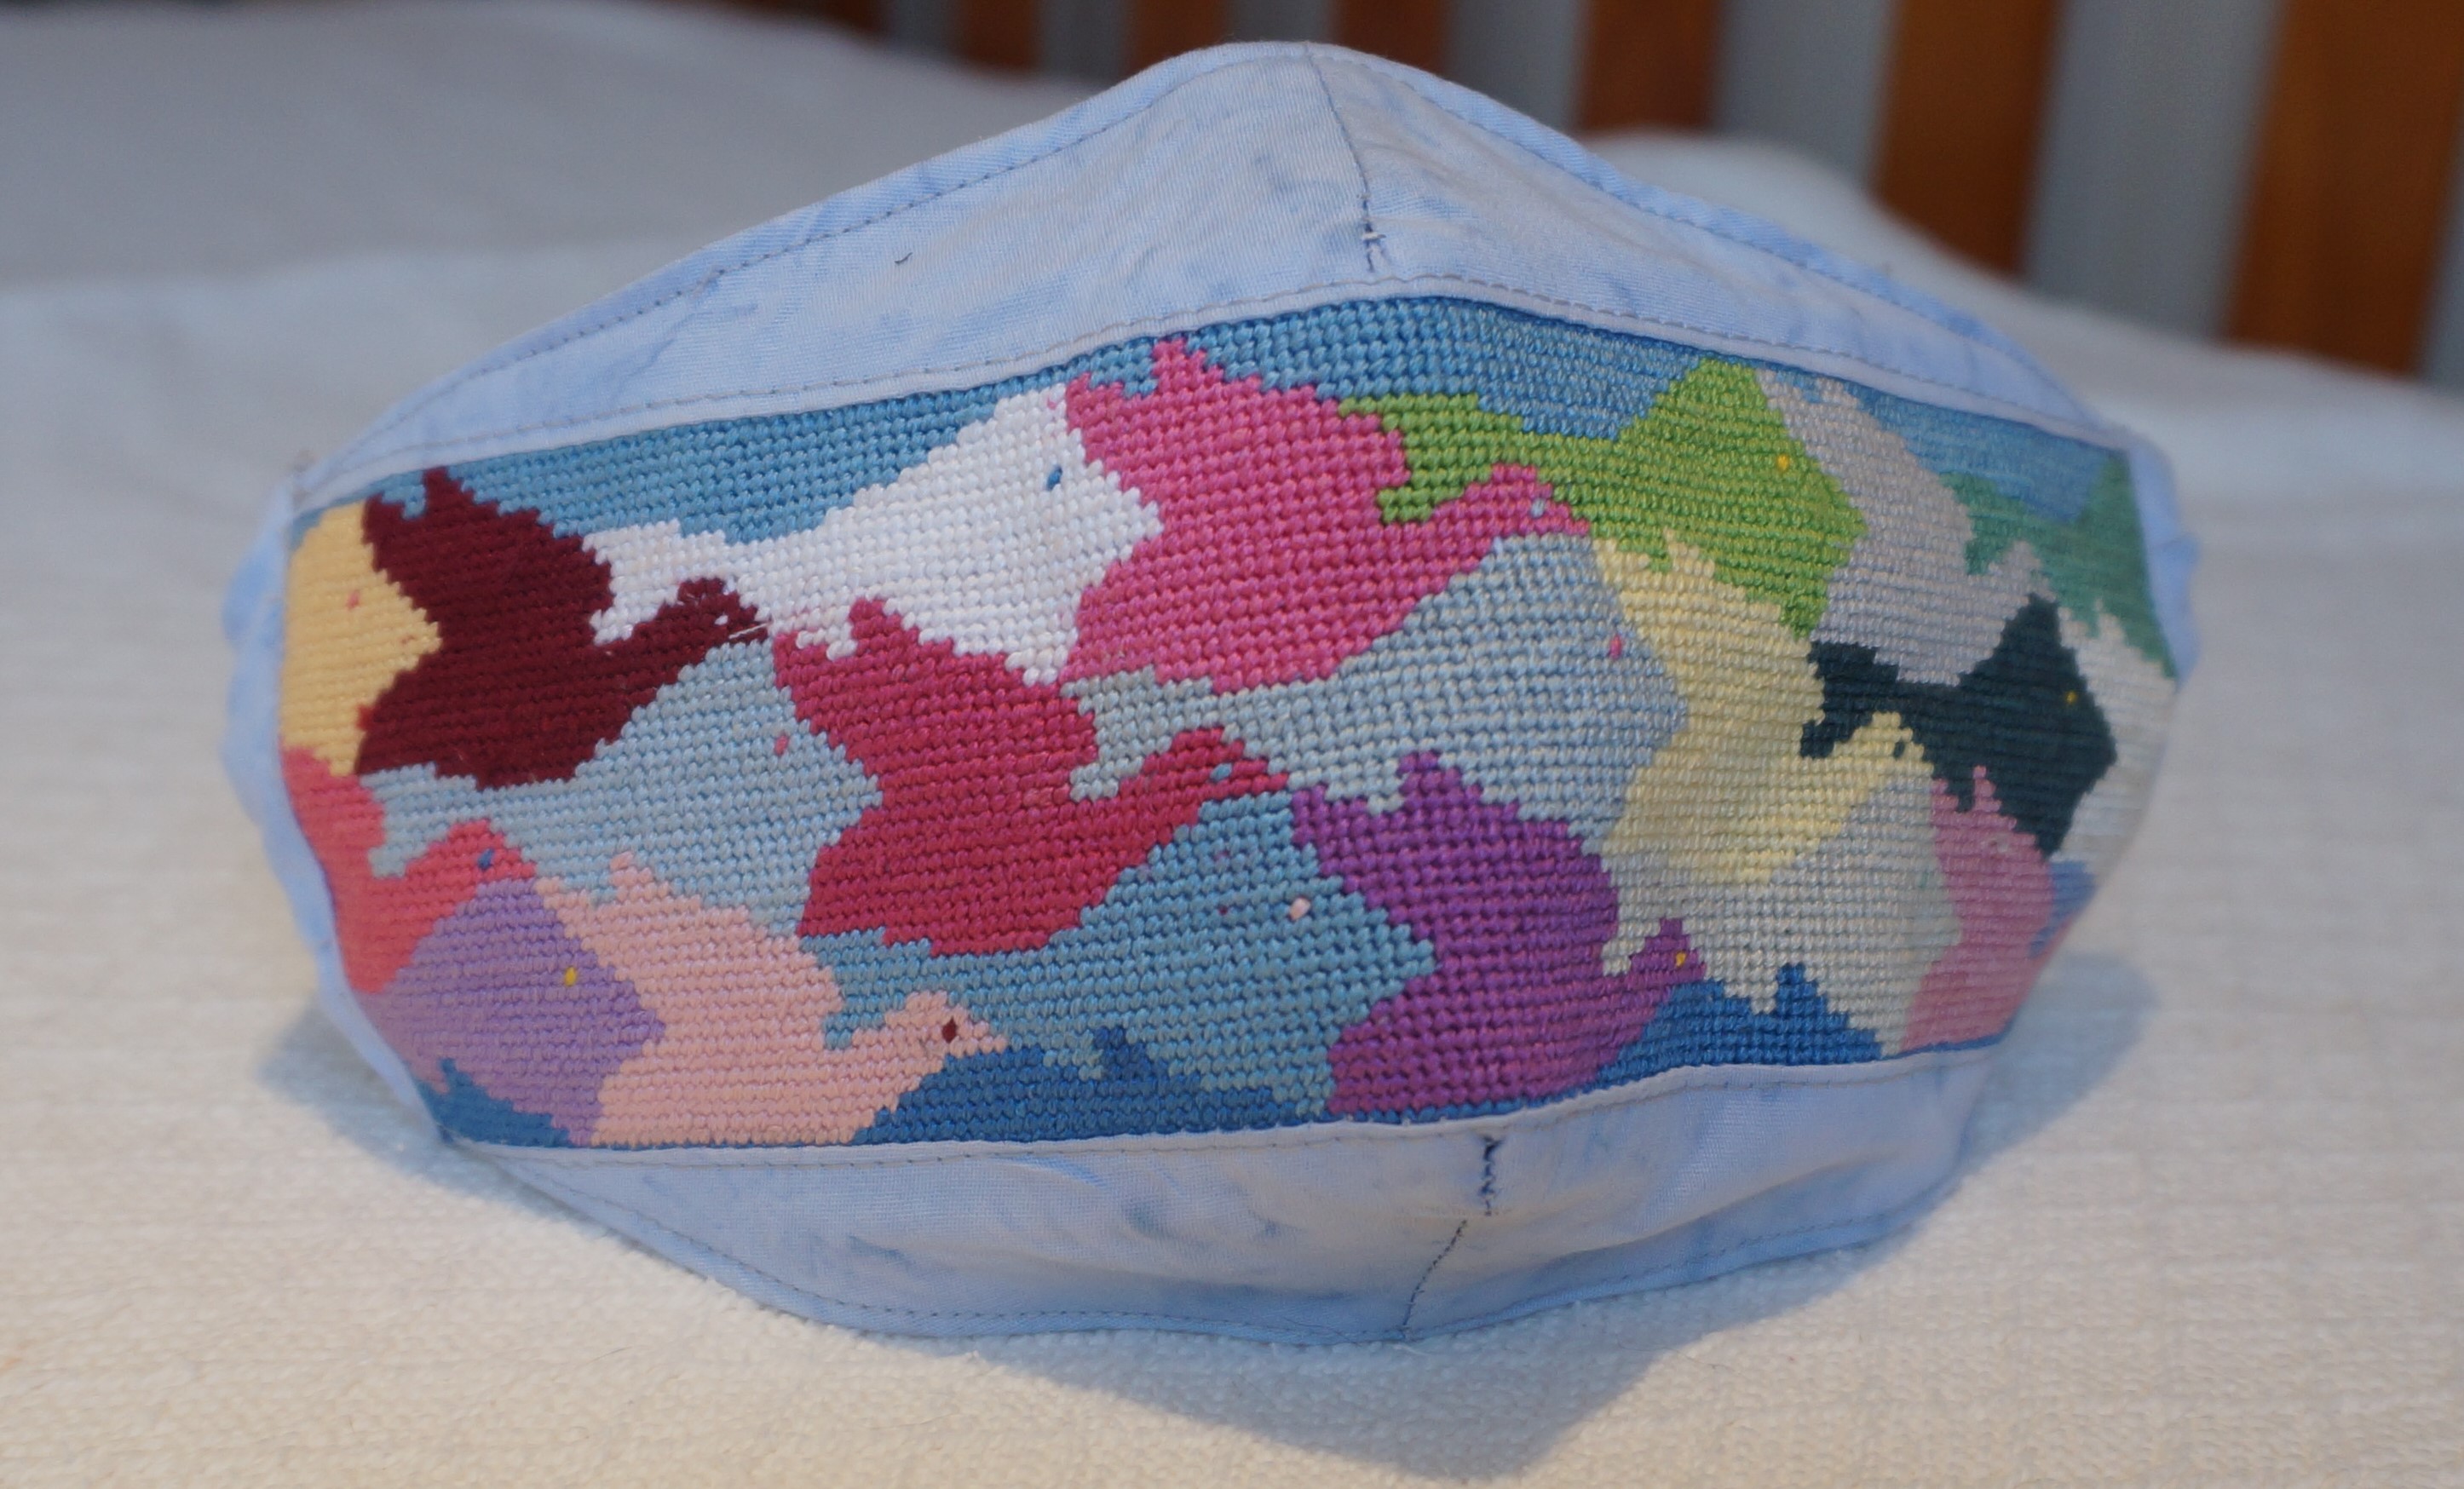
The new NeedlePaint mask, inspired by M.C. Escher, is designed for quick stitching and assembly. It is slightly lighter weight with fabric for the nose and chin portions, but the central needlepoint band retains its form to allow freedom of air flow.

Since the band is a 9-1/4” x 2-3/4” rectangle, it can be stitched in about one half of the time of our full NeedlePaint masks. The mask is a little less formal.

The materials needed are:

  • Cotton fabric for liner and strap trim
  • Cotton fabric for filter pocket (optional)
  • Ear strap material
  • Nose clip material (optional)

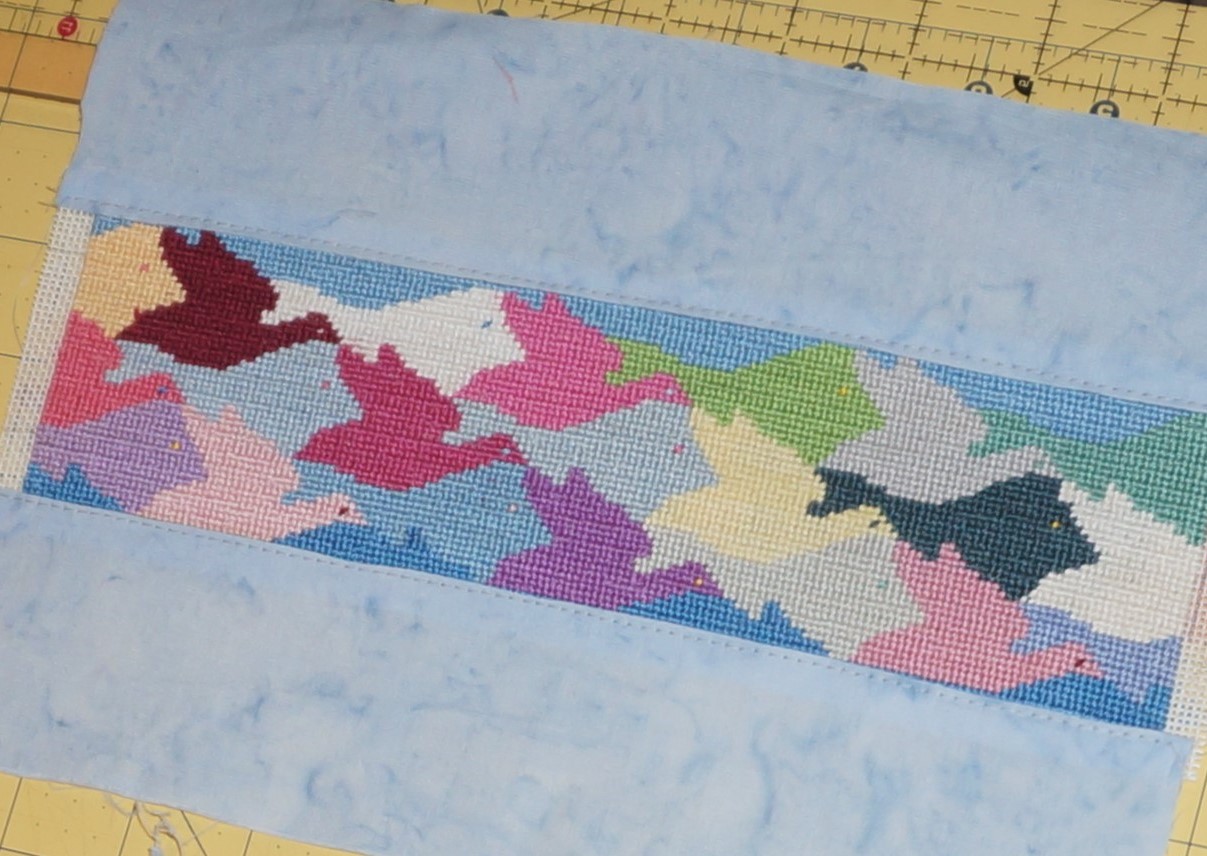
Step 1. After blocking the finished canvas, trim away excess canvas leaving no more than 1/4” of blank canvas. Cut two 10 “ x  3” strips of cotton fabric which will serve for the nose and chin portions of the mask. (One could go two tone and make the nose and chin portions of different colors.)

With right sides together sew strips to the top and bottom of your needlepoint canvas. Press fabric away from canvas. Do not press seam open. Top stitch the fabric side of each seam.

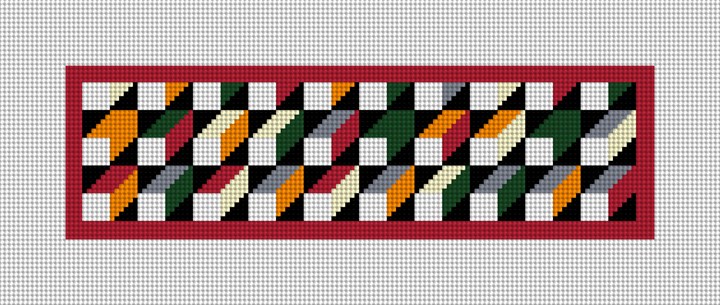
Position the mask pattern so that the needlepoint band is centered between the nose and chin darts and cut out the mask. The shaped pattern is similar to our Geometric Face Mask shown below. Using the same pattern cut one liner or two if making the optional filter pocket.

Top Sticch

Step 2. Fold the canvas along center line with right-sides together, matching the two upper nose points and the two lower chin points. Stitch 3/8” seam and press open. Repeat for liners and optional filter pocket.

If using the filter pocket, sew a ½” hem on each cheek edge.

Nose Clip

Step 3. Cut a piece of fabric 1” by ½” longer than the selected nose clip. Sew a ¼” hem on each short edge of this fabric nose sleeve. Place the nose sleeve on the liner or filter pocket centered ½” below the nose seam. Sew in place. Press so long edge lines up with top of liner or pocket.

The nose clip will be inserted after the rest of the assembly is completed.

Step 4. Place right sides together, carefully aligning the seams of the nose and chin darts on all pieces. If using the optional filter pocket, it will be the closest to needlepoint mask.

Sew the ¼” seam along the top and bottom of the mask and turn the mask inside out. Be careful not to pull on the edge of the needlepoint canvas as it can separate easily. Press the seamed edges and top stitch.

IMG_2595

Step 5. For the ear strap sleeves, cut two 1-1/2” strip of liner fabric that are ½” longer than the ear edges of the mask. Sew to each ear edge with ¼” seam. Press top and bottom edges down. Then press a ¼’ fold on free edge and fold to back aligning the folded edges with the ear edge stitches. This will leave a ½” sleeve for the ear strap.

The straps can be tucked under the fold before stitching the sleeve in place or can be threaded through with a safety pin after stitching.

Check out these two new designs we have created for you!

201214212828956

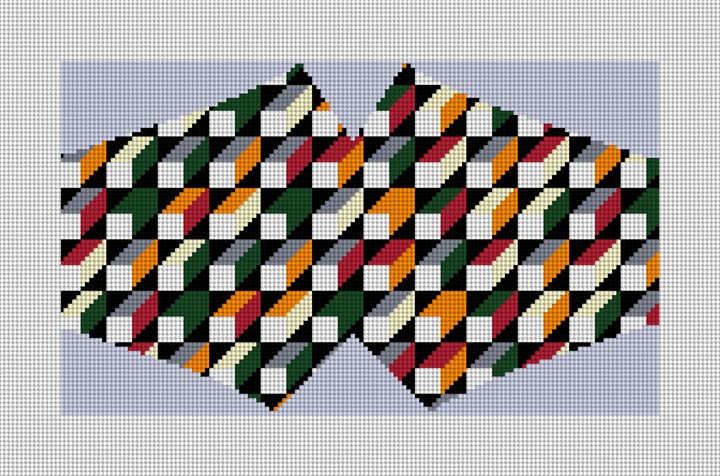
Mosaic Face Mask Panel Needlepoint Canvas

2016142165470554

Geometric Face Mask Needlepoint Canvas

NeedlePaint Masks Unmasked!

Written by Peggy Bond
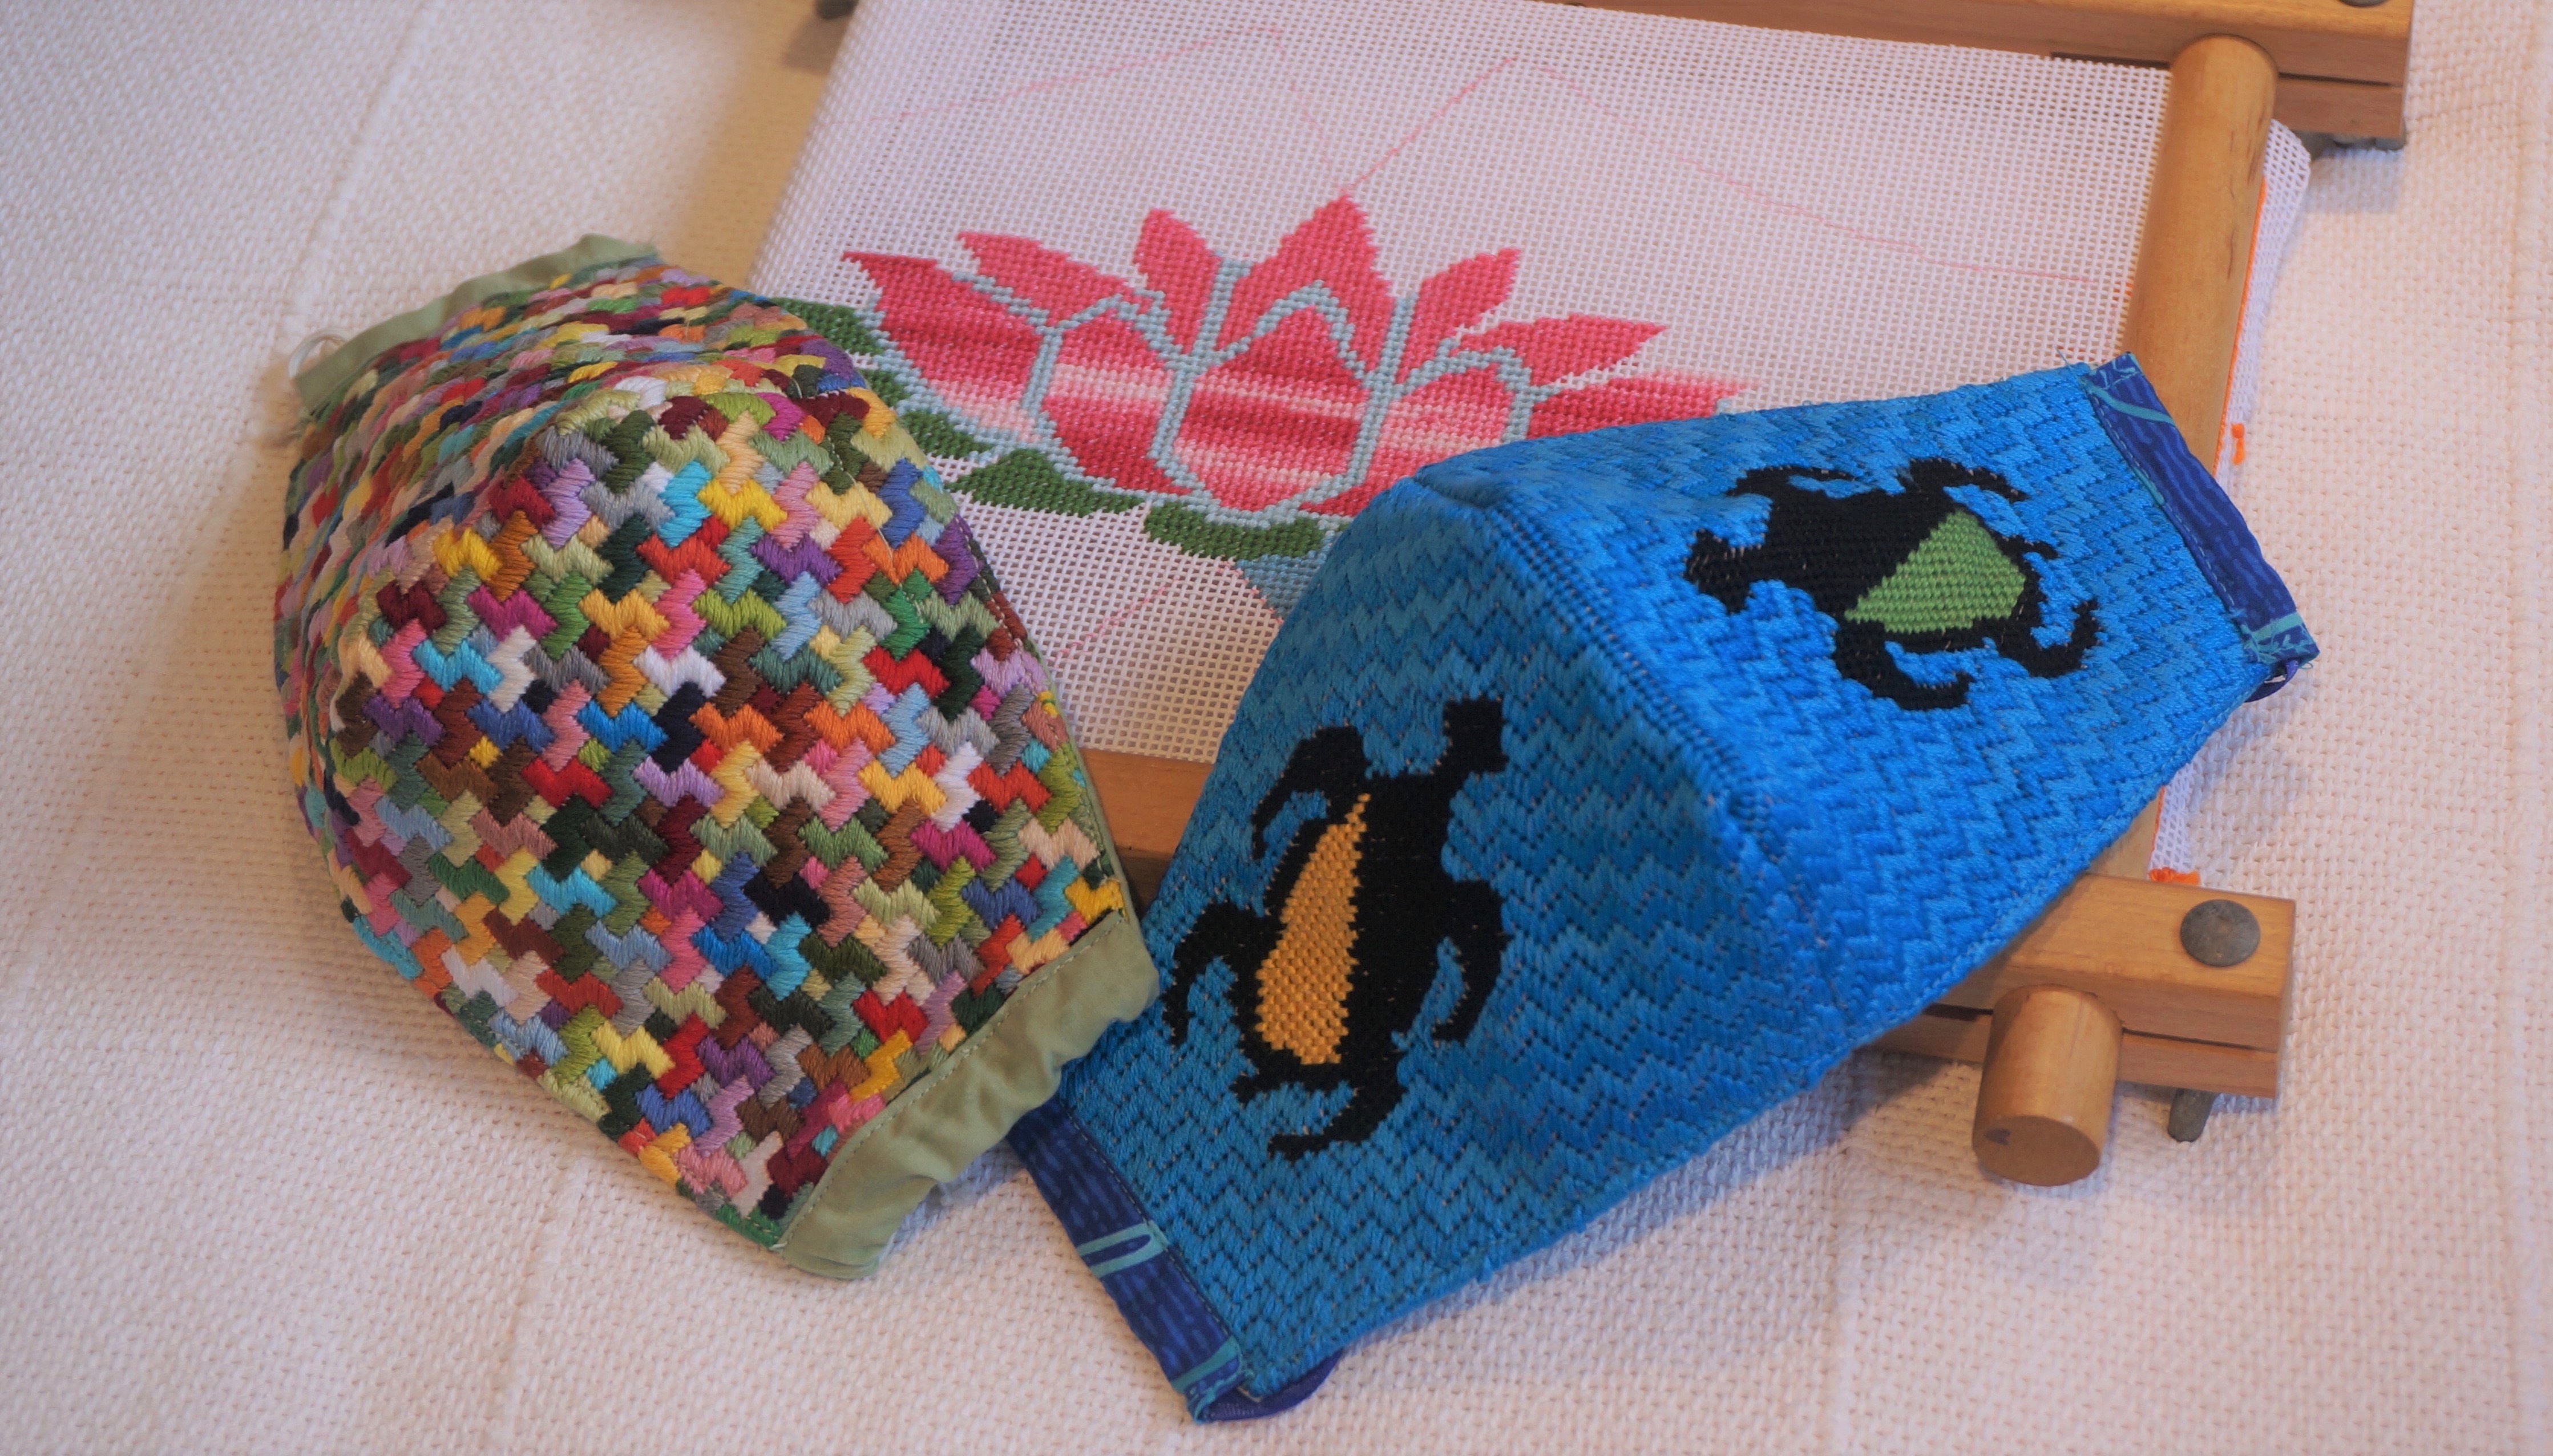
Two needlepoint face masks

After the initial rush to get cotton masks made for all my neighbors and friends, I was out of material, elastic, and thread. Stores were closed and mail order was going to take at least a week. So into the closet I went and found some 18 and 14 mesh needlepoint canvas and a stash of thread.
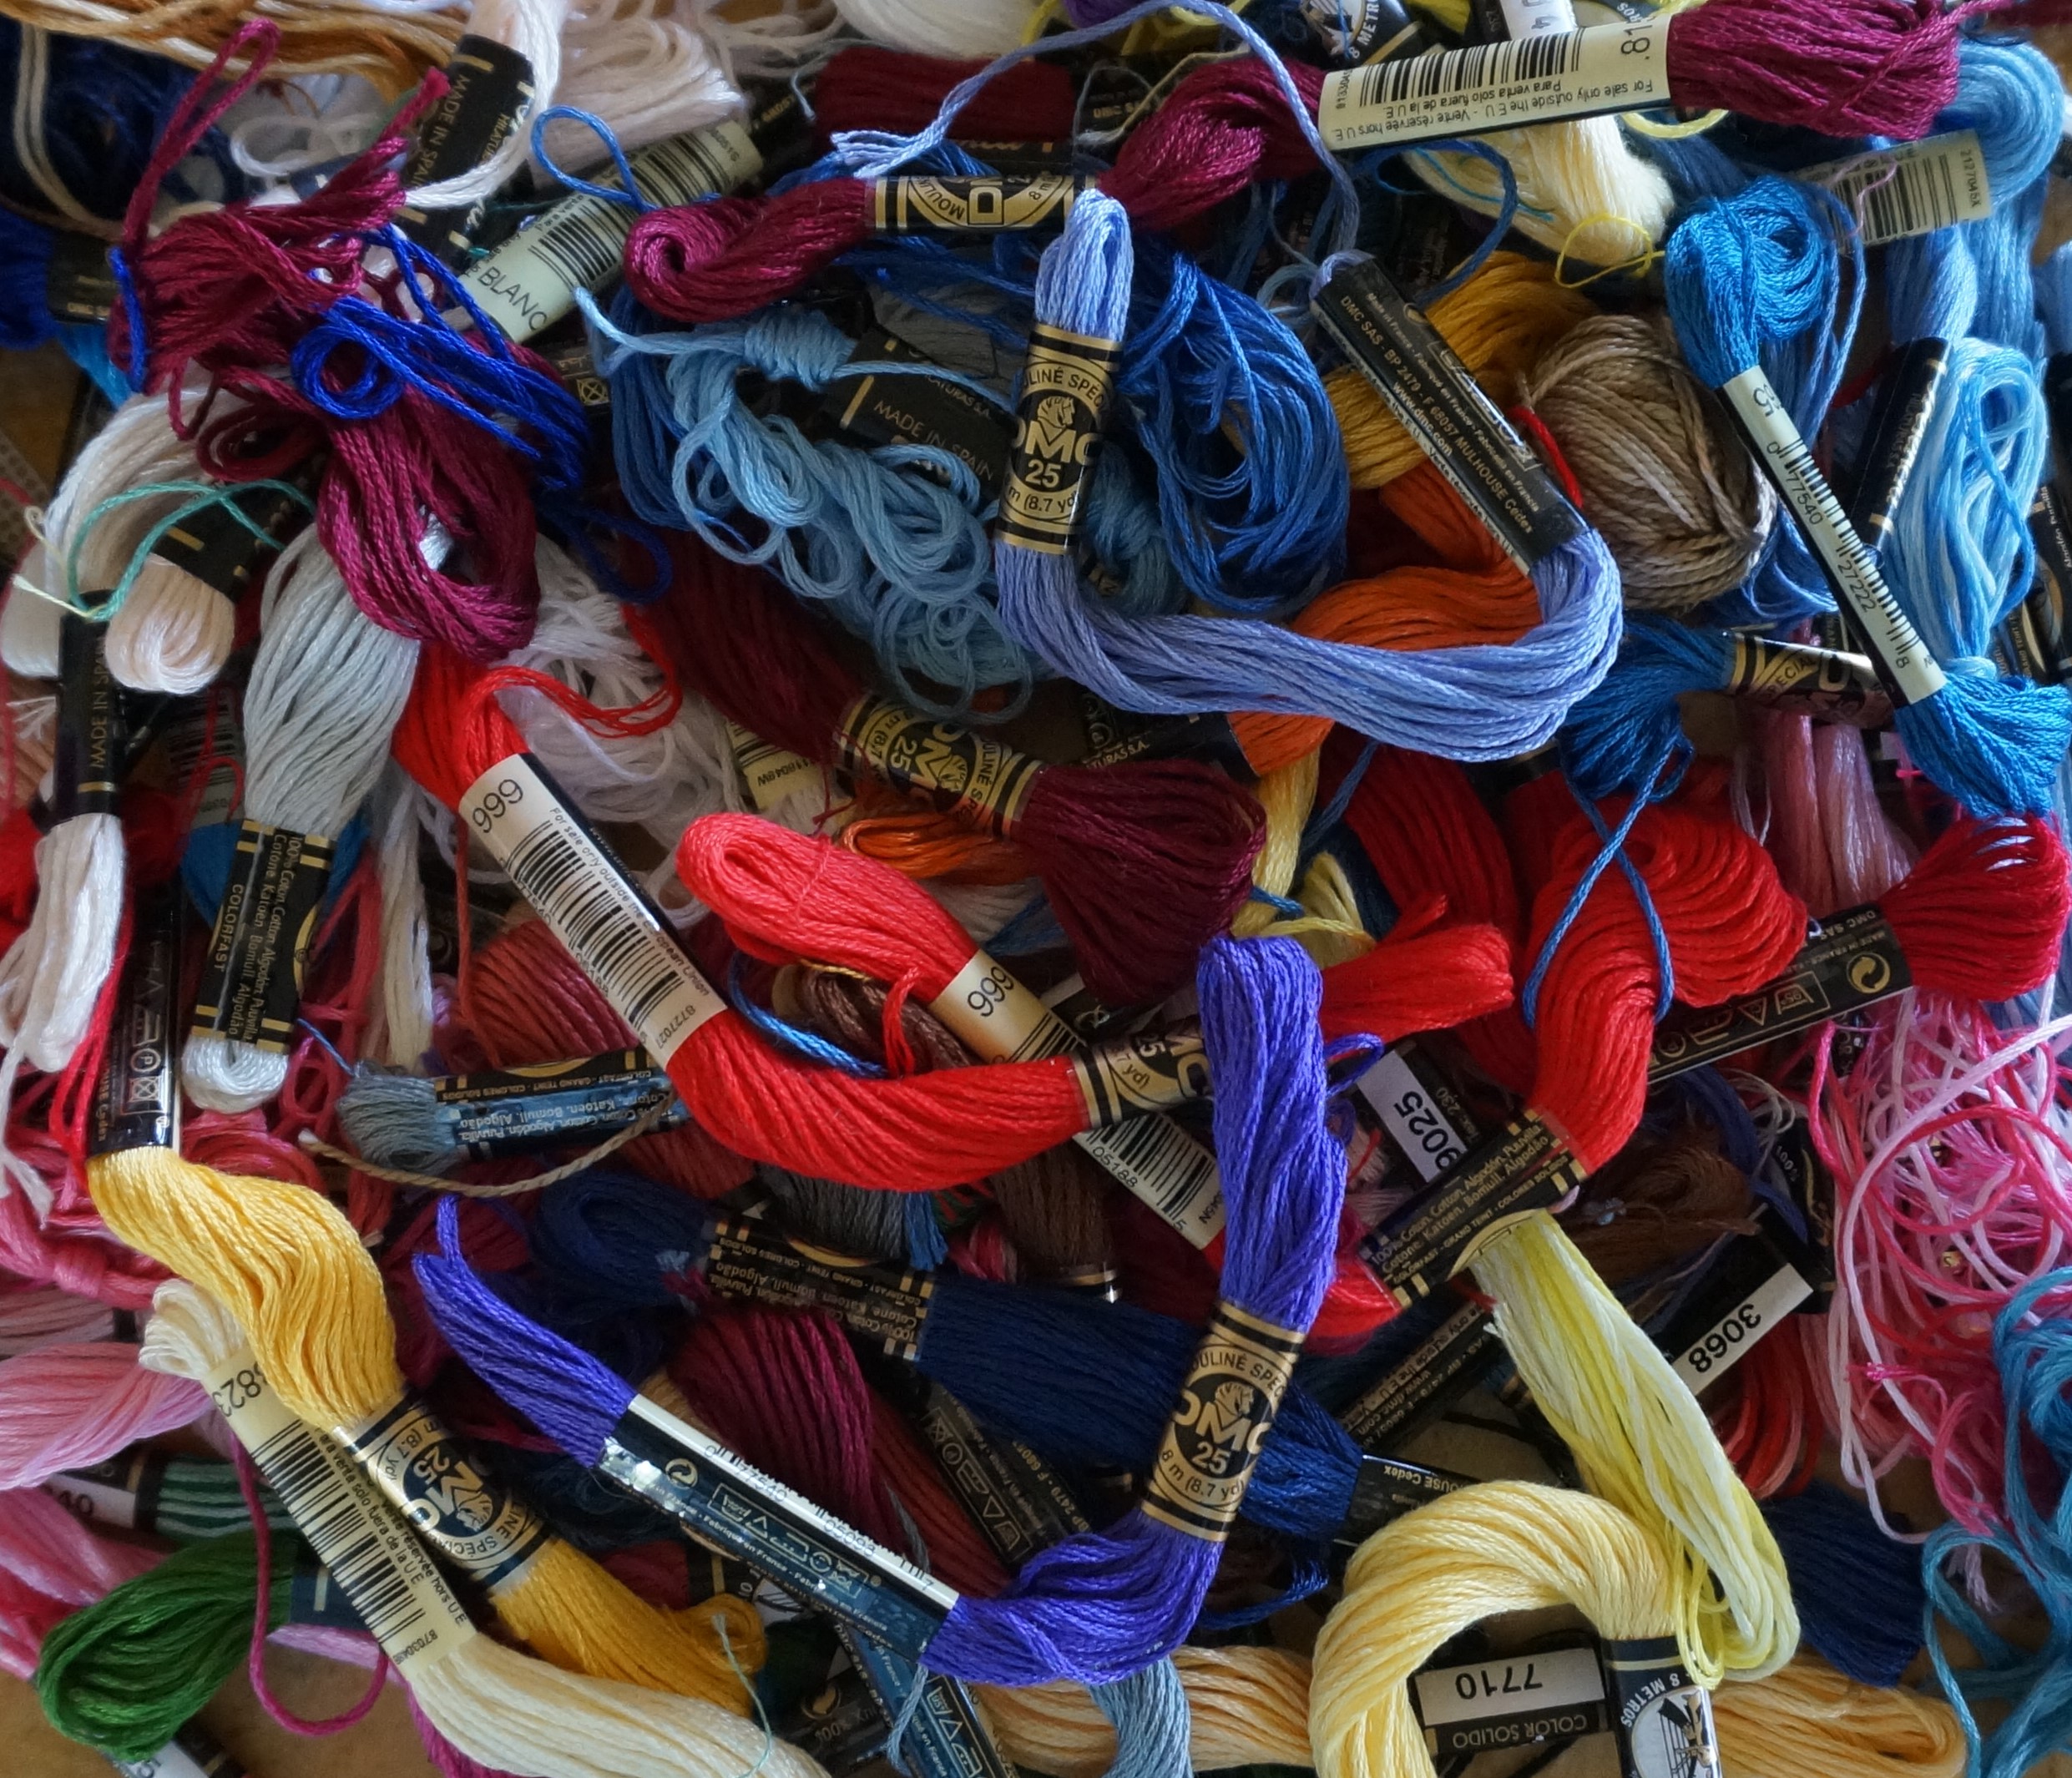
Thread Stash

I had been thinking about making a needlepoint mask but wondered how it would hold up with washing. With time on my hands, this was the perfect project for lockdown. The pattern I has used for the cotton masks was not going to work with stiff needlepoint canvas.
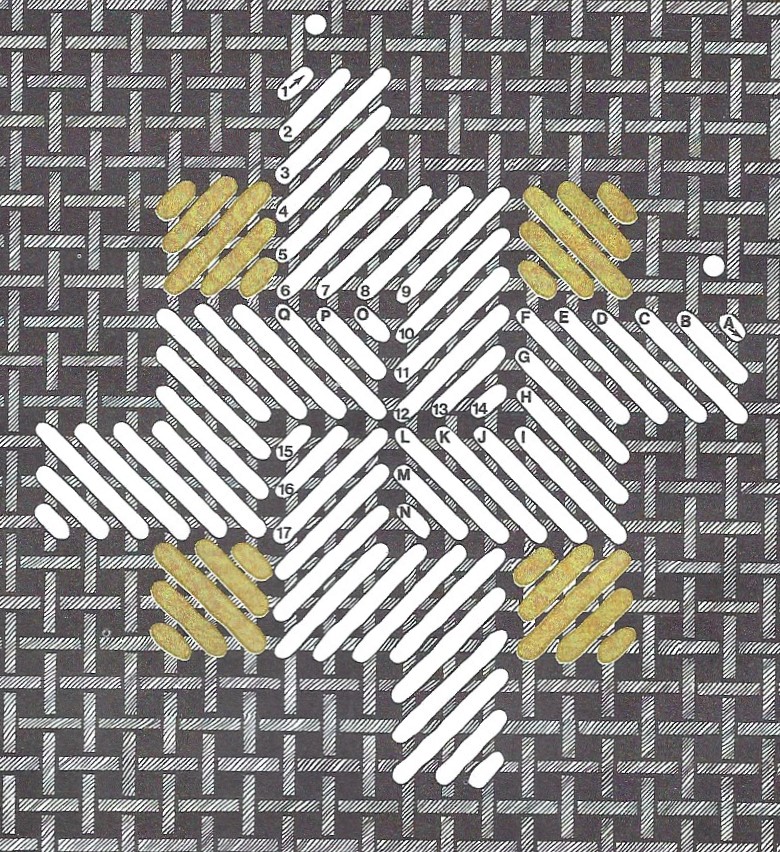
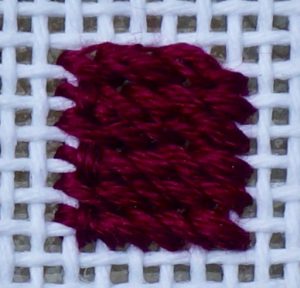
Flat tent stitch cropped

Searching the internet, I found a pattern that I thought would work from PrettyHandyGirl.com. I used the Inside Liner pattern from Pretty Handy Girl and then set to work on my Geometric Mask on 18 mesh canvas using random colors from my stash and a classic background Flat/Tent stitch from A Pageant of Pattern for Needlepoint Canvases by Sherlee Lantz.
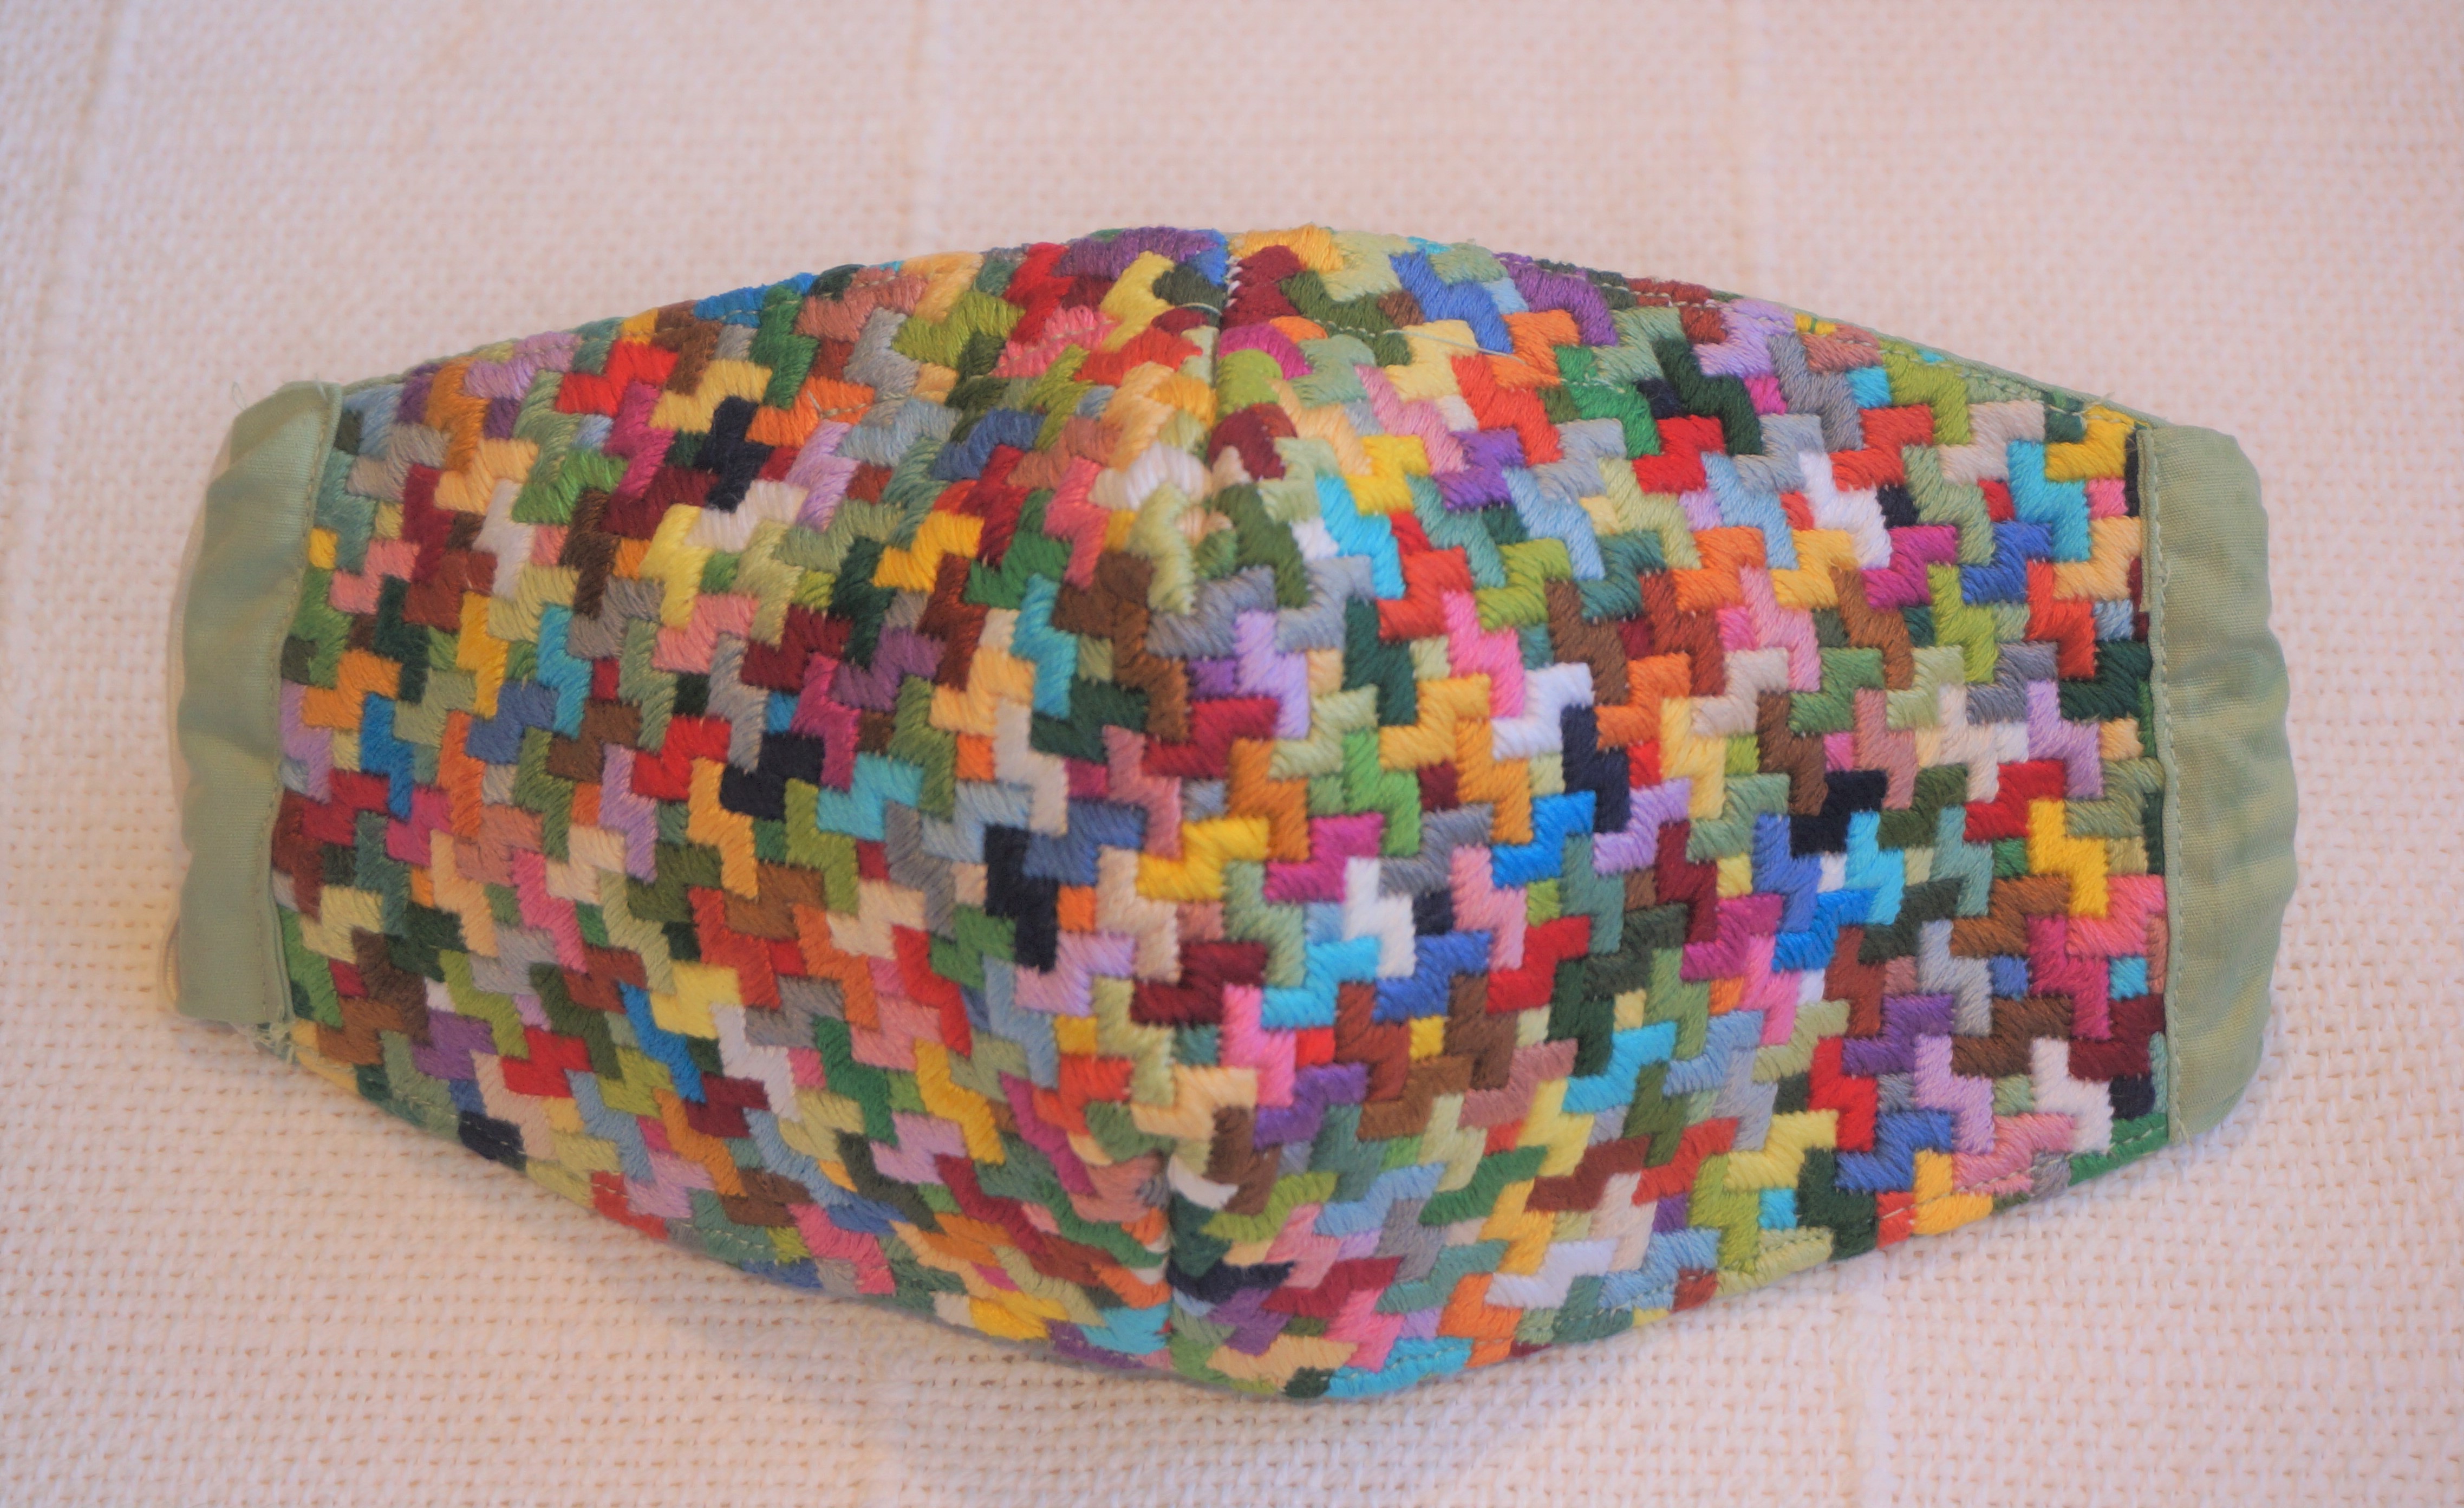
Geometric Needlepoint Face Mask

The stitching went quickly and soon I was ready to assemble, check the fit, and then wash it. (Finishing options will be the subject of my next blog.) The fit was a little large for me but fit my husband perfectly. Washing was a success. I washed it by hand in Woolite and hot water. Then hung it out to dry. The mask held its shape well, so on to the next one.
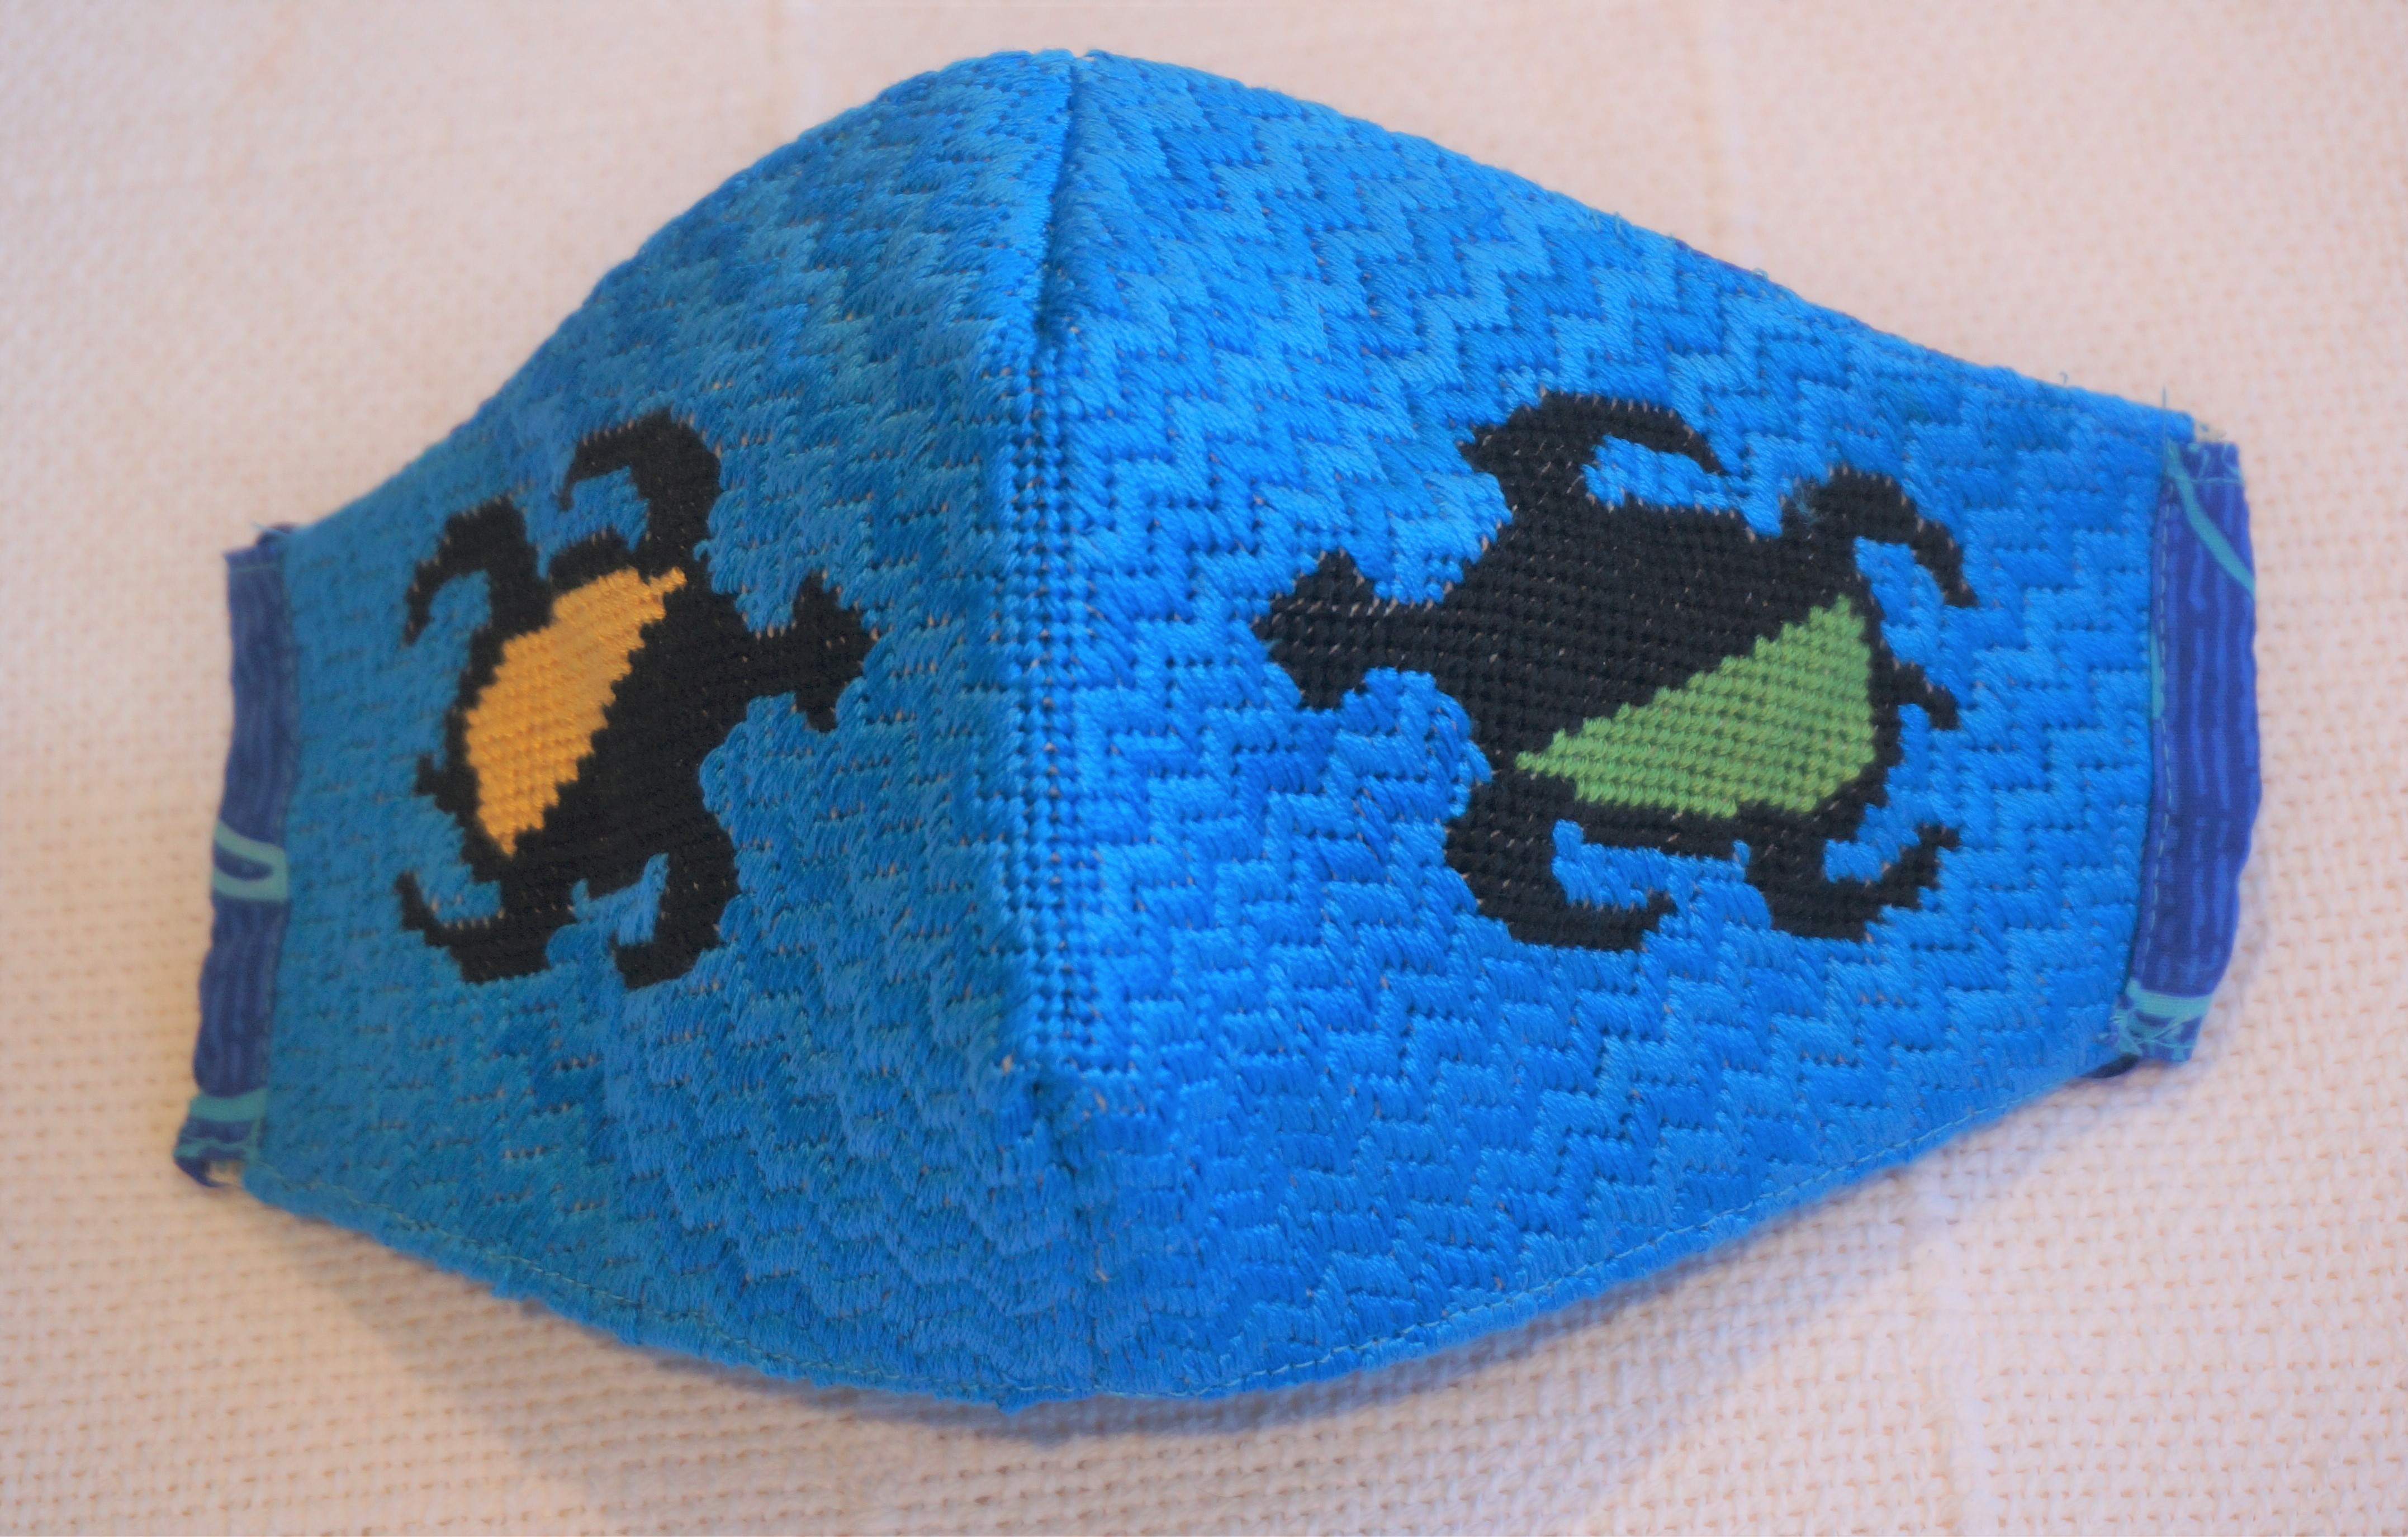
Turtle Design Needlepoint Face Mask

For the next mask, I redrew the pattern to make the top more slanted and picked out a NeedlePaint design used on a hatband – my Hawaiian turtles. The turtles were done on 14 mesh canvas using the continental stitch with the background in alternating rows of the Byzantine stitch from Jo Ippolito Christensen’s The Needlepoint Book.

I chose to alternate two different blue threads because that was what I had on hand. Alas, it was not enough and I had to ask for more from the NeedlePaint staff who have been working tirelessly to keep shipping orders while I am in lockdown elsewhere. Many thanks to them!

I am now on my third mask – the lotus blossom shown in the photo at the top of the blog.

Now, sewing it up!
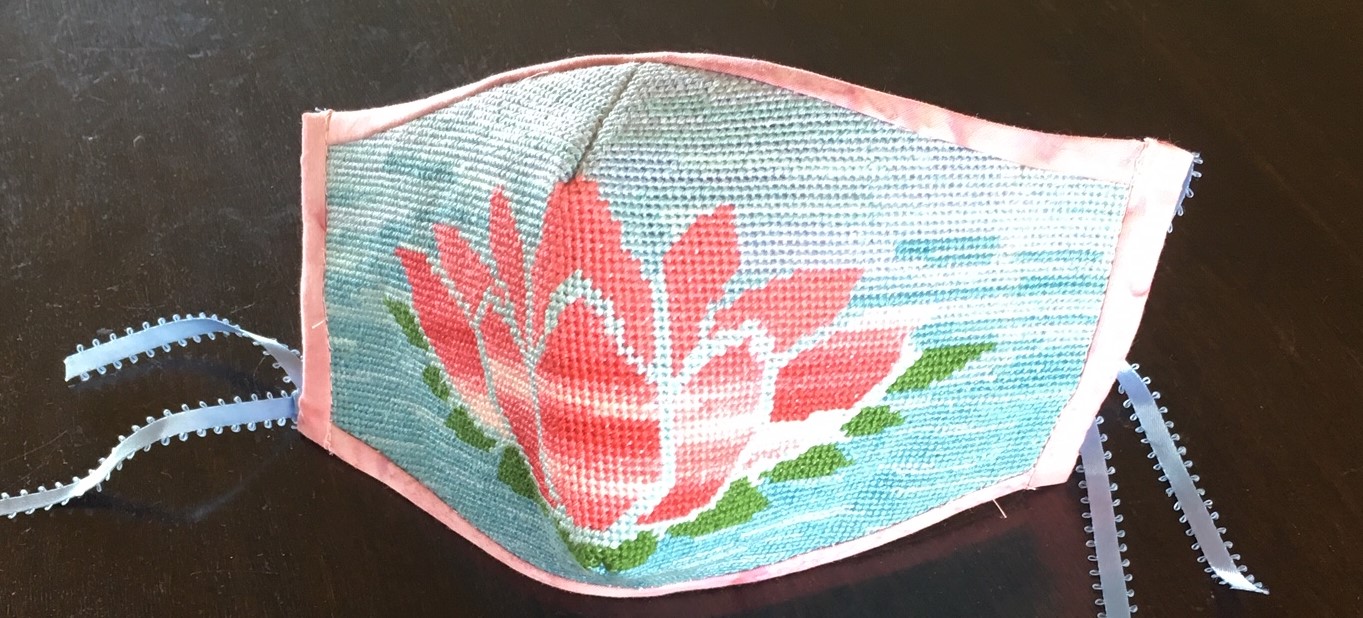
Lotus mask

Remember your mask will not be a replacement for an N95 or surgical mask. 

There are a couple options to consider assembling your NeedlePaint mask – a filter pocket and nose clip. Pretty Handy Girl describes the material choices for the nose clip and straps. I agree with her recommendation to use the coffee bag flat ties for the nose clip. I am not a coffee drinker but luckily my husband is. However, her other suggestion works too. Her discussion of adjustable strap materials is very good. Due to unavailability of any of the materials suggested, I have been opted for ¼ inch ribbons of which I have a stash.

The materials needed are:

  • Cotton fabric for liner and strap trim
  • Cotton fabric for filter pocket (optional)
  • Ear strap material 
  • Nose clip material (optional)
  • ¼ in double fold bias tape or cotton fabric for homemade bias strip

Step 1. After blocking the finished canvas, trim away excess canvas leaving no more than 1/8” of blank canvas. Place on liner material with straight cheek edges aligning with the straight grain of the fabric. Cut one liner.

For optional filter pocket, cut a second liner of the same size. 
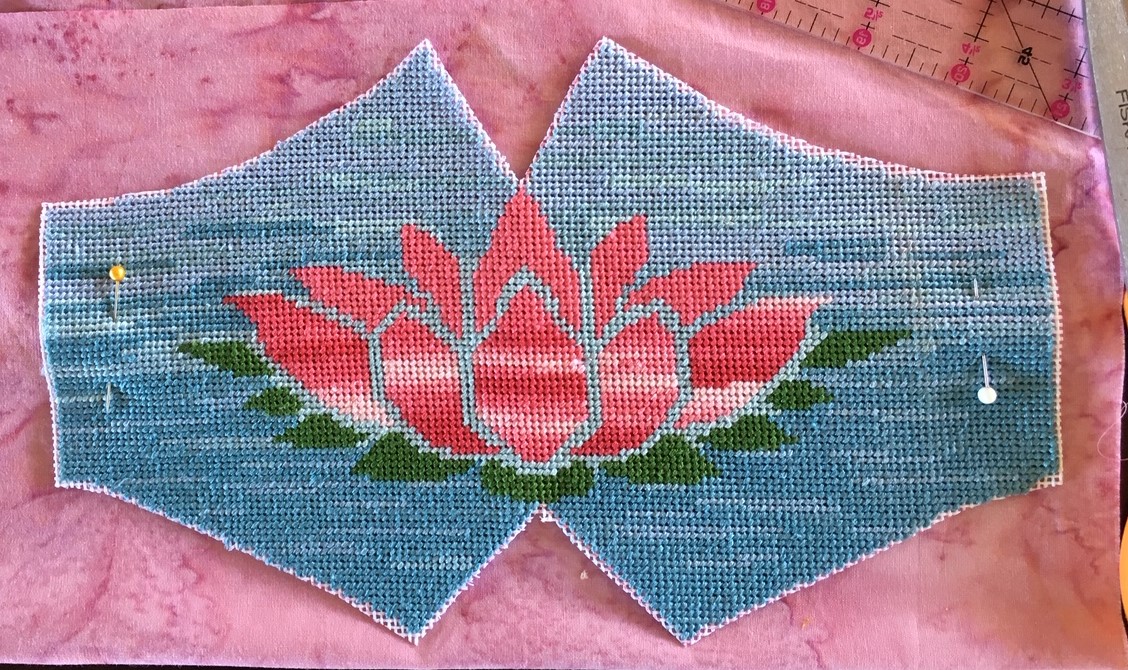
Trimmed

Step 2. Fold the canvas along center line with right-side together, matching the two upper nose points and the two lower chin points. Stitch 3/8” seam and press open. Repeat for liners and optional filter pocket.

If using the filter pocket, sew a ½” hem on each cheek edge.
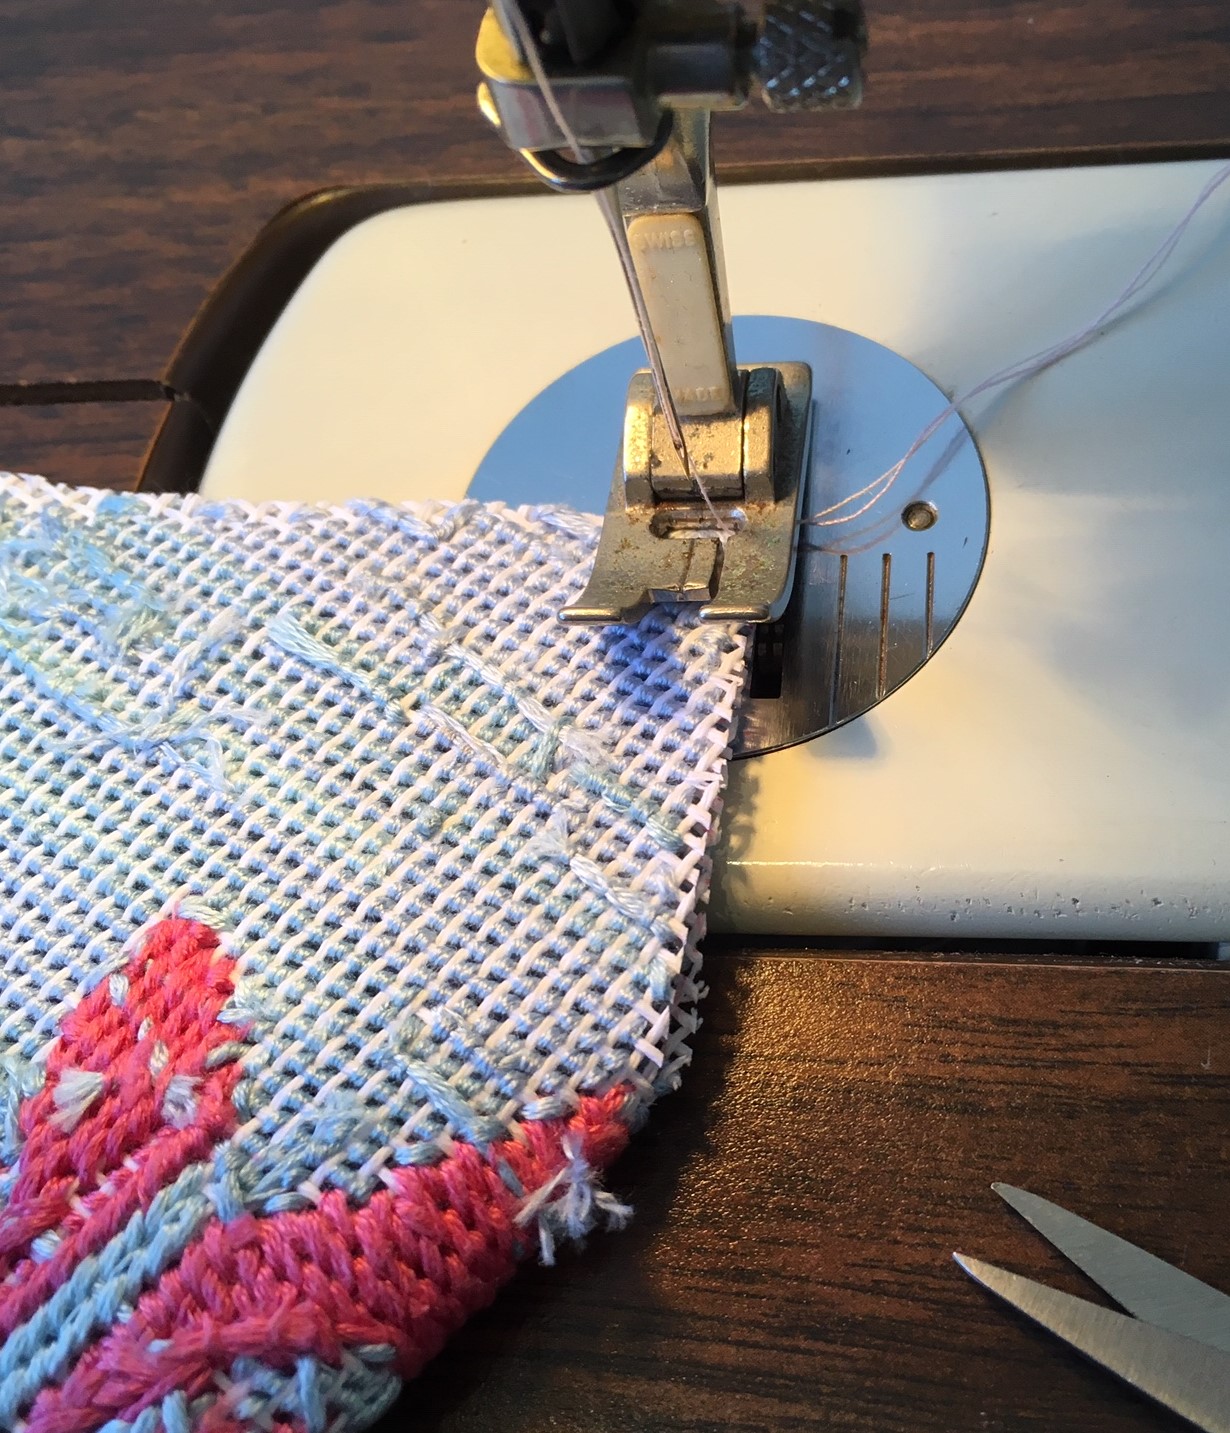
Stiching

Step 3. Optional Nose Clip

Cut a piece of fabric 1” by ½” longer than the selected nose clip. Sew a ¼” hem on each short edge of this fabric nose sleeve. Place the nose sleeve on the liner or filter pocket centered ½” below the nose seam. Sew in place. Press so long edge lines up with top of liner or pocket.

The nose clip will be inserted after the rest of the assembly is completed.
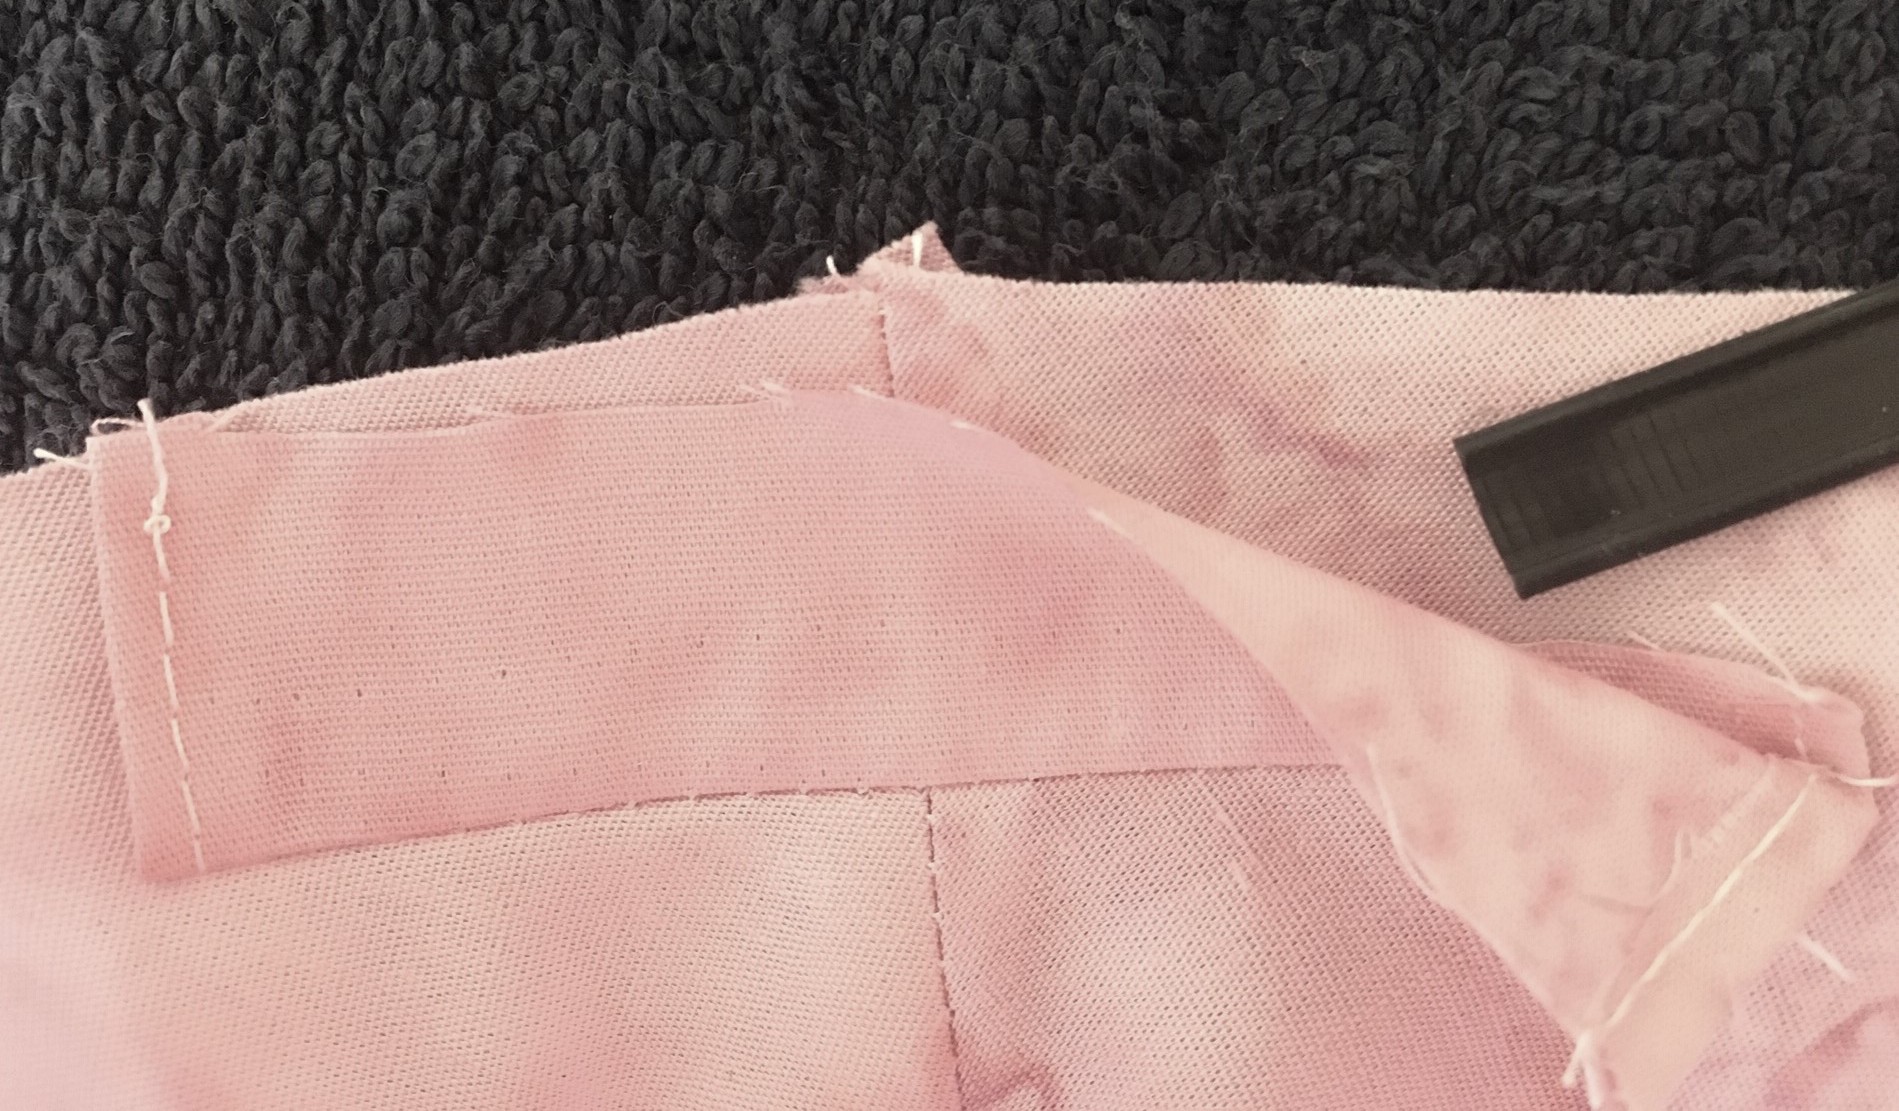
Nose Clip

Step 4. Align NeedlePaint mask and liner with wrong sides together. If including filter pocket, place the pocket on top of the liner. Match nose and chin seams. Baste together.

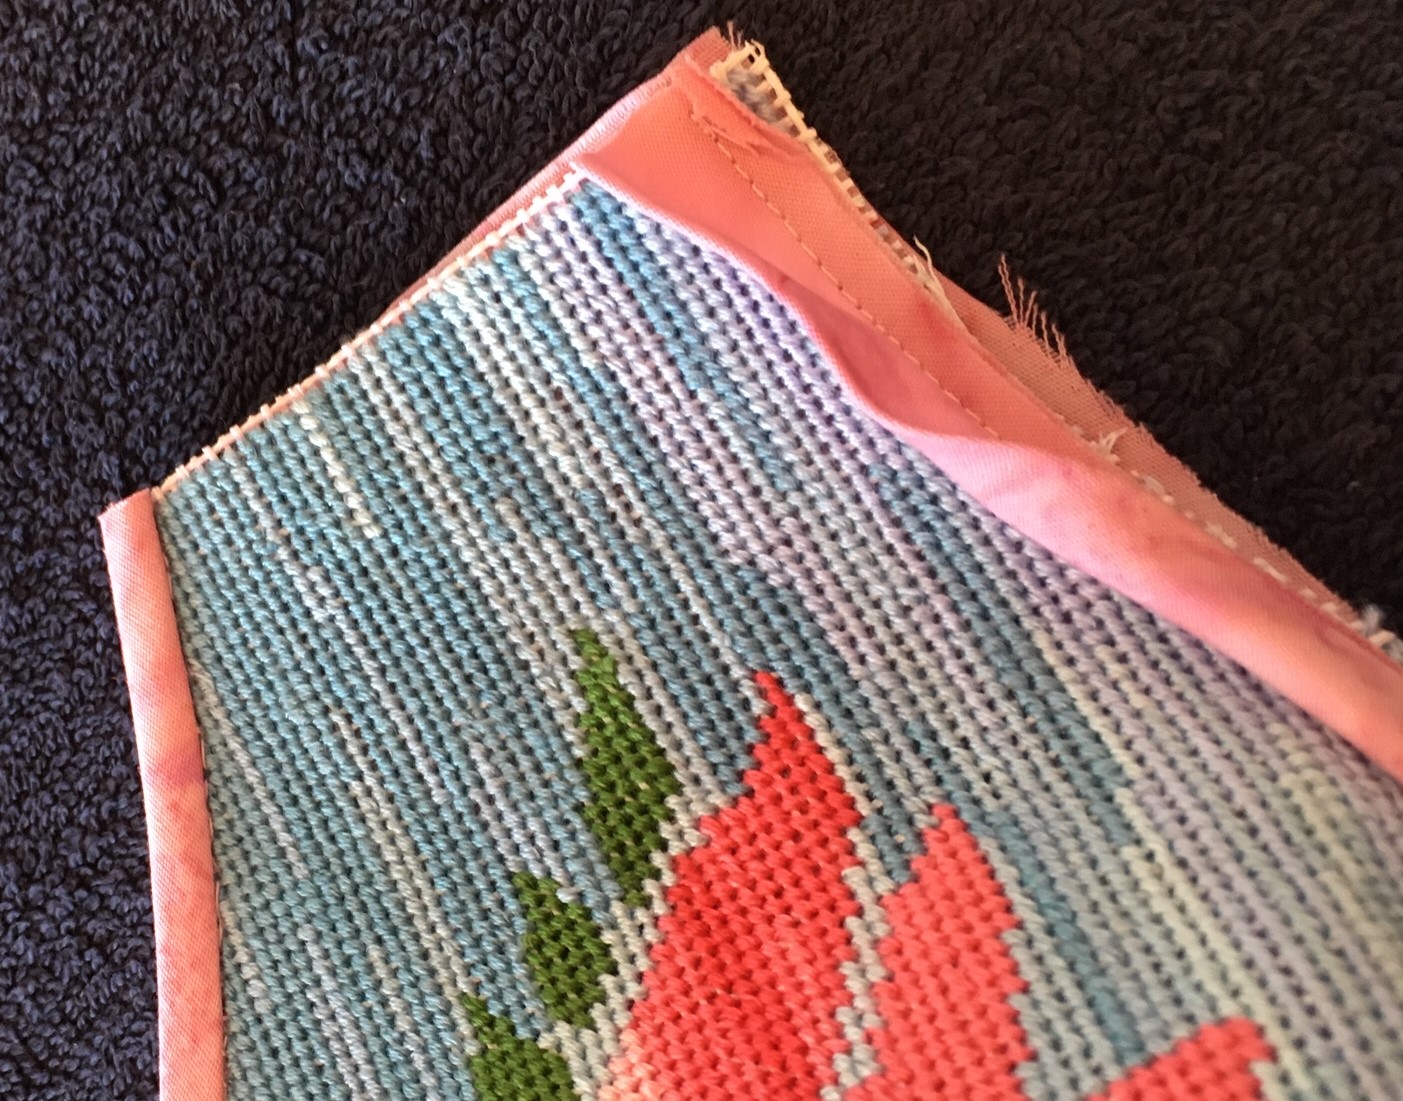
Bind the upper and lower edges of the mask with the bias tape or strips. If using ¼” double fold tape, place over the edge of the mask and liner (and optional pocket) and stitch through all thicknesses. 
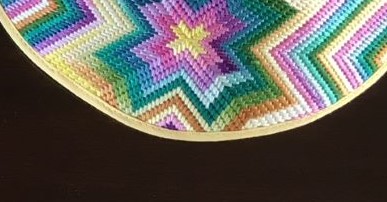
Bias trim 2

The above photo is not of a mask but from another project because I do not have a source of double fold bias tape. The lotus mask was finished with my own bias strip, machine sewn on the canvas side and turned and finished by hand on the liner/pocket side.

The pre-made double fold tap is easier to use but often you can’t find a matching color for your project.
Bian Trim

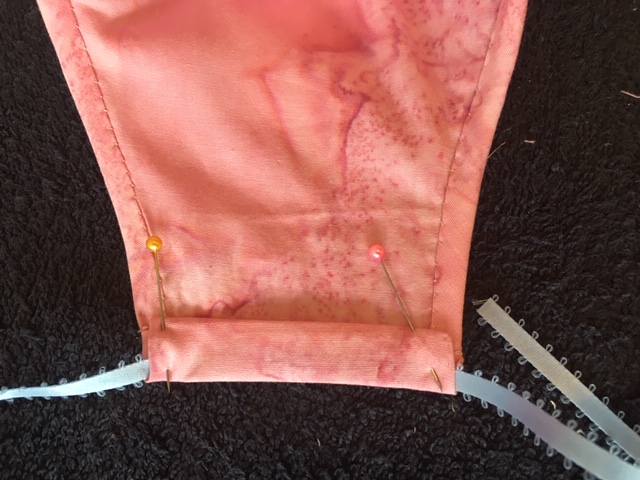
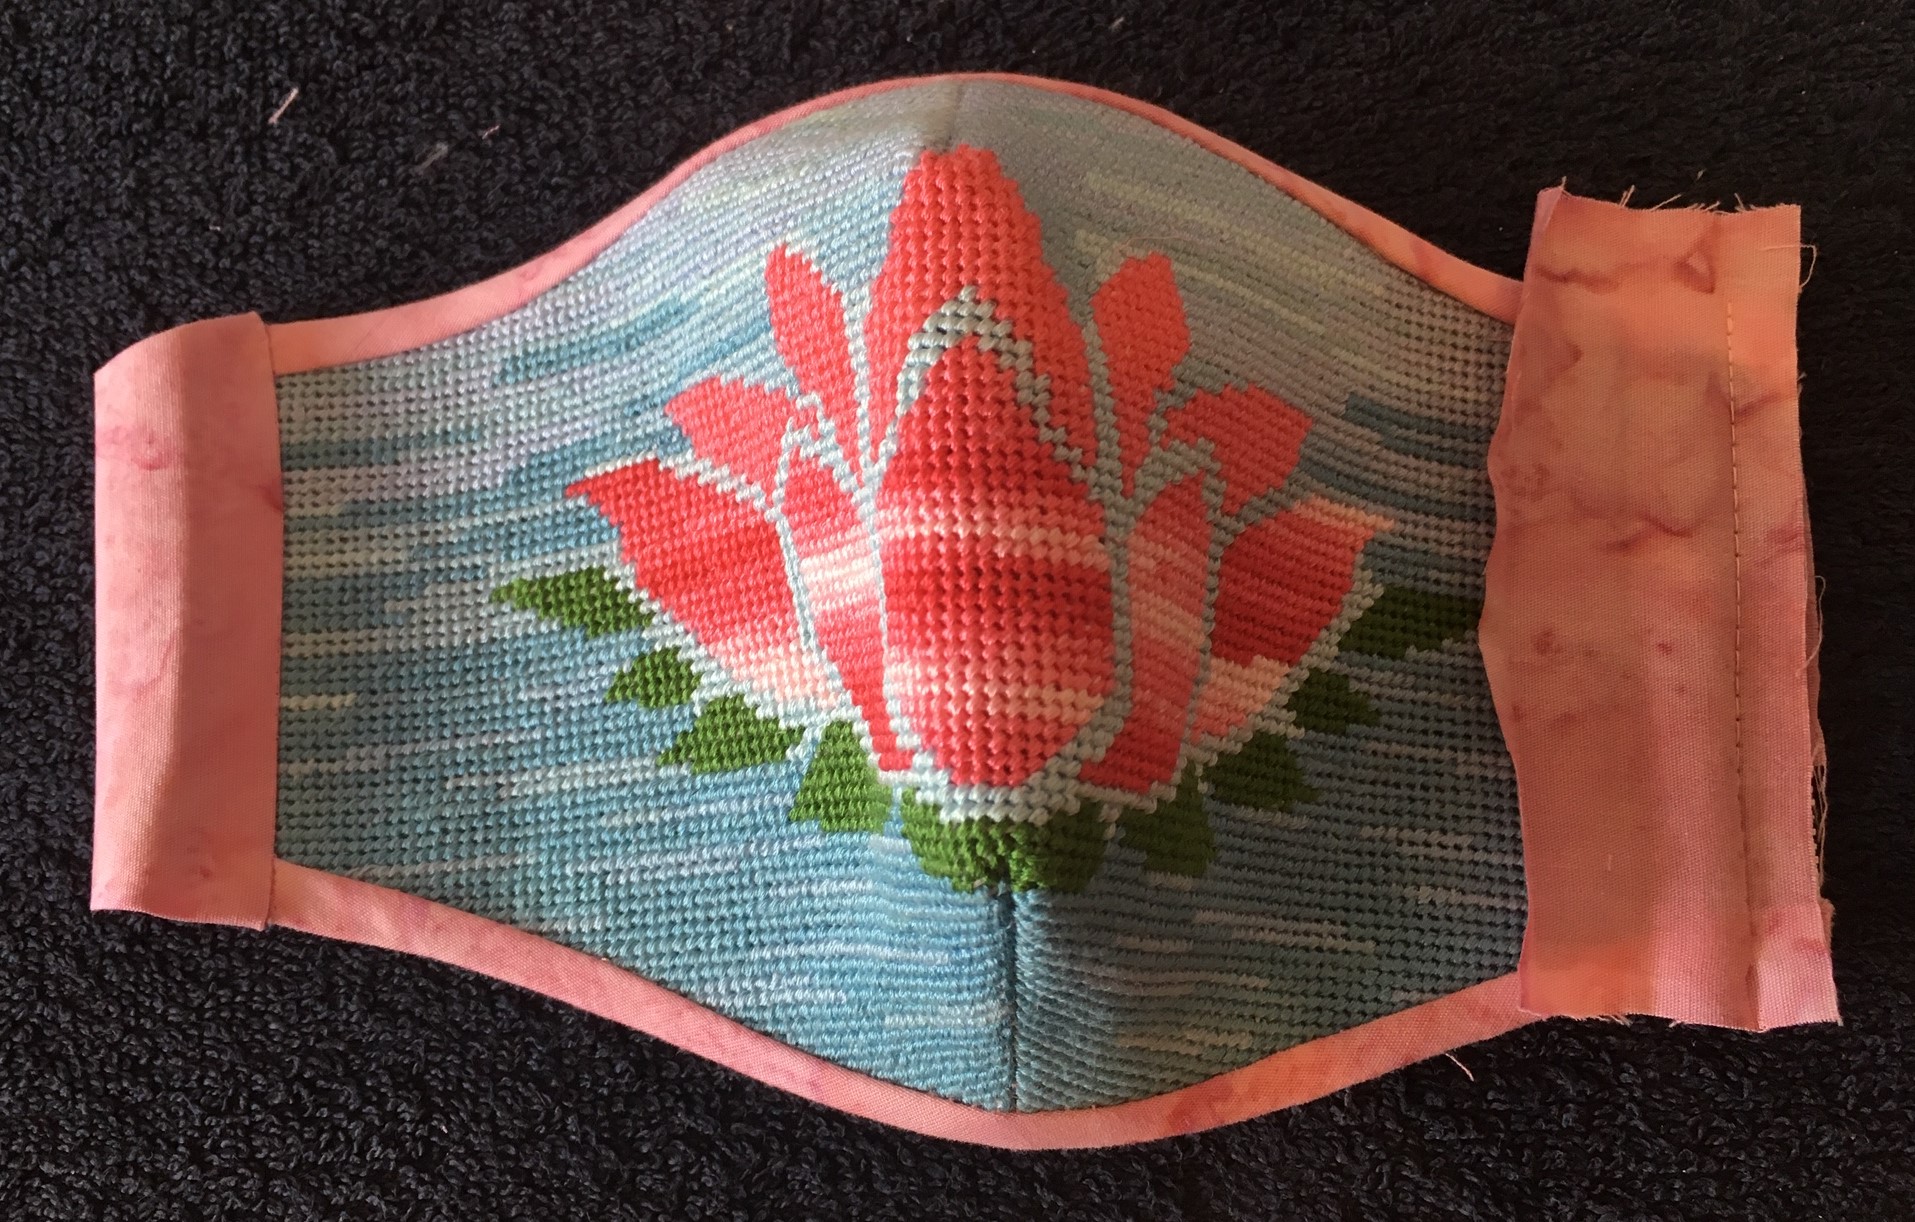
Step 5. For the ear strap sleeves, cut two 1-1/2” strip of liner fabric that are ½” longer than the ear edged of the masks.  Sew to each ear edge with ¼” seam. Press top and bottom edges down. Then press a ¼’ fold on free edge and fold to back aligning the folded edges with the ear edge stitches. This will leave a ½” sleeve for the ear strap.
IMG_2595

The straps can be tucked under the fold before stitching the sleeve in place or can be threaded through with a safety pin after stitching.
Ear Sleeves

Step 6. Now it is time to insert the nose clip. It should slip easily into sleeve and then sew off the ends by hand. DONE!
Lotus Blossom Face Mask Needlepoint Canvas

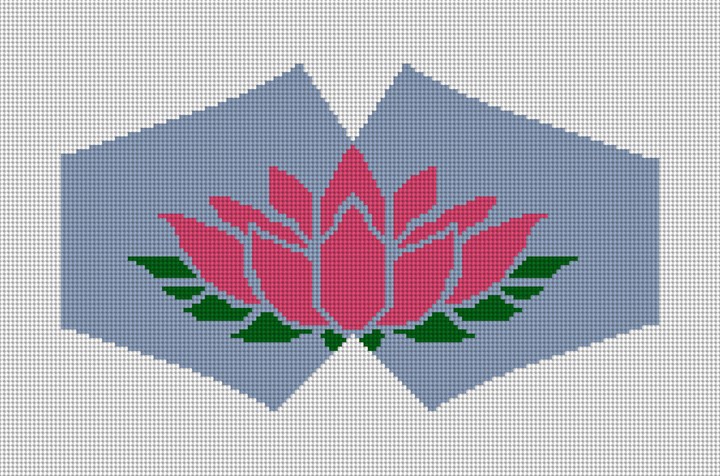
Check out our new Lotus Blossom Face Mask and Sea Turtle Face Mask needlepoint canvases available on our website!
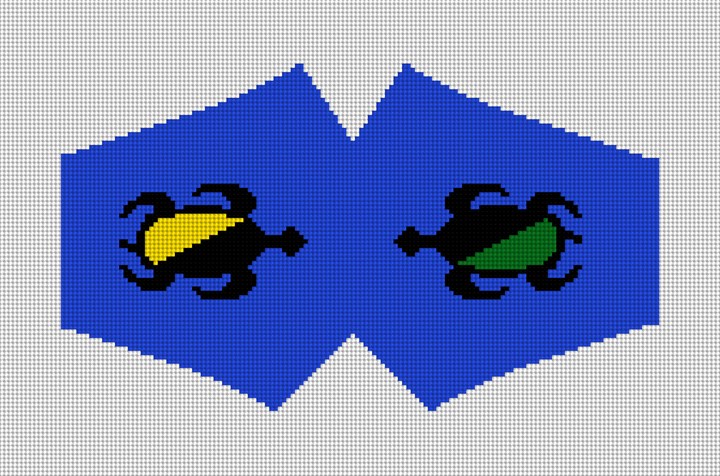
Sea Turtle Face Mask Needlepoint Canvas

Happy Stitching!

How To Stitch A Needlepoint Belt Canvas

By Peggy Bond

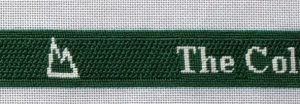
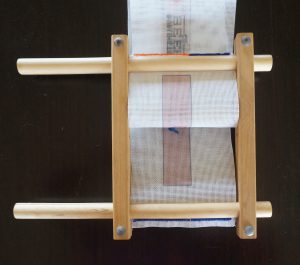
So you have a 5-inch wide by yard long printed needlepoint canvas for a belt. Where do we go now? To a split rail scroll frame which will keep your canvas relatively square while allowing you to access sections of the canvas without having to remove and reposition it.

The F.A. Edmunds 6” x 12” scroll frame is a great option. 

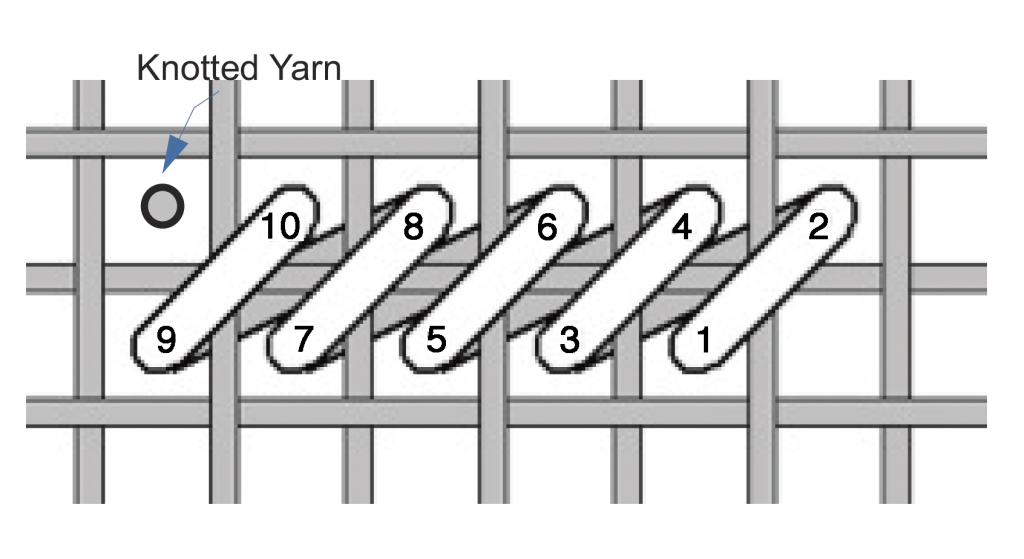
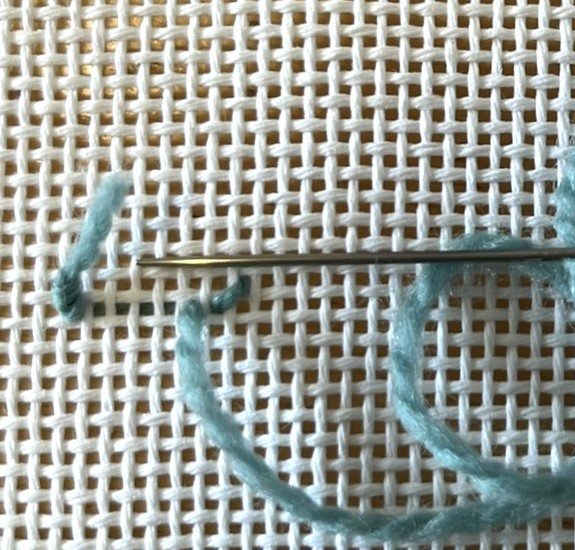
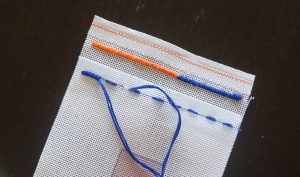
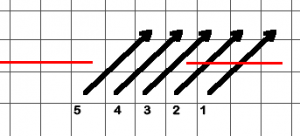
Before putting the canvas in the scroll frame, create “end stops” along the short sides of the canvas. The end stop is made with a doubled length of thread (i.e., 12 strands of floss or 2 strands of wool). First, do running stitches along one row as shown below. Then stitch over that row with a 2 x 2 Continental stitch. The end stops will prevent the canvas from slipping through the slotted dowel rod of the frame.

End Stop

End Stop Diagram

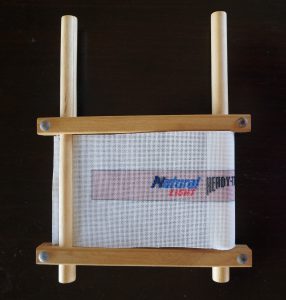
The narrow ends of the canvas are slid into the slotted dowel rods and should go all the way against the end of the slot. Insert the dowel rods into the frame’s spreader rails as shown below. The spreader rails should be flush with the edges of the belt canvas to reduce warping the canvas while stitching. 

In the Frame

Even when the rails’ wing nuts are not tight, the end stops should not be able to be pulled through the dowels and the frame should be a rectangle. The dowels can be turned to roll the canvas as it is worked. After positioning the canvas to a section for stitching, tighten the wing nuts on the rails.

Read to stitch

Where to start the stitching and in what order to do it is a personal choice. Personally, I prefer to stitch all of the images before attacking the background. There is no reason why images and elements can’t be done together as the canvas is wound on the dowels. The only thing to remember is not to stop the background stitches at the same vertical spot on each row.

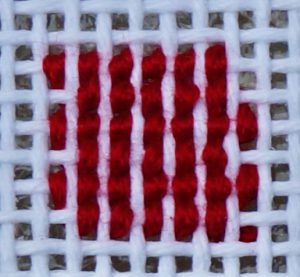
Belts are most frequently stitched with the Tent stitches. For the belt shown below, the Continental and Half Cross Tent stitches were used for the images and lettering, and for filling in where the background stitch couldn’t fill. The background stitch is the Upright Cross. 

CTF Belt Section

Look for our future post on background stitches.

Here at NeedlePaint, we have a large assortment of needlepoint belt canvases we know you will love stitching!
The Tent Stitch: When, Where, and Why

Written by: Peggy Bond

The Tent Stitch, is the basic diagonal stitch which is the most recognized of needlepoint stitches, and can be stitched in three variations: The Basketweave, the Continental and the Half-Cross. There are pros and cons and a time and place for each of these stitches.

Tent Stitch 

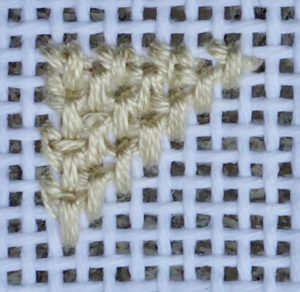
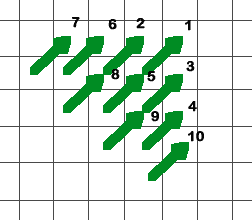
The Basketweave Stitch is stitched on the diagonal as diagramed (see Figure 2) and creates a solid pattern on the back of the canvas (see Figure 1). This is the stitch of choice for chair seats, upholstery items or any piece that will receive wear and tear. It is durable and flexible and the finished piece does not warp as much as those done in the Half-Cross or Continental Stitches. It is truly a background stitch to be done around designs. I didn’t use it anywhere on the yarmulkes I made, but I did use it for the purple border of my Pansy Quilt Rug.

Basketweave diagram

View of the Basketweave Stitch back side (Figure 1) and Basketweave Stitch diagram (Figure 2)


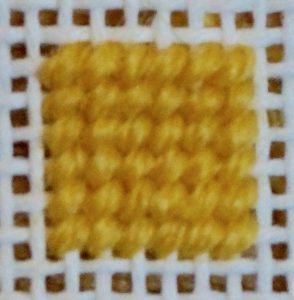
The Continental Stitch is also a good backing stitch. It lacks the durability of the Basketweave Stitch but can be worked in small areas, while providing a solid backing (as shown in Figure 3). My hat bands are usually done entirely in Continental Stitches. The No Tears Pillow was also done entirely in Continental Stitch. This is a good example of when you would not want to use the Basketweave Stitch for the background as it would have made the canvas much heavier than the fabric.

Continental Diagram

View of the Continental Stitch back side (Figure 3) and stitching diagram 


The Half-Cross Stitch provides no backing and is not recommended for backgrounds. It does not cover the canvas well and should only be used on printed canvases where the thread color matches the color of the print. It does, however, use less thread than the Basketweave and Continental stitches. I have used it as the final row around a headband which is going to be turned under when I sew on the backing fabric.

Half-cross Diagram

View of the Half-Cross stitch back side and stitching diagram


One thing to bear in mind with the Tent Stitch, and indeed all stitching, is that thread and canvas need to match. Too fine a thread will not cover adequately, and too heavy a thread will be difficult with which to work and will usually create uneven stitches. Below is a chart matching the threads
(6-strand DMC Cotton Floss and 3-strand Waverly Wool) and the canvases that NeedlePaint offers.

Canvas Mesh DMC Cotton Floss Wavely Wool  Notes
10 Not Recommended 3 Strands
12 Not Recommended 3 Strands For rugs and heavy use items
2 Strands For lighter-weight projects: soft pillows, purses
14 6 Strands 2 Strands
1 Strand Use only on printed canvas where thread matches color
18 6 Strands 1 Strand  Great to use for belts, wallets, flasks


Now having explained the how, when, where, and why of the Tent Stitch, I have to admit that I use it sparingly.

Coming soon My Favorite Background Stitches!
How to Choose the Right Needlepoint Canvas

We get a fair amount of orders from people who are purchasing custom needlepoint projects as gifts for other people (especially around Christmas).

One of the most common questions we get is what is the “correct” mesh count to purchase and how “easy” is the design.

To start out, there is no “correct” mesh count as different stitchers prefer different counts.  

For a newbie learning about needlepoint, the mesh count stands for the number of stitches in one linear inch.  That means you measure 1 inch along a line on the canvas, and count the number holes.  A 10 mesh count means there are 10 holes per inch.  A 18 mesh count canvas means that there are 18 holes per inch.  This may not sound like a lot, but to a stitcher it is a HUGE difference.  If you consider that 10 mesh count canvas has 100 stitches in a square inch and 18 mesh count has 324 stitches per sq. in. that means that the stitcher has a LOT more stitching to do if you order 18 mesh count canvas.  Thus, I suggest not ordering 18 count canvas on any design that is wider or taller than 12 inches.  For smaller canvases it is OK to use 18 mesh count because it allows the design to show a lot more detail. Some stitchers do prefer more detail at larger sizes, so this is just a guideline for reference.

Things to consider when choosing mesh count:

  • The stitchers eyesight.  18 count has more stitches per inch, so the holes are a lot smaller and harder to see.  10 mesh has the largest holes.  If she has weakening eyesight, you may want to avoid 18 mesh count canvas.  14 or larger should be OK.
  • Fiber preference.  Needlepointers love to work with a lot of different fibers, the most common are wool, cotton, and silk.  13 and 14 mesh count canvas will work with almost any fiber and are the most commonly used canvas today.  If the stitcher prefers wool, you may want to use a canvas with 14, 12, or 10 mesh count.  With 18 count canvas we only supply cotton, but there are other fibers that will work, just not as many.
  • The design details.  Higher mesh counts (18 and 14) will show more detail than the larger mesh counts (12 and 10).  Belt canvases often come on 18 mesh count canvas because you need the extra stitches to show designs on an area that is so limited in height.  If your design is very detailed or you want to fit a lot into a smaller area, you will want to use 18 mesh count.  But, if you try the 14 mesh count option on the website and still think it looks good, you can use that too.
  • The design size. If you find that you need more detail but have to use larger holes, you can always increase the overall size of the design, this an alternative way to increase the detail, but does add to the cost of the project.  Typically I think the sweet spot for design size is around 12 x 8 inches.
  • To see how to adjust the mesh count and height, watch our how to design a pillow instructional video.
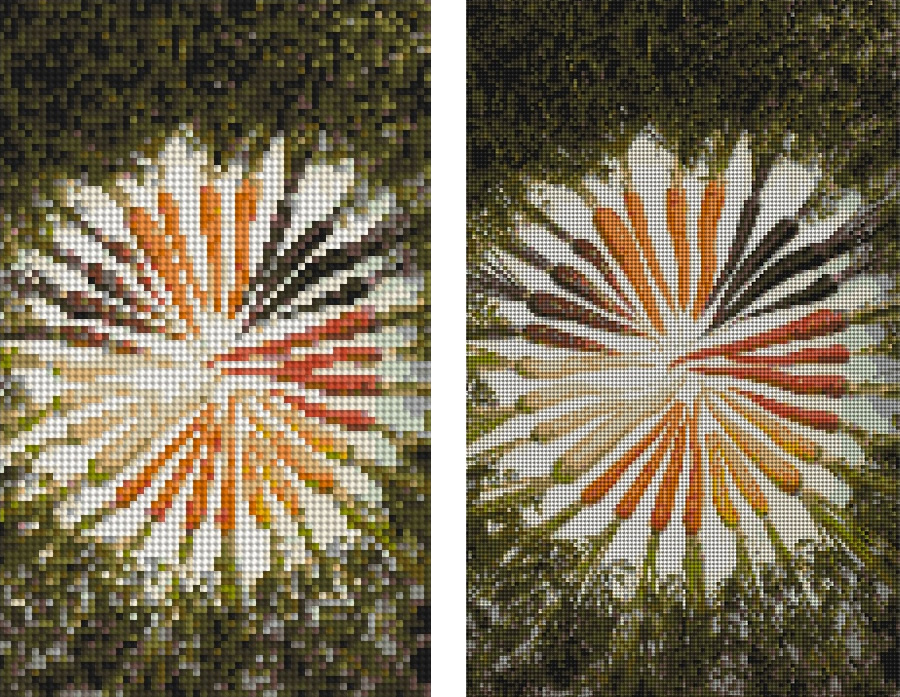
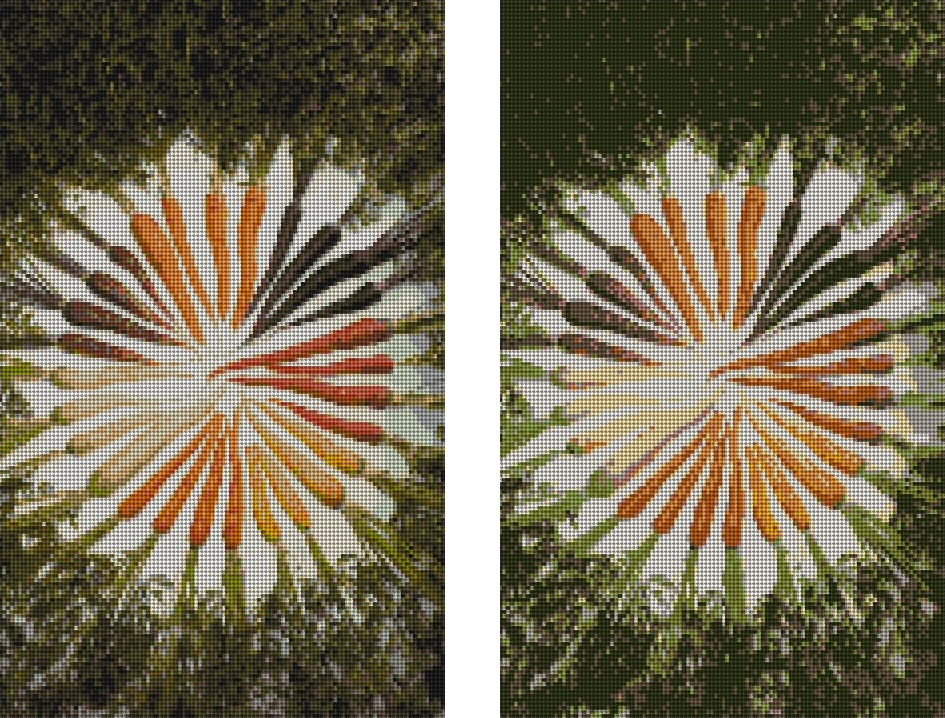
Carrots of Many Colors 10 mesh count vs 18 mesh count canvas

Carrots of Many Colors 10 mesh count vs 18 mesh count canvas. The 18 mesh is on the right and shows a lot more detail.

Next we have the “easy” question, or degree of difficulty.

This is very subjective, but there are some obvious guidelines that can help you determine how difficult a project will be to stitch.

  • The number of colors.  Often, the more colors there are on a canvas the trickier it will be to stitch.  This is especially true with photo needlepoint canvas designs.  The shadowing and gradients get harder to see the more colors there are.  Also the thread colors get very close, so even they get hard to tell apart.  When stitched this looks amazing, but a beginner stitcher may find this very tedious.  Typically I recommend keeping the number of colors below 20 if possible.  If you are using the website and want help, feel free to email us, we’d be happy to help!
  • The nature of the design.  If you are using a photo there is often a lot of intricacy in the placement of the stitches.  Easier canvases will group the colors together in larger blocks, so the stitcher does not need to change thread every third stitch.  Designs and artwork with plain colors and patterns often are the easiest to stitch as the contrast between the colors is big and the patterns are simple to follow.  The dog needlepoint designs we have on our website range from moderate to difficult, the new stitcher can do a moderate design, but it will take them a while.  The original artist needlepoint designs we have licensed are easy to moderate, mostly they go in the easy category.  And our baby and kids designs all are also in the easy realm.
Carrots of Many Colors 25 colors vs 11 colors

Carrots of Many Colors 25 colors on left vs 11 colors on right.  Notice the white carrots loose detail.  Not a very big difference to the eye, but to the stitcher 25 colors would be significantly harder.

If you decide to reduce the number of colors, but notice something that you would like adjusted, go ahead and place your order and email us the image you used, we can touch up the design for you!

Making Embroidery Floss Stitch Evenly in Needlepoint

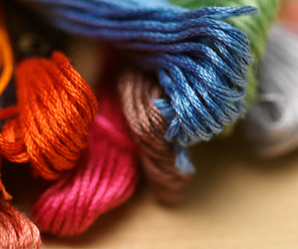
6 Strand Embroidery Floss

We recently had an issue with 6 strand cotton embroidery floss that I think others may find helpful.

A customer told me that they felt the embroidery floss we supply with our needlepoint kits was ‘messy’.  After doing some research (they called the shop owner a Phoenix Needlepoint) they found that if you pull apart the 6 strands, then run them back together in a strait line that the stitches are much neater.

I’ve not heard this before, but I checked with Peggy, and she mentioned that she does something similar.

“After I cut the thread to a 12-15 inch length, I always run it through my fingers to get any twists out of it. This makes it lay flat and even.”

“The other issue might be the direction in which she is doing the stitch. You want whenever possible to bring your thread from the back to the front in a hole that does not already have thread in it…then you go from front to back into the hole with thread. If you come from the back in a hole with thread there is drag on your thread which can cause irregularity.”