Written by Peggy Bond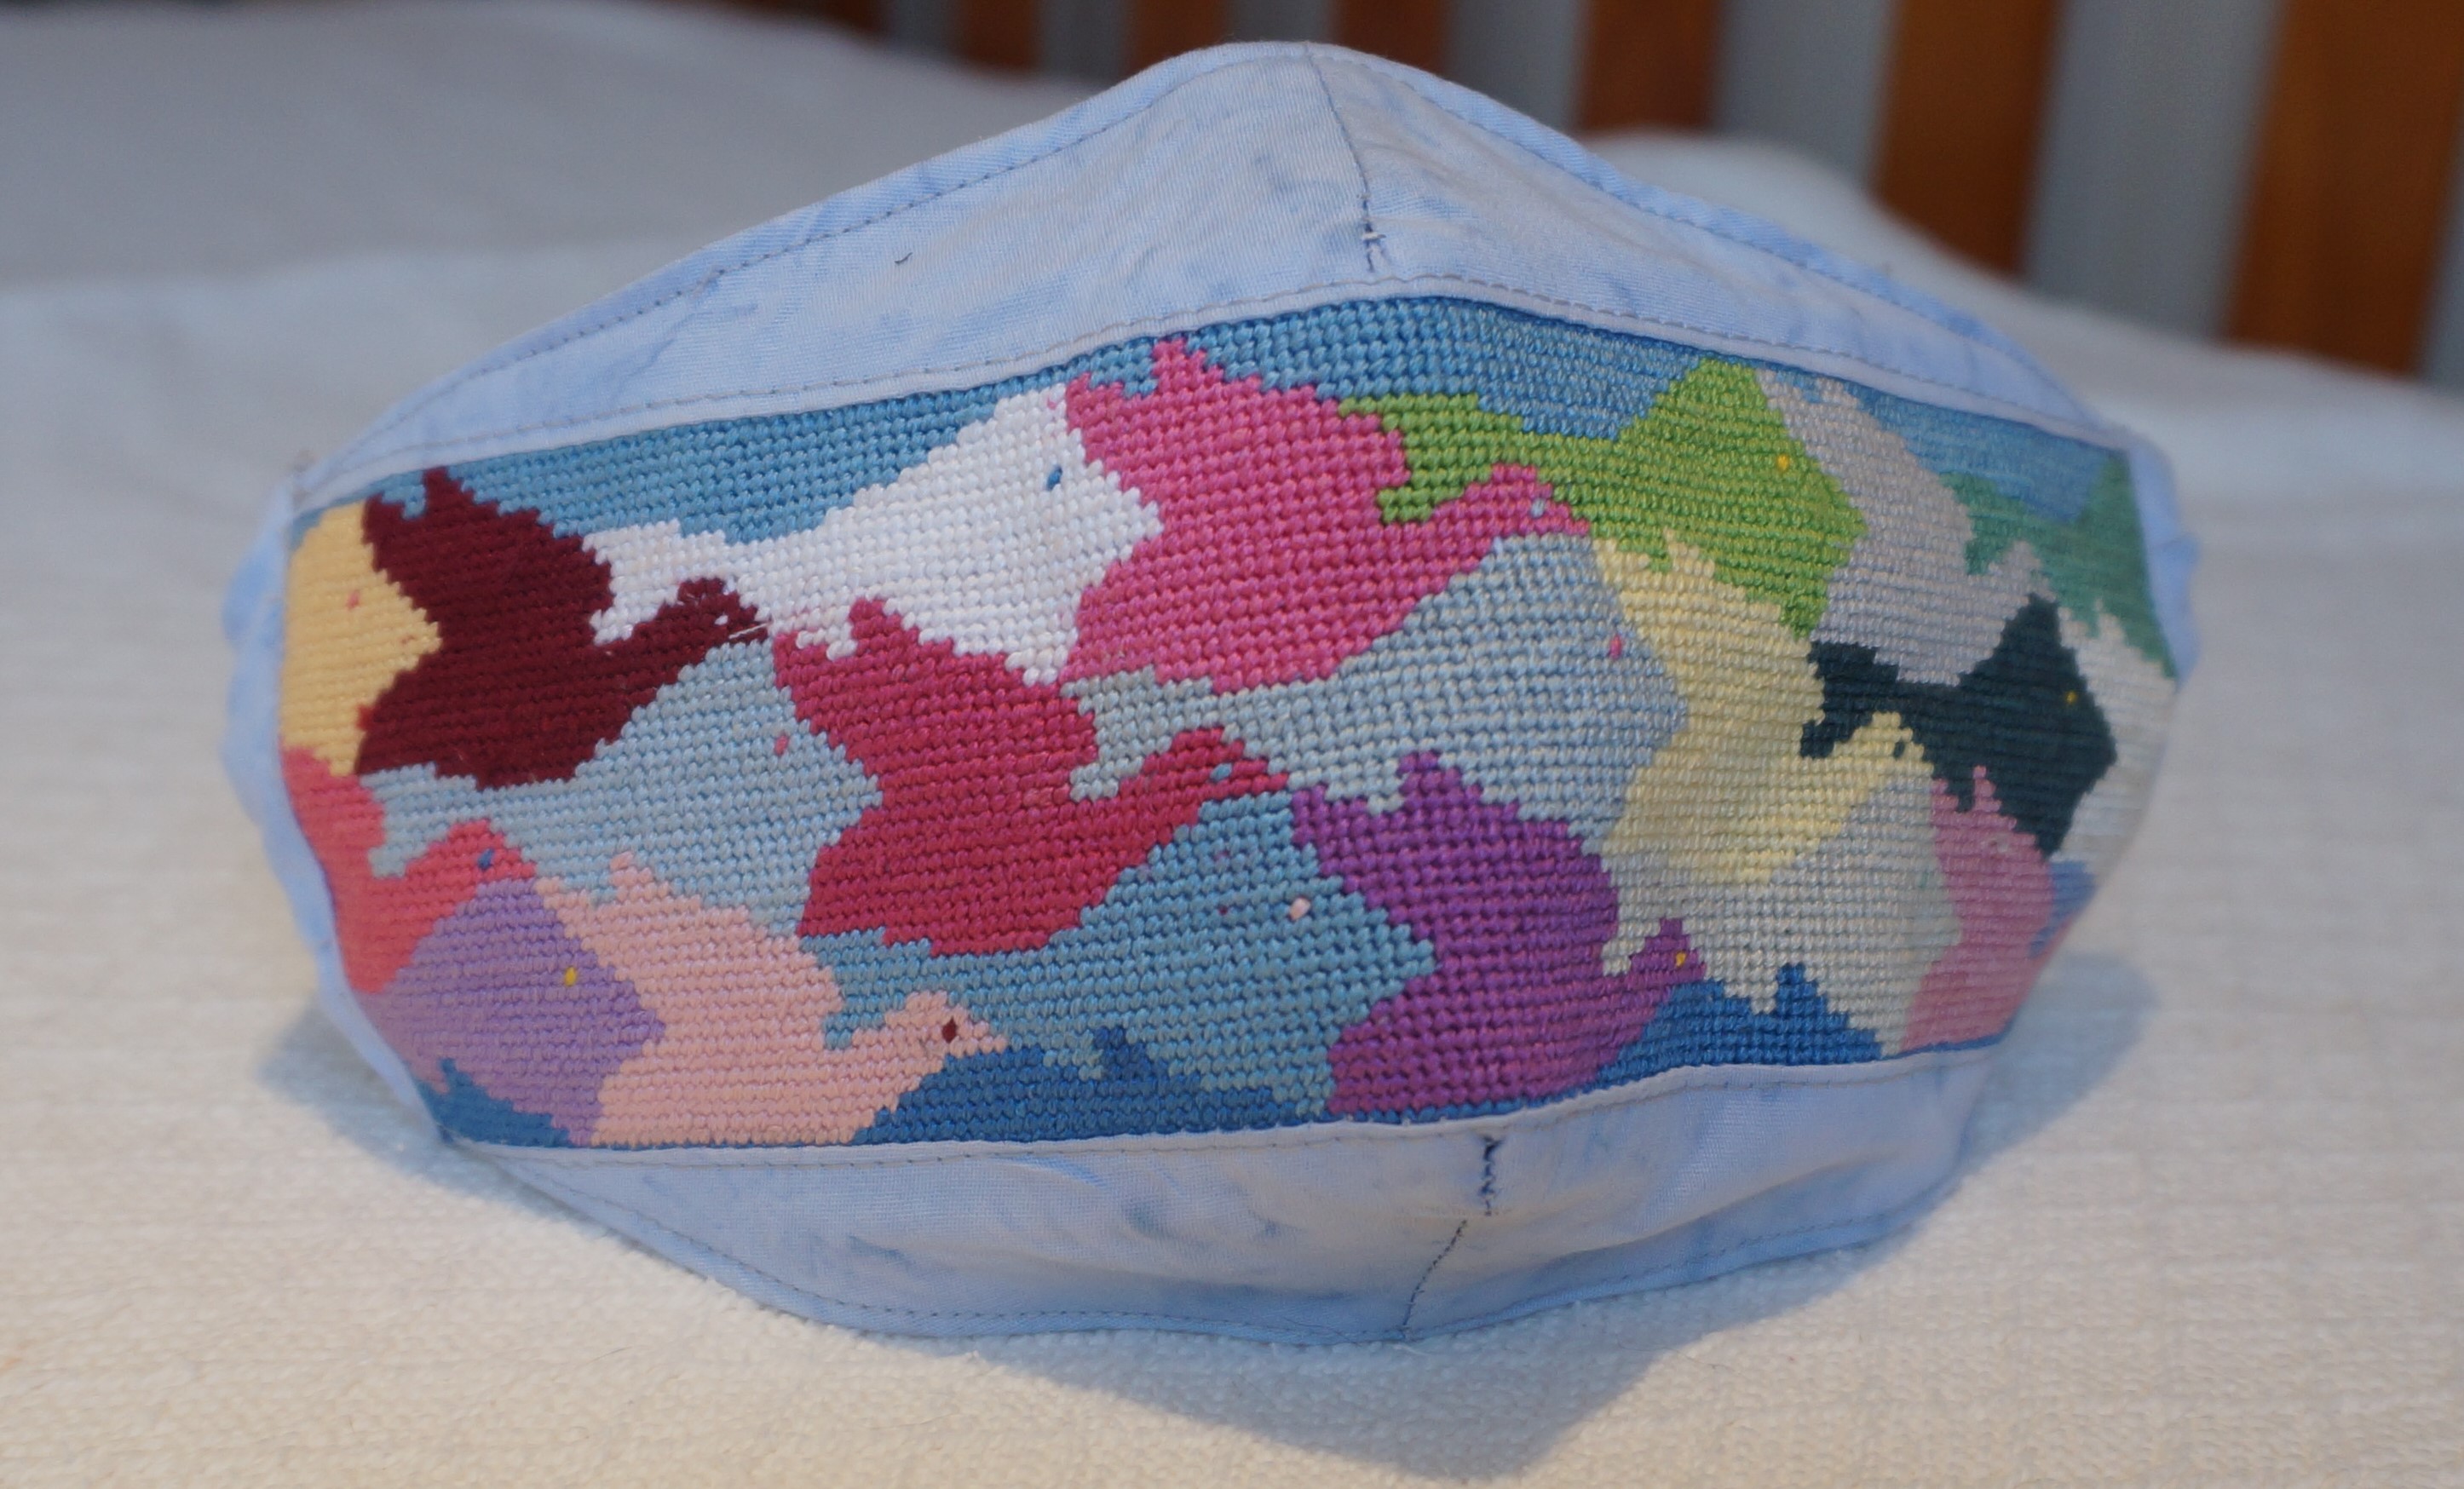
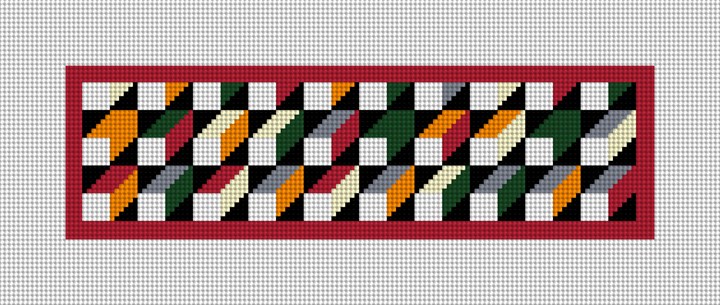
The new NeedlePaint mask, inspired by M.C. Escher, is designed for quick stitching and assembly. It is slightly lighter weight with fabric for the nose and chin portions, but the central needlepoint band retains its form to allow freedom of air flow.
Since the band is a 9-1/4” x 2-3/4” rectangle, it can be stitched in about one half of the time of our full NeedlePaint masks. The mask is a little less formal.
The materials needed are:
- Cotton fabric for liner and strap trim
- Cotton fabric for filter pocket (optional)
- Ear strap material
- Nose clip material (optional)
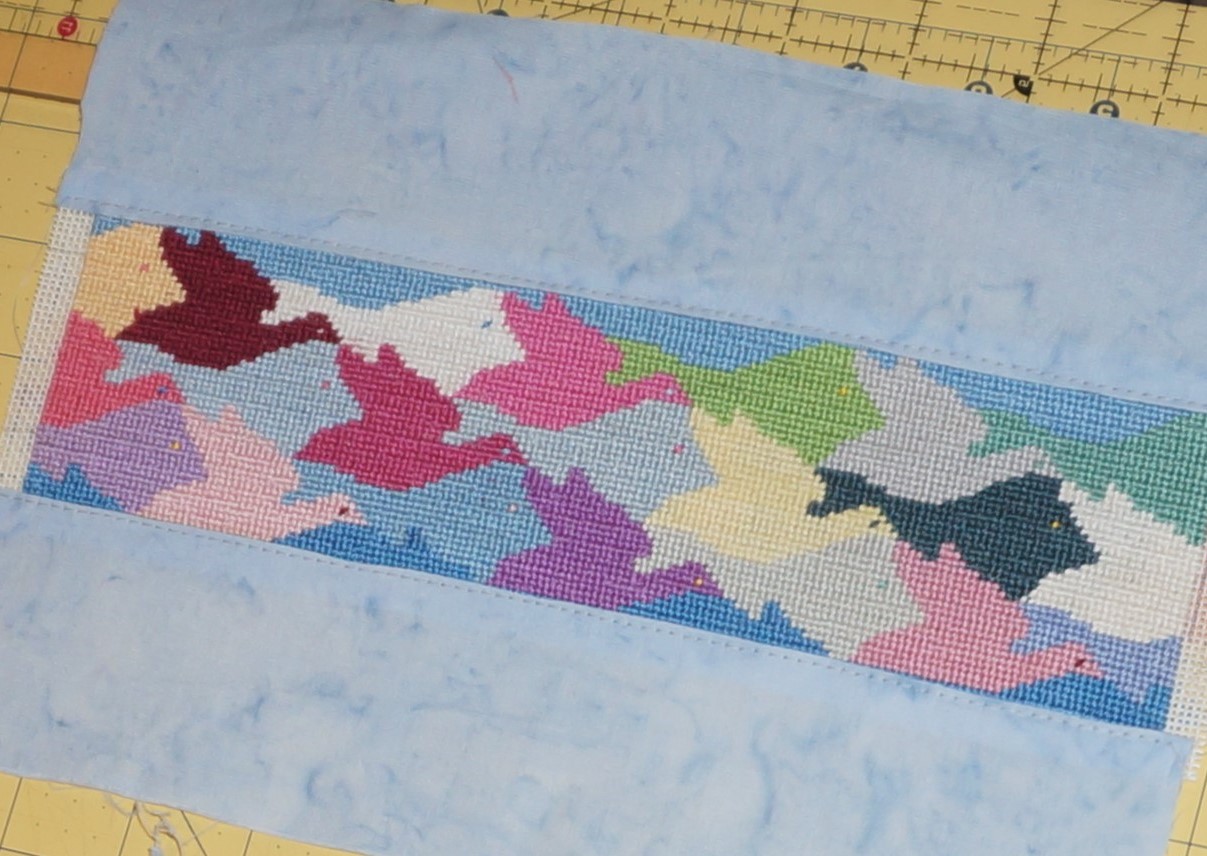
Step 1. After blocking the finished canvas, trim away excess canvas leaving no more than 1/4” of blank canvas. Cut two 10 “ x 3” strips of cotton fabric which will serve for the nose and chin portions of the mask. (One could go two tone and make the nose and chin portions of different colors.)
With right sides together sew strips to the top and bottom of your needlepoint canvas. Press fabric away from canvas. Do not press seam open. Top stitch the fabric side of each seam.
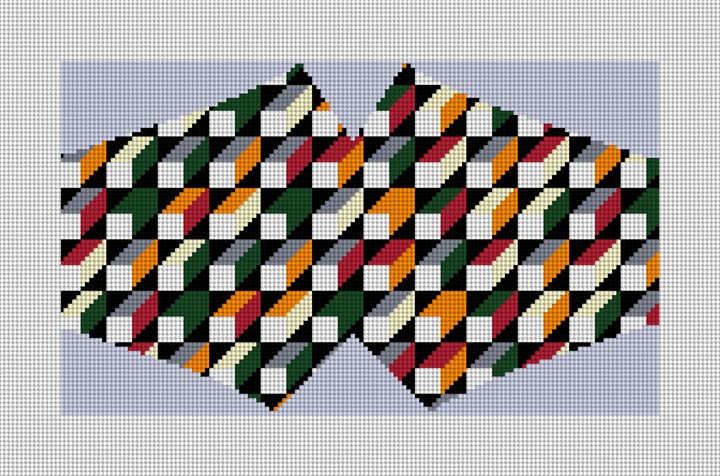
Position the mask pattern so that the needlepoint band is centered between the nose and chin darts and cut out the mask. The shaped pattern is similar to our Geometric Face Mask shown below. Using the same pattern cut one liner or two if making the optional filter pocket.
Step 2. Fold the canvas along center line with right-sides together, matching the two upper nose points and the two lower chin points. Stitch 3/8” seam and press open. Repeat for liners and optional filter pocket.
If using the filter pocket, sew a ½” hem on each cheek edge.
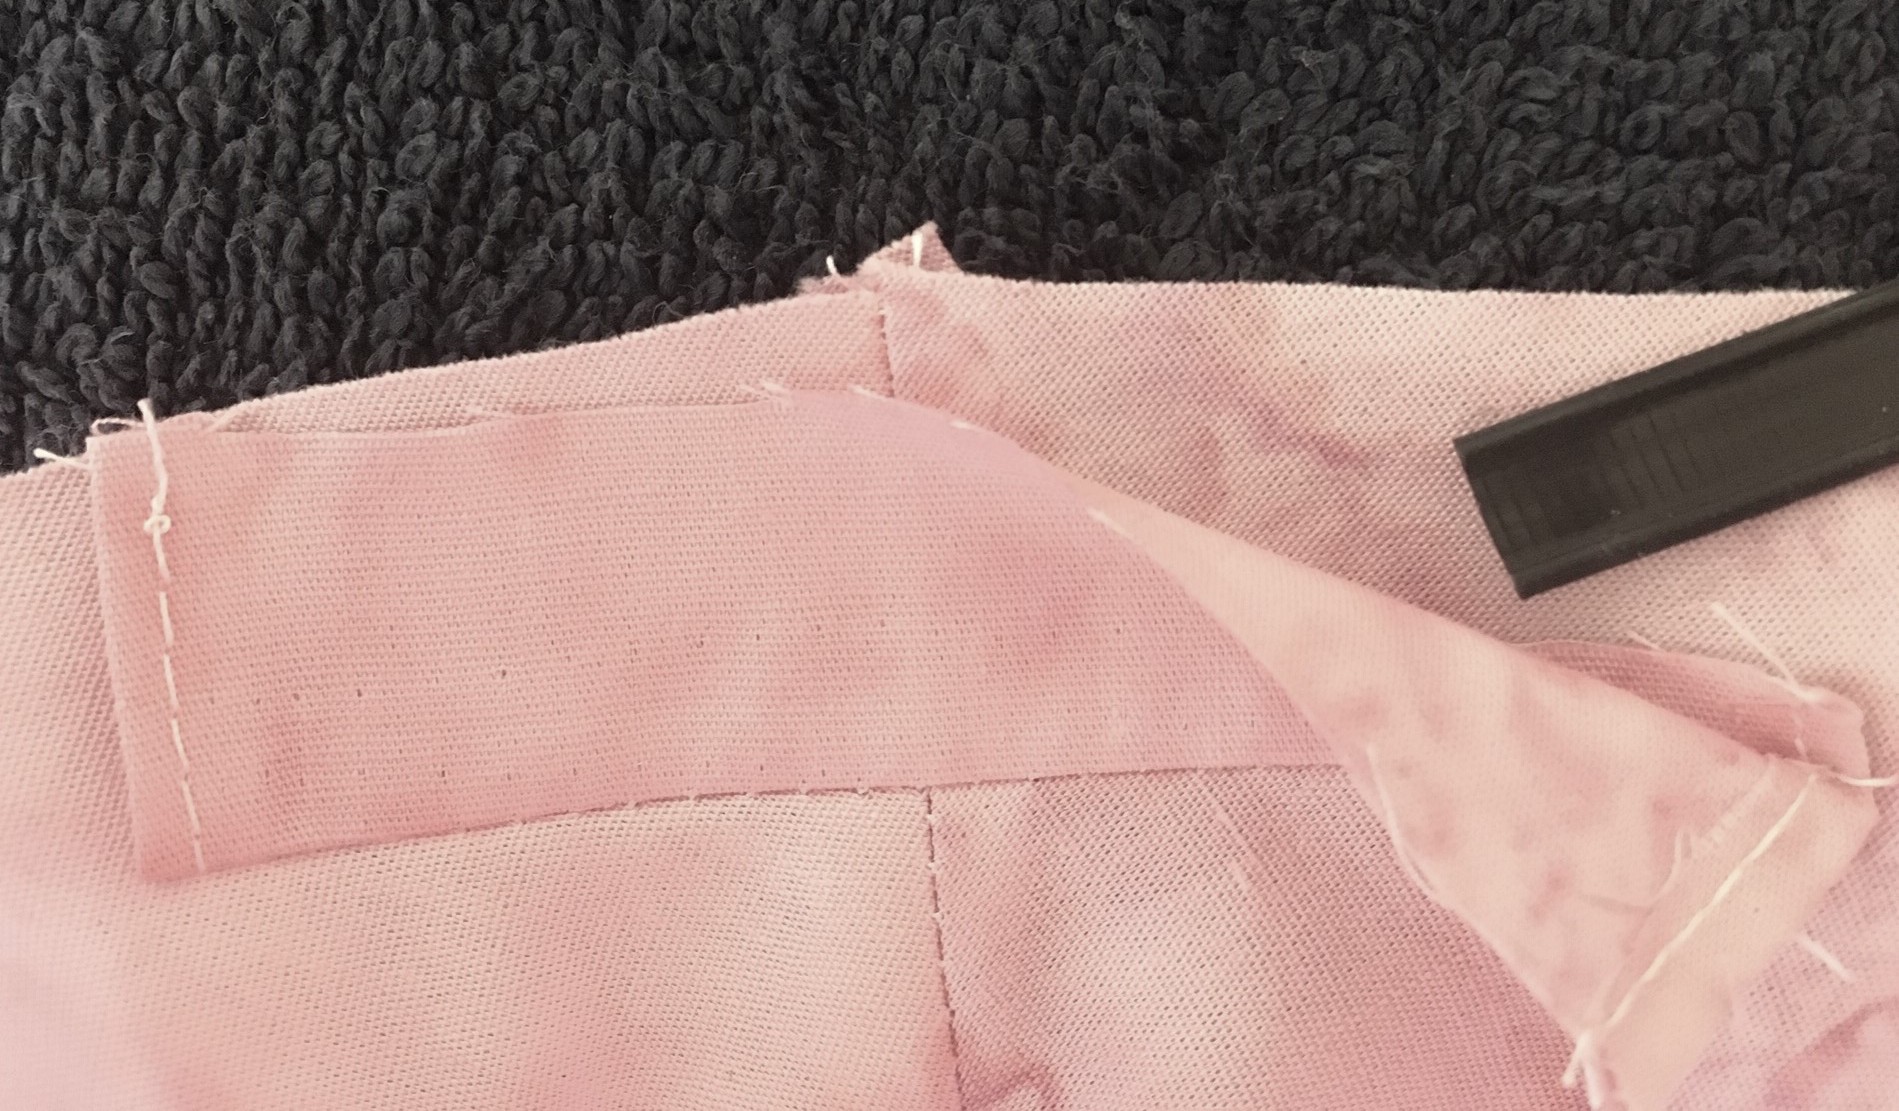
Step 3. Cut a piece of fabric 1” by ½” longer than the selected nose clip. Sew a ¼” hem on each short edge of this fabric nose sleeve. Place the nose sleeve on the liner or filter pocket centered ½” below the nose seam. Sew in place. Press so long edge lines up with top of liner or pocket.
The nose clip will be inserted after the rest of the assembly is completed.
Step 4. Place right sides together, carefully aligning the seams of the nose and chin darts on all pieces. If using the optional filter pocket, it will be the closest to needlepoint mask.
Sew the ¼” seam along the top and bottom of the mask and turn the mask inside out. Be careful not to pull on the edge of the needlepoint canvas as it can separate easily. Press the seamed edges and top stitch.
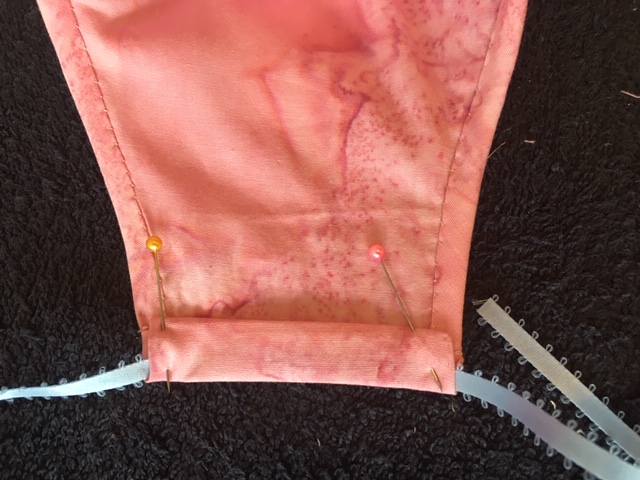
Step 5. For the ear strap sleeves, cut two 1-1/2” strip of liner fabric that are ½” longer than the ear edges of the mask. Sew to each ear edge with ¼” seam. Press top and bottom edges down. Then press a ¼’ fold on free edge and fold to back aligning the folded edges with the ear edge stitches. This will leave a ½” sleeve for the ear strap.
The straps can be tucked under the fold before stitching the sleeve in place or can be threaded through with a safety pin after stitching.
Check out these two new designs we have created for you!
Mosaic Face Mask Panel Needlepoint Canvas

Written by Karen Mason
Leave a comment