By Peggy Bond
So you have a 5-inch wide by yard long printed needlepoint canvas for a belt. Where do we go now? To a split rail scroll frame which will keep your canvas relatively square while allowing you to access sections of the canvas without having to remove and reposition it.
The F.A. Edmunds 6” x 12” scroll frame is a great option.
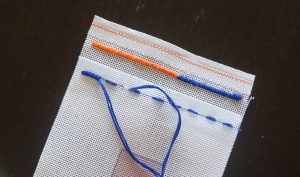
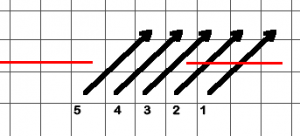
Before putting the canvas in the scroll frame, create “end stops” along the short sides of the canvas. The end stop is made with a doubled length of thread (i.e., 12 strands of floss or 2 strands of wool). First, do running stitches along one row as shown below. Then stitch over that row with a 2 x 2 Continental stitch. The end stops will prevent the canvas from slipping through the slotted dowel rod of the frame.
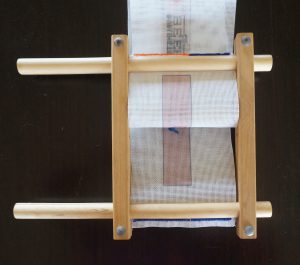
The narrow ends of the canvas are slid into the slotted dowel rods and should go all the way against the end of the slot. Insert the dowel rods into the frame’s spreader rails as shown below. The spreader rails should be flush with the edges of the belt canvas to reduce warping the canvas while stitching.
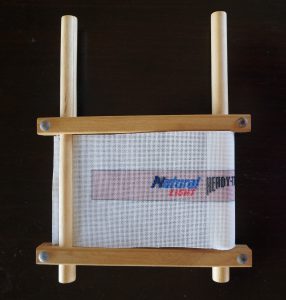
Even when the rails’ wing nuts are not tight, the end stops should not be able to be pulled through the dowels and the frame should be a rectangle. The dowels can be turned to roll the canvas as it is worked. After positioning the canvas to a section for stitching, tighten the wing nuts on the rails.
Where to start the stitching and in what order to do it is a personal choice. Personally, I prefer to stitch all of the images before attacking the background. There is no reason why images and elements can’t be done together as the canvas is wound on the dowels. The only thing to remember is not to stop the background stitches at the same vertical spot on each row.
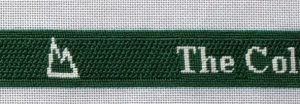
Belts are most frequently stitched with the Tent stitches. For the belt shown below, the Continental and Half Cross Tent stitches were used for the images and lettering, and for filling in where the background stitch couldn’t fill. The background stitch is the Upright Cross.
Look for our future post on background stitches.
Here at NeedlePaint, we have a large assortment of needlepoint belt canvases we know you will love stitching!


Written by Karen Mason
Leave a comment