Official blog of www.NeedlePaint.com
where you can design your own Needlepoint!

NeedlePoint Kits and Canvas Designs | Design your own Needlepoint Kit!

Archive for August, 2018

The Tent Stitch: When, Where, and Why

Written by: Peggy Bond

The Tent Stitch, is the basic diagonal stitch which is the most recognized of needlepoint stitches, and can be stitched in three variations: The Basketweave, the Continental and the Half-Cross. There are pros and cons and a time and place for each of these stitches.

Tent Stitch 

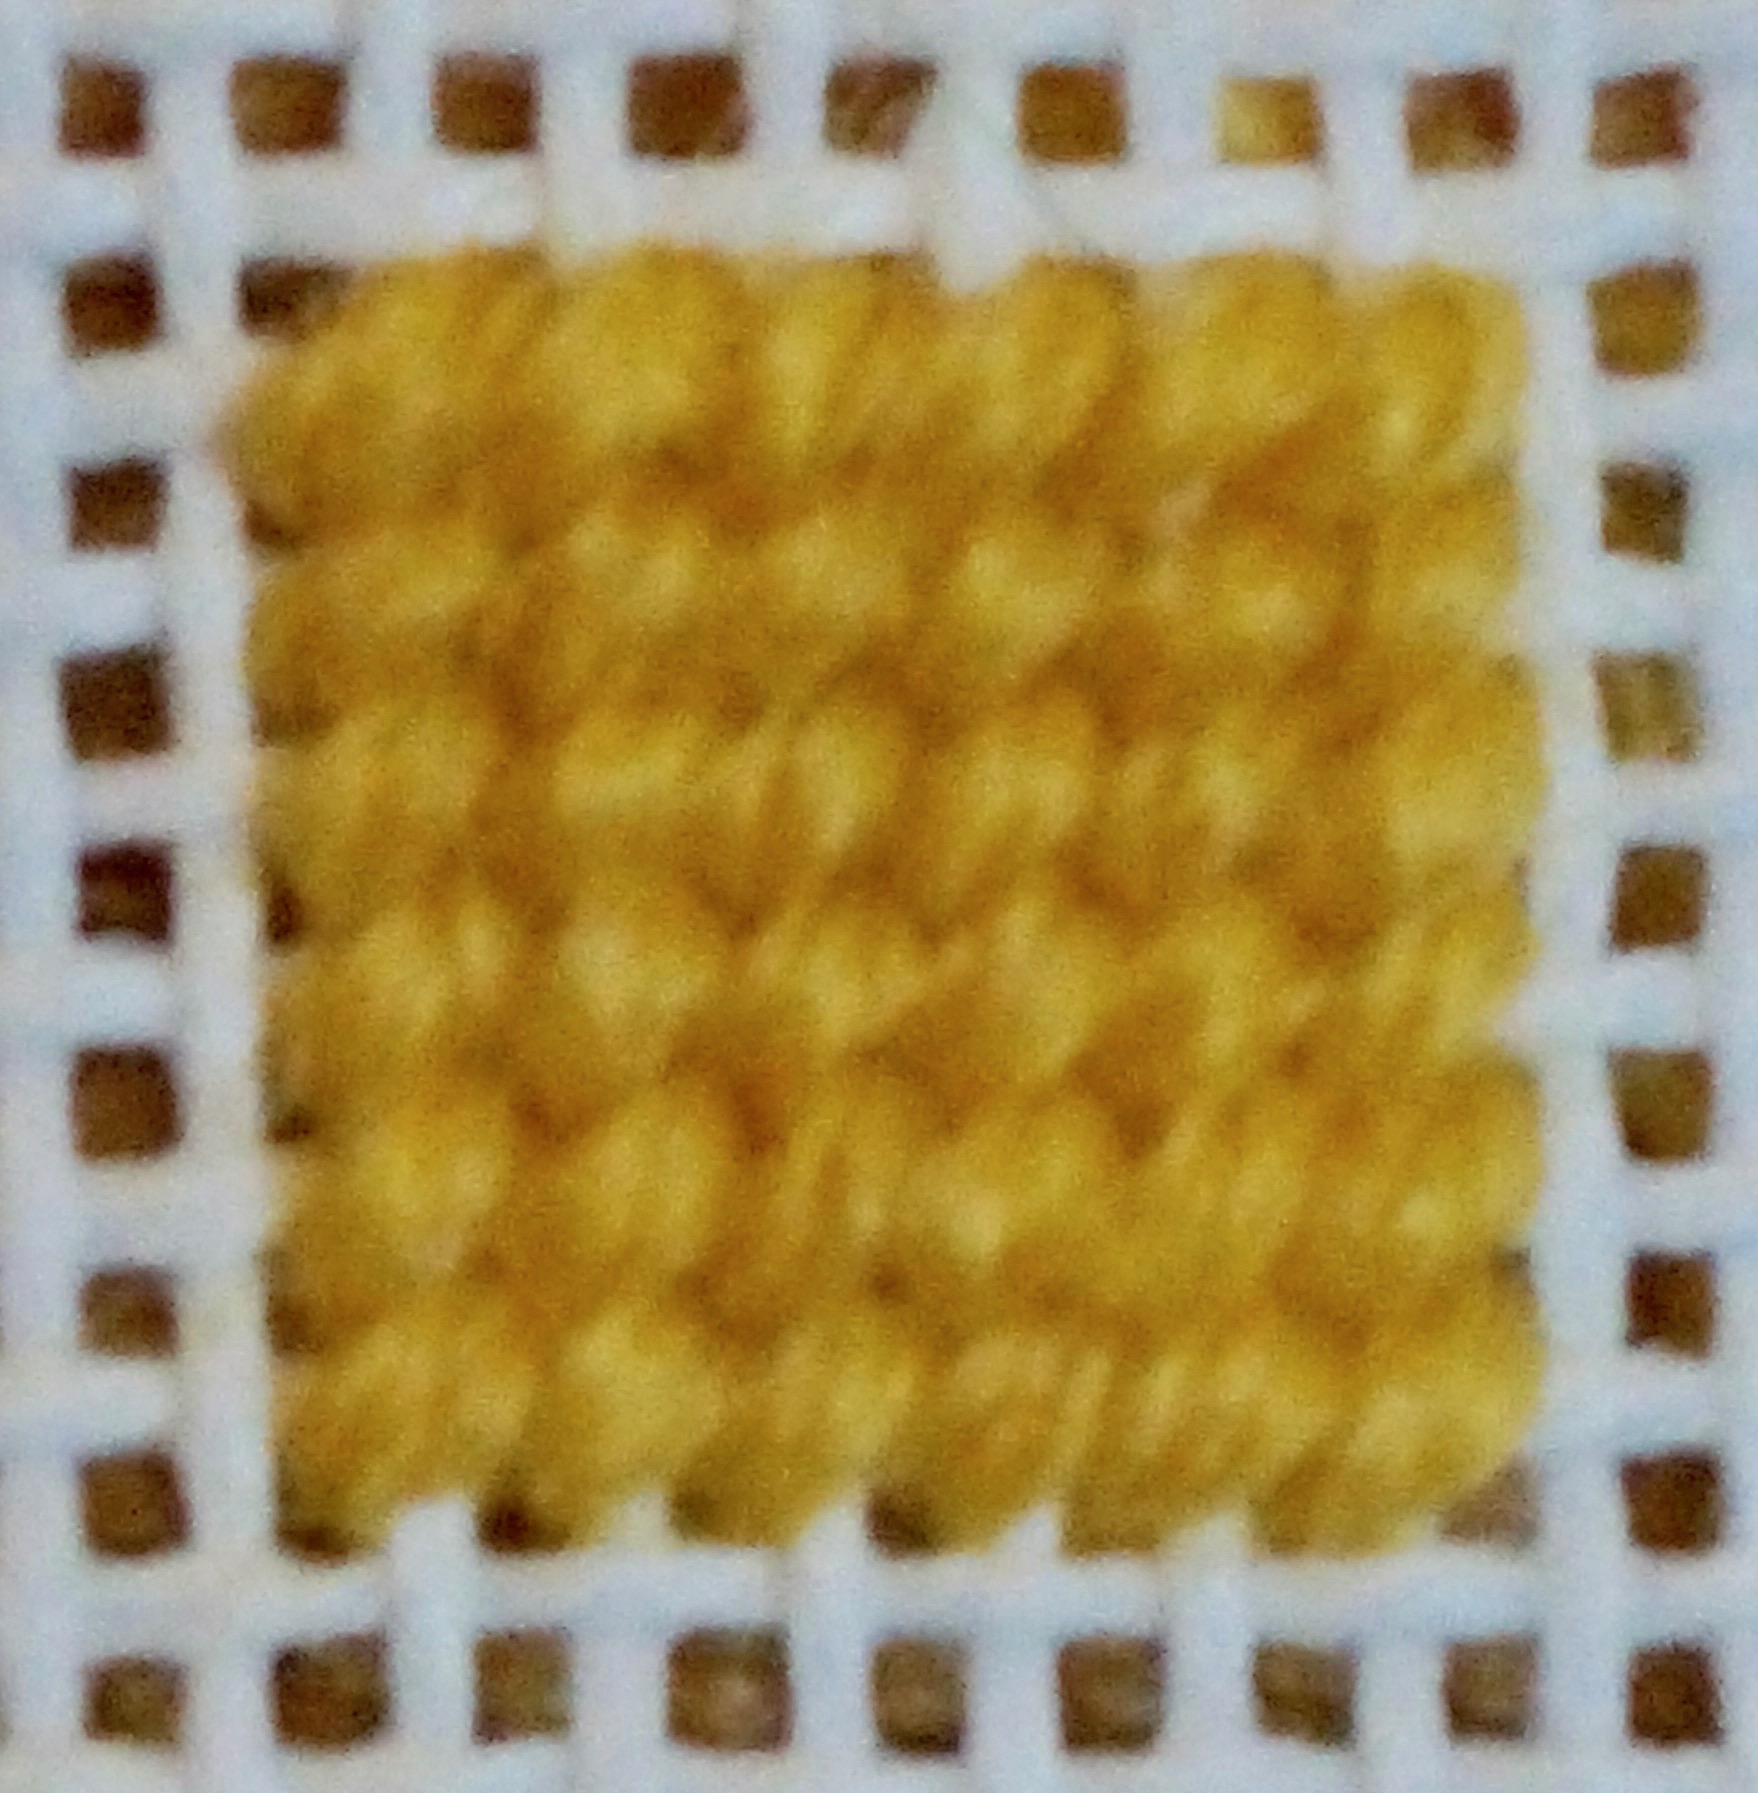
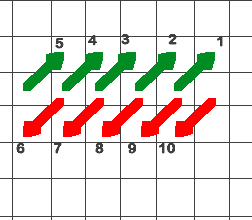
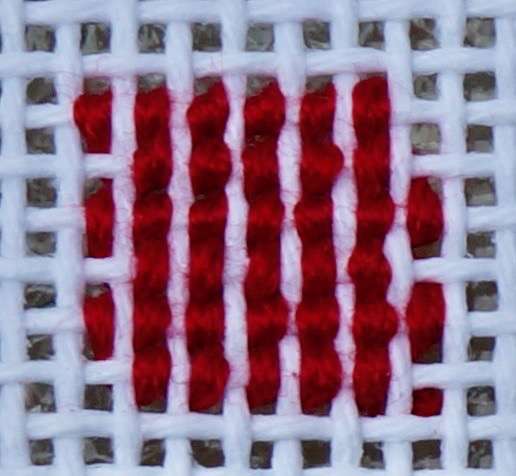
The Basketweave Stitch is stitched on the diagonal as diagramed (see Figure 2) and creates a solid pattern on the back of the canvas (see Figure 1). This is the stitch of choice for chair seats, upholstery items or any piece that will receive wear and tear. It is durable and flexible and the finished piece does not warp as much as those done in the Half-Cross or Continental Stitches. It is truly a background stitch to be done around designs. I didn’t use it anywhere on the yarmulkes I made, but I did use it for the purple border of my Pansy Quilt Rug.

Basketweave diagram

View of the Basketweave Stitch back side (Figure 1) and Basketweave Stitch diagram (Figure 2)


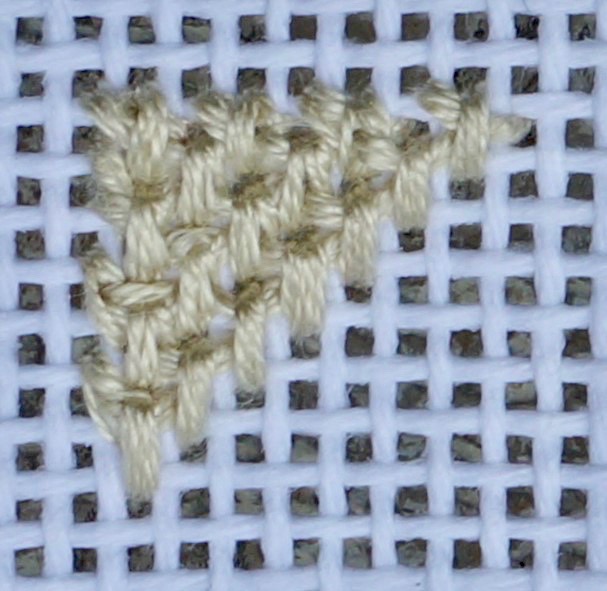
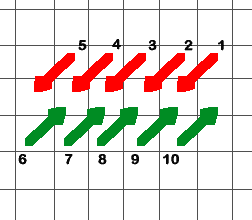
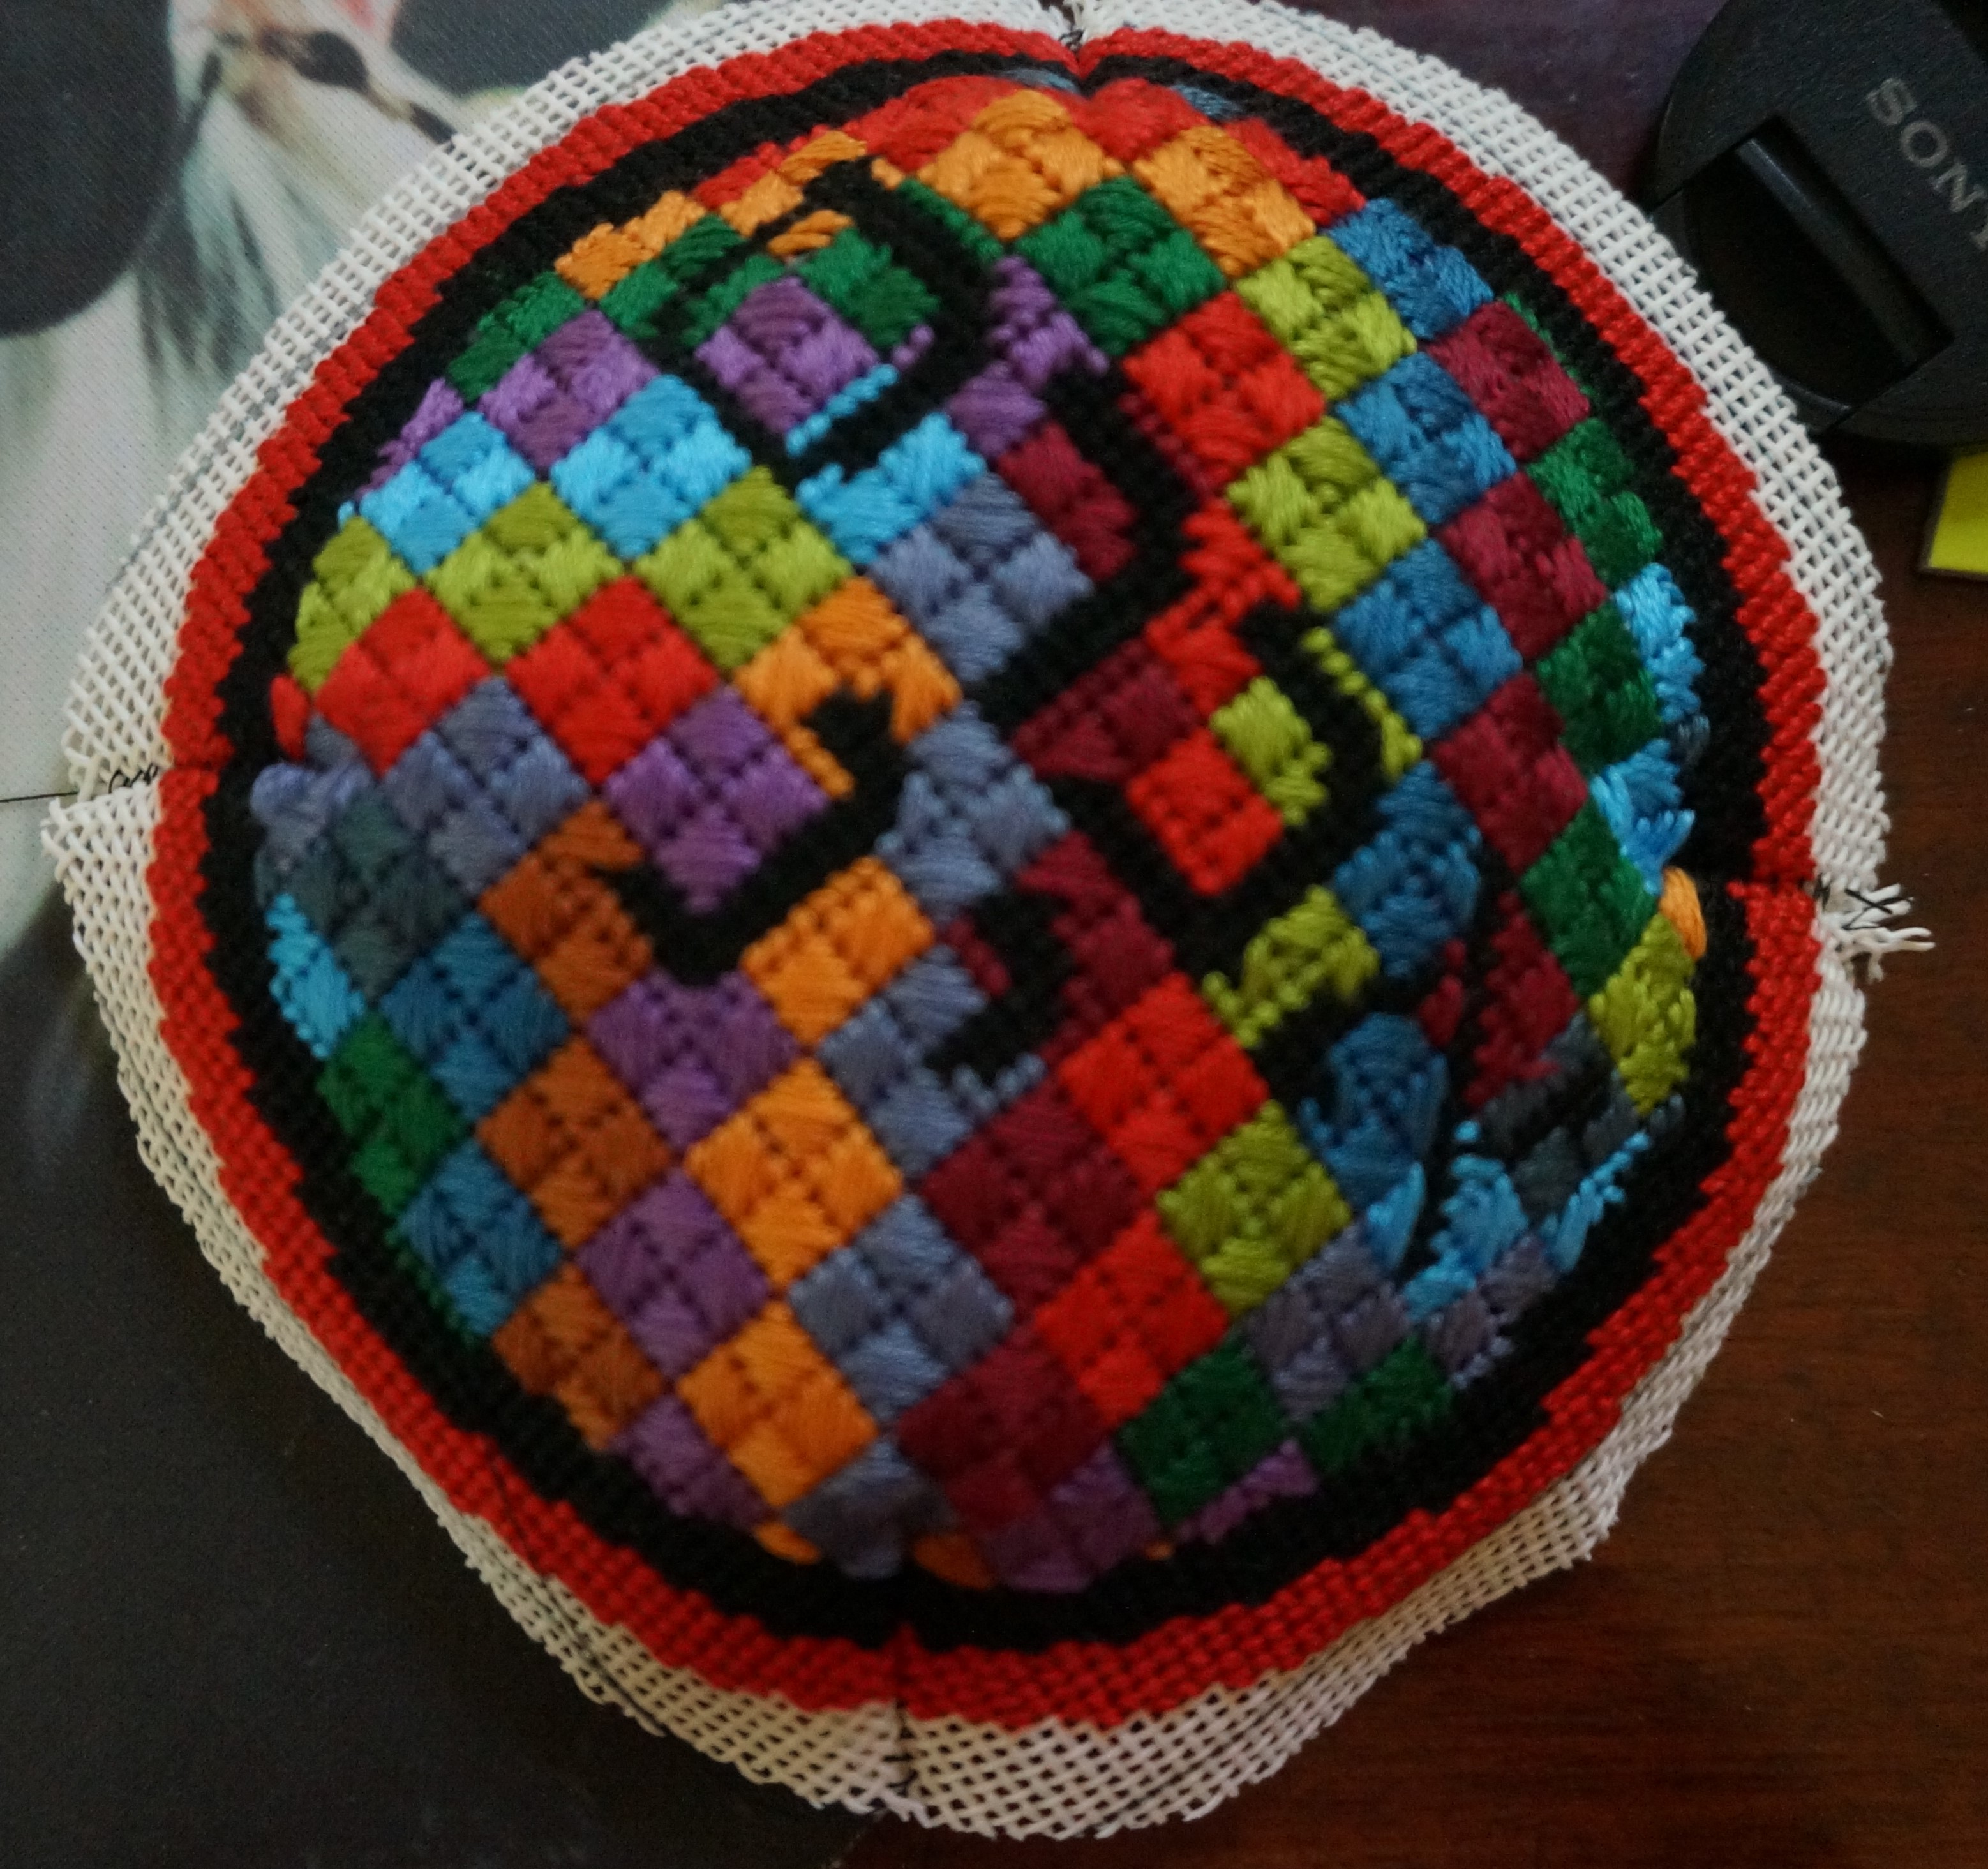
The Continental Stitch is also a good backing stitch. It lacks the durability of the Basketweave Stitch but can be worked in small areas, while providing a solid backing (as shown in Figure 3). My hat bands are usually done entirely in Continental Stitches. The No Tears Pillow was also done entirely in Continental Stitch. This is a good example of when you would not want to use the Basketweave Stitch for the background as it would have made the canvas much heavier than the fabric.

Continental Diagram

View of the Continental Stitch back side (Figure 3) and stitching diagram 


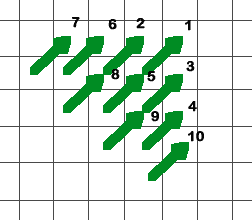
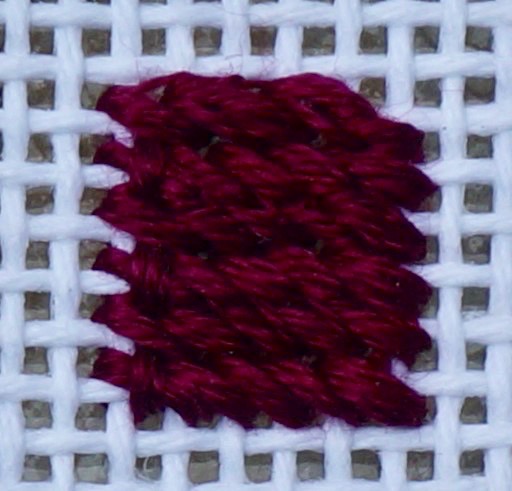
The Half-Cross Stitch provides no backing and is not recommended for backgrounds. It does not cover the canvas well and should only be used on printed canvases where the thread color matches the color of the print. It does, however, use less thread than the Basketweave and Continental stitches. I have used it as the final row around a headband which is going to be turned under when I sew on the backing fabric.

Half-cross Diagram

View of the Half-Cross stitch back side and stitching diagram


One thing to bear in mind with the Tent Stitch, and indeed all stitching, is that thread and canvas need to match. Too fine a thread will not cover adequately, and too heavy a thread will be difficult with which to work and will usually create uneven stitches. Below is a chart matching the threads
(6-strand DMC Cotton Floss and 3-strand Waverly Wool) and the canvases that NeedlePaint offers.

Canvas Mesh DMC Cotton Floss Wavely Wool  Notes
10 Not Recommended 3 Strands
12 Not Recommended 3 Strands For rugs and heavy use items
2 Strands For lighter-weight projects: soft pillows, purses
14 6 Strands 2 Strands
1 Strand Use only on printed canvas where thread matches color
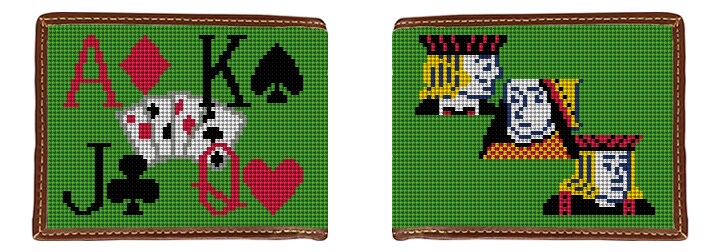
18 6 Strands 1 Strand  Great to use for belts, wallets, flasks


Now having explained the how, when, where, and why of the Tent Stitch, I have to admit that I use it sparingly.

Coming soon My Favorite Background Stitches!

Finishing a Needlepoint Yarmulke

By Peggy Bond:

How to finish off a needlepoint kippah.

As an example the mosaic needlepoint yarlmuke has been made with four blank triangular areas. These are the “darts” which will be sewn together to give the yarmulke its shape.

1721099214530194

After your yarmulke canvas has been stitched and blocked, trim the canvas leaving a ¼ boarder beyond the stitching. Save this extra canvas and use it as a pattern for the lining. I recommend using 100% quilting-weight cotton for the lining.

Mark darts on the lining to match those of the yarmulke.

Yarmulke with darts sewn

Sew the dart on the canvas together. Steam press the edges of the darts to one side, so they lay flat and form a smooth rounded shape on the top of the yarmulke. Repeat for the lining, pressing the dart in the opposite direction of the direction that you pressed the canvas. 

With wrong sides together, stitch the lining and canvas together at the edge of the needlepointing. Trim as needed so that the ¼ inch bias tape can be attached to the outside edge, covering the unstitched canvas.

Finished yarmulke

The materials I used were:

1 black fat quarter of cotton quilting-weight fabric
1 package Wrights’ ¼ inch double fold bias tape.

I stitched the yarmulke, lining, and bias tape on my home sewing machine, but it can also be hand stitched, which will take just a little bit longer.

At NeedlePaint, let us create a custom yarmulke canvas for you to stitch!

NeedlePaint Turns Your Favorite Games Into Your New Favorite Needlepoint Accessories!

Here at NeedlePaint, we’ve been inspired by our favorite games, and have created some new needlepoint accessories you’ll love stitching, as well as using after they are finished. We’ve also discovered that both needlepointing and playing games, share some amazing benefits.

Playing a fun game provides for a break from the routine of day to day life. Games let you reconnect with family and friends, and enable you to enjoy the social aspects of spending time with those, whose company you love. Playing games are also a great way to get everyone involved, young and old, in one single activity.

180802381036401

Rack ’em up! Our new Billiards needlepoint wallet canvas, is fun for both the novice and competitive player. A game of great skill, accuracy, calculated moves, and precision study. It certainly doesn’t hurt to have paid attention in geometry class, as knowledge of angles can really boost your game. Just look out for that eight ball . . . it will always cause you trouble. This wallet will definitely add some color to your back pocket.

Did you know that needlepointing has some of the same benefits as playing billiards? Both improve analytical thinking, require planning, decision making, and are great for your eye-hand coordination.

184201642653342

There’s no spell check in this game!  Our Custom Classic Word Game needlepoint belt canvas, lets you create a custom phrase, spell out a quick message, list your kids names, or use our shown phrase “May the force be with you”. A fun belt to stitch and later to wear on family game night. Obi Wan Kenobi would love wearing this belt!

Needlepointing and word games are well known for keeping your mind sharp, as well as providing exercise for the brain, helping to maintaining memory function. Both require a certain level of singular focus, and concentration. No multi-tasking, necessary. 

Poker Needlepoint wallet

Ante Up! With our Poker needlepoint wallet canvas you will be the envy of all of your poker buddies. This is a game of chance, and it never hurts to have a fair amount of skill. Knowing when to bet and when to fold are crucial to your success of this game. You’ll enjoy opening this wallet and tossing a five spot onto the kitty.

Needlepointing and the game of poker develop logical thinking and develop concentration to help expand your long term ability to focus.

Check Mate! Stitch our Chess Needlepoint belt canvas for the novice or a competition player of the game of chess. We have designed this belt with that familiar game board and all of its pieces: pawns, rooks, knights, bishop, king and the queen. We guarantee stitching this needlepoint belt canvas will be easier than playing the game of chess.

Needlepointing and the game of chess, increase your creativity, exercise both sides of your brain, along with lowering your stress levels and blood pressure.

It’s time to enjoy a little down time, relax, reconnect with family and friends while playing a game; or do a little needlepointing . . . especially if you’ve had too much family togetherness. Calculate your next move and enjoy stitching your new NeedlePaint projects!