Egg-cellent Self-Finishing Needlepoint for Spring!
Explore our Chinoiserie Inspired Egg Canvases and an Easy Self-Finishing Technique
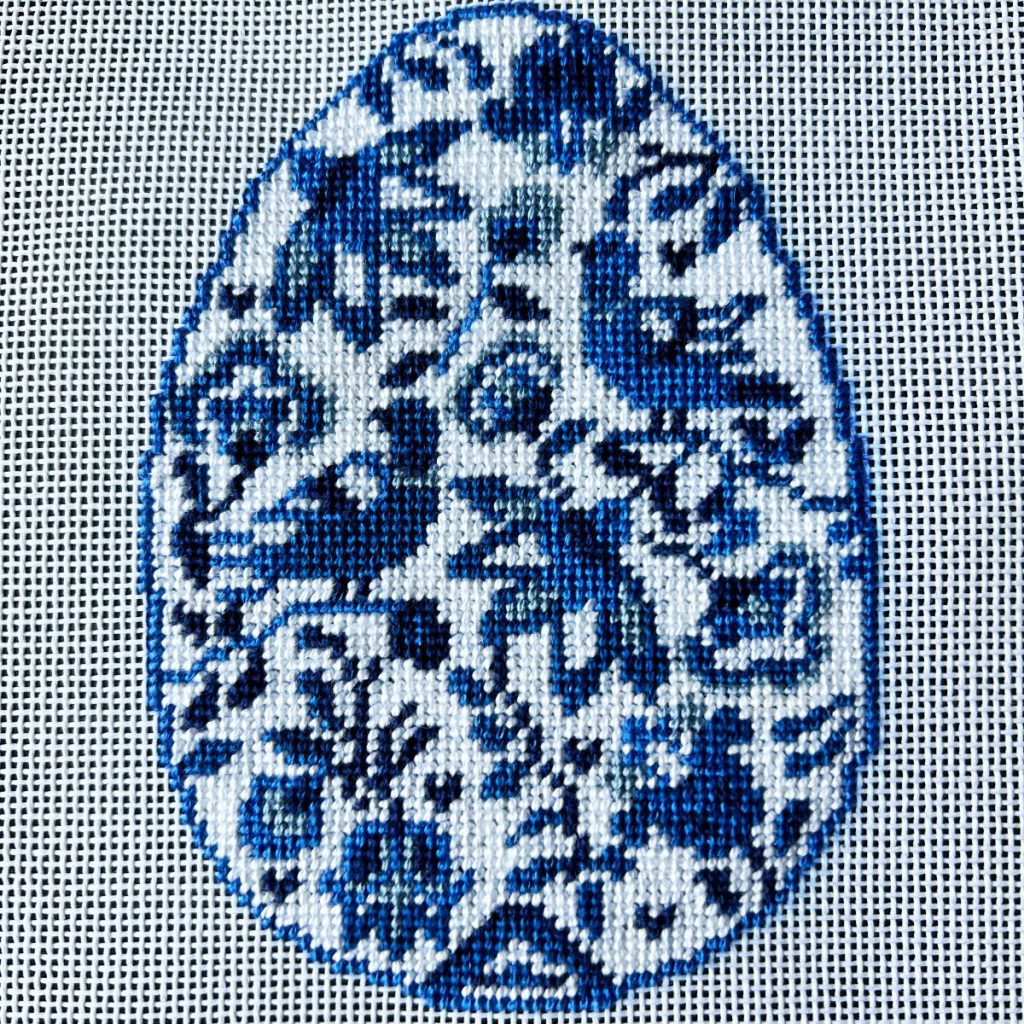
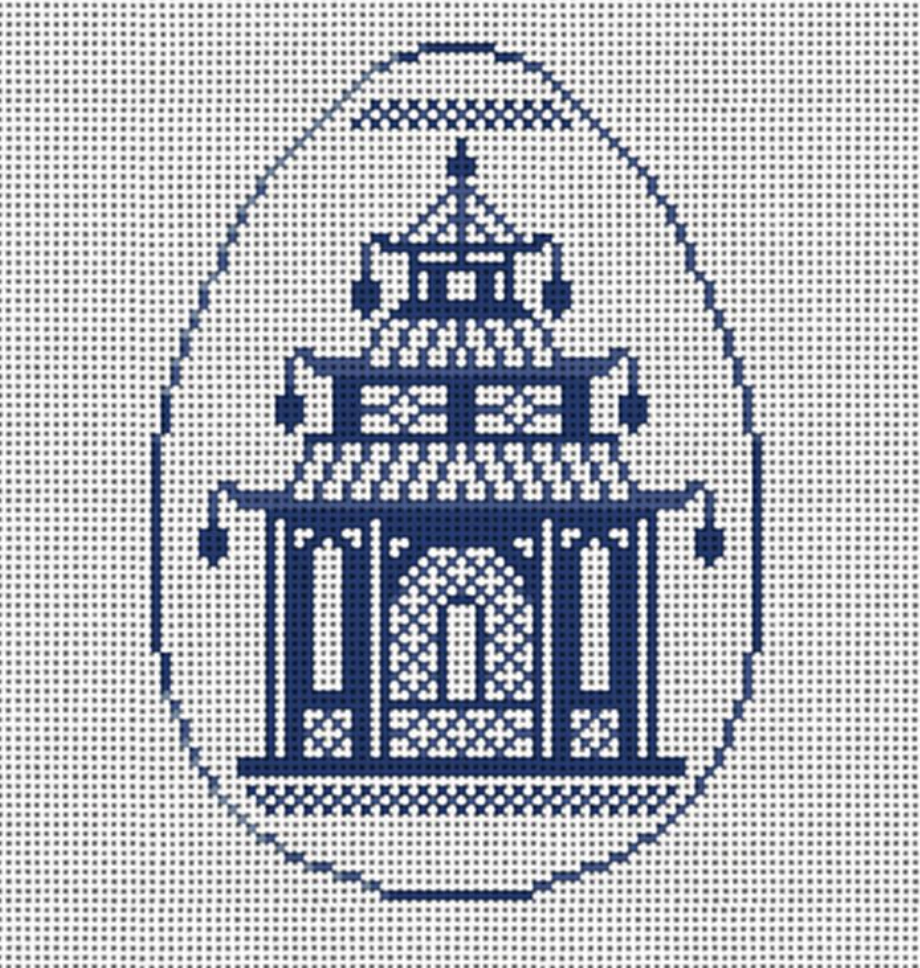
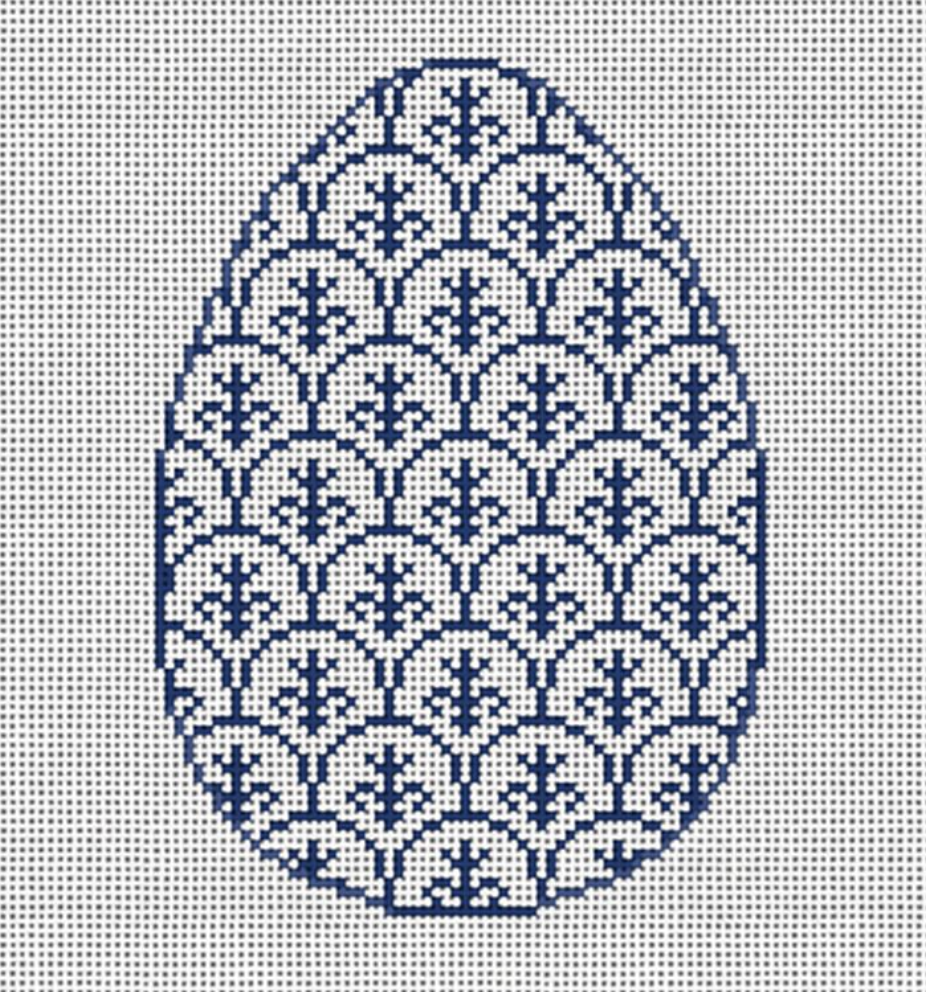
This Spring we are loving the combination of the classic Easter egg with blue and white chinoiserie!
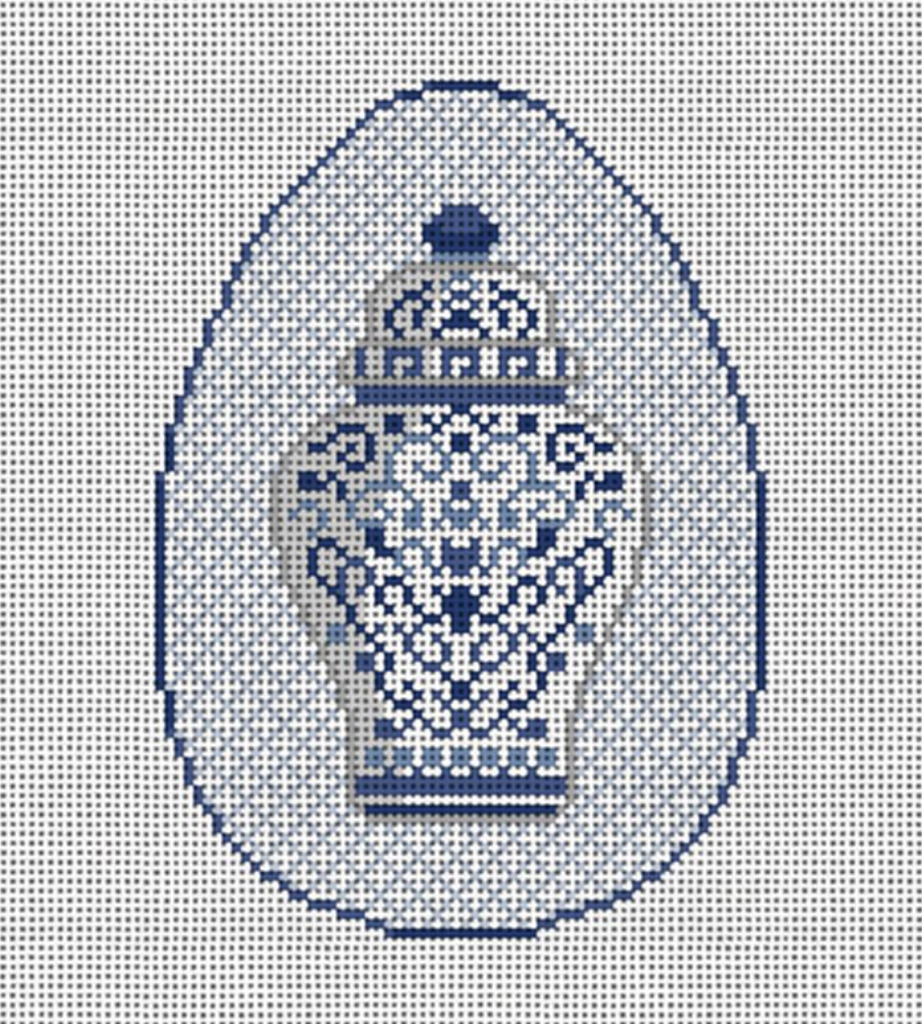
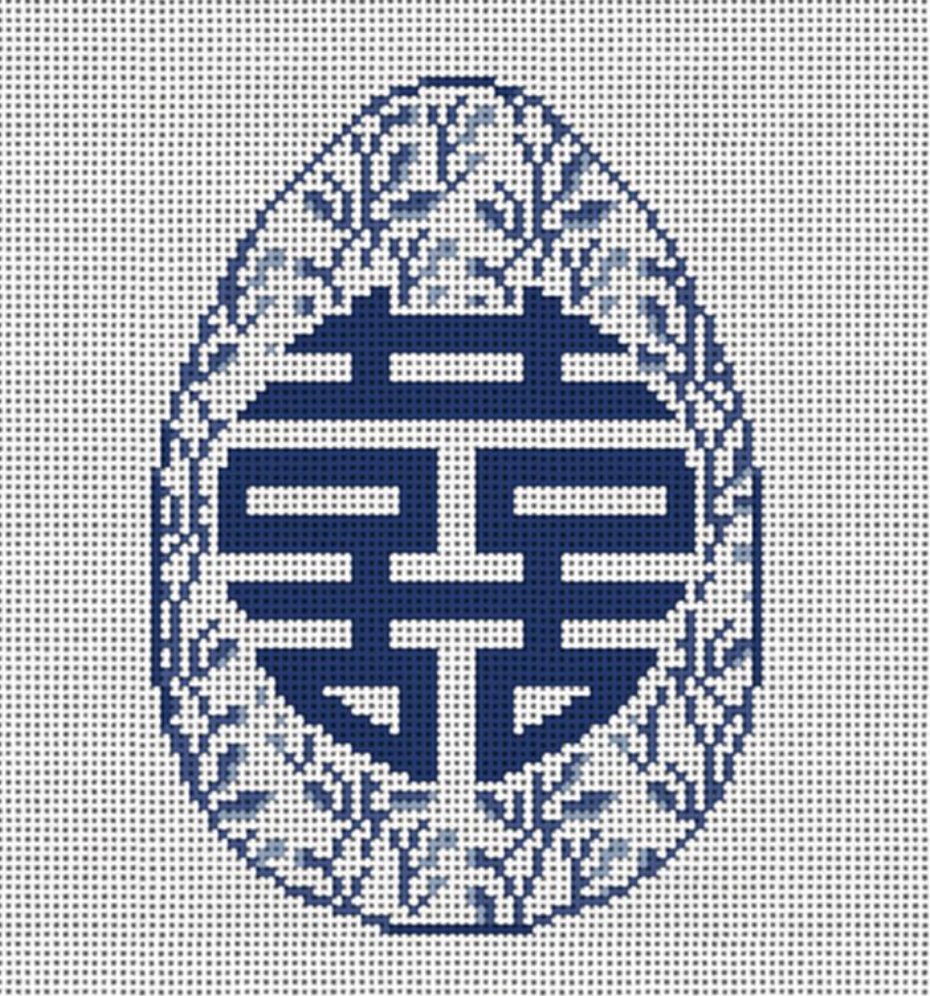
We have several options from which to choose. These needlepoint egg canvases are beautiful by themselves or stitched as a collection.
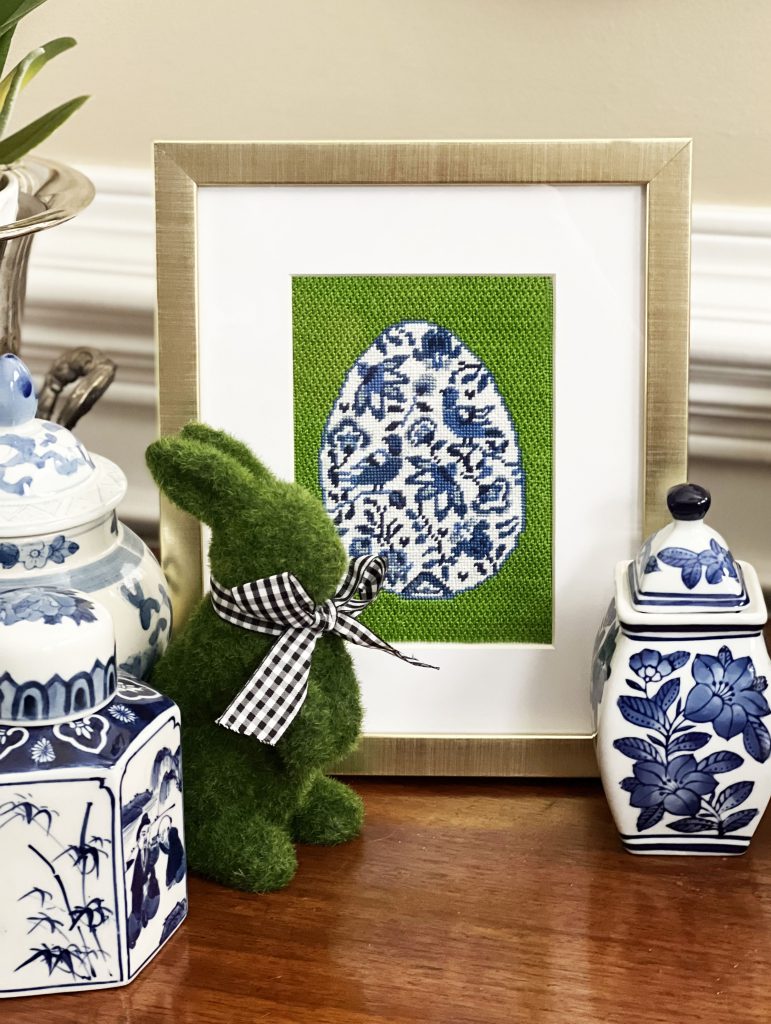
One of our favorite quick needlepoint self-finishing options is framing. This is such a simple process.
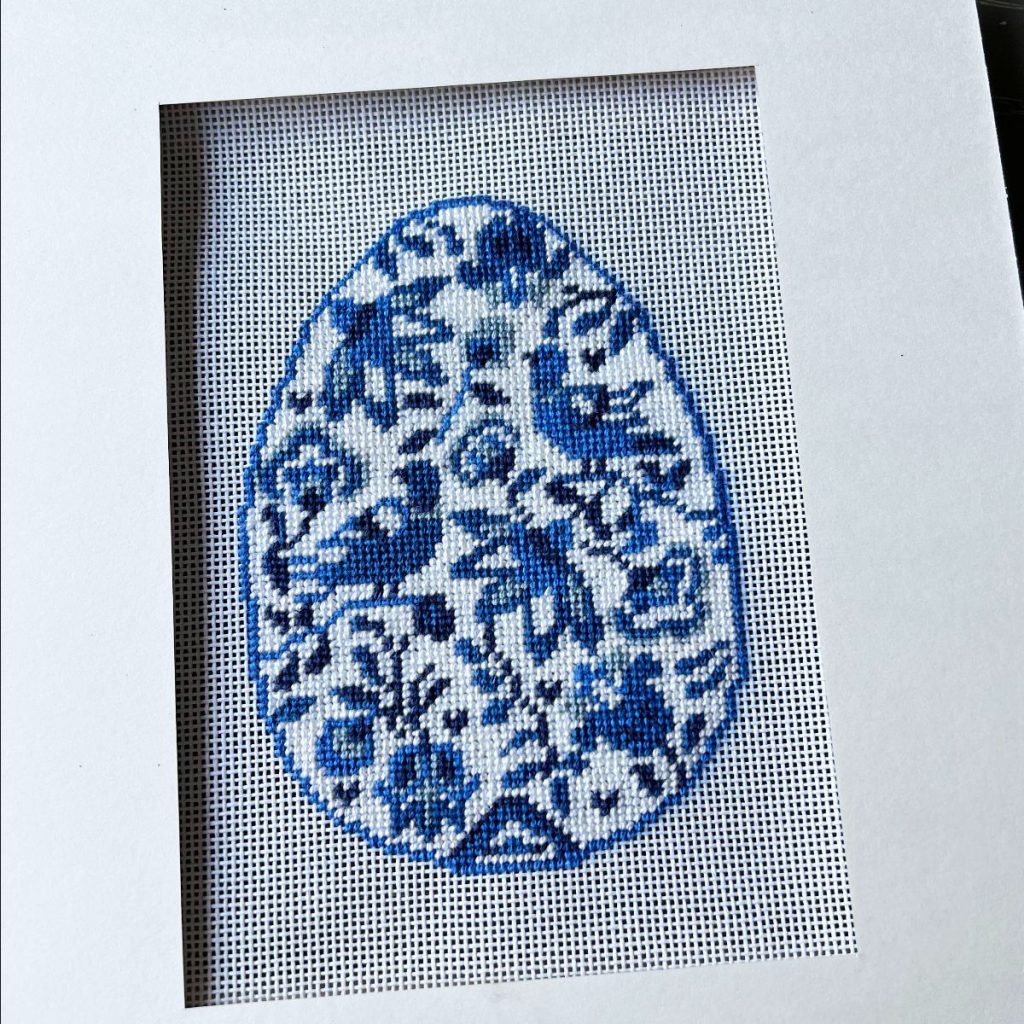
First we stitch the main portion of our design. Then we purchased a frame with a pre-cut mat at our local hobby shop. Open the back of the frame and remove the mat. Place it on top of your stitched ornament upside down so you don’t accidentally put a mark on the front.
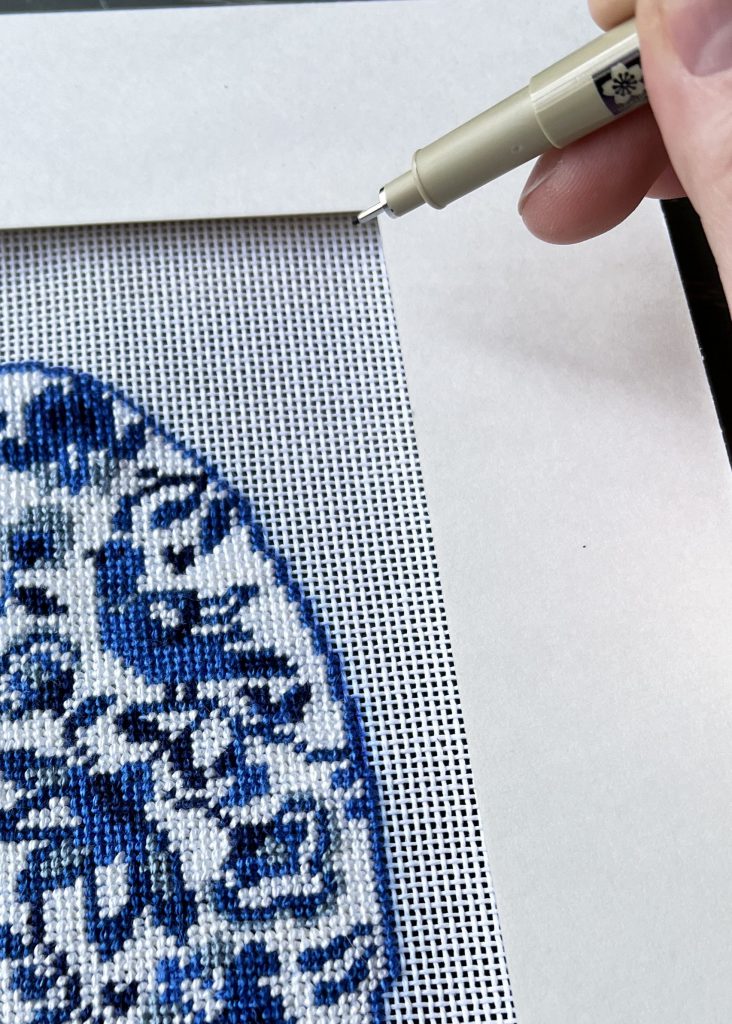
Carefully mark all four corners of the inside of the mat board on the canvas. Remove the mat board and now you can see the area you will need to fill with your background stitch. Select a color and stitch you like and complete your project. We used Nobuko stitch and DMC Perle Cotton 5 in 906 for a grass-like look.
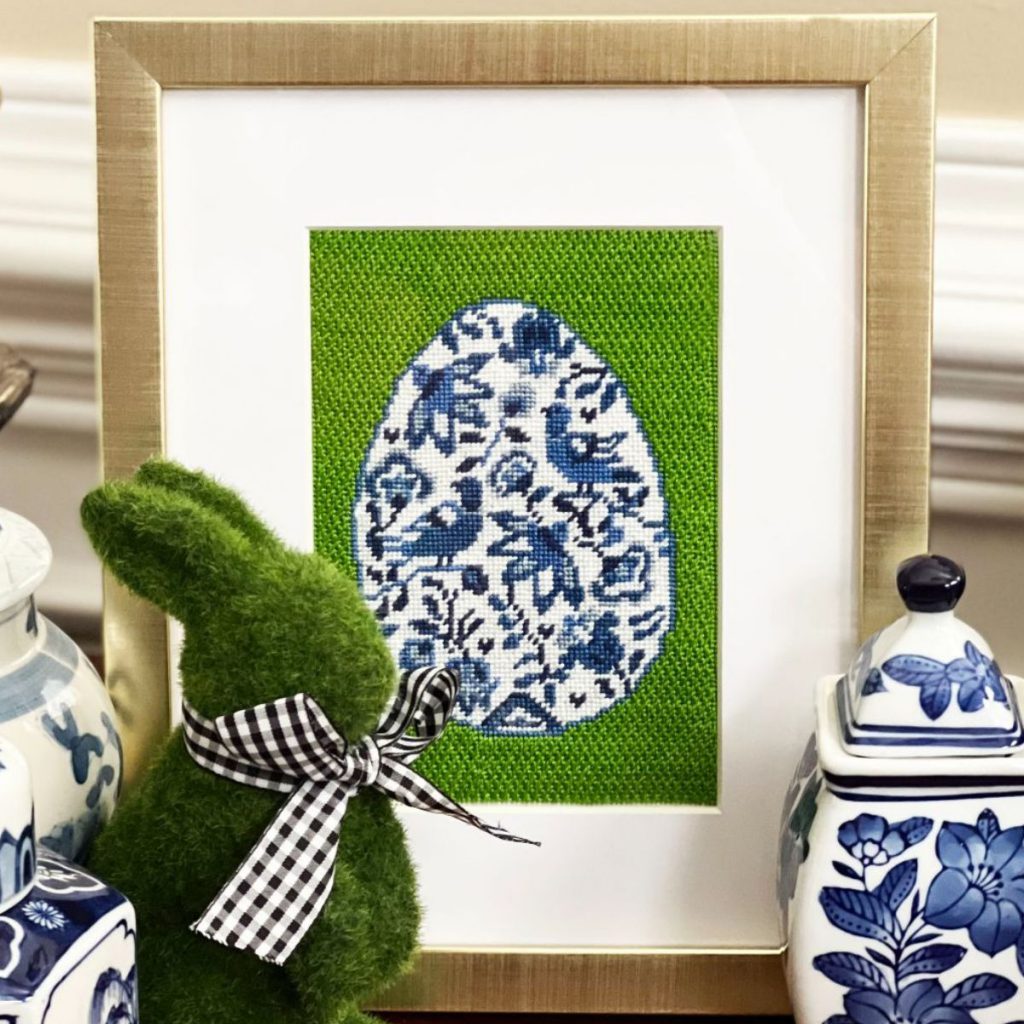
If you did not stitch on stretcher bars you might need to block your canvas to get it straight before framing. Cut a piece of art board or mat board to fit inside the frame. If you don’t want to measure you can pop out the glass and trace it. Trim your completed canvas with an inch border around the stitched area. Using acid free art tape, affix the canvas to the art board by taping the unstitched border of the canvas to the art board. Use a little tension to make sure the canvas will lay flat. Reassemble your frame with the mat and now you have a beautiful framed piece of needlepoint art for your home!
Happy Spring and Happy Stitching!


Recent Comments