Official blog of www.NeedlePaint.com
where you can design your own Needlepoint!

NeedlePoint Kits and Canvas Designs | Design your own Needlepoint Kit!

Archive for August, 2020

NeedlePaint’s New Winter Woodland Christmas Collection!

Add an enchanting warmth to your holiday season by stitching NeedlePaint’s new Winter Woodland Collection of needlepoint canvases. Complete with sparkling snow covered trees; a dreamy woodland floor; and a cast of charming warmhearted woodland animals.

Our new collection is comprised of a woodland scene needlepoint Christmas stocking, picture or pillow woodland needlepoint design, and six delightful Christmas ornaments including: Robins, Owl, Hedgehog, Squirrel, Fox, and a Rabbit. Stitch one or the entire collection; we know these hand stitched decorations will be treasured by your family for years to come. 

2043274433781449

Winter Woodland Stocking Needlepoint Canvas

The magic of the winter woodland animals,
will add a special warmth to your holiday mantle place.

2052274521187144

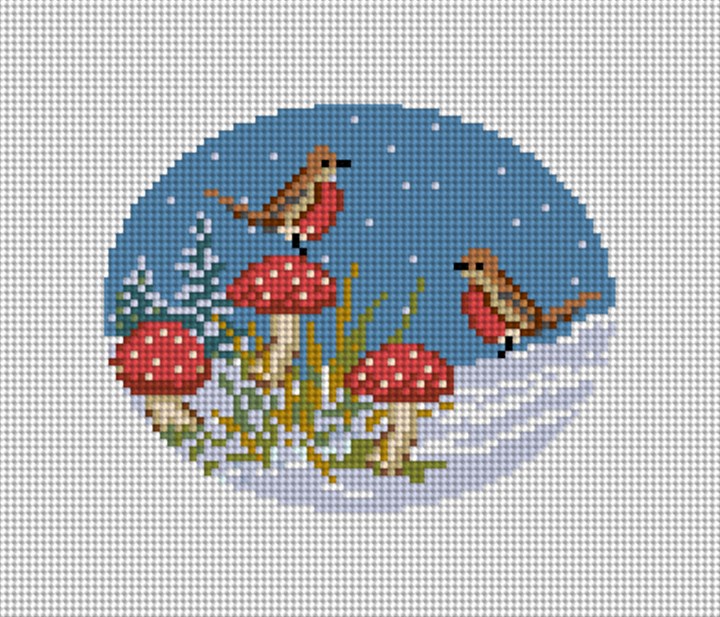
Winter Woodland Robins Needlepoint Ornament Canvas

Adorned with a crimson red breast;
these robins are handsome and honest, optimistic and elegant.

200727572327934

Winter Woodland Owl Needlepoint Ornament Canvas

Keeping a close eye out on his friends;
this owl often takes flight, gliding under the stars of a midnight sky. 

2050274505852486

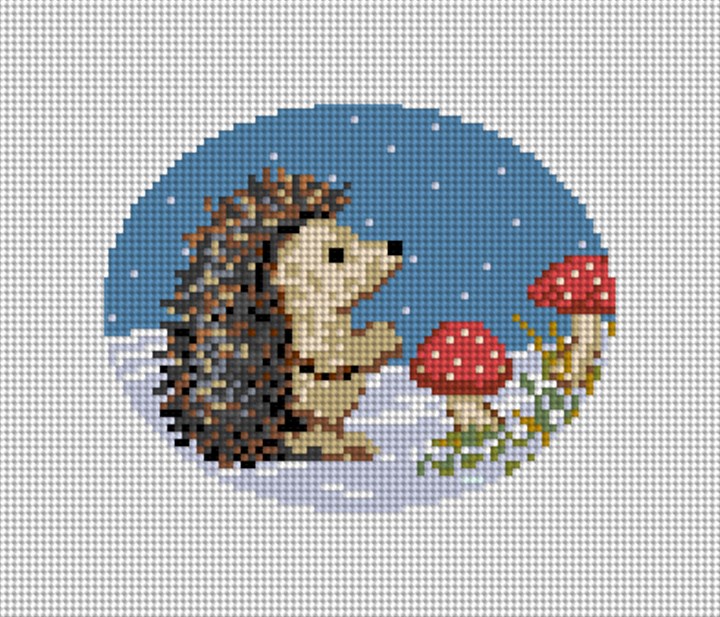
Winter Woodland Hedgehog Needlepoint Ornament Canvas

Keeping warm with his prickly coat;
this hedgehog is curious and bright eyed, small and round.

200927592036401

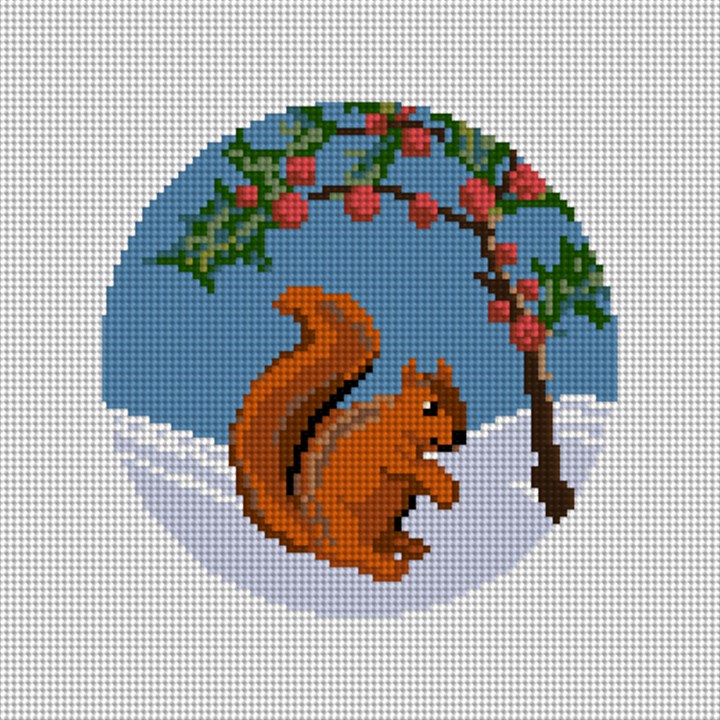
Winter Woodland Squirrel Needlepoint Ornament Canvas

Wearing a question mark for a tail;
this squirrel is cheerful, merry, and loves to playfully tease his woodland friends. 

2049274495979048

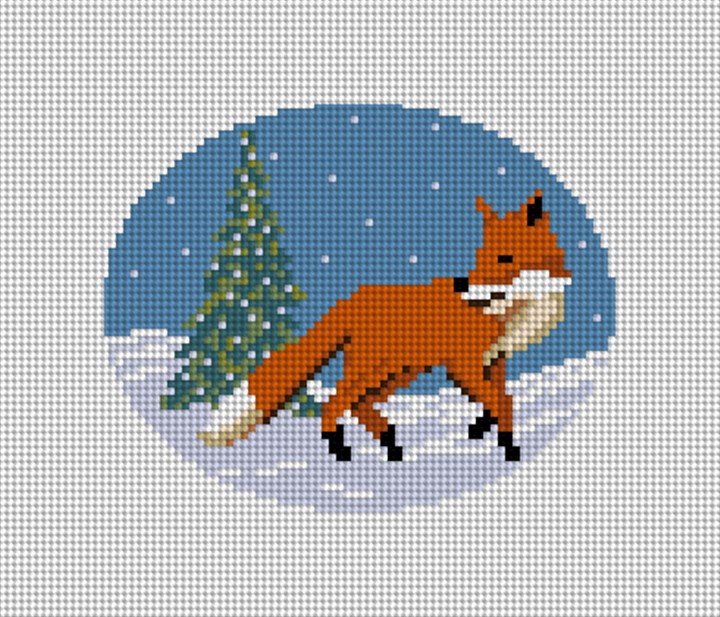
Winter Woodland Fox Needlepoint Ornament Canvas

Wearing a charming red coat;
this fox is quick and crafty, smart and sincere. 

20082758796195-1

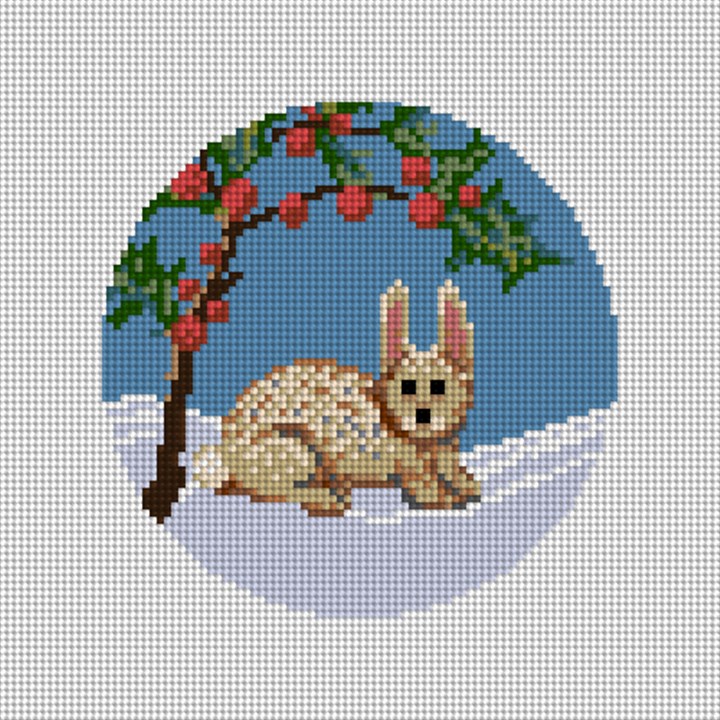
Winter Woodland Rabbit Needlepoint Ornament Canvas

Gently nibbling all about the bushes;
this rabbit is timid and cautious, polite and inquisitive.

2001291213181449

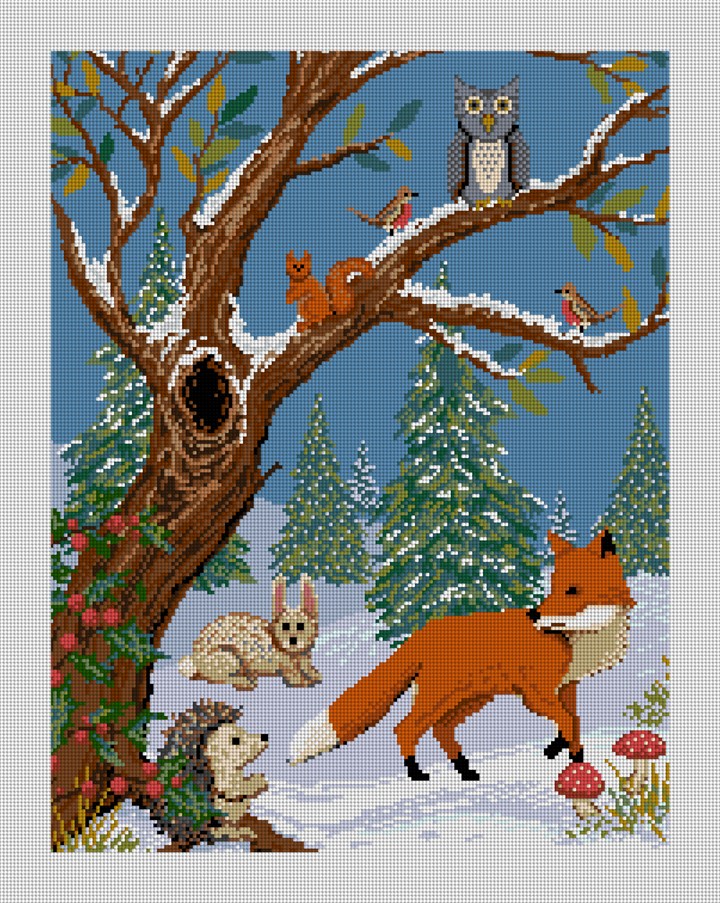
Winter Woodland Needlepoint Pillow Canvas

The woodland animals gather to celebrate the season;
in their own unique, signature style.

Let NeedlePaint help make your holidays special;
feel free to contact us with any questions at info@needlepaint.com

Winter has a warm magic of its own . . . . happy stitching!

NeedlePaint Mask Version 2

Written by Peggy BondEscher Mask

The new NeedlePaint mask, inspired by M.C. Escher, is designed for quick stitching and assembly. It is slightly lighter weight with fabric for the nose and chin portions, but the central needlepoint band retains its form to allow freedom of air flow.

Since the band is a 9-1/4” x 2-3/4” rectangle, it can be stitched in about one half of the time of our full NeedlePaint masks. The mask is a little less formal.

The materials needed are:

  • Cotton fabric for liner and strap trim
  • Cotton fabric for filter pocket (optional)
  • Ear strap material
  • Nose clip material (optional)

Step 1. After blocking the finished canvas, trim away excess canvas leaving no more than 1/4” of blank canvas. Cut two 10 “ x  3” strips of cotton fabric which will serve for the nose and chin portions of the mask. (One could go two tone and make the nose and chin portions of different colors.)

With right sides together sew strips to the top and bottom of your needlepoint canvas. Press fabric away from canvas. Do not press seam open. Top stitch the fabric side of each seam.

Position the mask pattern so that the needlepoint band is centered between the nose and chin darts and cut out the mask. The shaped pattern is similar to our Geometric Face Mask shown below. Using the same pattern cut one liner or two if making the optional filter pocket.

Top Sticch

Step 2. Fold the canvas along center line with right-sides together, matching the two upper nose points and the two lower chin points. Stitch 3/8” seam and press open. Repeat for liners and optional filter pocket.

If using the filter pocket, sew a ½” hem on each cheek edge.

Nose Clip

Step 3. Cut a piece of fabric 1” by ½” longer than the selected nose clip. Sew a ¼” hem on each short edge of this fabric nose sleeve. Place the nose sleeve on the liner or filter pocket centered ½” below the nose seam. Sew in place. Press so long edge lines up with top of liner or pocket.

The nose clip will be inserted after the rest of the assembly is completed.

Step 4. Place right sides together, carefully aligning the seams of the nose and chin darts on all pieces. If using the optional filter pocket, it will be the closest to needlepoint mask.

Sew the ¼” seam along the top and bottom of the mask and turn the mask inside out. Be careful not to pull on the edge of the needlepoint canvas as it can separate easily. Press the seamed edges and top stitch.

IMG_2595

Step 5. For the ear strap sleeves, cut two 1-1/2” strip of liner fabric that are ½” longer than the ear edges of the mask. Sew to each ear edge with ¼” seam. Press top and bottom edges down. Then press a ¼’ fold on free edge and fold to back aligning the folded edges with the ear edge stitches. This will leave a ½” sleeve for the ear strap.

The straps can be tucked under the fold before stitching the sleeve in place or can be threaded through with a safety pin after stitching.

Check out these two new designs we have created for you!

201214212828956

Mosaic Face Mask Panel Needlepoint Canvas

2016142165470554

Geometric Face Mask Needlepoint Canvas