By Peggy Bond:
How to finish off a needlepoint kippah.
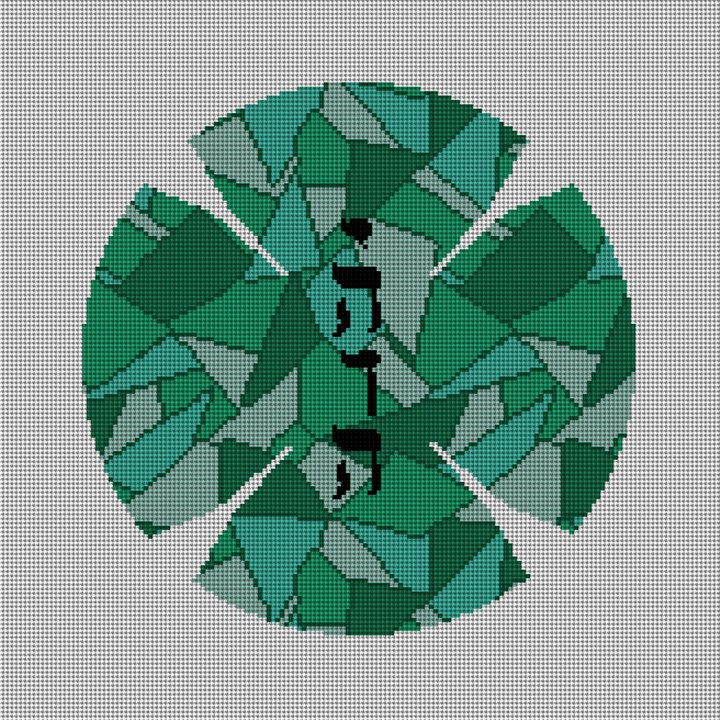
As an example the mosaic needlepoint yarlmuke has been made with four blank triangular areas. These are the “darts” which will be sewn together to give the yarmulke its shape.
After your yarmulke canvas has been stitched and blocked, trim the canvas leaving a ¼ boarder beyond the stitching. Save this extra canvas and use it as a pattern for the lining. I recommend using 100% quilting-weight cotton for the lining.
Mark darts on the lining to match those of the yarmulke.
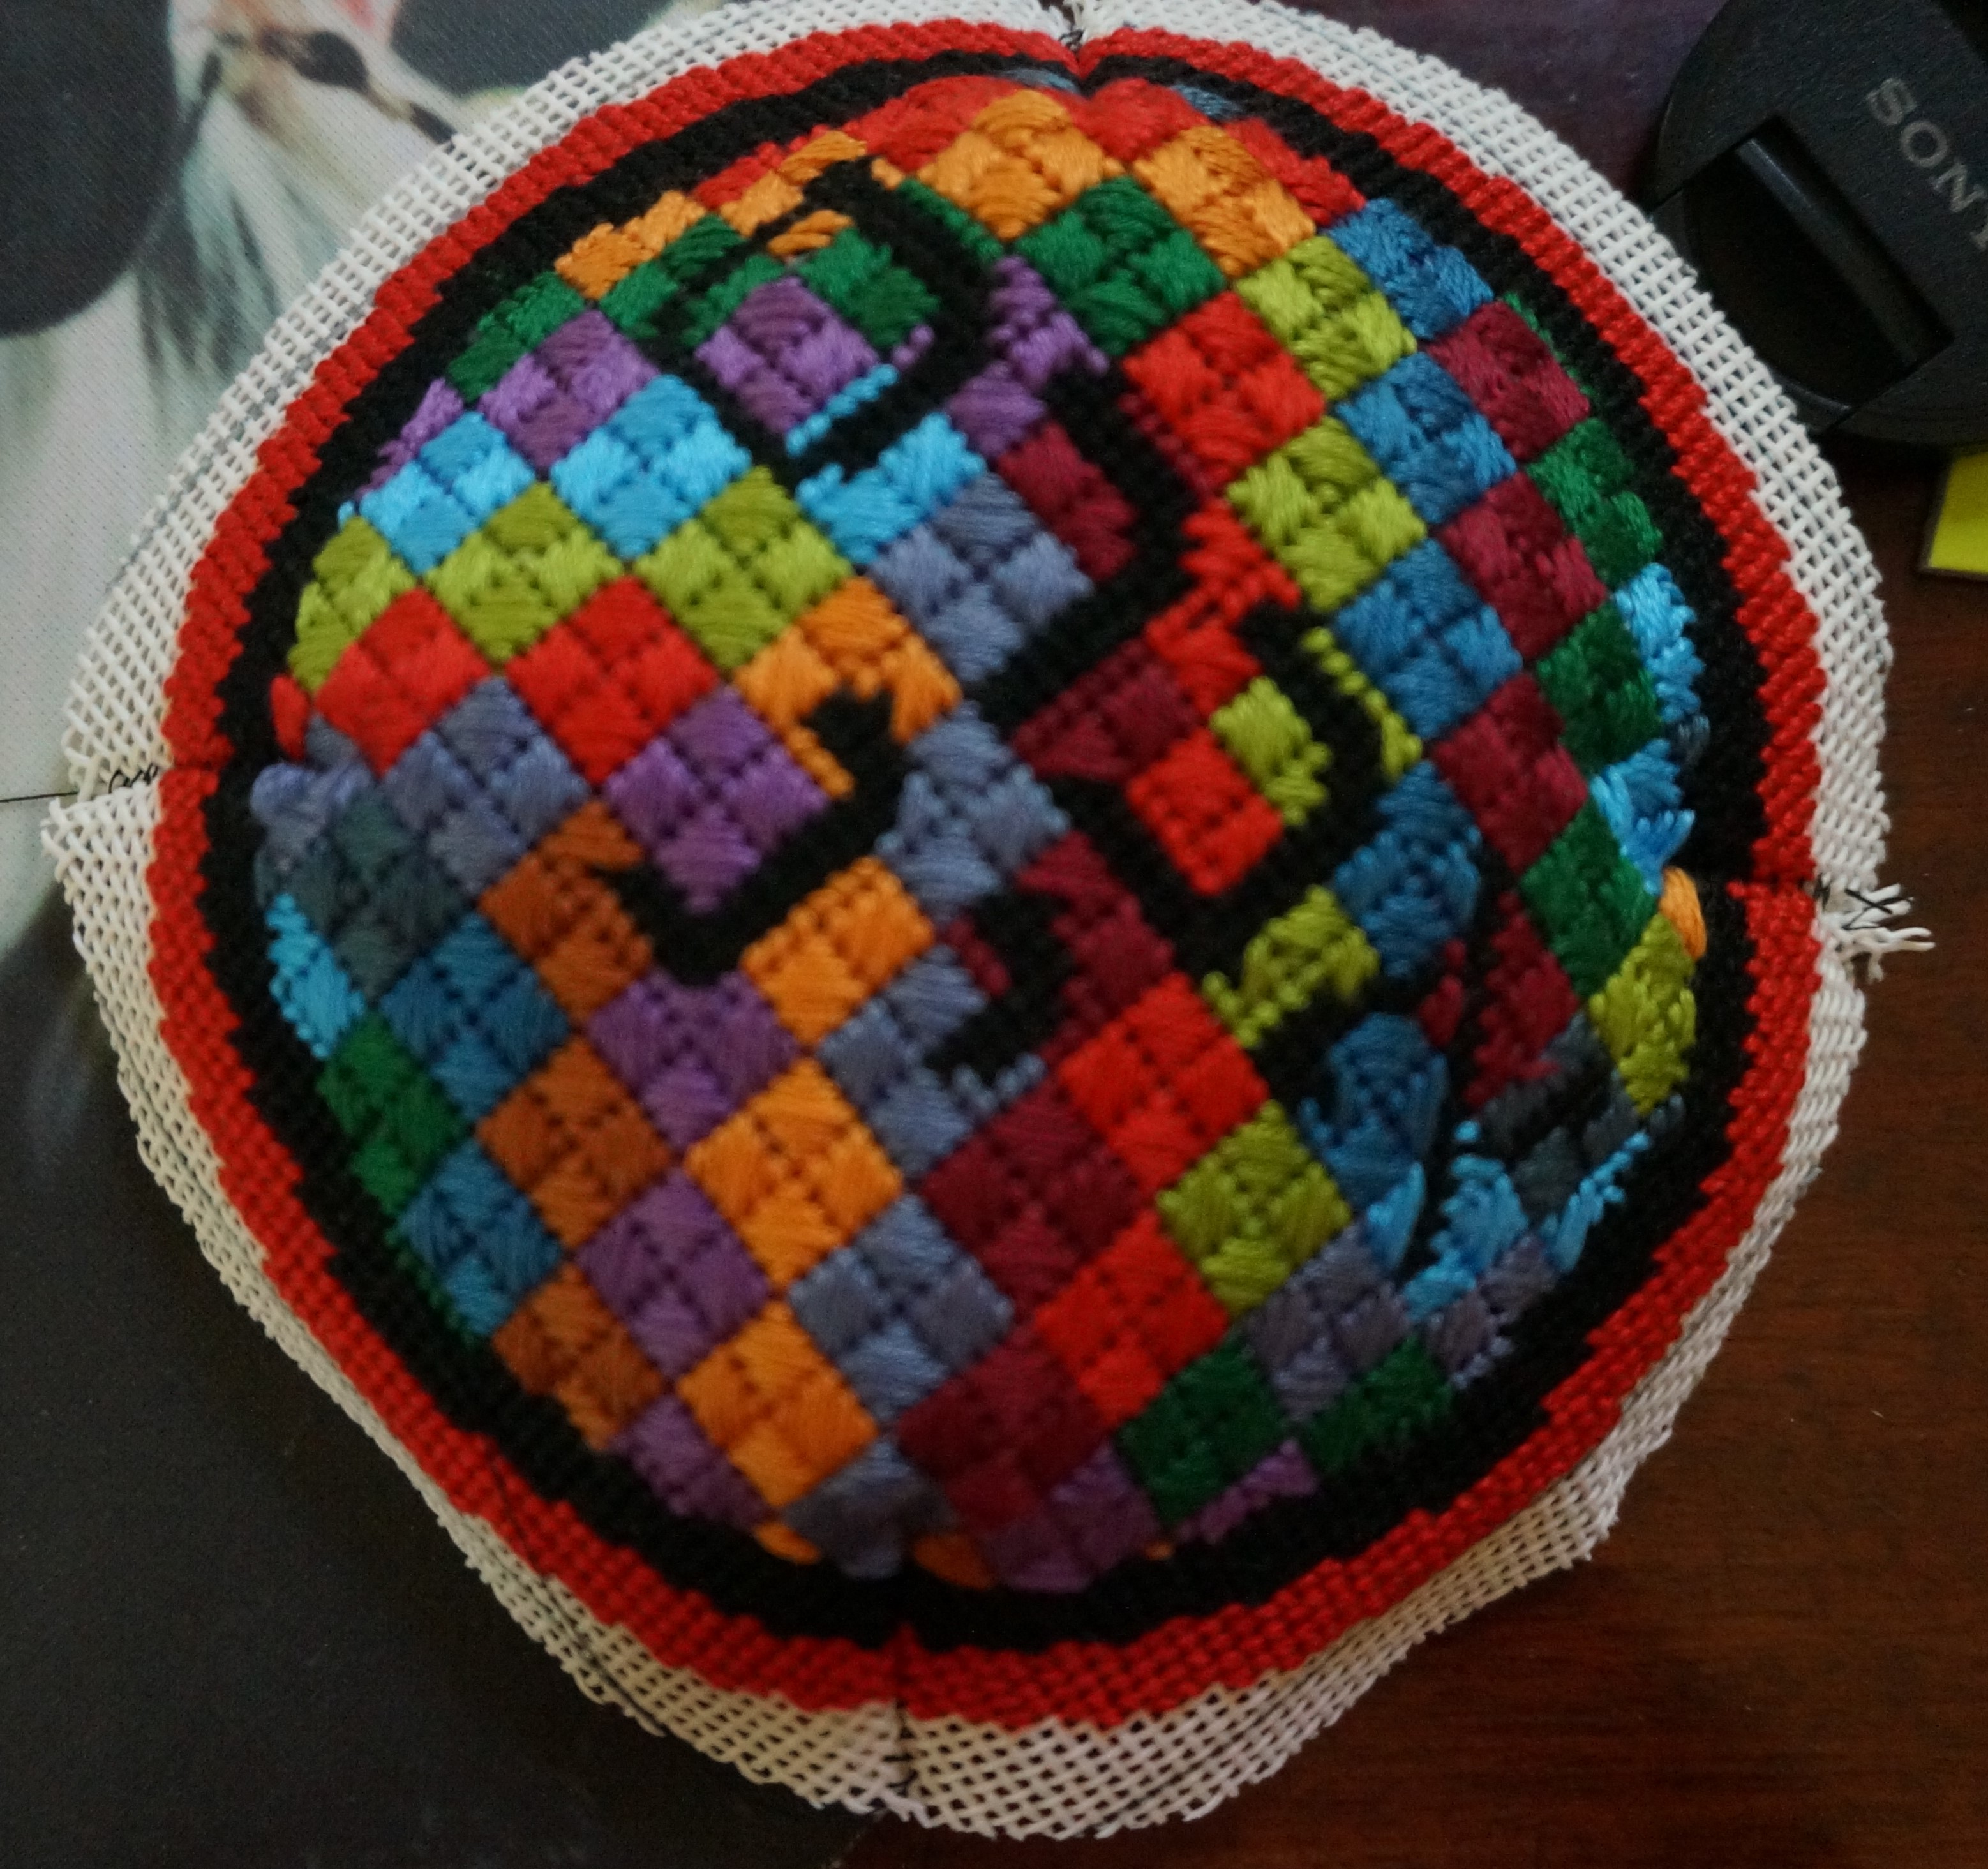
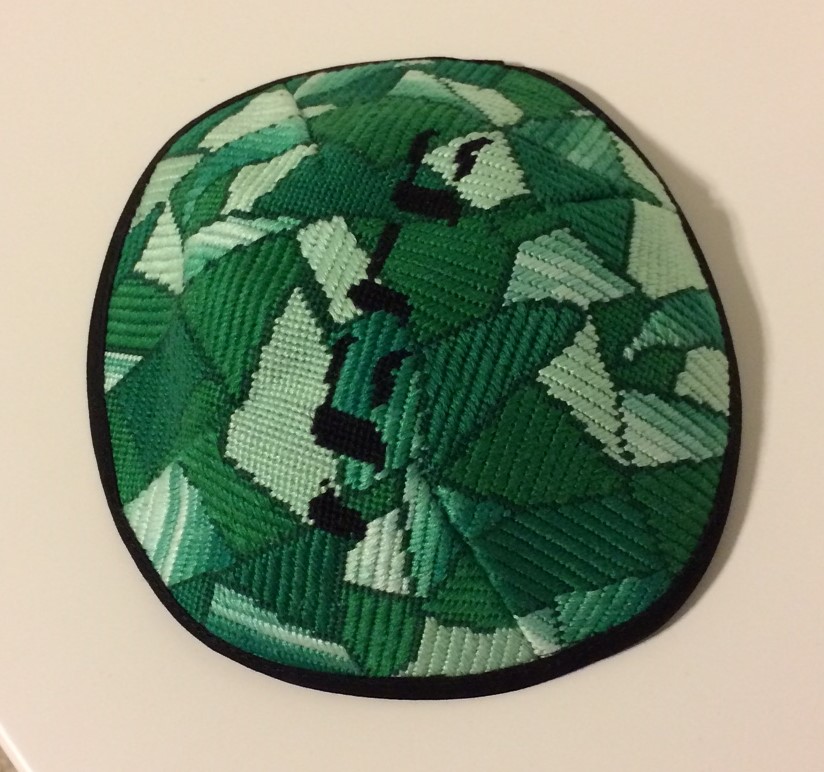
Sew the dart on the canvas together. Steam press the edges of the darts to one side, so they lay flat and form a smooth rounded shape on the top of the yarmulke. Repeat for the lining, pressing the dart in the opposite direction of the direction that you pressed the canvas.
With wrong sides together, stitch the lining and canvas together at the edge of the needlepointing. Trim as needed so that the ¼ inch bias tape can be attached to the outside edge, covering the unstitched canvas.
The materials I used were:
1 black fat quarter of cotton quilting-weight fabric
1 package Wrights’ ¼ inch double fold bias tape.
I stitched the yarmulke, lining, and bias tape on my home sewing machine, but it can also be hand stitched, which will take just a little bit longer.
At NeedlePaint, let us create a custom yarmulke canvas for you to stitch!

Comments on: "Finishing a Needlepoint Yarmulke" (9)
Do u have needlepoint kepahs to make ?
Yes, we do. Hard to find, so here is a link to our Etsy shop with them, https://www.etsy.com/shop/needlepainters?search_query=kippah
Have you used twisted cording for finishing edges? If so, how?
Can you recommend an expert Finisher? I don’t trust myself to make this.
Hi Cayce,
Thank you for your message! I will have Caroline at info@needlepaint.com. help with your question.
Thanks
Karen
NeedlePaint.com
Could you please provide more photos for the last few stages? For example, the stitching of the fornt and back together? How much of a space is needed to turn them right-side round, and how to finish that part of the edge? Is the bias tape sewn on at the end, and if so, how to make it manage the curves??
Thank you for your message!
I will have Peggy send a reply to your direct email. She can answer any questions that you may have on finishing a needlepoint Yarmulke.
Thanks,
Karen
NeedlePaint.com
I would like a professional to finish the kippah I made for my son. Can you recommend someone to do that?
Hi Thank you for your message! Caroline will reply directly through the NeedlePaint email (info@needlepaint.com) with your information.
Thanks,
NeedlePaint.com