Personalized Needelpoint Chrismas Stocking
It is never too early to start planning for Christmas particularly if there are several little ones in your family. There are nine little ones in my extended family circle, and each now has his or her custom needlepoint Chirstmas stocking printed by Needlepaint and lovingly stitched by me.
I had some assistance from Needlepaint’s designer, who created two designs to which I could add the individual names. (Luckily there are only 2 little ones per family and they live in different parts of the world.)

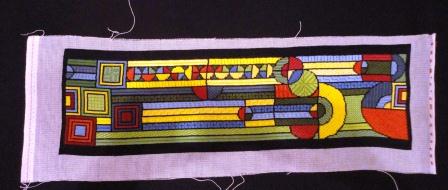
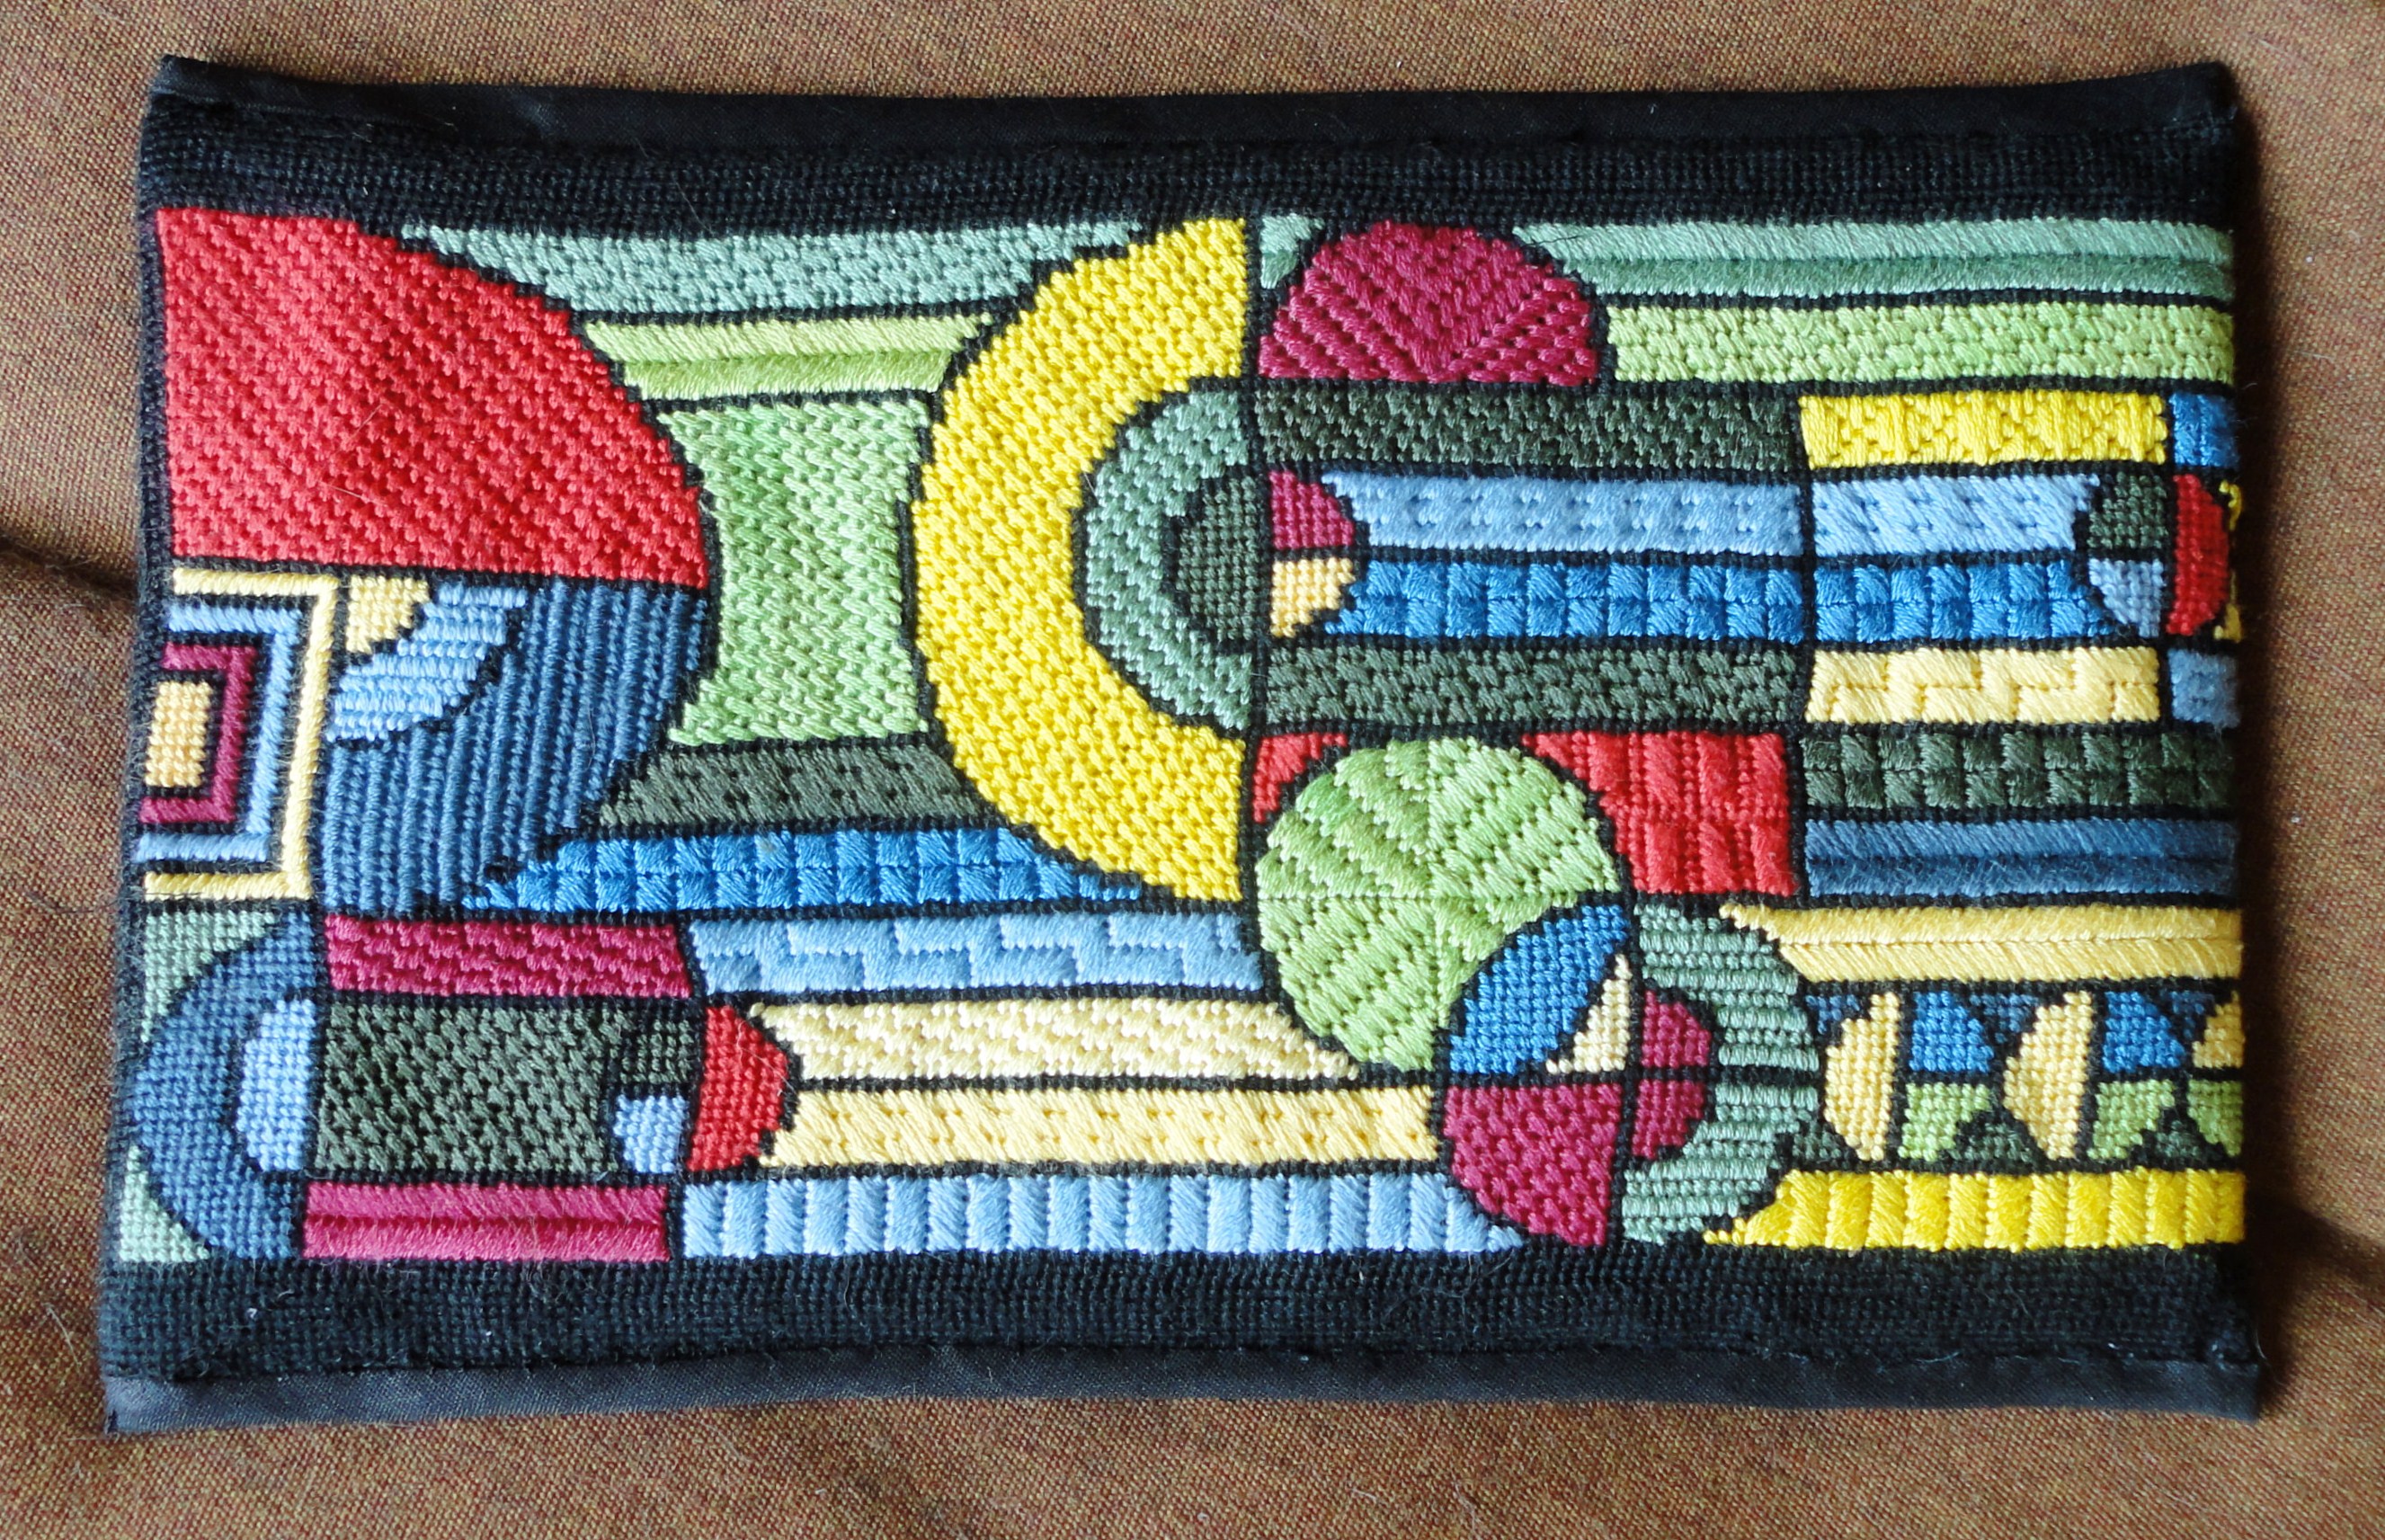
My first two stockings were stitched with the traditional Continental Stitch. After that I got creative and used a variety of different stiches as shown in the completed stocking below.

To finish the stockings, I lined the canvas with red cotton and then made the back of the stock out of red wool cut on the bias so there was some give to allow for more goodies to be stuffed in by Santa.
These design are available on our Etsy NeedlePaint Shop and can be customize with your name(s) on the checkout page. Please limit names to 12 letters. Stocking design is printed on Zweigart Mono 14 point , and is 16” x 10.25″.
And more designs are coming soon!


Recent Comments