NeedlePaint Belt Reviews
If you follow the blog, you’ll know that we get good feedback, but this blog post is specific to our needlepoint belts.
Last week we send out some more belts and our customers were delighted. Here are two testimonial reviews that we got, makes a stitcher feel good!
“We received it and LOVE it!!!! I want to order another one for my father in law. His birthday is in mid-July but I suspect it may take longer, which is fine (we can just show him a picture and he can wait!). I’ll order another now 🙂 Thanks for all your hard work!” Rachel 5-21-2014
“Just have my husband his belt and he loves it! It turned out so well and it fits perfectly!!! My two sons are so jealous so I will definitely be placing orders for each of them in the near future:) … Thank you again for making my vision a reality and for creating such a wonderful momento for my hubby!” Kathryn 5-20-2014
Well, that sums up the whole design process to happy customer. I always love to put pictures in our posts, so below is a photos we took a while back, but you can see newer belts by going through our blog.
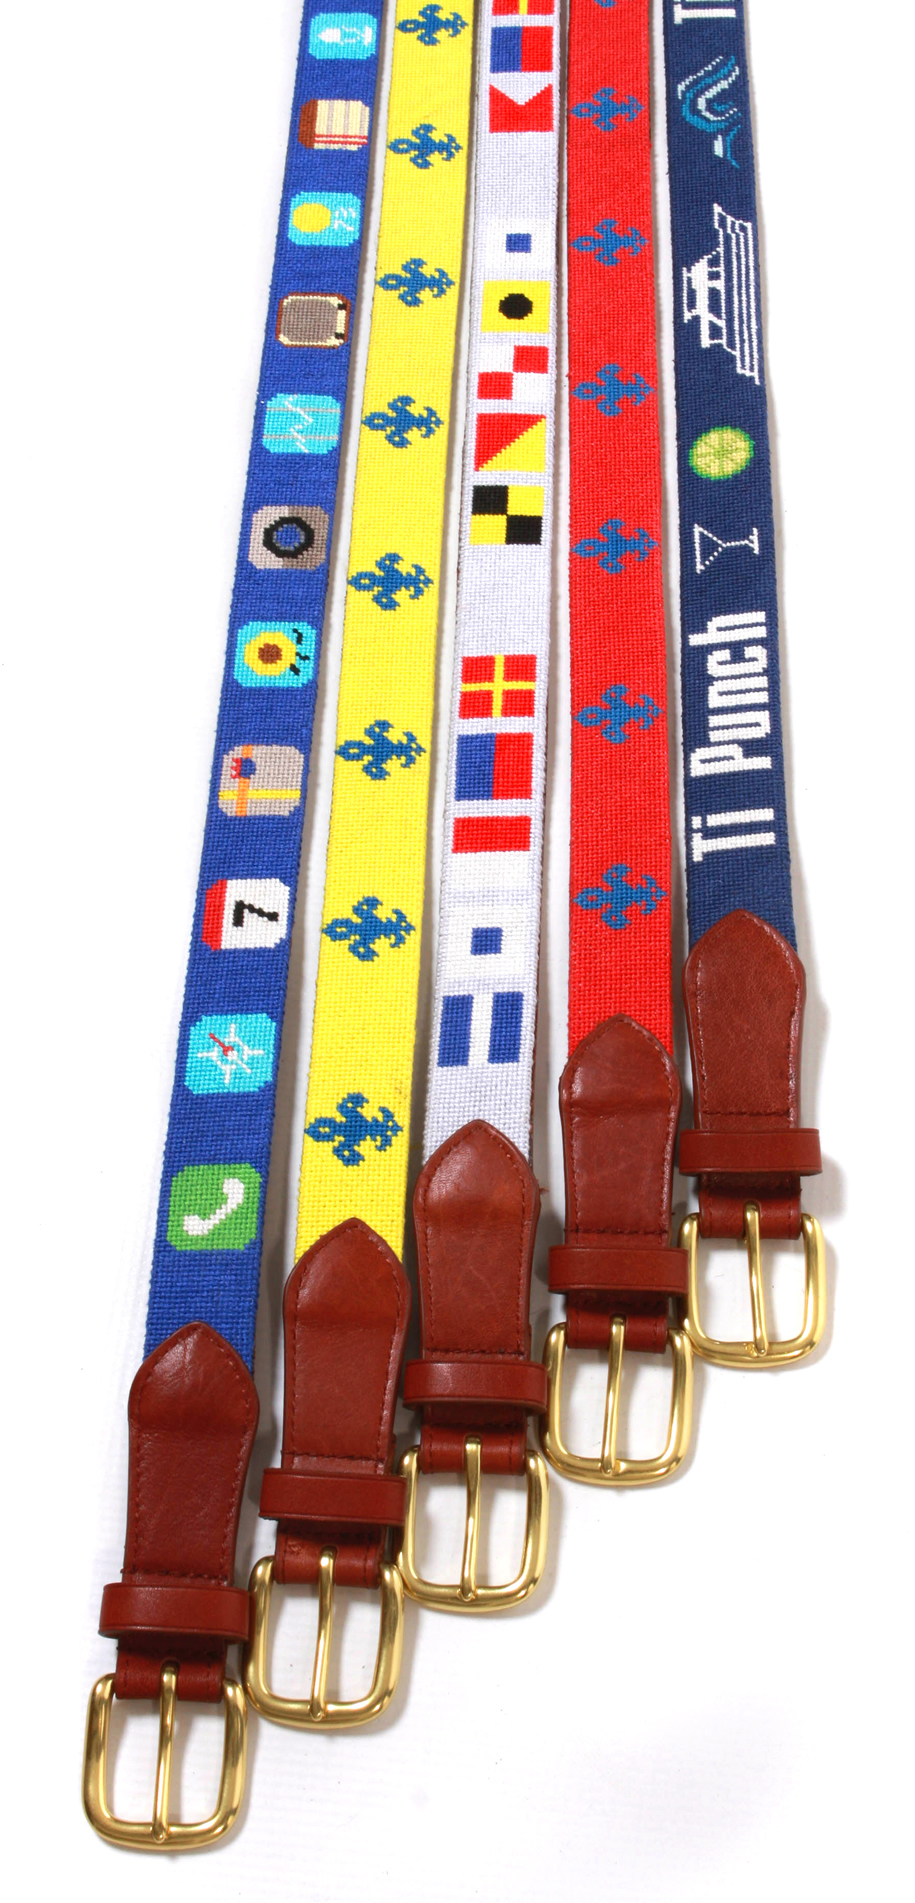
Custom Needlepoint Belts by NeedlePaint
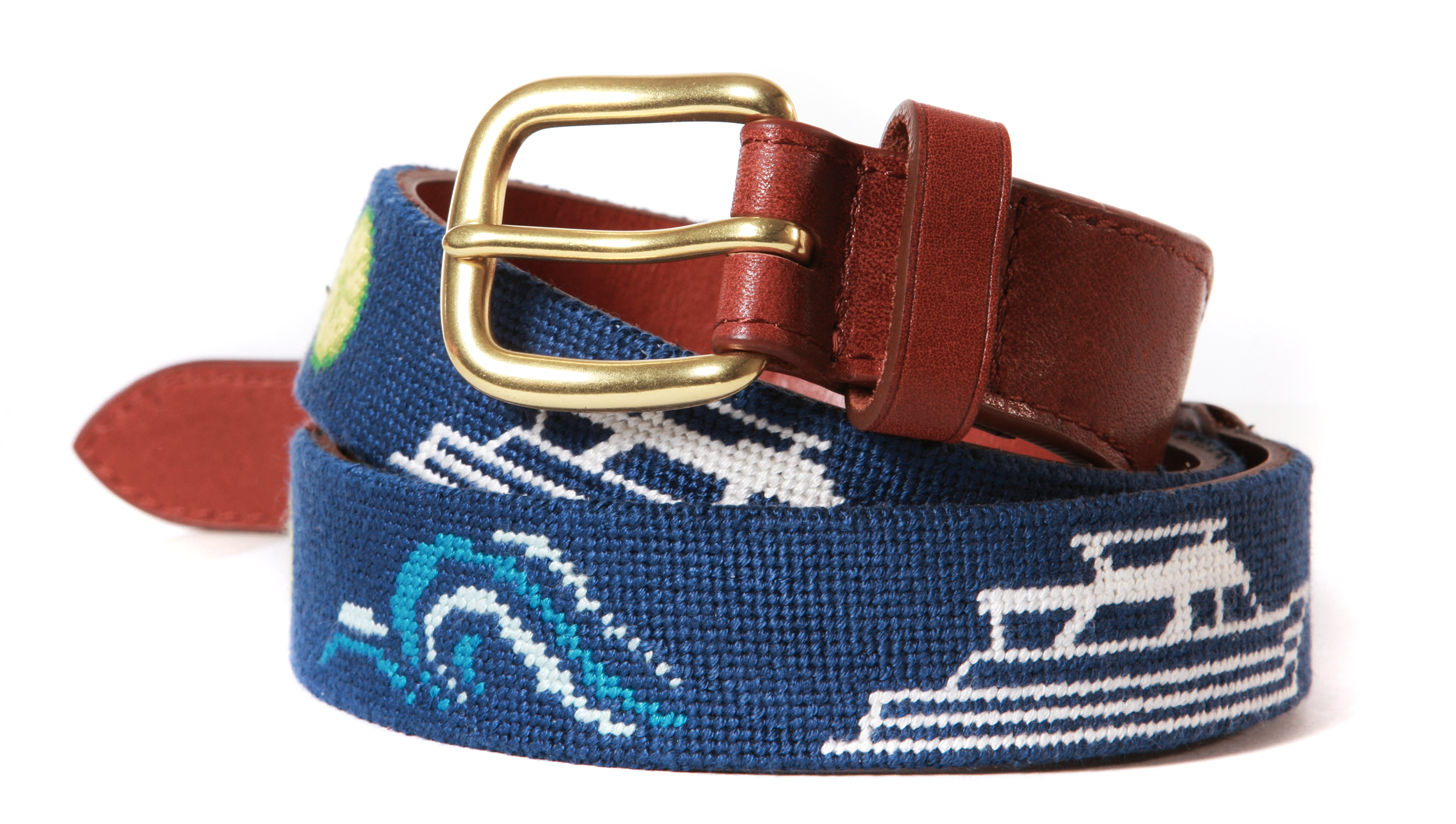
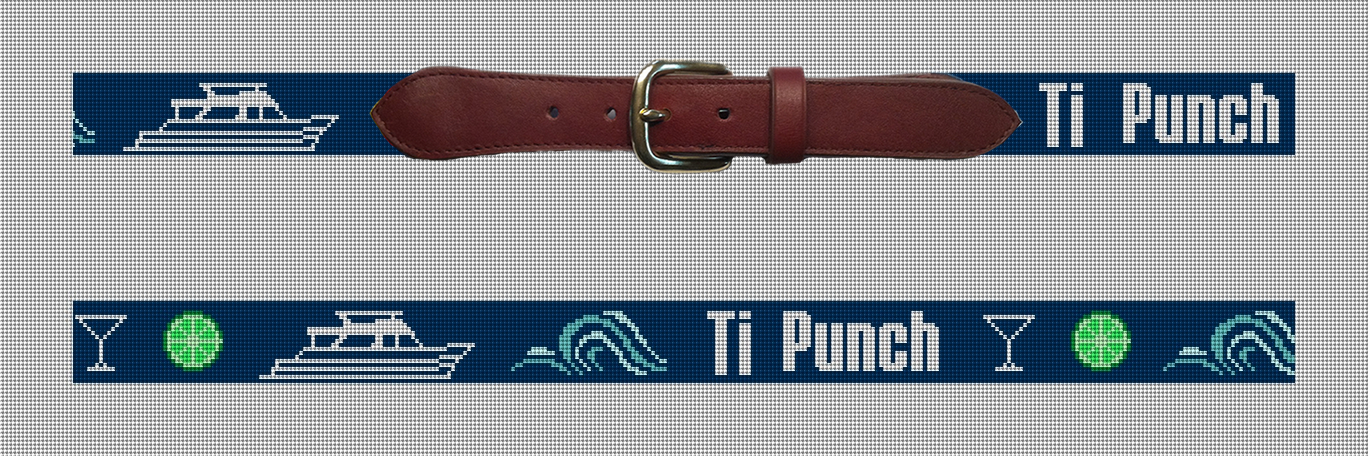
Custom Yachting Needlepoint Belt


Recent Comments