How to Choose the Right Needlepoint Canvas
We get a fair amount of orders from people who are purchasing custom needlepoint projects as gifts for other people (especially around Christmas).
One of the most common questions we get is what is the “correct” mesh count to purchase and how “easy” is the design.
To start out, there is no “correct” mesh count as different stitchers prefer different counts.
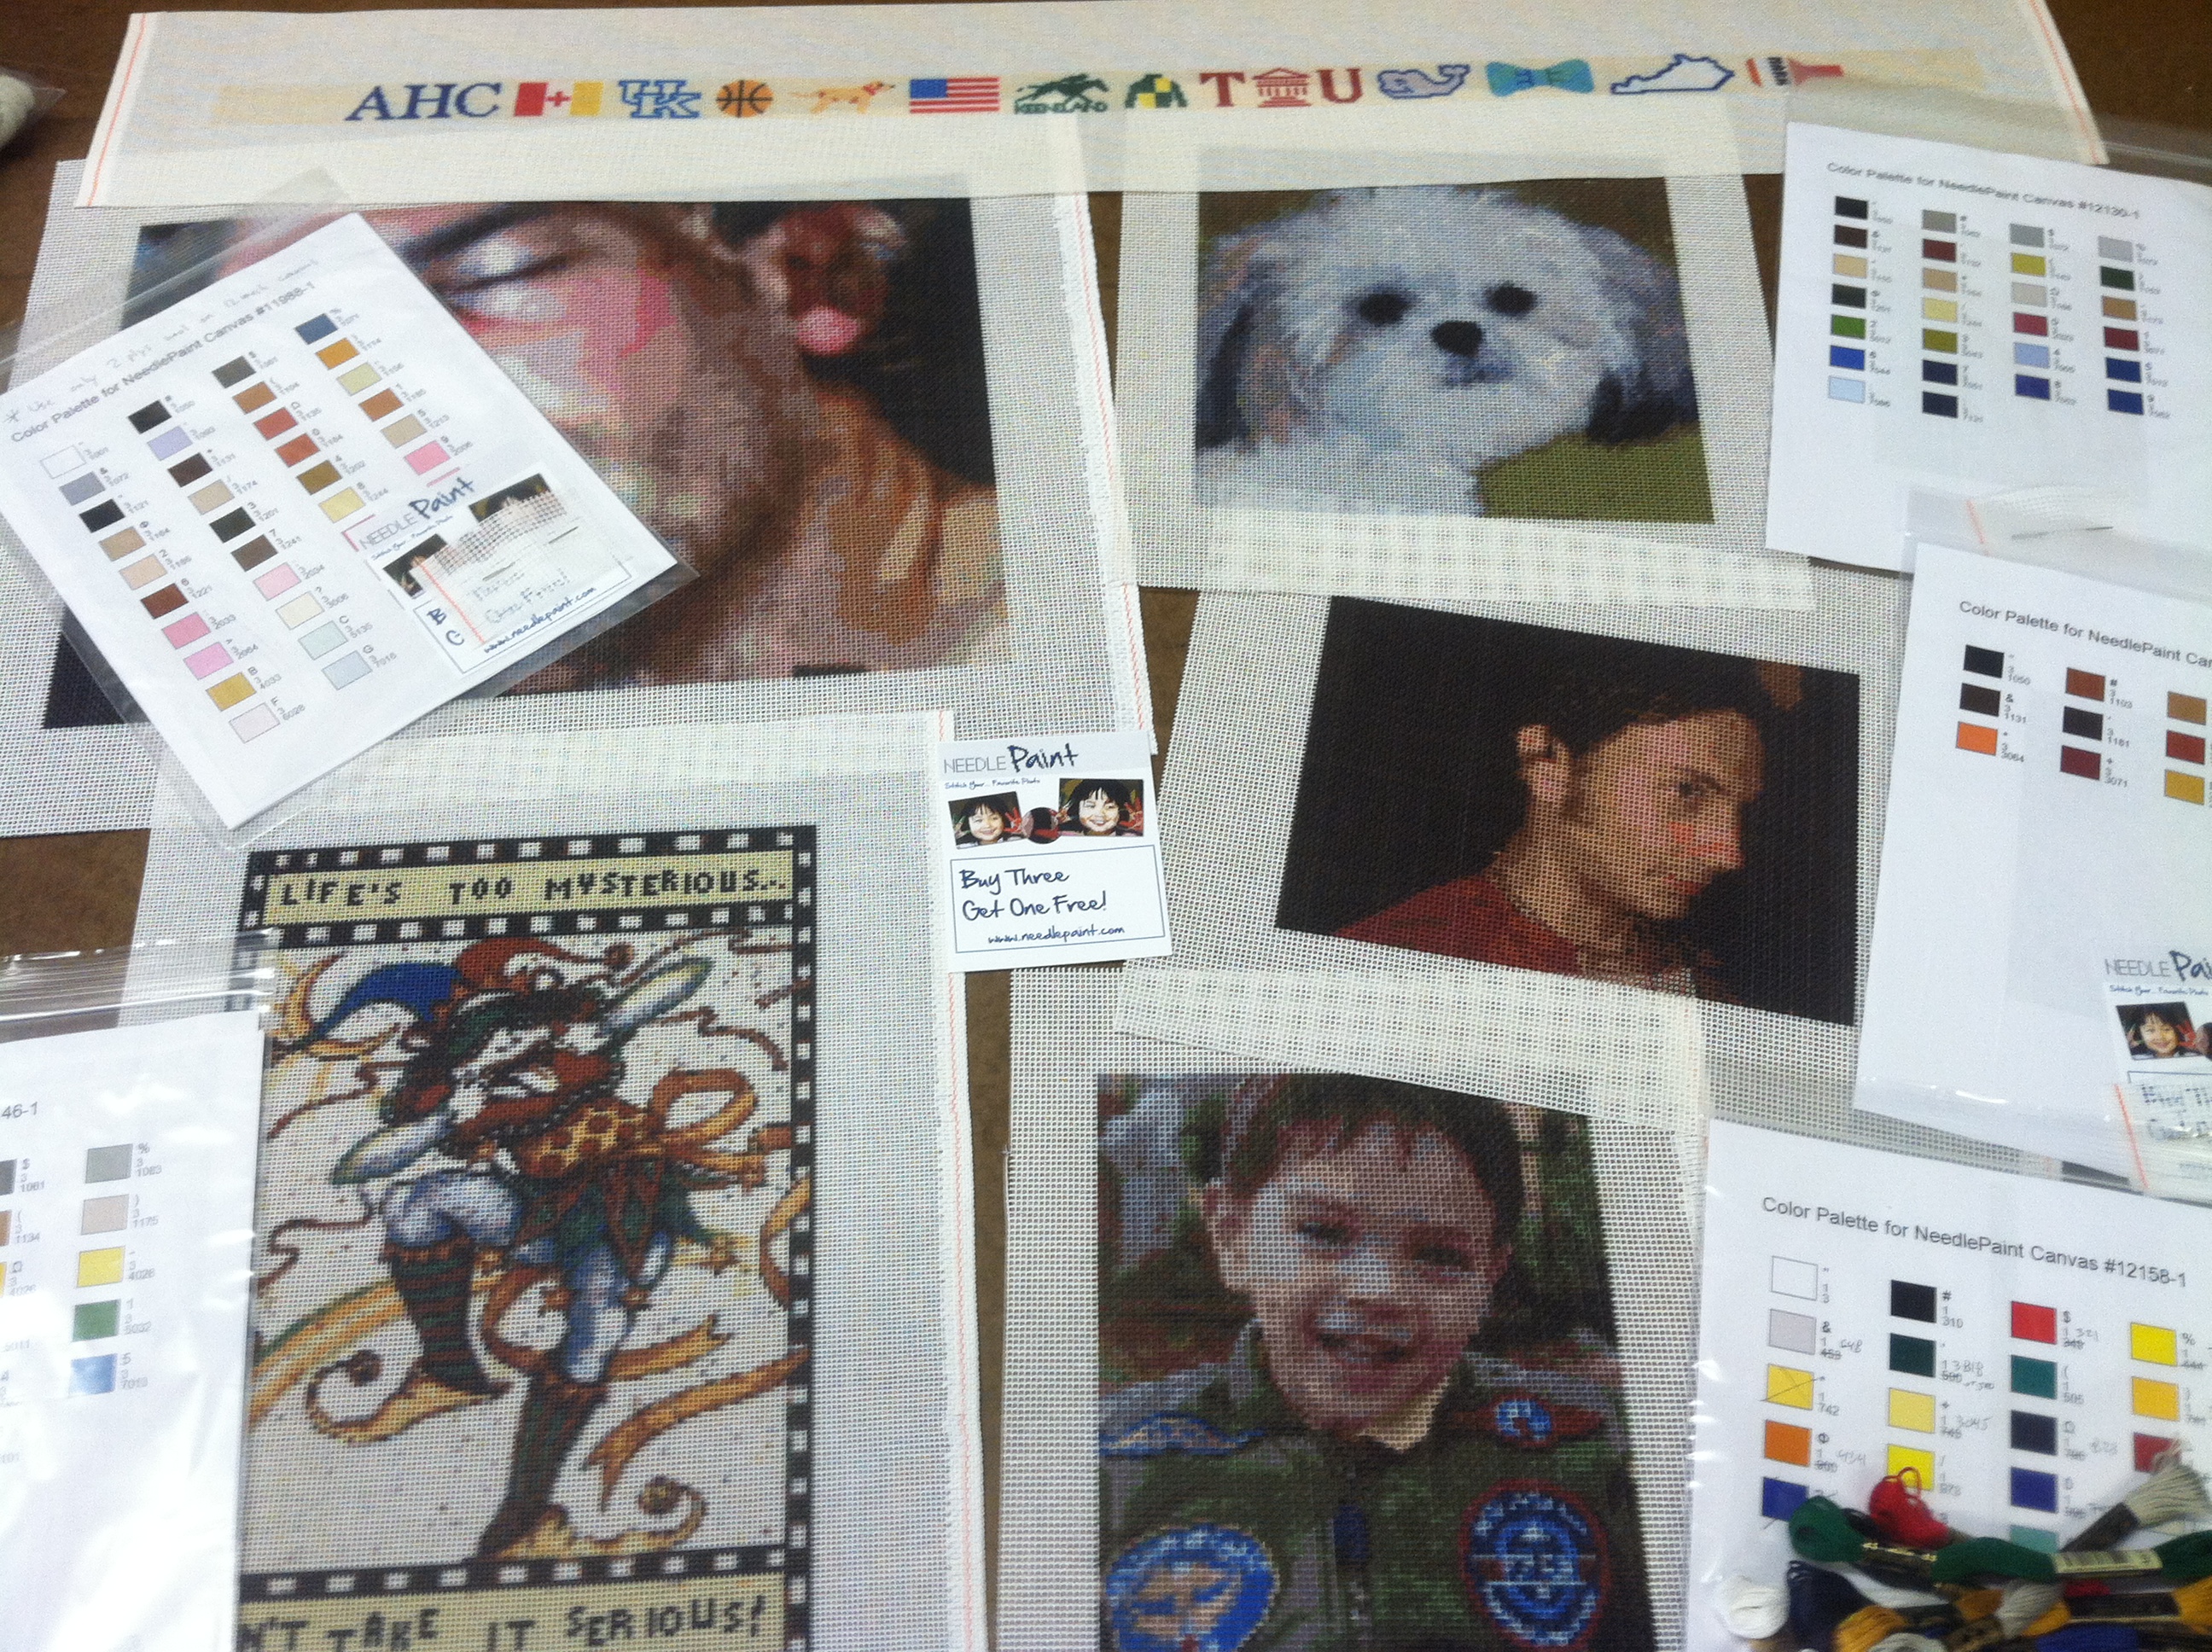
For a newbie learning about needlepoint, the mesh count stands for the number of stitches in one linear inch. That means you measure 1 inch along a line on the canvas, and count the number holes. A 10 mesh count means there are 10 holes per inch. A 18 mesh count canvas means that there are 18 holes per inch. This may not sound like a lot, but to a stitcher it is a HUGE difference. If you consider that 10 mesh count canvas has 100 stitches in a square inch and 18 mesh count has 324 stitches per sq. in. that means that the stitcher has a LOT more stitching to do if you order 18 mesh count canvas. Thus, I suggest not ordering 18 count canvas on any design that is wider or taller than 12 inches. For smaller canvases it is OK to use 18 mesh count because it allows the design to show a lot more detail. Some stitchers do prefer more detail at larger sizes, so this is just a guideline for reference.
Things to consider when choosing mesh count:
- The stitchers eyesight. 18 count has more stitches per inch, so the holes are a lot smaller and harder to see. 10 mesh has the largest holes. If she has weakening eyesight, you may want to avoid 18 mesh count canvas. 14 or larger should be OK.
- Fiber preference. Needlepointers love to work with a lot of different fibers, the most common are wool, cotton, and silk. 13 and 14 mesh count canvas will work with almost any fiber and are the most commonly used canvas today. If the stitcher prefers wool, you may want to use a canvas with 14, 12, or 10 mesh count. With 18 count canvas we only supply cotton, but there are other fibers that will work, just not as many.
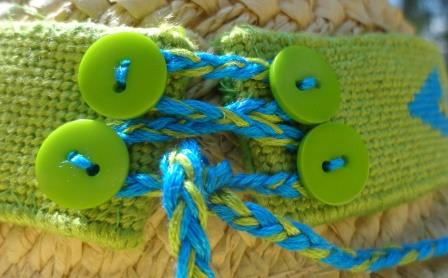
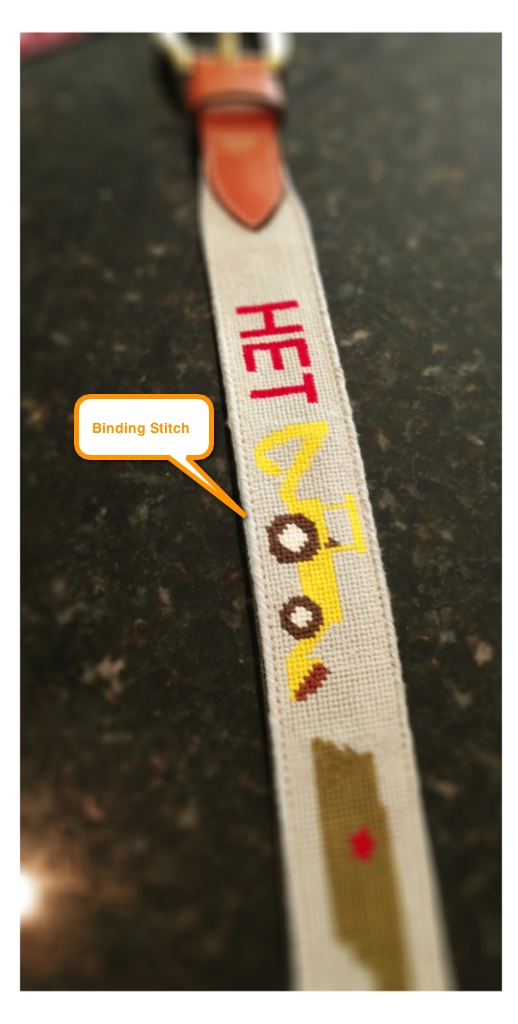
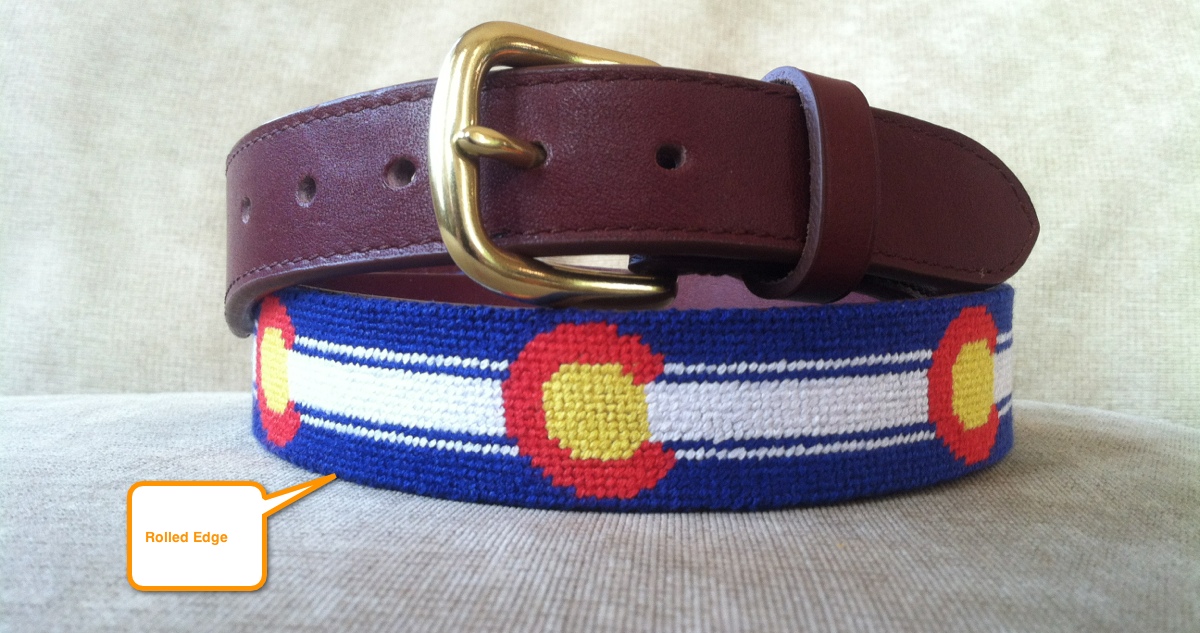
- The design details. Higher mesh counts (18 and 14) will show more detail than the larger mesh counts (12 and 10). Belt canvases often come on 18 mesh count canvas because you need the extra stitches to show designs on an area that is so limited in height. If your design is very detailed or you want to fit a lot into a smaller area, you will want to use 18 mesh count. But, if you try the 14 mesh count option on the website and still think it looks good, you can use that too.
- The design size. If you find that you need more detail but have to use larger holes, you can always increase the overall size of the design, this an alternative way to increase the detail, but does add to the cost of the project. Typically I think the sweet spot for design size is around 12 x 8 inches.
- To see how to adjust the mesh count and height, watch our how to design a pillow instructional video.
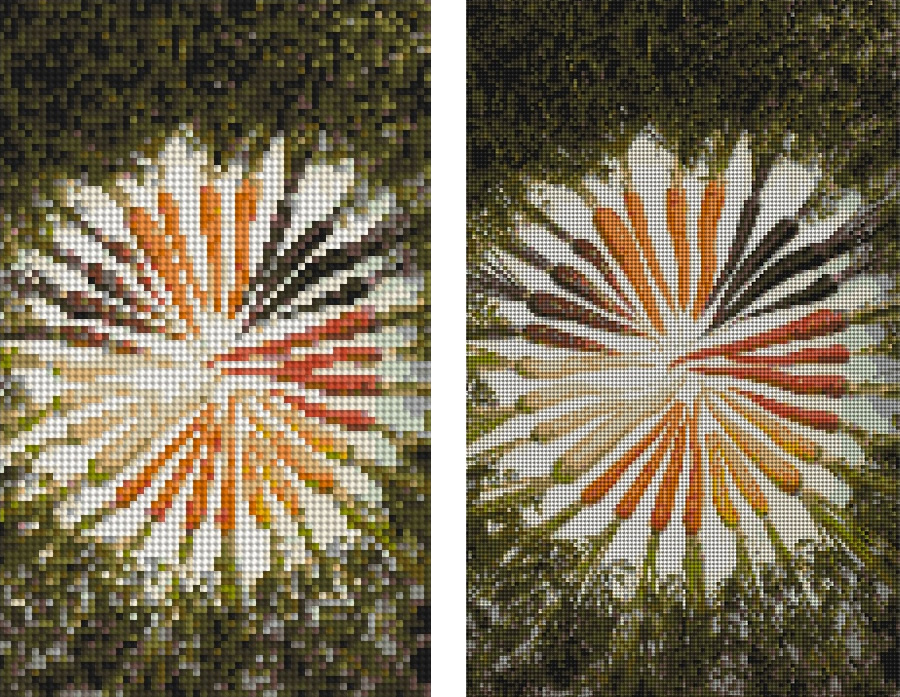
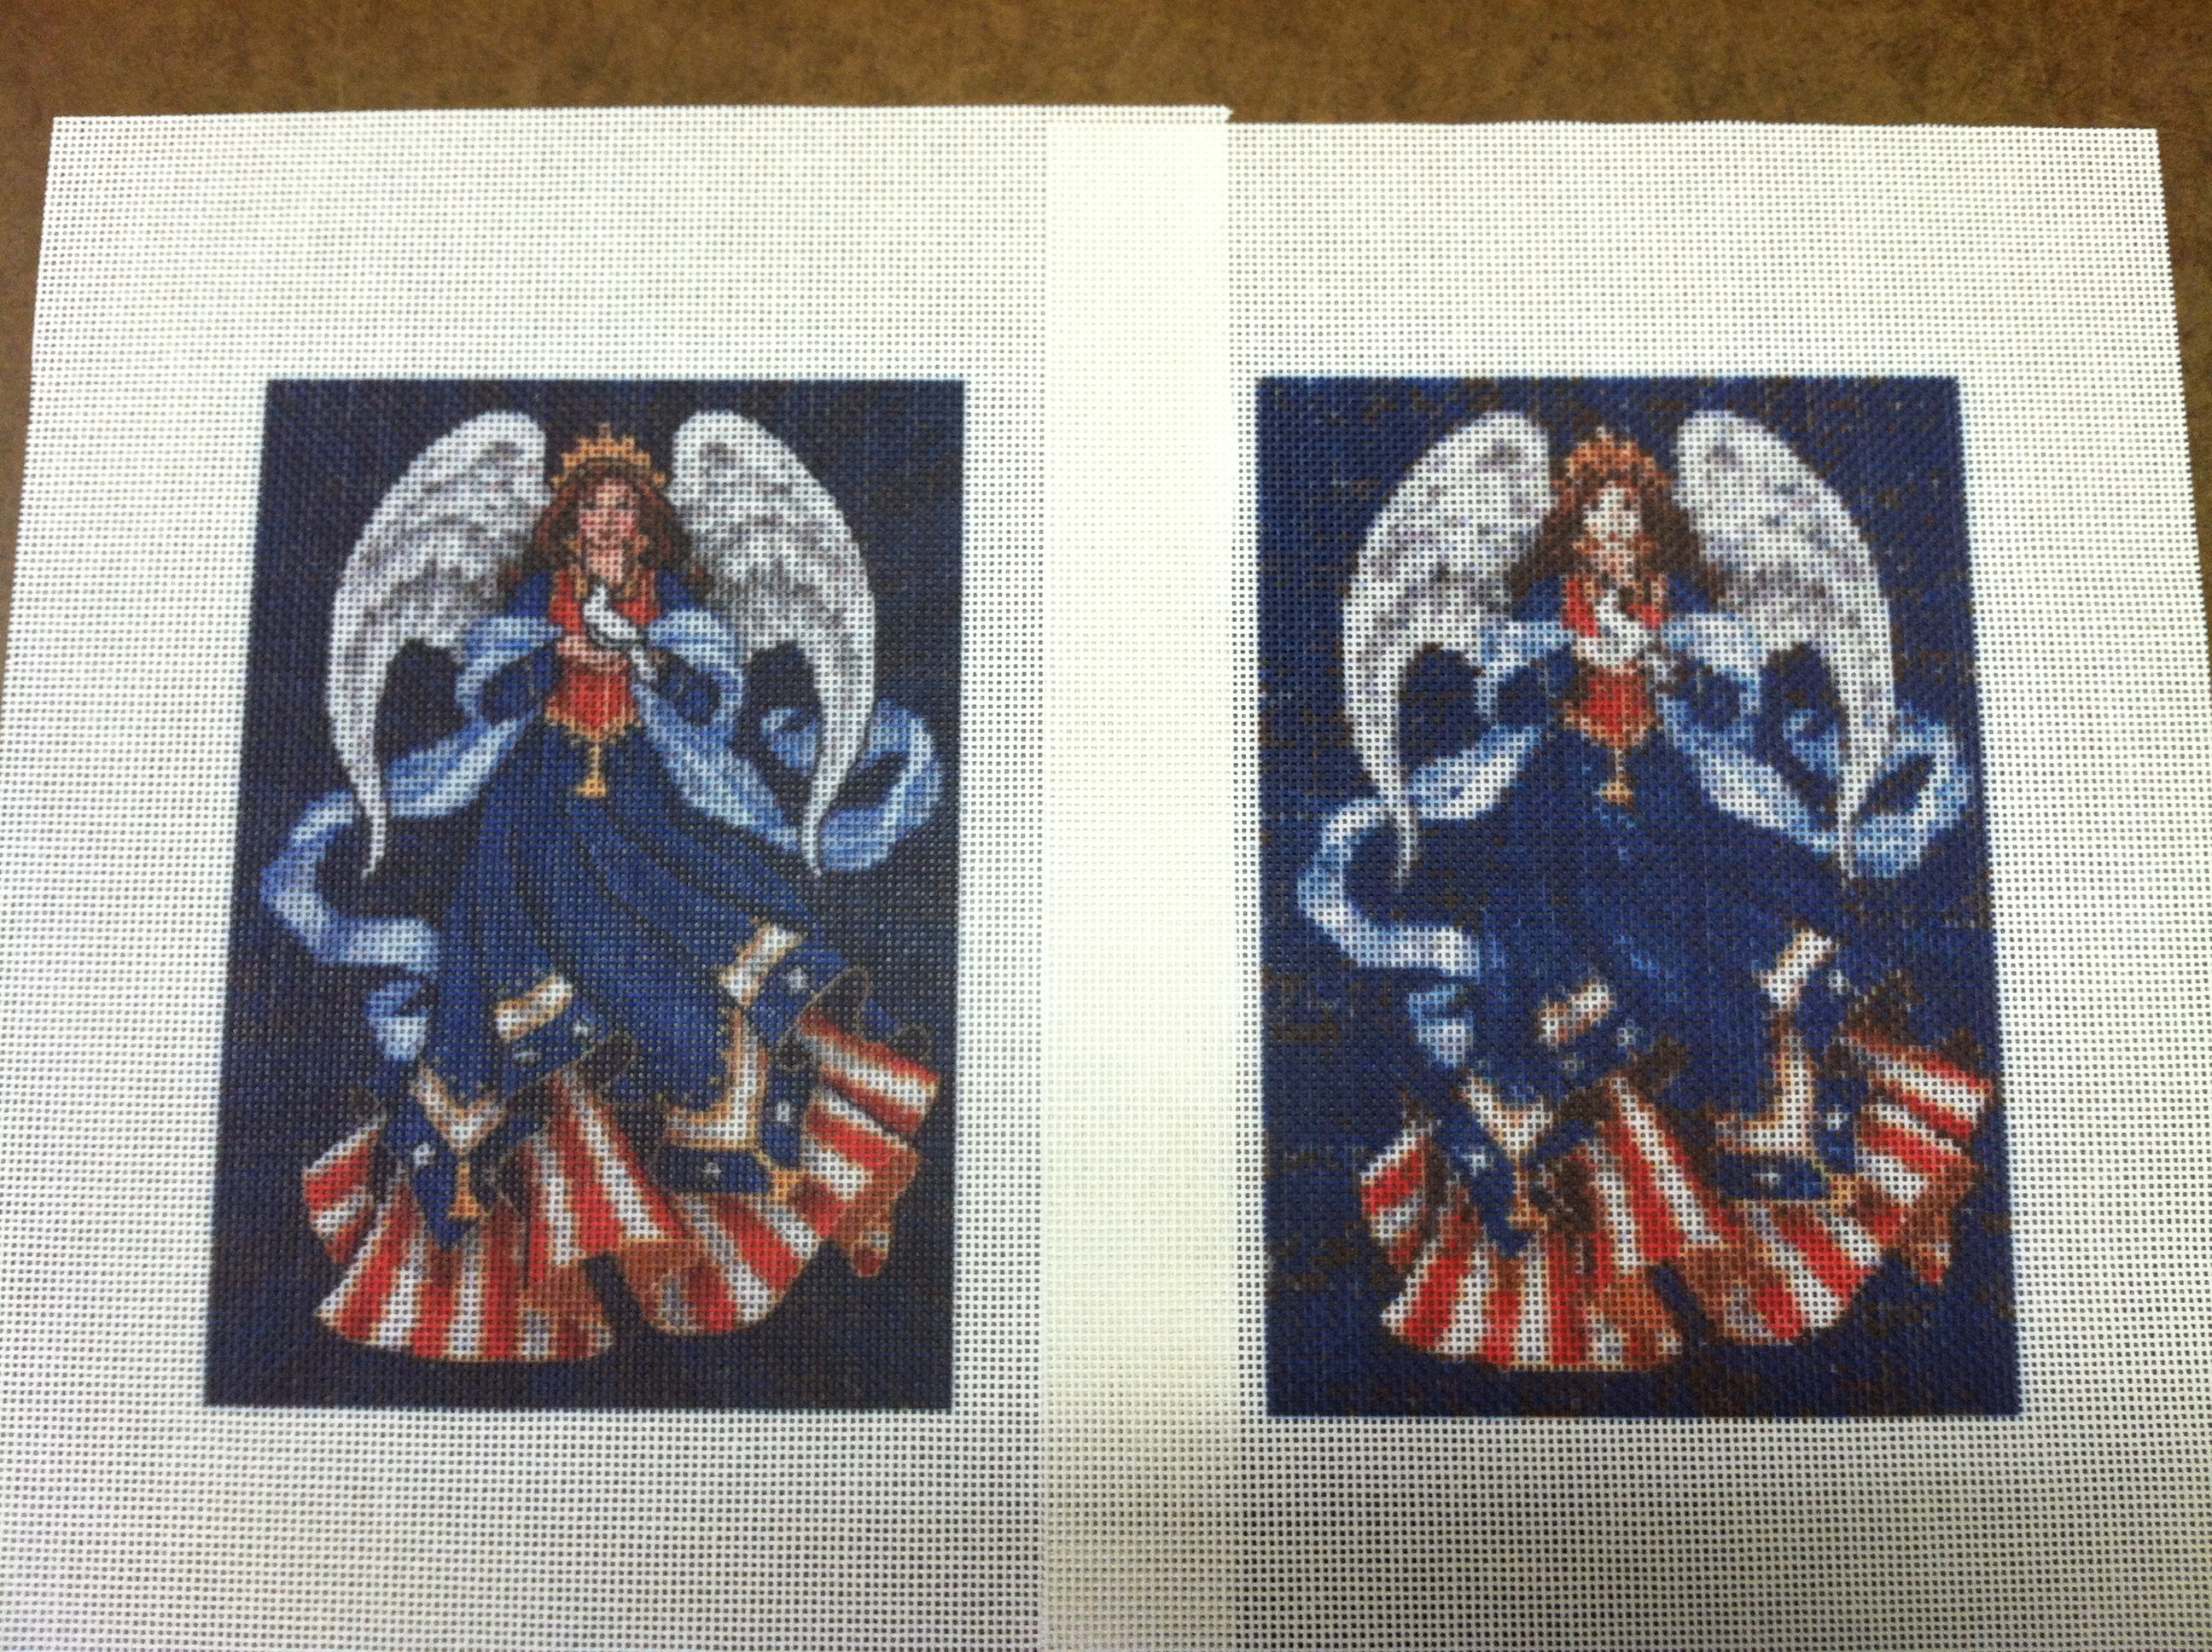
Carrots of Many Colors 10 mesh count vs 18 mesh count canvas. The 18 mesh is on the right and shows a lot more detail.
Next we have the “easy” question, or degree of difficulty.
This is very subjective, but there are some obvious guidelines that can help you determine how difficult a project will be to stitch.
- The number of colors. Often, the more colors there are on a canvas the trickier it will be to stitch. This is especially true with photo needlepoint canvas designs. The shadowing and gradients get harder to see the more colors there are. Also the thread colors get very close, so even they get hard to tell apart. When stitched this looks amazing, but a beginner stitcher may find this very tedious. Typically I recommend keeping the number of colors below 20 if possible. If you are using the website and want help, feel free to email us, we’d be happy to help!
- The nature of the design. If you are using a photo there is often a lot of intricacy in the placement of the stitches. Easier canvases will group the colors together in larger blocks, so the stitcher does not need to change thread every third stitch. Designs and artwork with plain colors and patterns often are the easiest to stitch as the contrast between the colors is big and the patterns are simple to follow. The dog needlepoint designs we have on our website range from moderate to difficult, the new stitcher can do a moderate design, but it will take them a while. The original artist needlepoint designs we have licensed are easy to moderate, mostly they go in the easy category. And our baby and kids designs all are also in the easy realm.
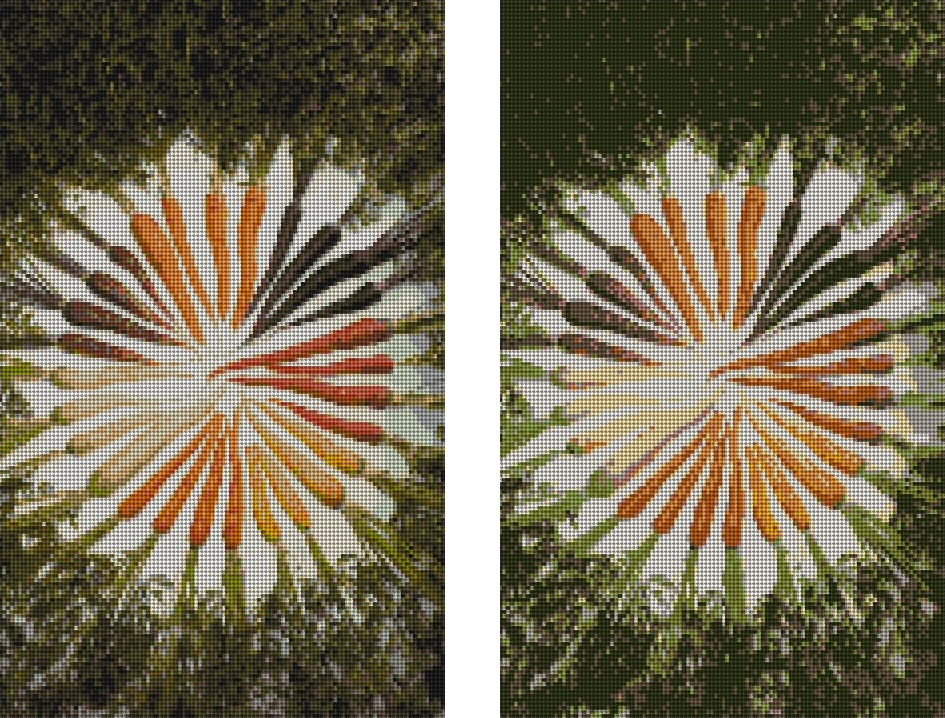
Carrots of Many Colors 25 colors on left vs 11 colors on right. Notice the white carrots loose detail. Not a very big difference to the eye, but to the stitcher 25 colors would be significantly harder.
If you decide to reduce the number of colors, but notice something that you would like adjusted, go ahead and place your order and email us the image you used, we can touch up the design for you!


Recent Comments