Official blog of www.NeedlePaint.com
where you can design your own Needlepoint!

NeedlePoint Kits and Canvas Designs | Design your own Needlepoint Kit!

Archive for the ‘How to NeedlePoint’ Category

An Elegant Finished Edge

I was cleaning out the attic the other day (I  know, it isn’t the time for Spring cleaning, but with3 feet of snow on the ground cleaning the attic sounded like more fun than shoveling the driveway) and I found the original test needlepoint kit which we did for Needlepaint.  It was languishing away because we hadn’t really thought the end product through. The needlepoint canvas was a strange size, 6″ x 7″, so it didn’t fit in a standard frame.

By coincidence that colors matched the decor of my granddaughter’s bedroom. It would work on a pillow. My original idea was to use it an an insert, but after looking through my favorite needlepoint book The Needlepoint Book by Jo Ippolito Christensen, I decided that if I used Jo’s binding technique I would get a finish edge in a contrasting color. The stitch is a variation of the fern stitch that is worked over two threads of the canvas instead of three.

The Needlepaint piece could then be sewn onto the pillow and could then be removed easily if the pillow needed washing.

TIPS:

  • Do not trim the canvas before doing the binding.
  • Block the canvas if necessary before binding.
  • Fold back and steam waste canvas in place before binding.
  • Trim waste canvas to 1/2″ after binding.
  • It may be desirable to reblock after binding

Coming soon, the finished pillow!

Scroll Frames for your Needlepoint Project

Tired of or frustrated by having to stretch your needlepoint canvas back into shape after you have finished needlepointing? That was always the part I disliked the most about a needlepoint project. Years ago I found a Victorian needlepoint/embroidery frame in an antique wholesale warehouse in San Francisco while I was looking for dining room chairs. No one was too sure what it was or what to do with it. I did! It was going to make my life much easier when I made the needlepoint seats for the chairs I purchased at the same time. The frame was itself a work or art, and I have used it constantly.


The only problem is that t it is not portable. So when I travelled I had to leave my needlepoint at home a take my knitting along. Then in 2001, security decided that one could not take knitting needles on the airplane. I had two trips to Europe planned and needed handiwork to take with me. Enter the Frank A. Edmunds Split Rail Scroll Frames which are also available at many retail stores. They come in varying sizes and don’t require that you attach extra fabric to fit a specific size. I do, however, usually sew a piece of fabric to the top and bottom to give better tension to my canvas as I tighten it.


Frank A. Edmunds has many other frame products which might also be of interest. They have the new Handi Clamp Scoll Frame which I am tempted to try, but my old ones are still in working order.

Needlepoint Christmas Ornament Photos!

Peggy has finished all of her quick stitch needlepoint ornaments, and while you may have seen some of them already, there are more great pictures in this post!

In case you want to learn about how to make the personalized needlepoint ornaments you can click the links below:

How to make a Quick Stitch Needlepoint Ornament

Using Quick Stitches

The Four Hour Needlepoint Ornament

Also, if you want to see the whole needlepoint canvas design, they are all available on our personalized needlepoint shop as needlepoint kits or needlepoint canvases.

Candy Cane and Christmas Trees

Santa's Sleigh

Penguin Needlepoint Ornament

Green Snowflake Ornament

Personalized Train

Personalized Christmas Ornament

Santa's Airplane

Flying Christmas Angel

Blue Snowflake Personalized Needlepoint Ornament

The whole collection of Needlepoint Ornaments!


The Four Hour Needlepoint Ornament

With less than a month to do to Christmas, I was getting challenged to finish my goal of 9 personalized needlepoint ornaments. I needed to cut dramatically the time it took to needlepoint the ornaments. Could I do one in 4 hours?

Looking at the needlepoint design choices, I selected the Snowflake Design — not too complex and only 3 colors, but there is a lot of background. If I were to meet my 4-hour goal, I had to come up with something even quicker than the open work I did on Santa in his sleigh .

To the drawing board — the custom needlepoint canvas has a rich dark green background so why cover it up? Add red running stitches in alternating columns of over 3 rows and under one. It looked great and added a new dimensions to the otherwise plain background.

And, canvas on stretcher, I headed off to my flight from Denver to Boston — 3.5 hours. When I landed in Boston, I had finished all but 2 square inches of the background. It only took me another 15 minutes to finish up when I got time at my destination and then another 20 minutes to sew it onto the green fabric stuff it and tie it up. Success!!!

As you can see, I used the same technique on the blue snowflake ornament with light blue on the dark blue background.

Thanksgiving is not here and I am done with the ornament!!

Personalized Needlepoint Christmas Stocking Shop

Today NeedlePaint.com announced today that we have launched a new personalized needlepoint shop!  In this shop there are many pre-designed Christmas needlepoint canvases to which customers can add their own names and also have the shop modify the colors before printing.  Some of the designs even allow for the customer to add their own photos into the canvas design!

We have already posted about a few of these projects in our blog, but now we have made it easy to order them at the NeedlePaint.com personalized needlepoint shop!

New Designs for Personalized Needlepoint Stockings and Ornaments

This month we are featuring Christmas stockings and needlepoint ornament designs. In the past, personalized needlepoint stocking kits have required the stitcher to actually use a stencil and draw in a name, with very plain letters. Customers buying from NeedlePaint.com have their choice of over 100 styles of letters and 400 colors.  Customers will also be happy to know that their names will be printed onto the canvas, and that the needlepoint kits will include not only the canvas and thread, but they will also come with a counted stitch guide, counted color aid, and DMC matched color guide.

Our blogs explain how to make these so follow the links below:

Needlepoint Christmas Ornaments Using Quick Stitches

How to make Needlepoint Christmas Ornaments

Personalized Needelpoint Chrismas Stocking

Needlepoint Christmas Ornaments Using Quick Stitches

With December rapidly approaching, I realized that I was going to have to speed up if my goal of 12 personalized needlepoint ornaments for Christmas gifts was to be met. I have now completed 5 and my needle is flying.

The key to speed – quick backgrounds!  Three fast background stitches came from The Needlepoint Book by Joe Ippolito Christensen.

On the Penguin Needlepoint Ornament, I used a variation on the Four-way Bargello for the sky, and n0t so quick was the diagonal mosaic for the ice bergs and snow. Still faster than the traditional continental stitch!


The background for the angel ornament is  the Victorian Step which was even quicker.

But, the ultimate speed came with the open work on the Santa ornament. This is a modification of the Four-Sided Over Three stitch from A Pageant of Pattern for Needlepoint Canvas by Sherlee Lantz. It does not cover the canvas but lets the printed background show through.

                                      Four-Sided Over Three Stitch

I also came up with some other ideas to dress them up quickly:

  • Beads for stars or snowflakes on Santa and the Penguins.
  • Beads on the Angels dress.
  • Jingle bells hanging from the Penguins bottom ties (not shown in the picture above).
  • Beads for eyes.
  • Beads for Santa’s Christmas tree.

Yes, I got into beads. I never thought I would, but I did follow the advice of my quilting sister Mary Sue Suit  “Don’t get carried away. Beads can be additive!” And, I could still be beading if other ornaments weren’t calling.

Next up is going to be Snowflake ornament on 14 pt with lots of open work and metallic threat. Stay tuned!

To read how easy it is to make these ornaments, please see our blog that explains how to make a needlepoint Christmas ornament.

Personalized needlepoint kits on 14 pt and 18 pt canvas will be available on NeedlePaint.com very soon!

Photo Needlepoint Vs “NeedlePainting”

Turning a Photo into a Needlepoint Canvas is not as simple as is seams.  Which which is why we are always looking for new ideas to create the best needlepoint canvases.

Recently we had an issue with one of our customers, because the image on the canvas turned out to be much blurrier than the original.  Since the person was a very experienced needlepointer, and they wanted to pick their own colors, we decided to try a direct photo transfer.  This process looks a lot better, but it does not directly follow the mesh.  They loved it!

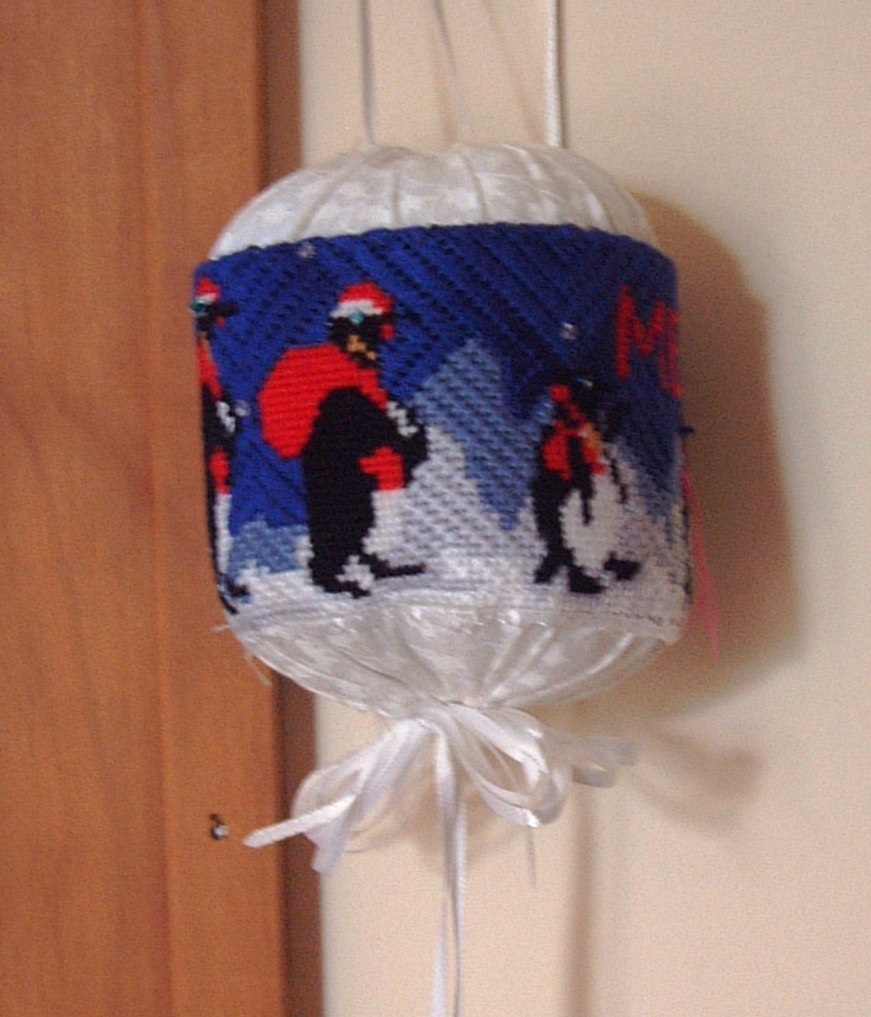
Unfortunately, I don’t have the images of those exact canvases to compare with, but I did talk to some more stitchers and decide that in some cases a direct photo transfer would be better.  I experimented and took some pictures so you can see the clarity difference.

Left is Direct Transfer on the Right is NeedlePaint

You can see how the direct transfer is crisper (which is the one the customer picked), But to be clear, we do not recommend this unless you are experienced, and only if your image is not coming out clearly on NeedlePaint.com

The reason we think the website’s “NeedlePainting” version is better, is that it groups similar colors for you, and it matches real floss colors to your canvas.  The end result is that even if you are experience and like to do the colors and grouping yourself, the final stitched canvas will come out almost identical.  With our counted stitch guides and color aids, we believe the NeedlePaint versions will come out stitched better.  And if you are having troubles with letters, just email us after you place the order, and we will fix them.

But, as mentioned, on some projects the direct transfer can make a big difference, so if you have any issues when placing an order, please use this image and description as reference to help make your decision.  We will also still include a counted stitch guide, color aid, and color chart for your reference, even though it won’t match identically, it may still help!

And, as always, feel free to email or call me to discuss.

‘Tis the Season for Needlepoint Christmas Ornaments

Christmas is still 4 months away, but it is never too early to begin that special needlepoint gift – a personalized needlepoint Christmas ornament. My new design was inspired by metallic threads and a shimmering gold fabric I saw at JoAnn’s.

The needlepoint canvas section is a  2.5 x 10 inch band to done in a variety of stiches selected from one of my favorite reference books, Jo Ippolito Christensen’s The Needlepoint Book.

  • Red ornament – horizontal brick stitch
  • Green ornament – diagonal plait stitch
  • Yellow ornament – slanted Gobelin variation
  • Light blue ornament – vertical beaty
  • Pink ornament – Parisian stripe with 2 shades of pink
  • Orange ornament – Byzantine stitch
  • Dark blue ornament – pavilion diamonds
  • Background – reversed mosaic
  • Lettering and ornament tops – continental stitch

The finished canvas is sewn onto a 6 x 11 inch piece of fabric. (Layout is shown below.) Trim the canvas, leaving a ½ inch edge and fold under as shown below. I got carried away with trim and used a 1/8- inch gold ribbon. (If you don’t use a narrow ribbon for trim, the canvas should be bound as described in my blog on Needlepoint Napkin Rings.)

Sew narrow hem at bottom of the fabric and place trim at top. (Optionally the top can be finished with a narrow hem.) With right sides together sew the 6-inch edges of the ornament together along the end of the worked needlepoint. Trim seam to ¼ inch and turn.

Gather the bottom tightly to close and stuff the ornament with a polyester fill or other light weight filler.

Gather top, attach a hanger, and a bow at the bottom. Your Christmas ornament is ready to hang for 2011 and for many more holiday seasons to come!

Needlepoint Napkin Rings – For the Eco-Conscious

I have to admit that I am addicted to cloth napkins. It is so bad that when we travel I take my own cloth napkins to our vacation rentals. This winter as usual my husband and I rented a house on the beach in Molokai, Hawaii, and we had several couples visiting. I got tired of trying to remember whose napkin was whose. It was time for custom needlepoint napkin rings with a Hawaiian theme.

Each ring measures 1.5 X 6.0 inches and I placed them on the needlepoint canvases an inch apart. I used 16 different traditional Hawaiian quilt blocks in bold primary colors. Each ring measures 1.5 X 6.0 inches and I placed them on the canvas an inch apart. I used 16 different traditional Hawaiian quilt blocks in bold primary colors. The background is a rusty-orange, probably influenced by the red soils of Molokai.

After I finished needlepointing the canvas, I cut the rings apart and did loop stitch over the 2 stitches on each edge as shown here. I used the background color along the length of each ring and a different color for the edges — that was so all my guest had to remember was the edge color of their ring in order to claim the correct napkin at each meal. If your canvas needs block, I recommend that you block it before cutting the rings apart. After edging the length, I found that I needed to reblock them again.

I lined each ring with 1 1/2-in gross grain ribbon which I purchased from JoAnn’s,

I slip-stitched the lining together to form the ring and then using the appropriate color overcast the edges.  Voila! My contribution to the ecosystem — no more paper napkins and everyone can remember their color so I save on water by not having to wash napkins so often. These would make a great needlepoint Christmas, wedding, or house warming gift.


NeedlePoint Custom Stitch Guide

Finally!  All NeedlePaint.com orders will now ship with custom stitch guides.

Trying to needlepoint a photo or custom needlepoint canvases can be very tricky.  Especially since many colors in shading of faces or shadows are very similar.  These similar colors on a canvas often are hard to distinguish.  But, when the embroidery floss is laid out and the project is underway, these shades are key to making a stunning work of needle art!

Most custom needlepoint kit makers don’t have the ability to go into the amount of detail that NeedlePaint.com allows when using photos.  When discussing with needlepoint shop owners who sell handpainted canvases, they have reviewed our product and agreed that NeedlePaint.com offers a better and more real looking product than most handpainters are able to produce.

To help our customers tell the colors apart, we have been working on a counted stitch guide that shows the exact location for every stitch and color.  When this is combined with our color stitch aid and the printed canvas, it allows a needlepointer to quickly and easily figure out exactly where each color goes.

Needlepoint Stitch Guide, Color Aid, Canvas, Color Chart

Our new stitch guides are counted in rows of 10, and each symbol is referenced in our color chart which displays the color and number of the floss to be used.

Our color stitch aid is also organized in rows of 10, so cross referencing the color aid is very helpful when looking at the image on the canvas.  Our customers have been very happy with this new addition!