Official blog of www.NeedlePaint.com
where you can design your own Needlepoint!

NeedlePoint Kits and Canvas Designs | Design your own Needlepoint Kit!

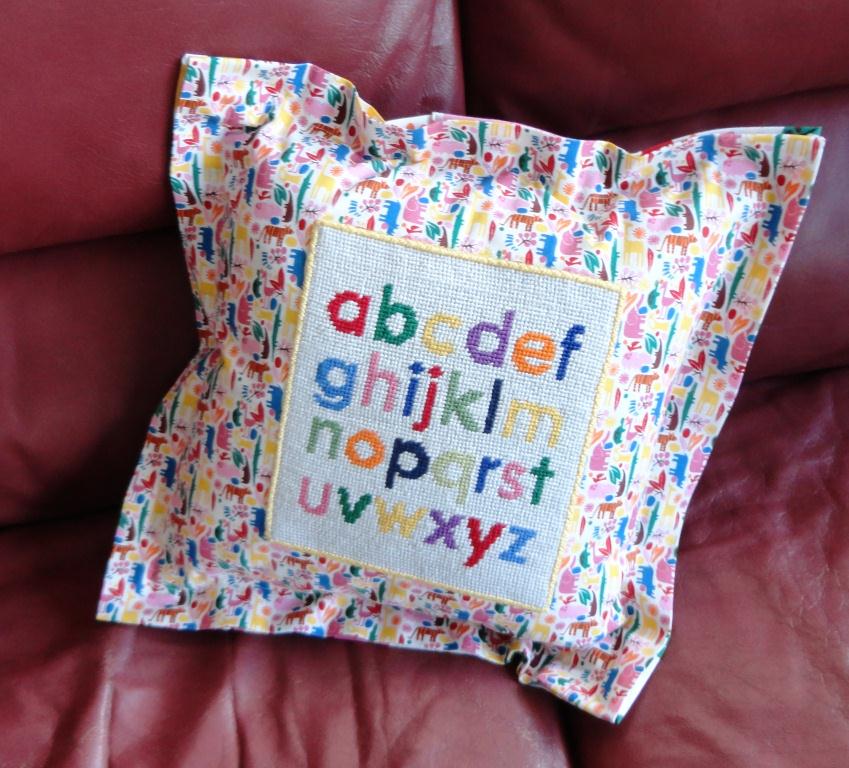
As I mentioned in my earlier post An Elegant Finished Edge, I had come up with a use for the odd-shapped design that we had designed for our first test custom needlepoint canvas. This 6″ x 7″ canvas is now the center piece of a 12′ x 12′  pillow  for my granddaughter’s nursery.

As you can see, this pillow does not have piping — the most difficult and frustrating part of needlepoing pillow finishing. Also, there is no zipper, no turning inside out, and IT IS EASY!  It is a modified pillow sham which fits over a 12″ x 12″ pillow form.

Materials for the pillow are:

  • 12″ x 12″ polyester-filled pillow
  • 1/2 yard 42″-45″ fabric
  • 1/4 yard Velcro (optional)
  • finished needlepoint canvas that is smaller than 12″ x 12″ and whose edges have been bound

Directions:

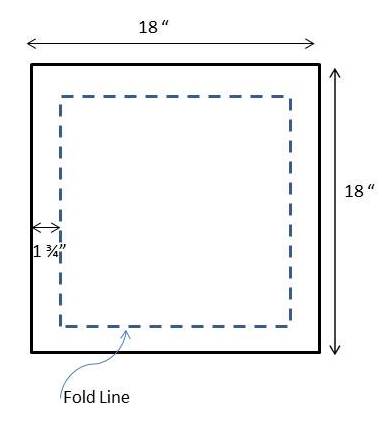
  1. Cut one 18″ x 18″ front.
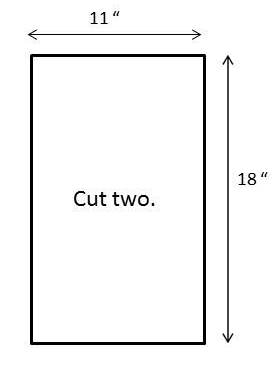
  2. Cut two 11″ x 18″ piece for left and right sides of back.
  3. Position finished needlepoint canvas in the center of the front. Stitch in place by machine using zig-zag stitch or by hand using an overcast slip stitch.
  4. Sew 2″ hem on left back side and narrow hem on right back side as shown below. (Optionally sew Velcro as shown.)
  5. Place left back over right back to create a 18″ x 18″ square.
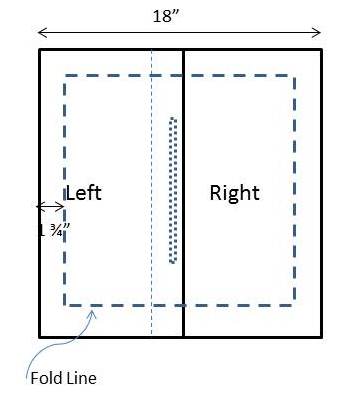
  6. Fold under 1 3/4″ on all four sides of front and back and press with steam iron, mitering each corner.
  7. With wrong sides together, stitch around  1 1/4″ from the edge.
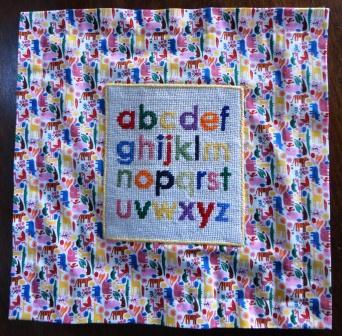
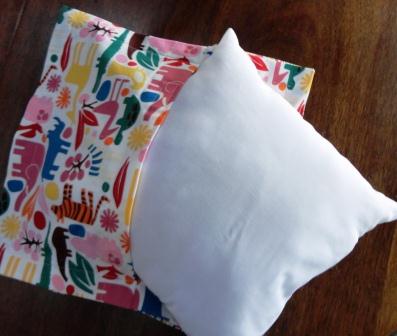
  8. Stuff pillow form into completed pillow sham.
This method works well for a casual cushion and especially well for a child’s pillow because the finished needlepoint can be easily removed and the pillow sham washed.
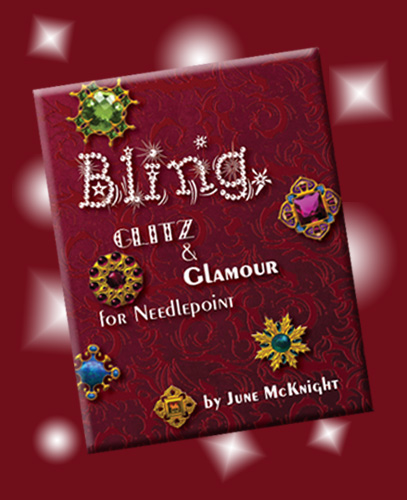
Bling for Needlepoint

I had a chance to work next to June McKnight a few weeks ago and listen in on some interesting needlepoint discussions.  One of the fun things that needlepointers have been doing more of lately is embellishing their needlepoint designs with “Bling”.

June is once again trying to help needlepointers by showing them how easy it is to spice up new projects in her new book titled (what else but…)  Bling – Glitz & Glamor for Needlepoint.  You can buy this book from your local needlepoint shop, or online at: BeStitched Needlepoint

This not only shows you how to use beads and drops with stitches, it also tells you where to get them.  Blinging works well on all types of needlepoint kits, including christmas!

You can see Peggy’s bling on her last needlepoint christmas stocking.

Peggy added some Needlepoint Bling to Christmas!

An Elegant Finished Edge

I was cleaning out the attic the other day (I  know, it isn’t the time for Spring cleaning, but with3 feet of snow on the ground cleaning the attic sounded like more fun than shoveling the driveway) and I found the original test needlepoint kit which we did for Needlepaint.  It was languishing away because we hadn’t really thought the end product through. The needlepoint canvas was a strange size, 6″ x 7″, so it didn’t fit in a standard frame.

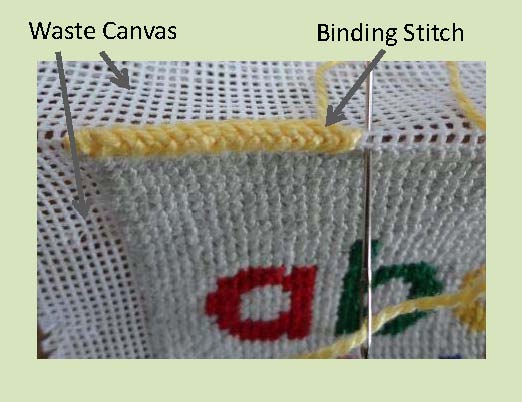
By coincidence that colors matched the decor of my granddaughter’s bedroom. It would work on a pillow. My original idea was to use it an an insert, but after looking through my favorite needlepoint book The Needlepoint Book by Jo Ippolito Christensen, I decided that if I used Jo’s binding technique I would get a finish edge in a contrasting color. The stitch is a variation of the fern stitch that is worked over two threads of the canvas instead of three.

The Needlepaint piece could then be sewn onto the pillow and could then be removed easily if the pillow needed washing.

TIPS:

  • Do not trim the canvas before doing the binding.
  • Block the canvas if necessary before binding.
  • Fold back and steam waste canvas in place before binding.
  • Trim waste canvas to 1/2″ after binding.
  • It may be desirable to reblock after binding

Coming soon, the finished pillow!

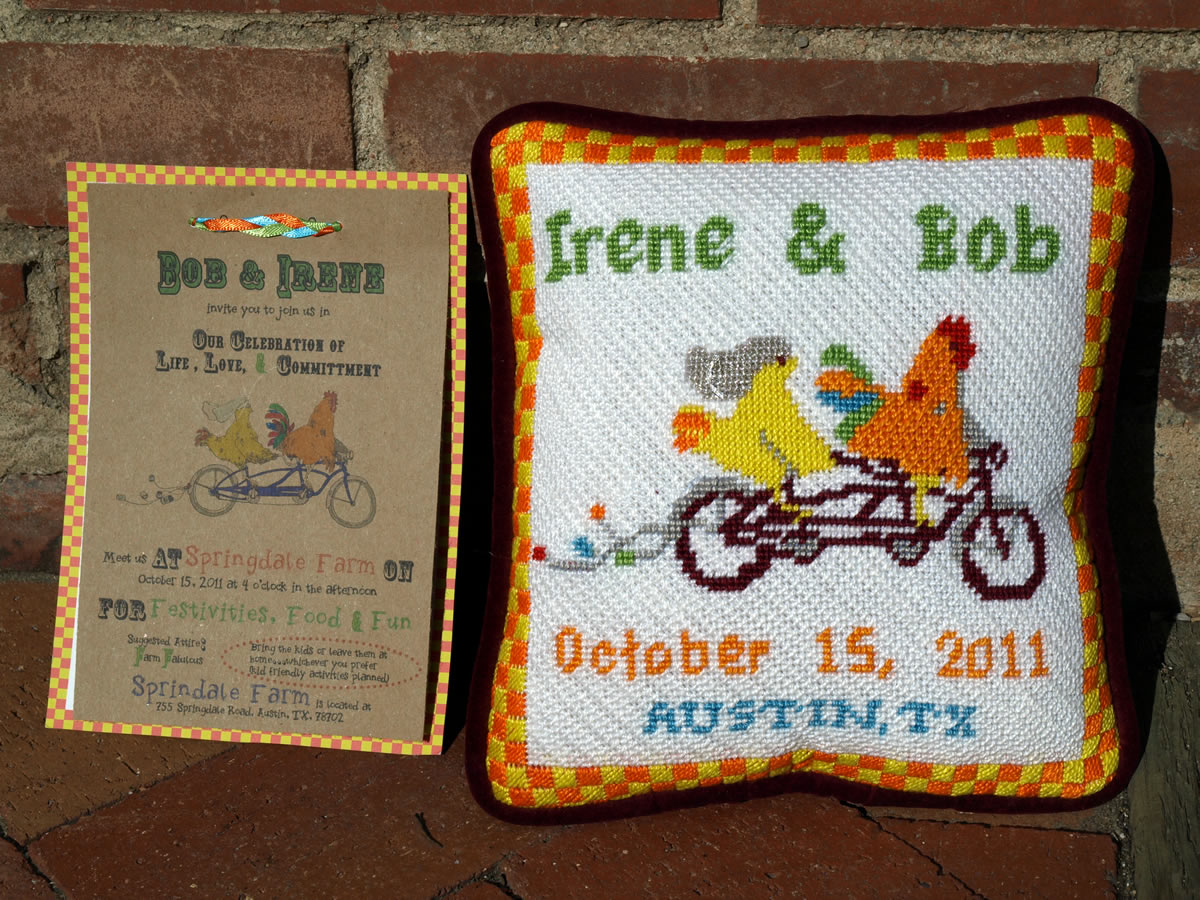
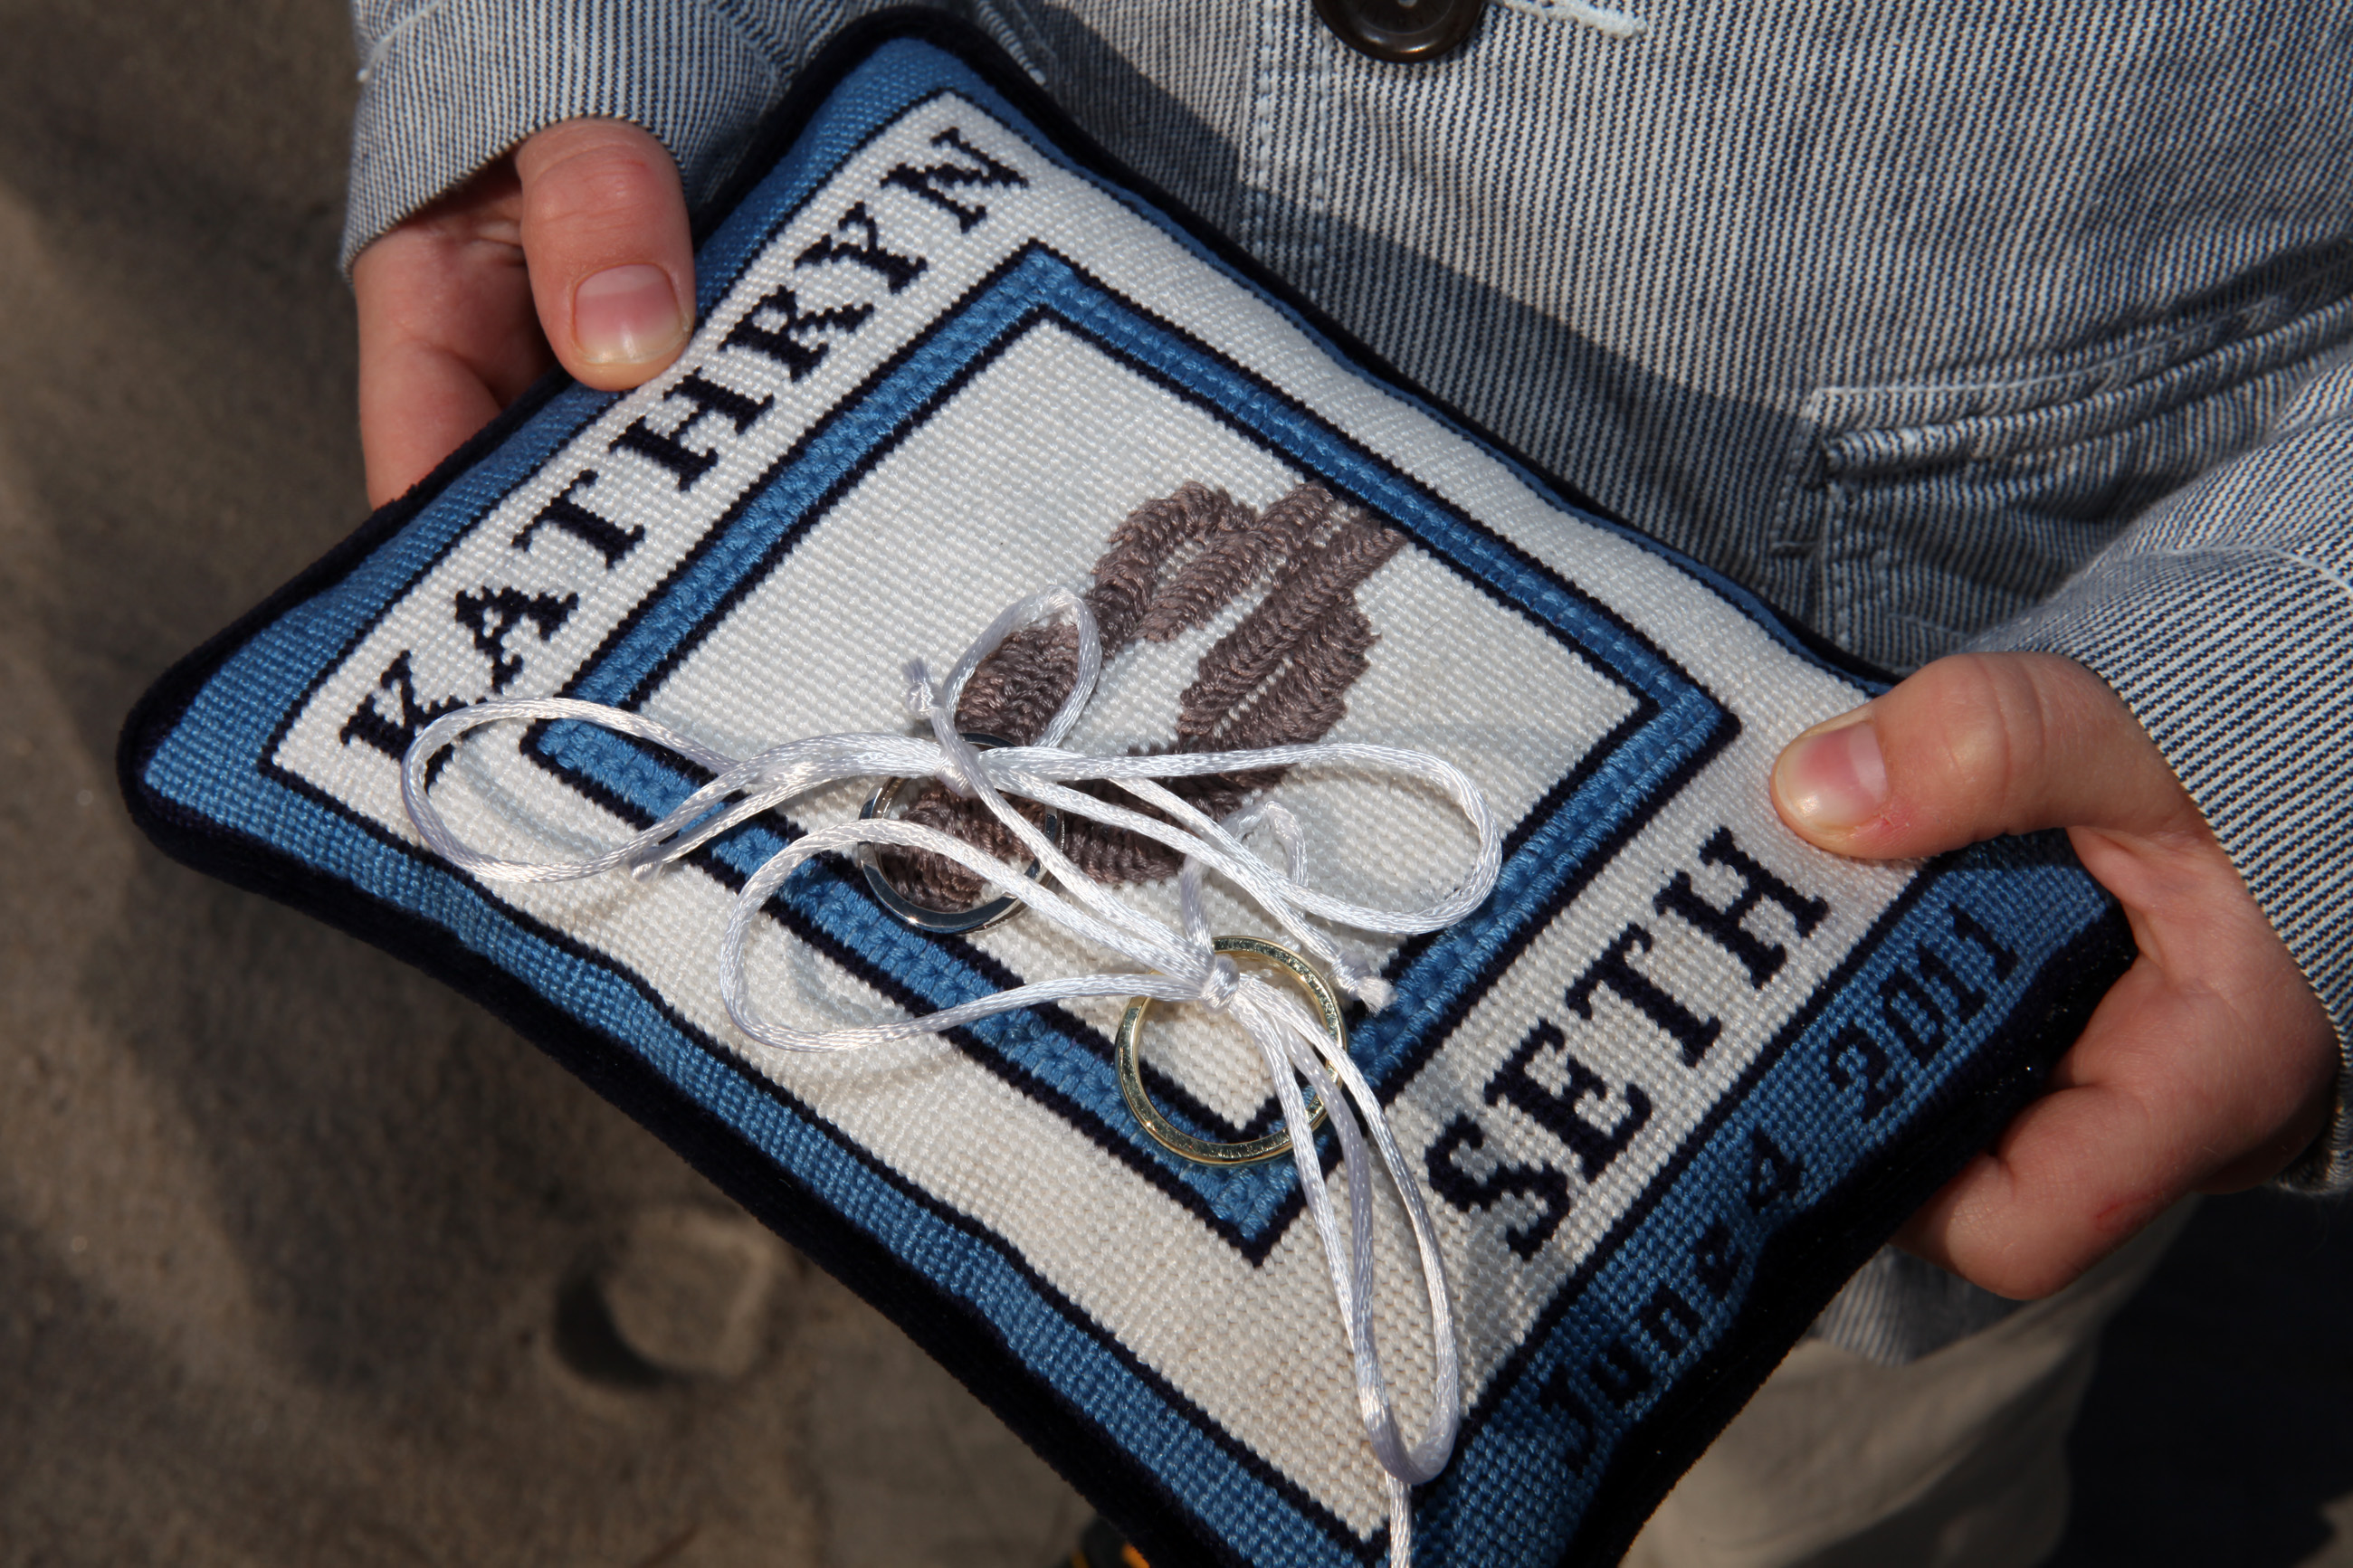
My friends Bob and Irene got married this summer, and I decided that since we love our ring bearer pillow so much, I’d have to make them one!   (You click the following link see our wedding ring bearer pillow.)

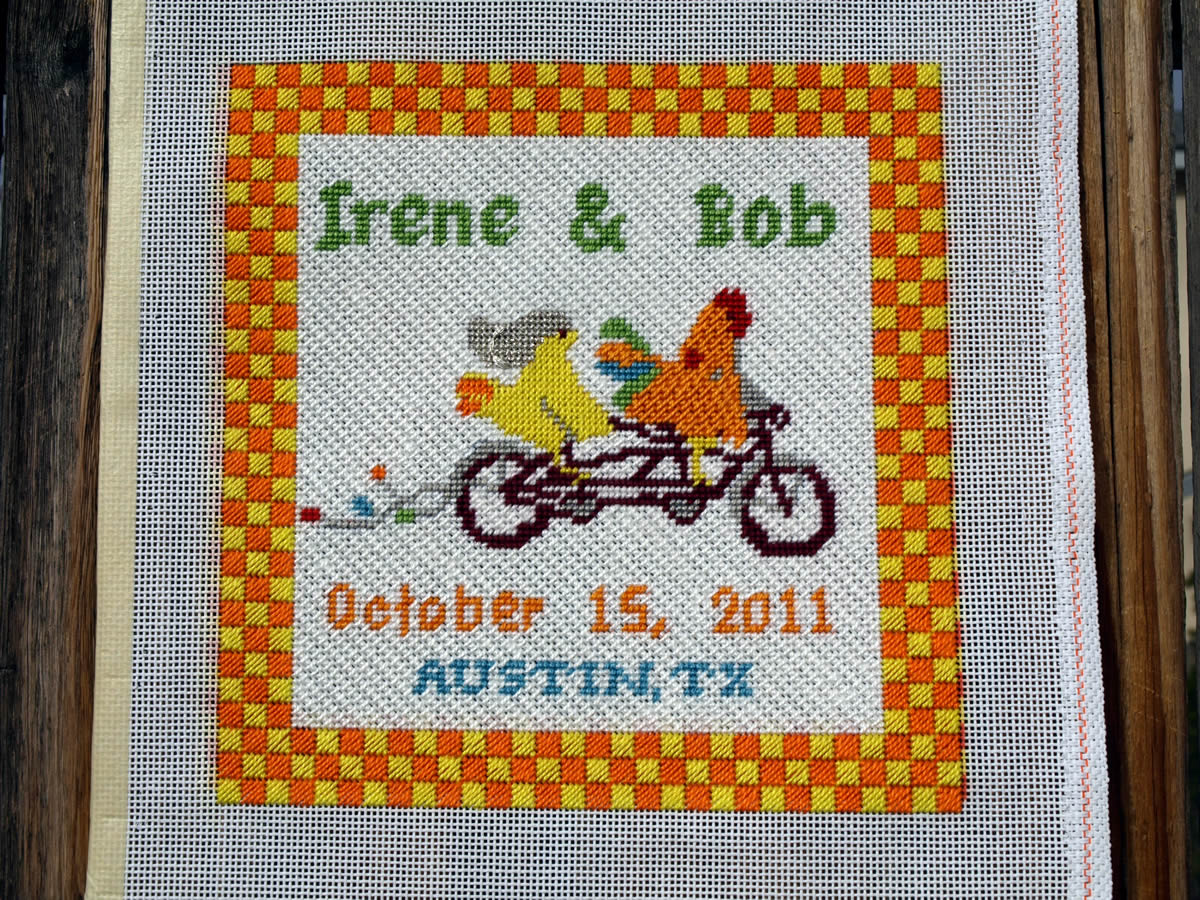
Their Custom NeedlePoint Wedding Pillow

Not only was this a fun project to design, but it also was a great opportunity for us to test out our new needlepoint finisher and our pillow finisher.  I’ve used them 5 times so far, as can be seen on the cat needlepoint post and in our newsletter, but this time the stitcher got away from the tent stitches and she decided what stitches she thought would look best.

Designing the pillow was relatively simple, I used Bob and Irene’s wedding invitation for my design inspiration, and made some alterations in photoshop.  You can see I even used their invitation for matching the colors.

We used a burgundy velveteen backing for the pillow, and the contrast looks great.  My only regret on this project, is that I think I should have made the pillow 12 x 12 rather than 8 x 8.  It does not cost much extra to put a ‘frame’ around the needlepoint, and I think fills out better on a sofa.

If you have a project that you don’t have time for, we can make it for you.  Our prices start at $2 per inch for stitching, $50 for custom needlepoint kits, $60 for pillow finishing, or $160 for a complete custom ring bearer pillow.

You can visit our personalized needlepoint shop online at www.needlepaint.com

Needlepoint Finishing Close Up Picture - Click to Enlarge

Over the weekend NeedlePaint attended the TNNA Winter Show in Phoenix.  This tradeshow is one of the largest events for needlepoint stores each year.

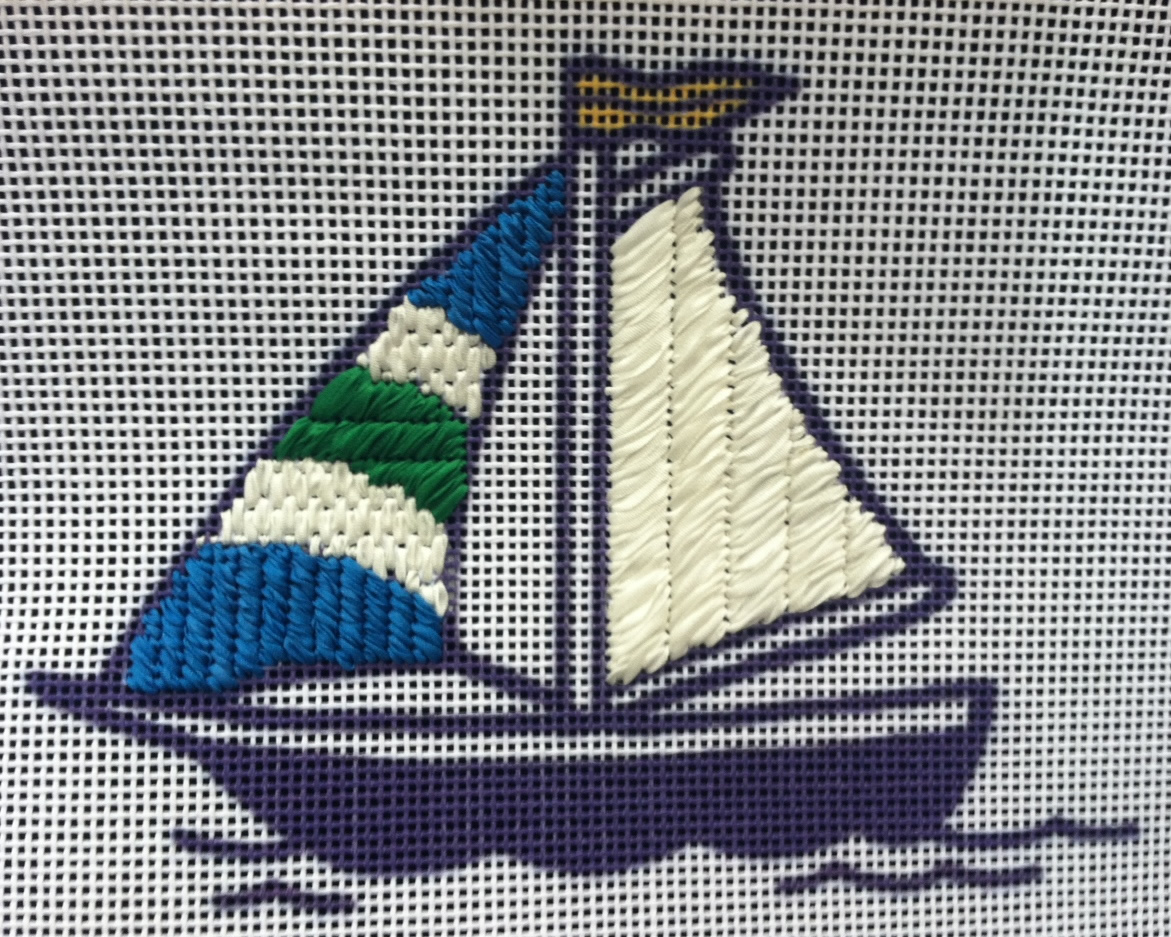
I was lucky enough to be across from River Silks, silk ribbon for needlepoint and embroidery.  The ladies there were quite busy, but as the afternoon hours extended and the traffic drew down, we got to chatting.  They gave me a piece of canvas and some silk.  Once I started playing with the silk ribbon, I loved it!  It really is easy to use, and the coverage looks great.

Quickly I came up with a fun idea to work on during the slower times.  There was a sailboat custom needlepoint canvas on display, which I took down, and decided to make silk sails.

The silk ribbon is flowing with the wind

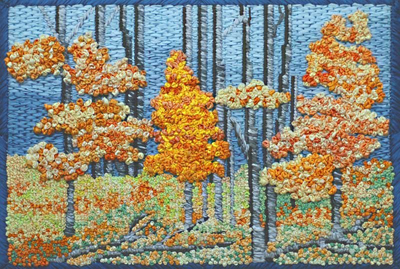
Just to do the creative stitchers that have used River Silk some justice, I’m going to include some amazing pictures of needlepoint that has been done using silk.

Roadside designed by Anne Cram, stitched by Lynn K. Bayer

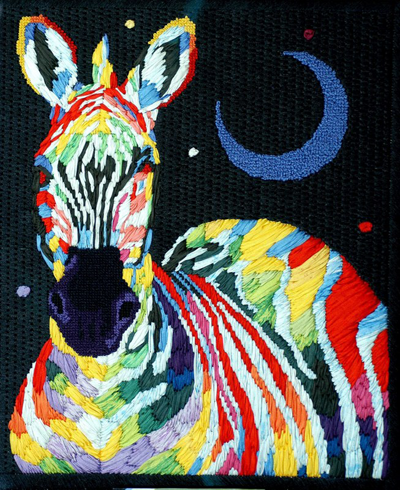
Electric Zebra from Julia’s Needleworks

These and many more River Silks needlepoint kits can be ordered through your local needlepoint retailer or through NeedlePaint.com!  Also, if you want to have your own custom needlepoint kits matched with silk from River Silks, we can do that, too!

We just created a personalized needlepoint shop for wedding ring bearer pillows needlepoint kits.  These ring bearer pillow designs allow crafters to adjust names and colors and even add their own designs to make that special day just a little more special.

If you are new to needlepoint, or very experienced, you will find making a ring bearer pillow to be a treat.  The small size and easy to follow designs mean that you can finish your project in less than a month!  If you are not crafty, don’t worry, we also have stitchers here who can have your pillow ready in as little as six weeks.  Personalized needlepoint ring bearer canvases start at only $49 and finished needlepoint pillows start at $160.

Don’t miss your chance to make an unforgettable wedding gift, that not only will be used during the wedding, but also will be cherished in the newlyweds home for a lifetime.

The Ring Bearer Pillow Shop Has Launched with over 20 Personalizable Designs


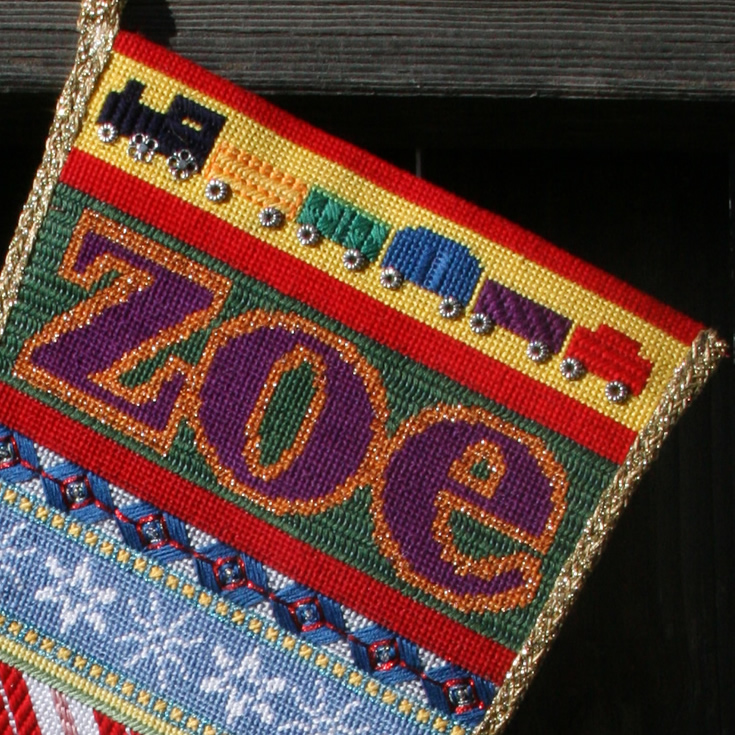
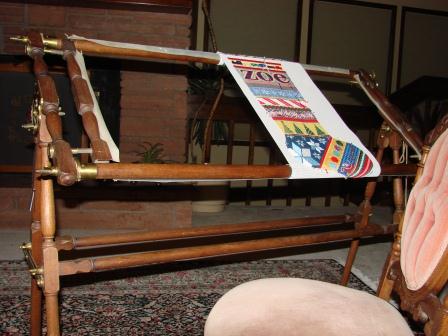
Three weeks before Christmas, my daughter-in-law finally finished the needlepoint design for her daughter’s (my grand-daughter’s) needlepoint Christmas stocking.  So, I put the canvas on my Victorian stretcher frame, began leafing through my favorite needlepoint books ( The Needlepoint Book by Jo Ippolito Christensen and A Pageant of Pattern for Needlepoint Canvas by Sherlee Lantz), and began stitching like mad.

Zoe's Personalized Needlepoint Stocking - BEAUTIFUL!!! (Click on Photo to Enlarge)

Well, not that fast! I took some time to picking out the stitches while I downloaded from my local public library the audio recording of War and Peace by Leo Tolstoy by Blackstone Audio, Inc. Downloadable audio books which can be listened to on your computer, MP3 player, or iPod has allowed me to combine creative stitchery and literature and learning.

War and Peace was 60 hours and 42 minutes long and I finished listening to Tolstoy a couple hours before I finished the stocking. Thus, I have termed the project the Ware and Peace Stocking. Similarly, an afghan which I knitted for a wedding present became The Children’s Book Afghan and I sent a copy the book by A.S. Byatt as an additional gift. Both books are long and dense. I found them much more enjoyable as audio presentations as I stitched away than they would have been had I read the written words. I remember that the first time I read War and Peace in 1968, it took me the entire summer!

Coming soon details of some of the unusual stitches I used on my Ware and Peace Stocking.

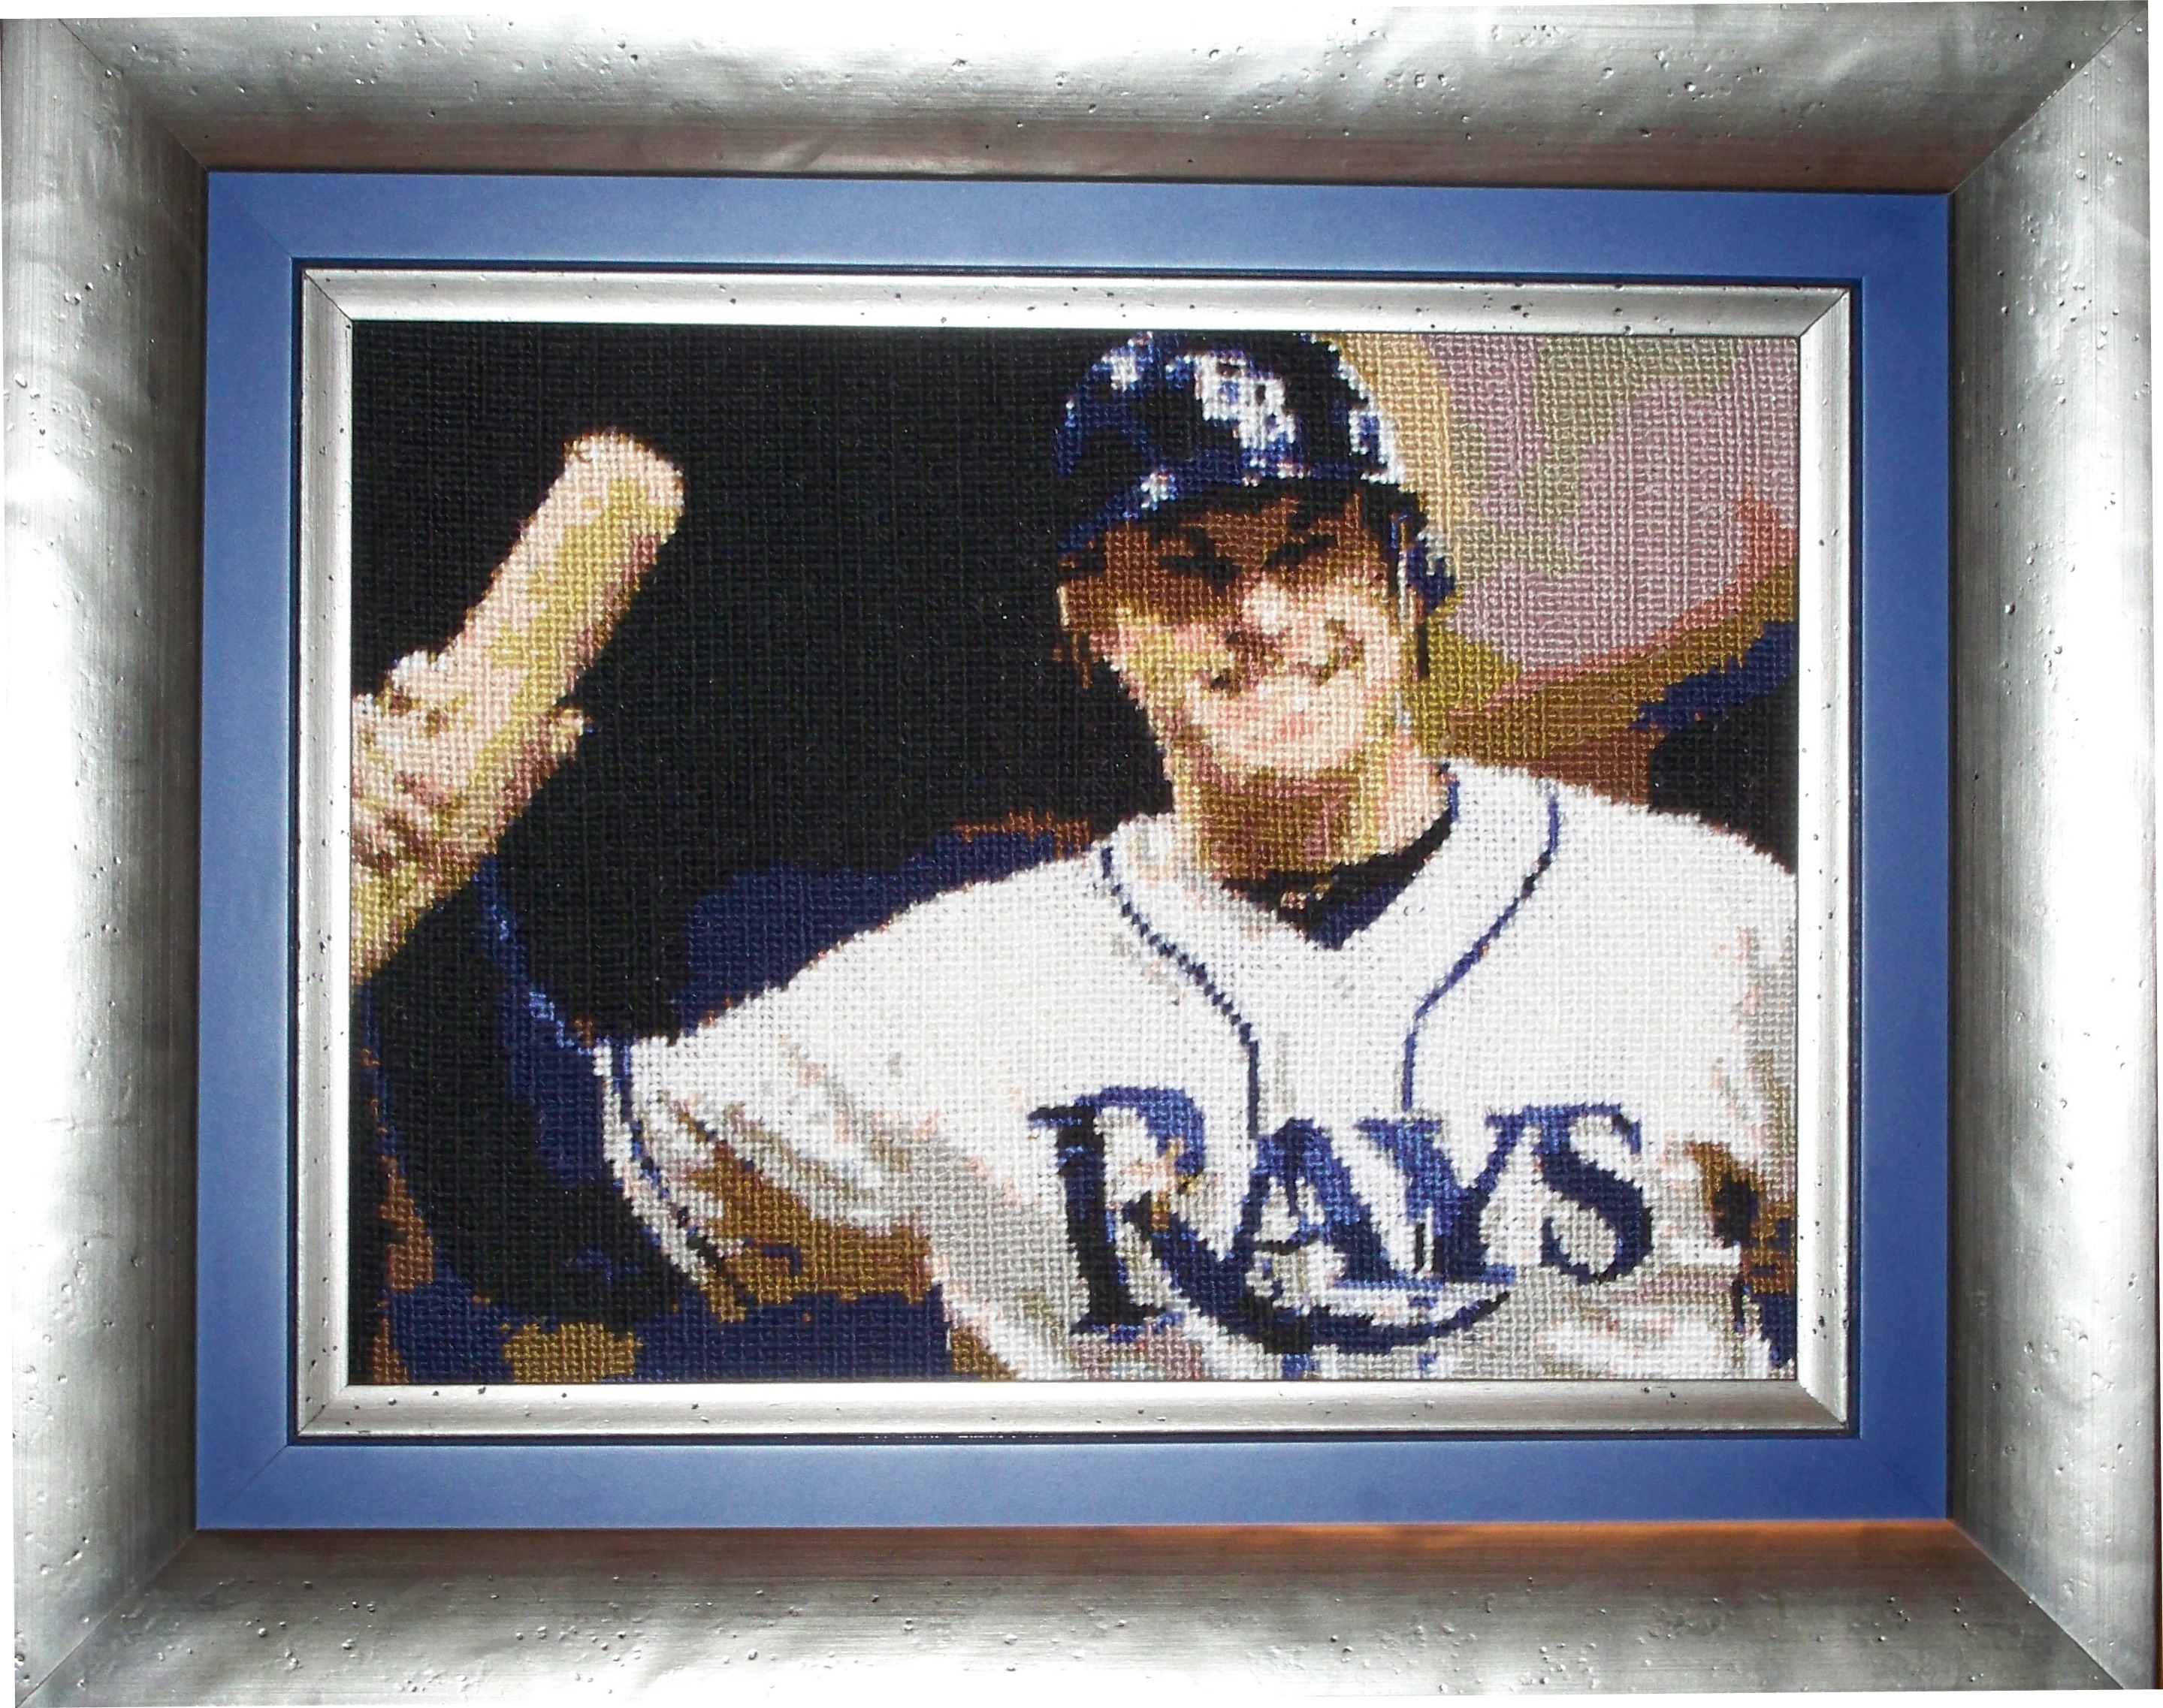
Zainab Al-Chalabi recently created this beautiful needlepoint kit of a Evan Longoria.  Her exquisite stitching and framing capture a great memory in Florida baseball.

Evan Longoria in Needlepoint

A few things I want to mention.  #1.  The picture is cropped very close so the details of the face and body show up really well.  #2.  The colors on the face had very good lighting.  This can be adjusted, if you are uploading a portrait to make a needlepoint canvas and having trouble, feel free to email us and we will adjust the colors on your image in Photoshop.

Currently, we are working on a portrait of a customers grandchild that is a portrait from their sports team.  It looks like another fantastic project!

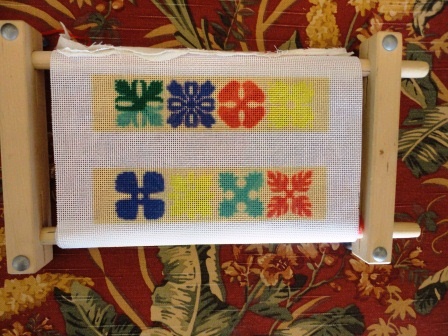
Tired of or frustrated by having to stretch your needlepoint canvas back into shape after you have finished needlepointing? That was always the part I disliked the most about a needlepoint project. Years ago I found a Victorian needlepoint/embroidery frame in an antique wholesale warehouse in San Francisco while I was looking for dining room chairs. No one was too sure what it was or what to do with it. I did! It was going to make my life much easier when I made the needlepoint seats for the chairs I purchased at the same time. The frame was itself a work or art, and I have used it constantly.


The only problem is that t it is not portable. So when I travelled I had to leave my needlepoint at home a take my knitting along. Then in 2001, security decided that one could not take knitting needles on the airplane. I had two trips to Europe planned and needed handiwork to take with me. Enter the Frank A. Edmunds Split Rail Scroll Frames which are also available at many retail stores. They come in varying sizes and don’t require that you attach extra fabric to fit a specific size. I do, however, usually sew a piece of fabric to the top and bottom to give better tension to my canvas as I tighten it.


Frank A. Edmunds has many other frame products which might also be of interest. They have the new Handi Clamp Scoll Frame which I am tempted to try, but my old ones are still in working order.

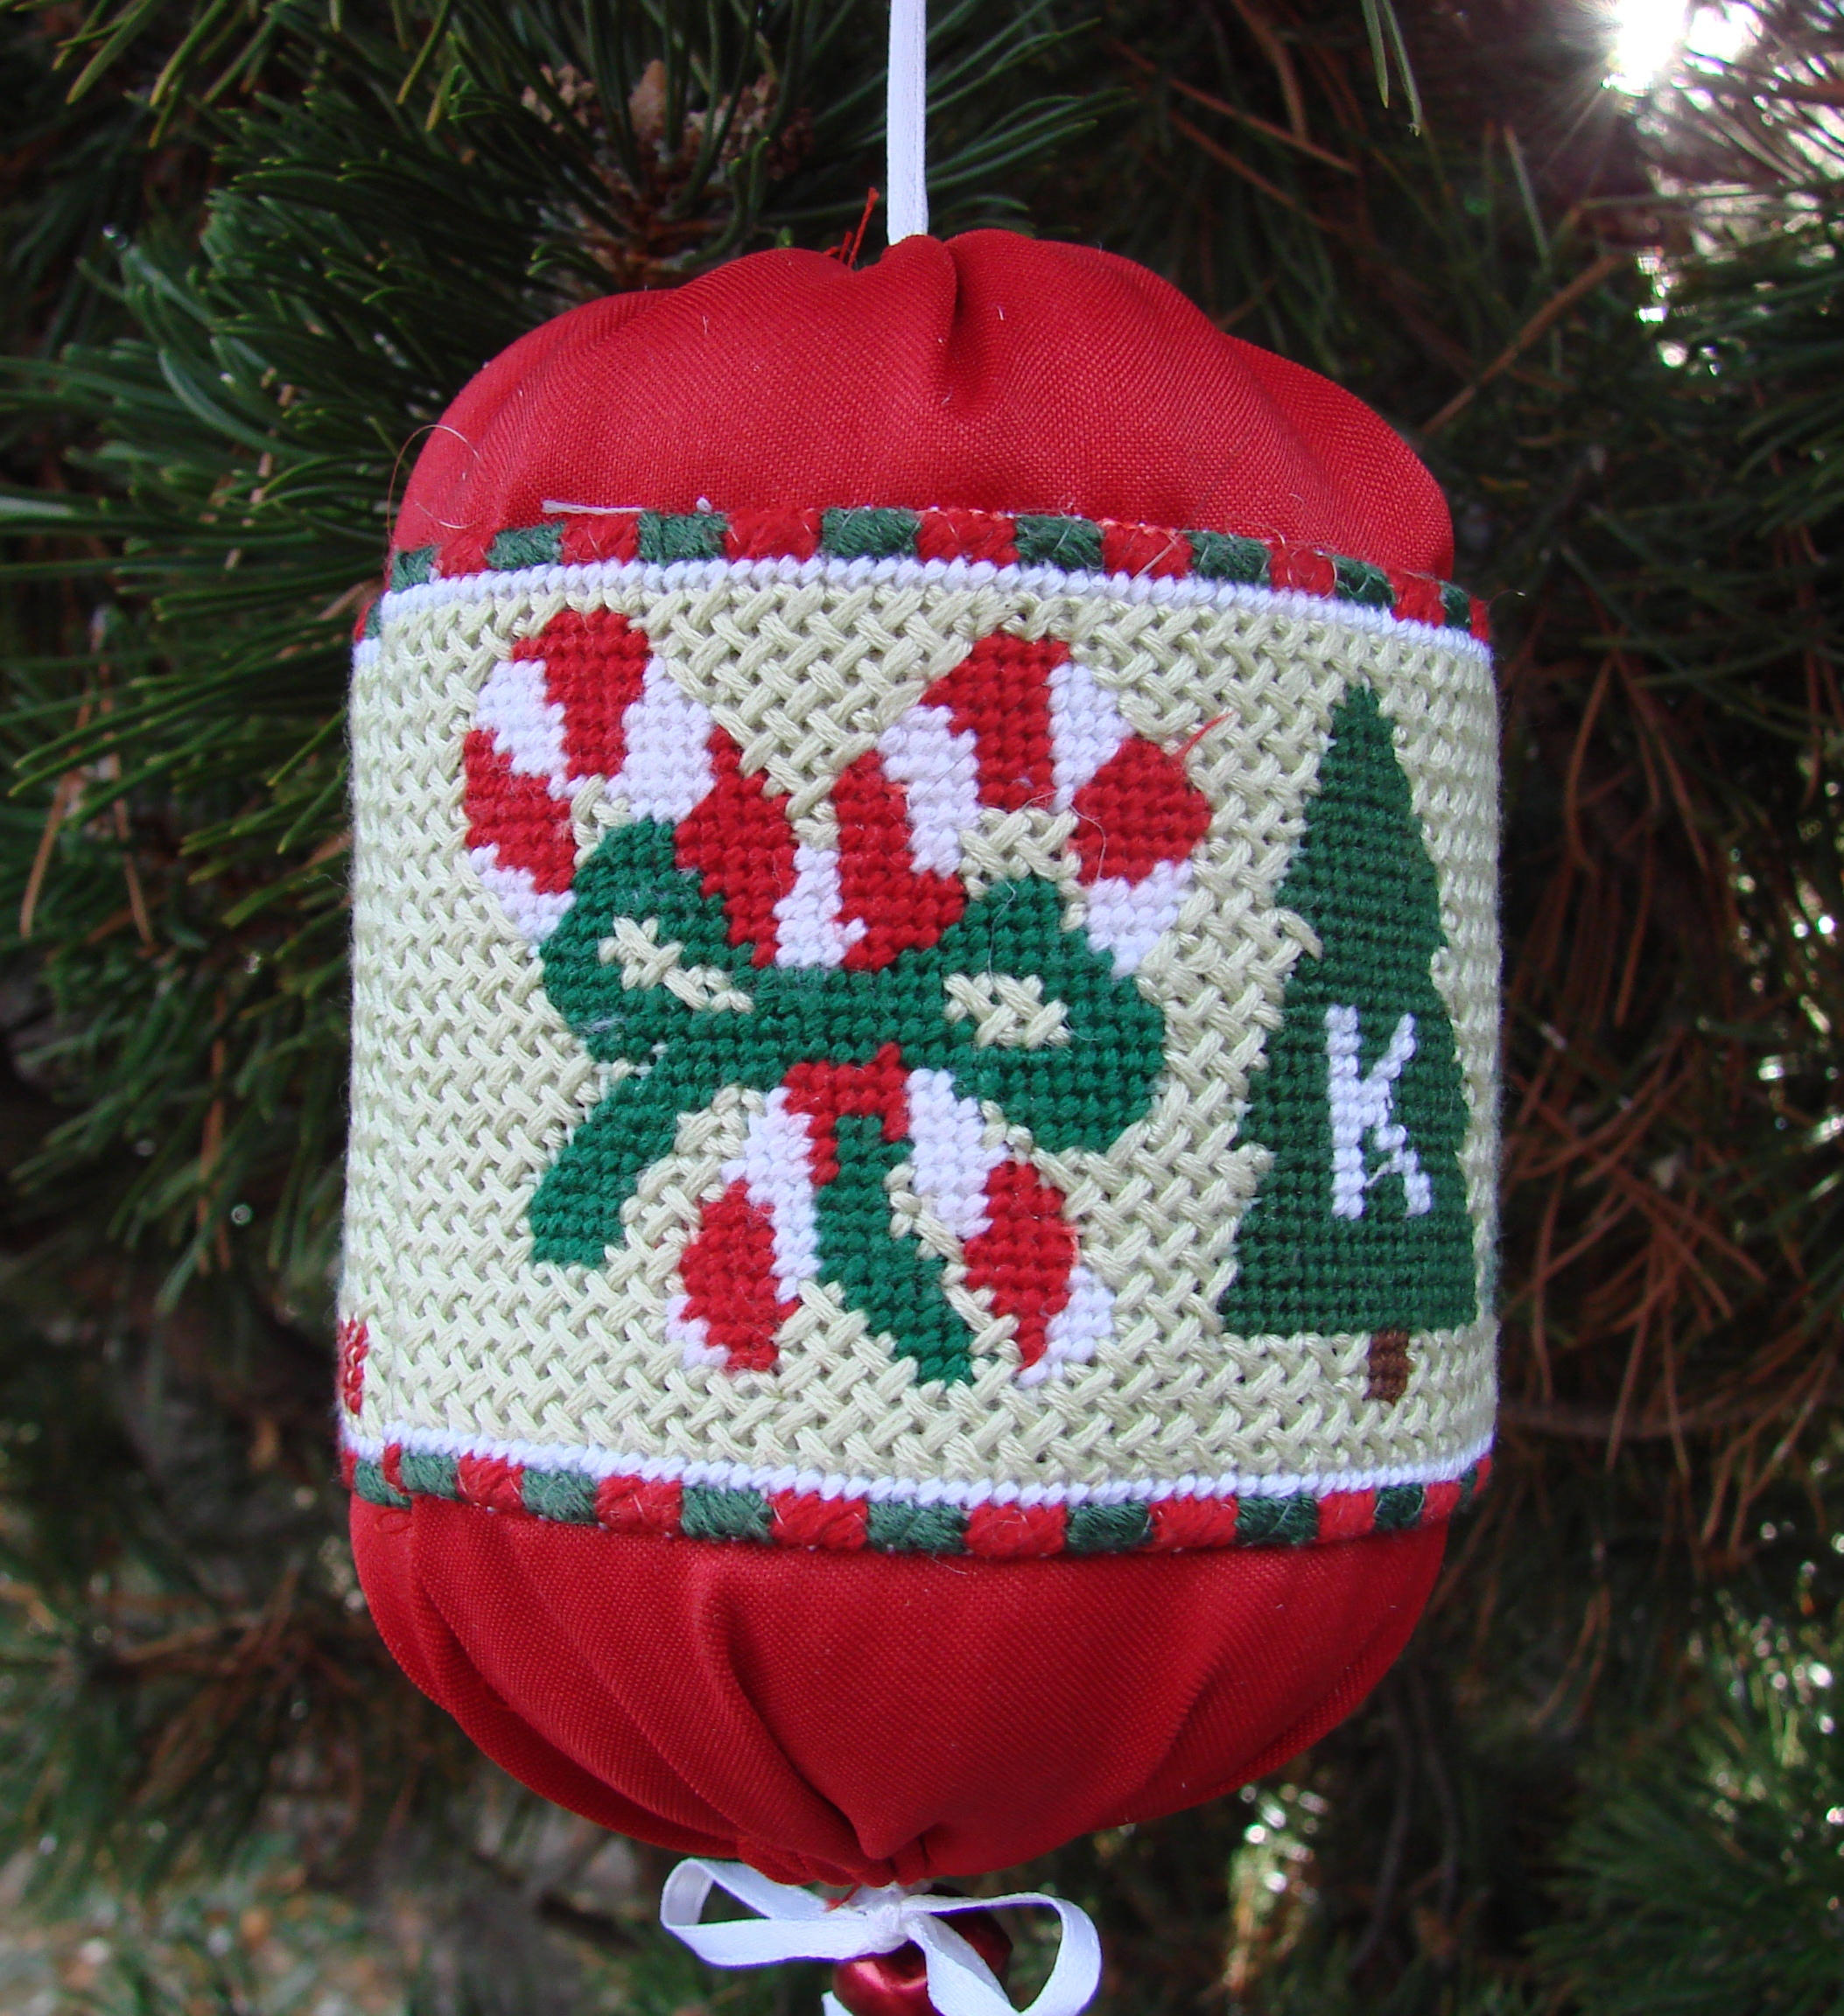
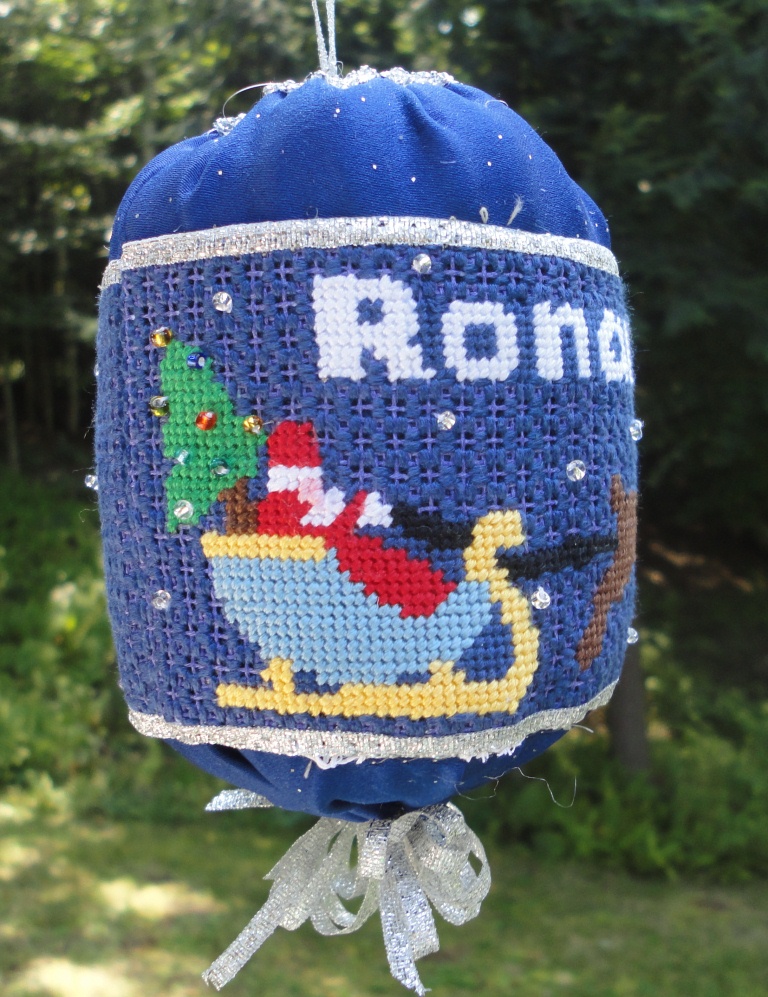
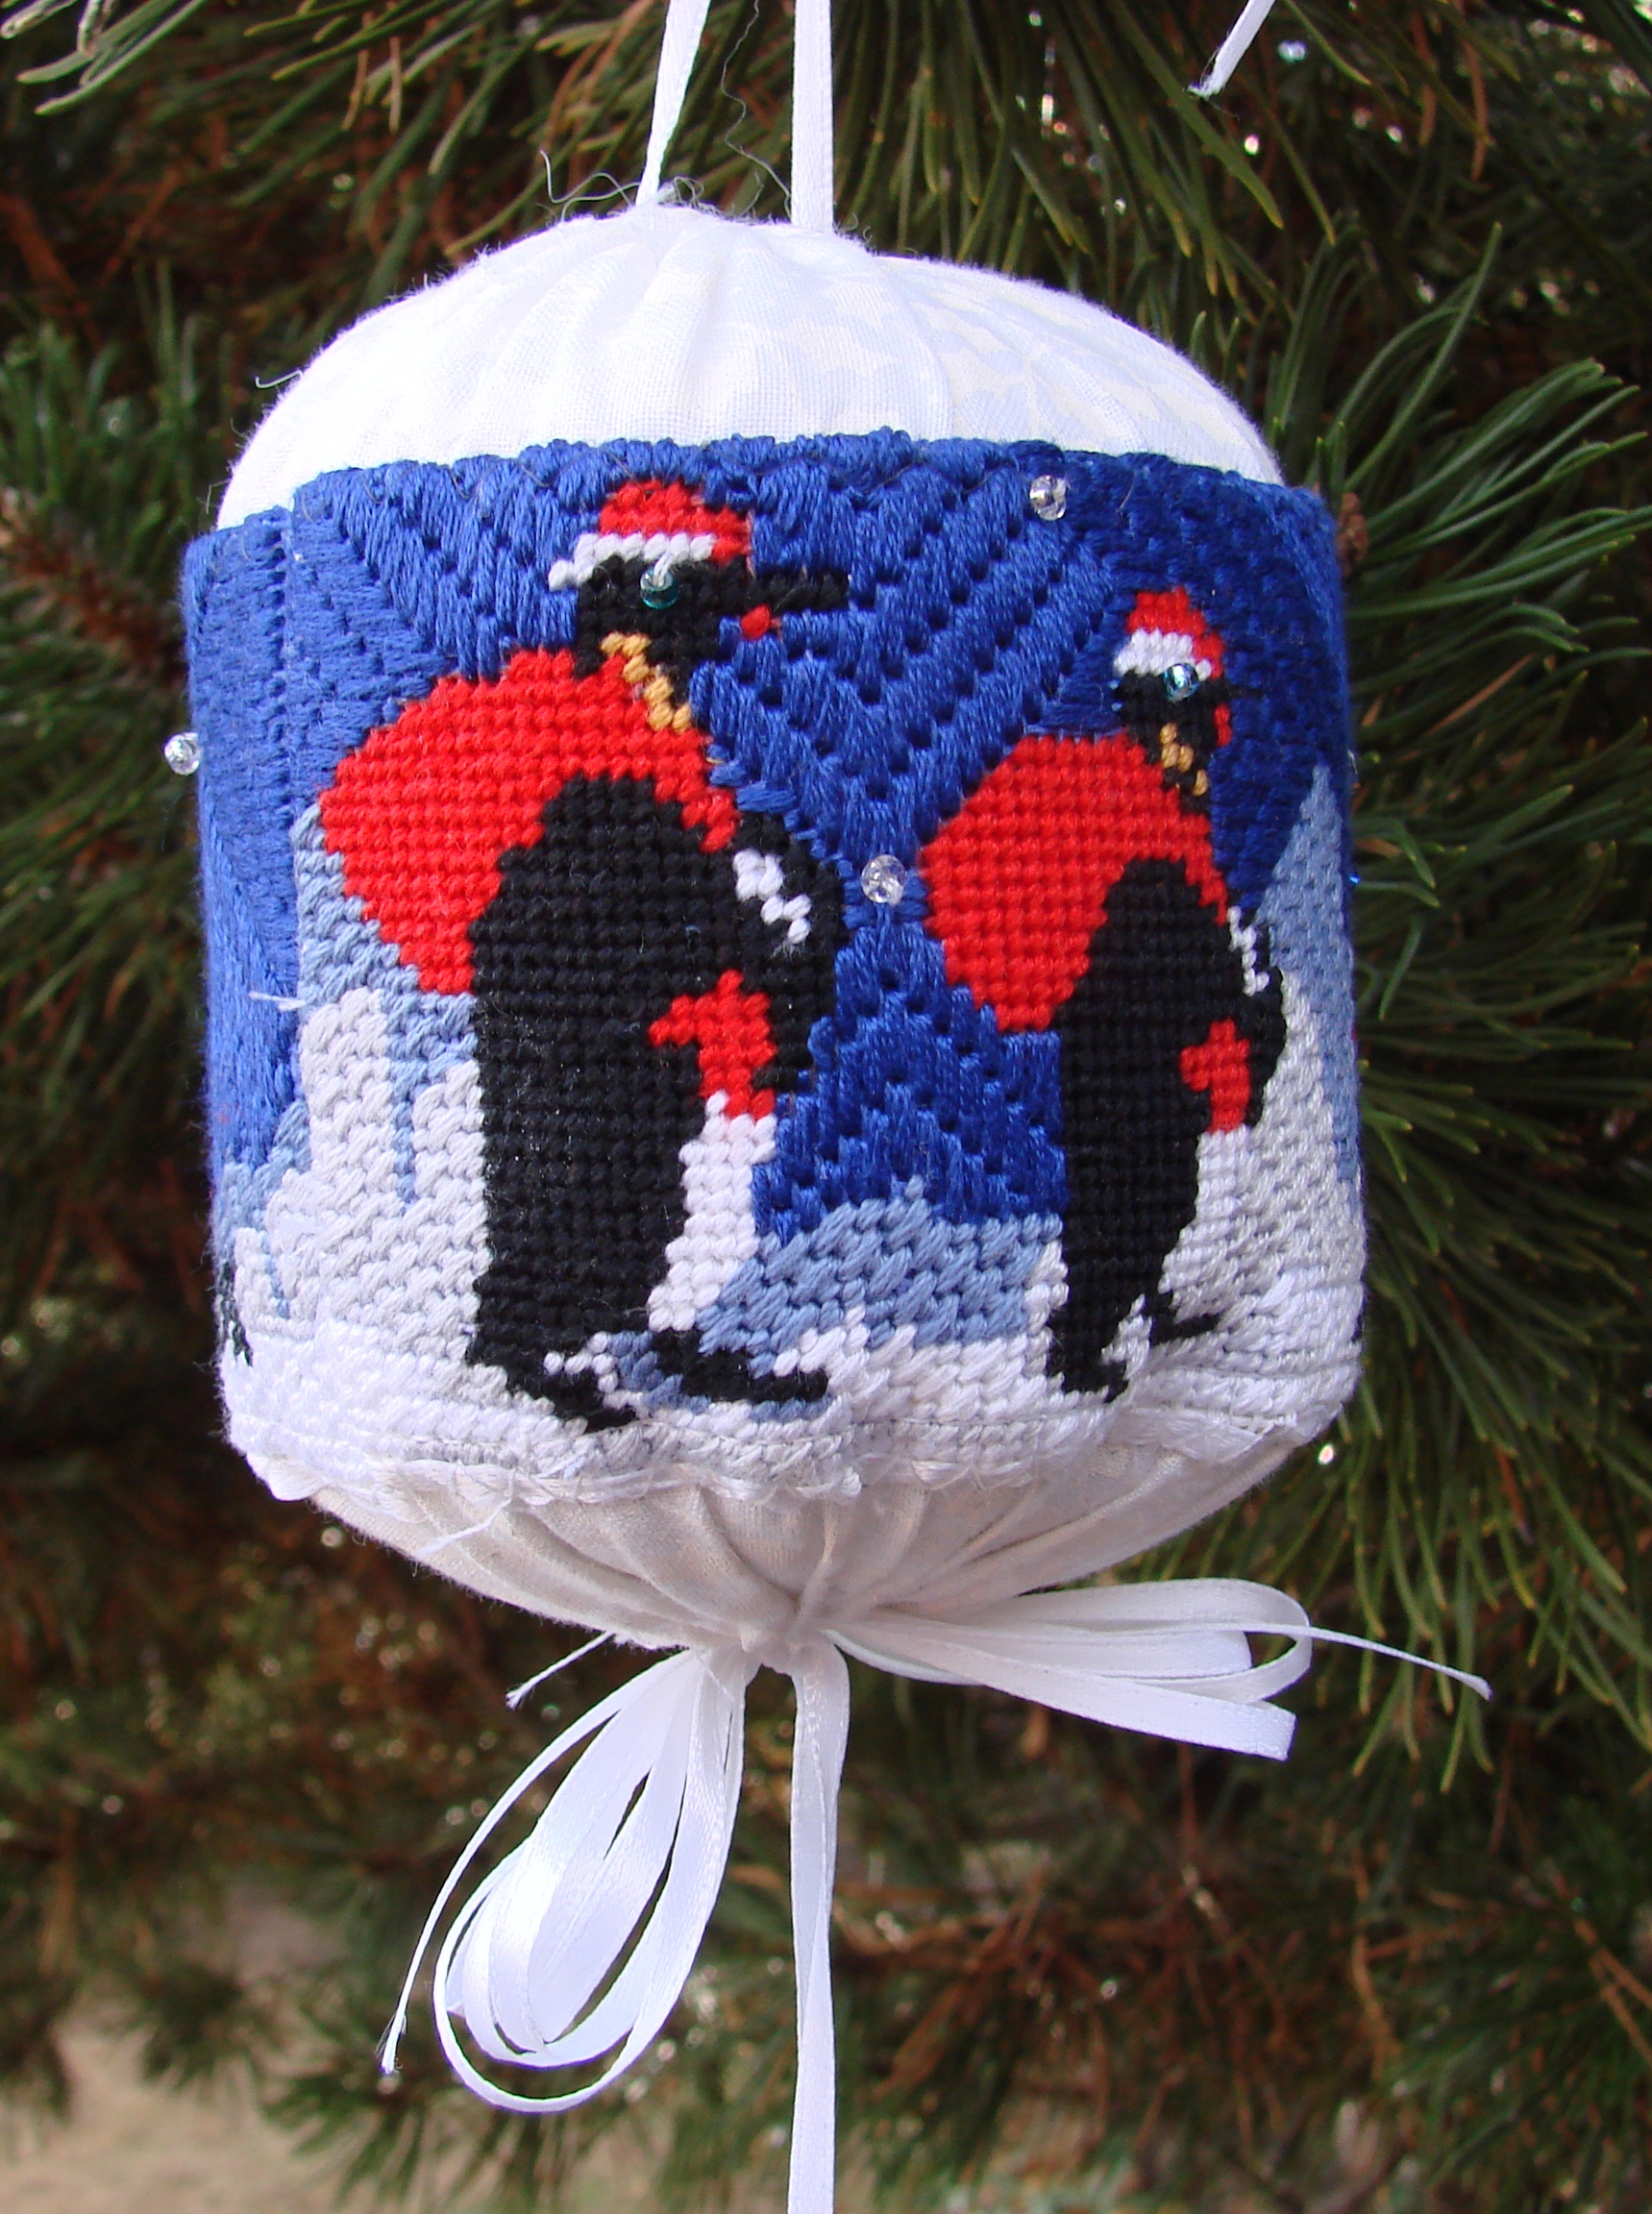
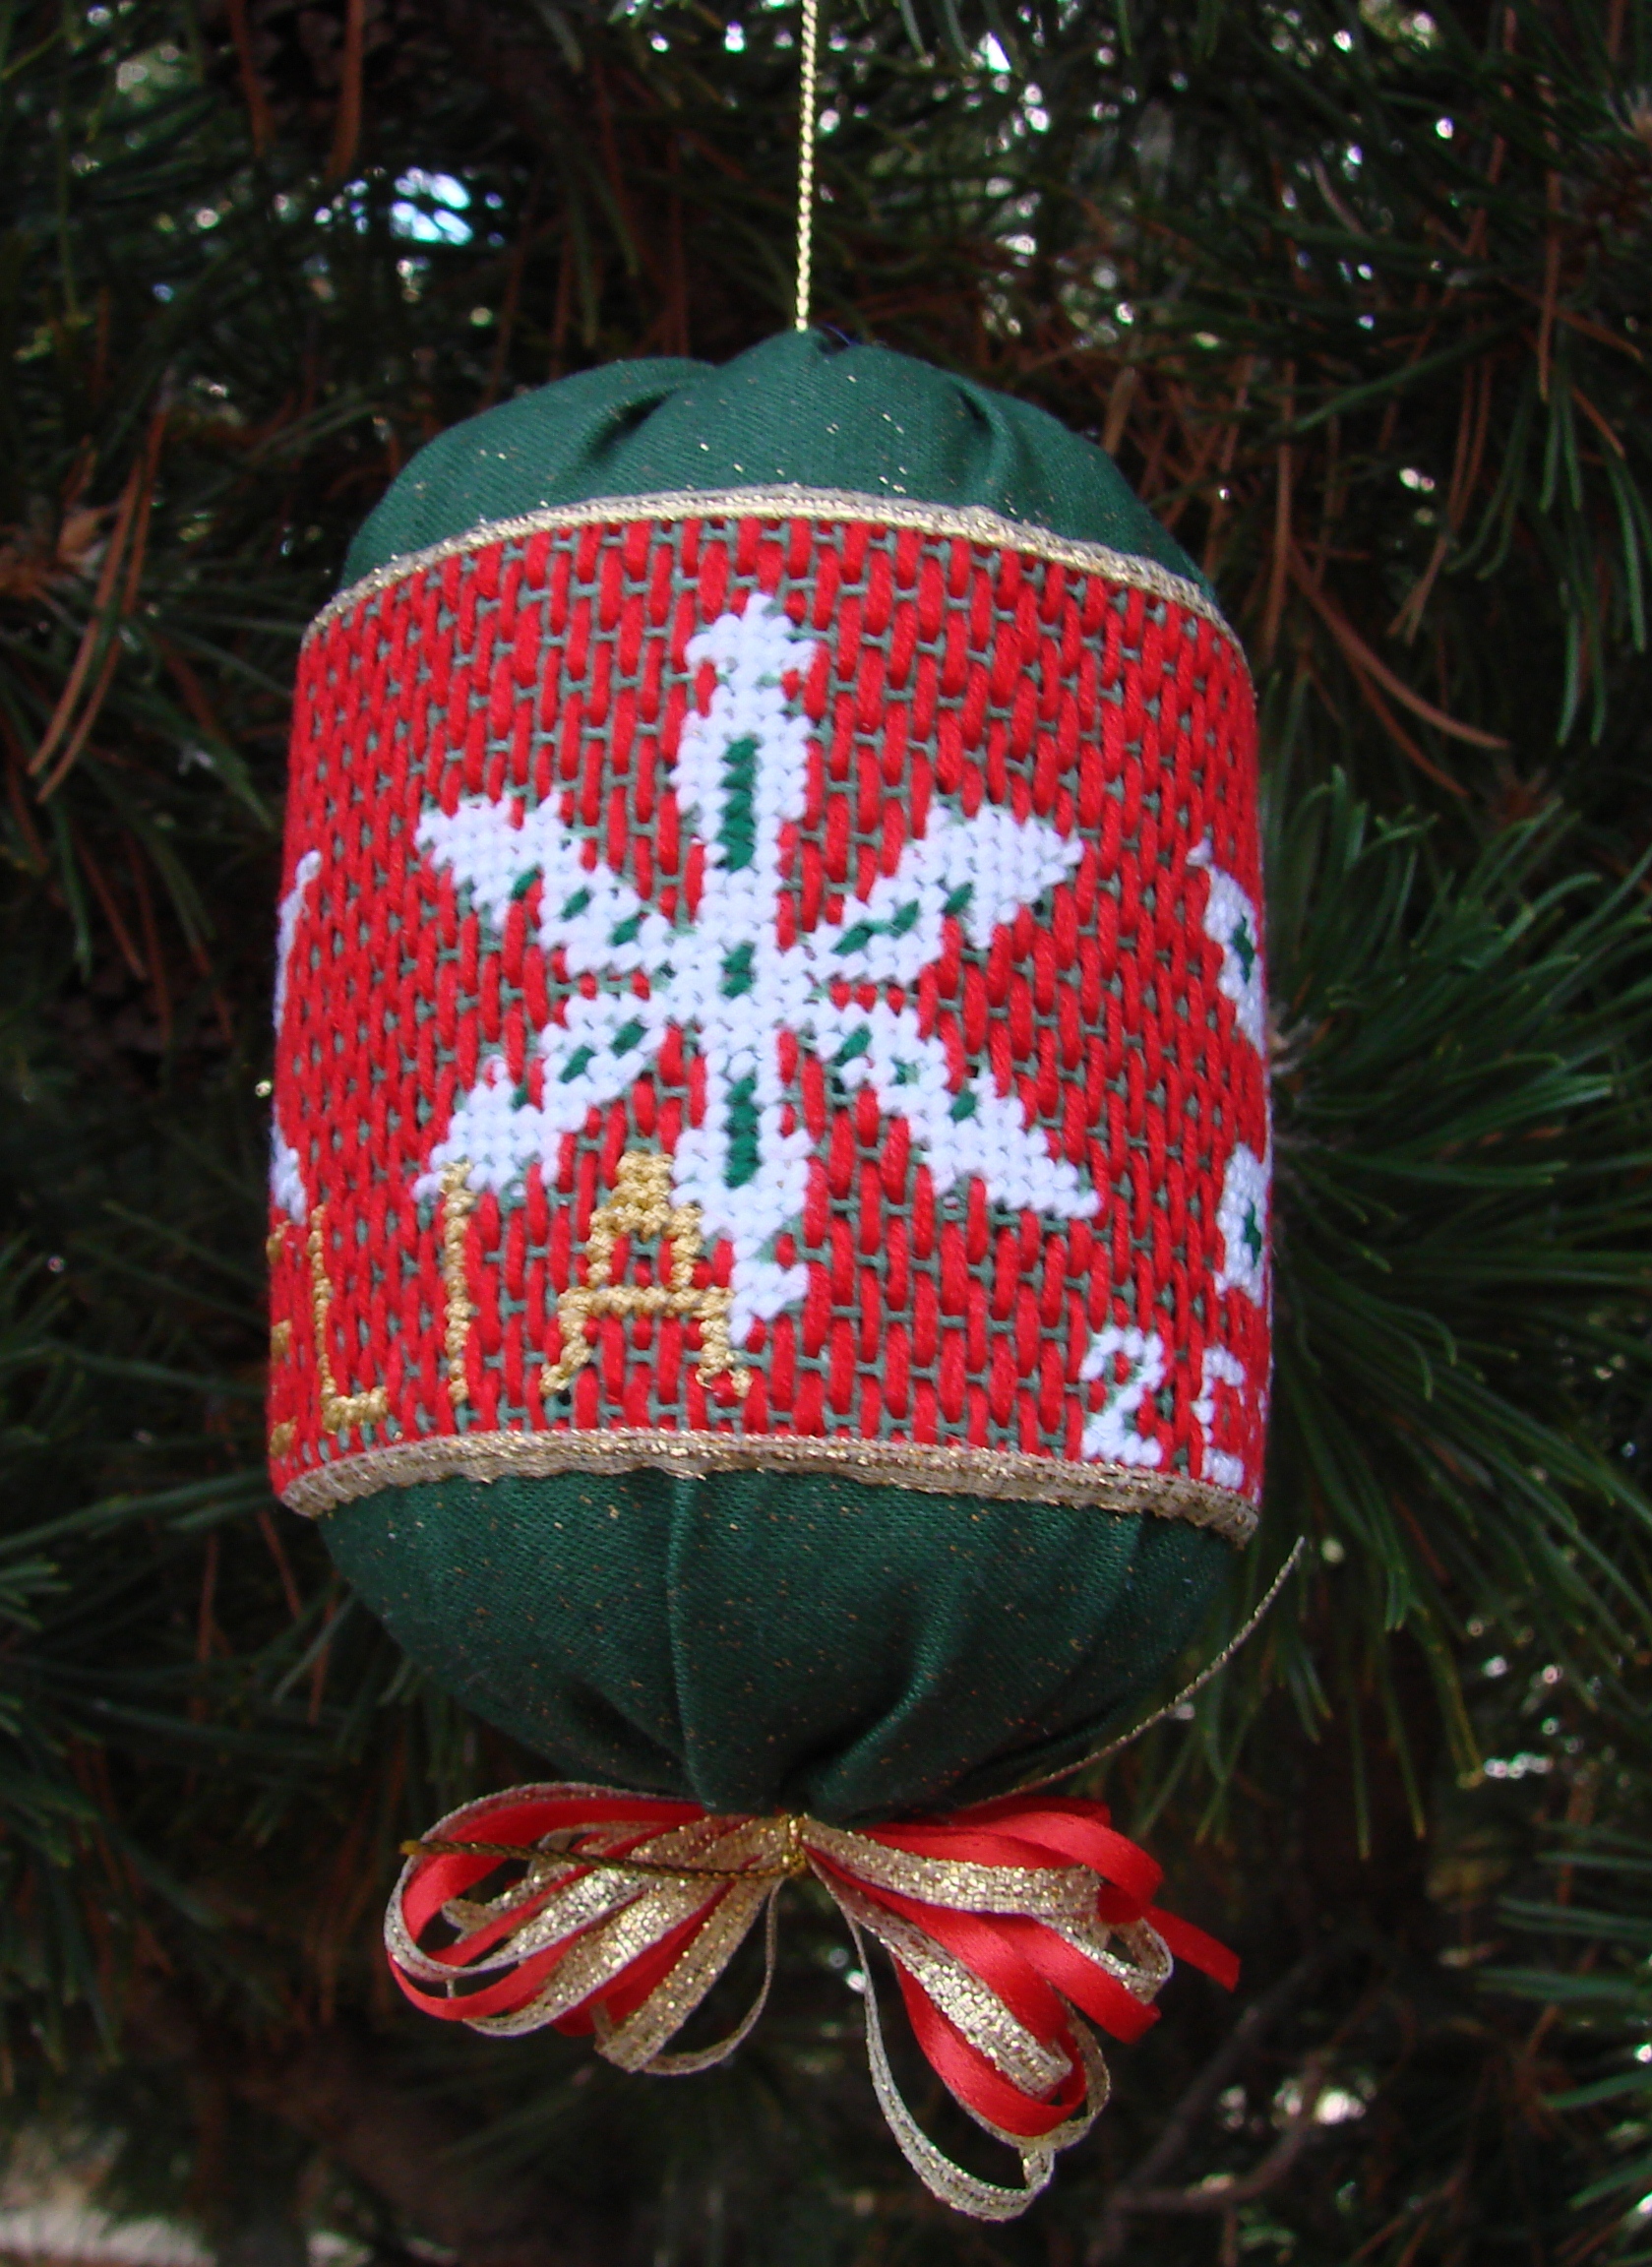
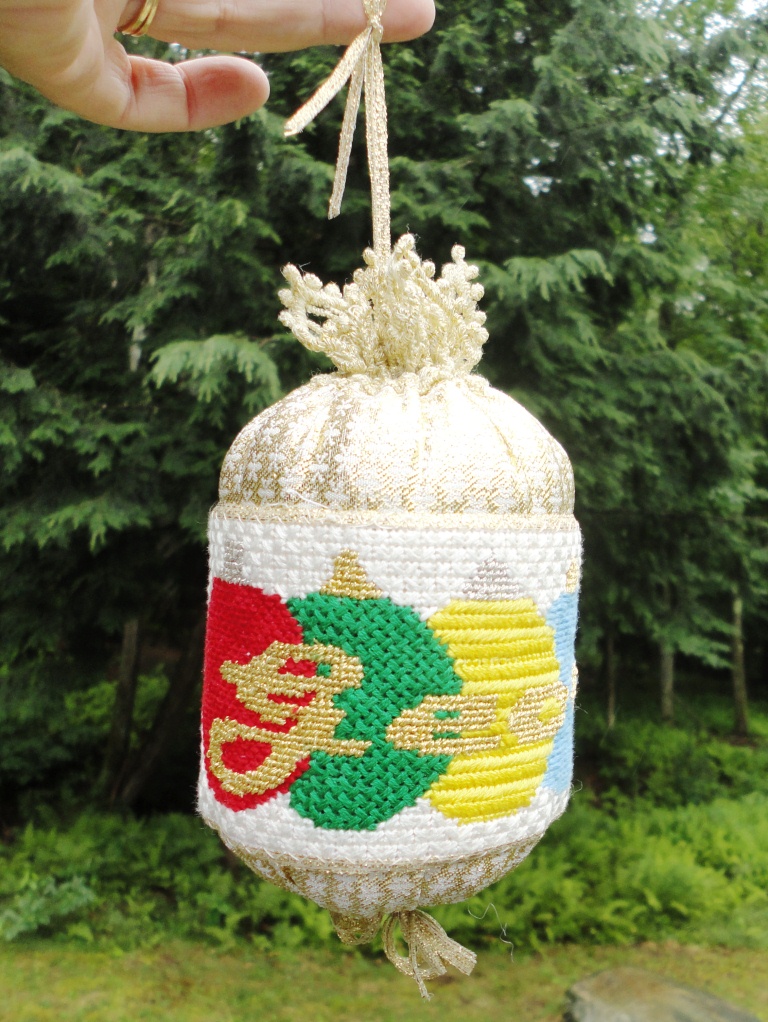
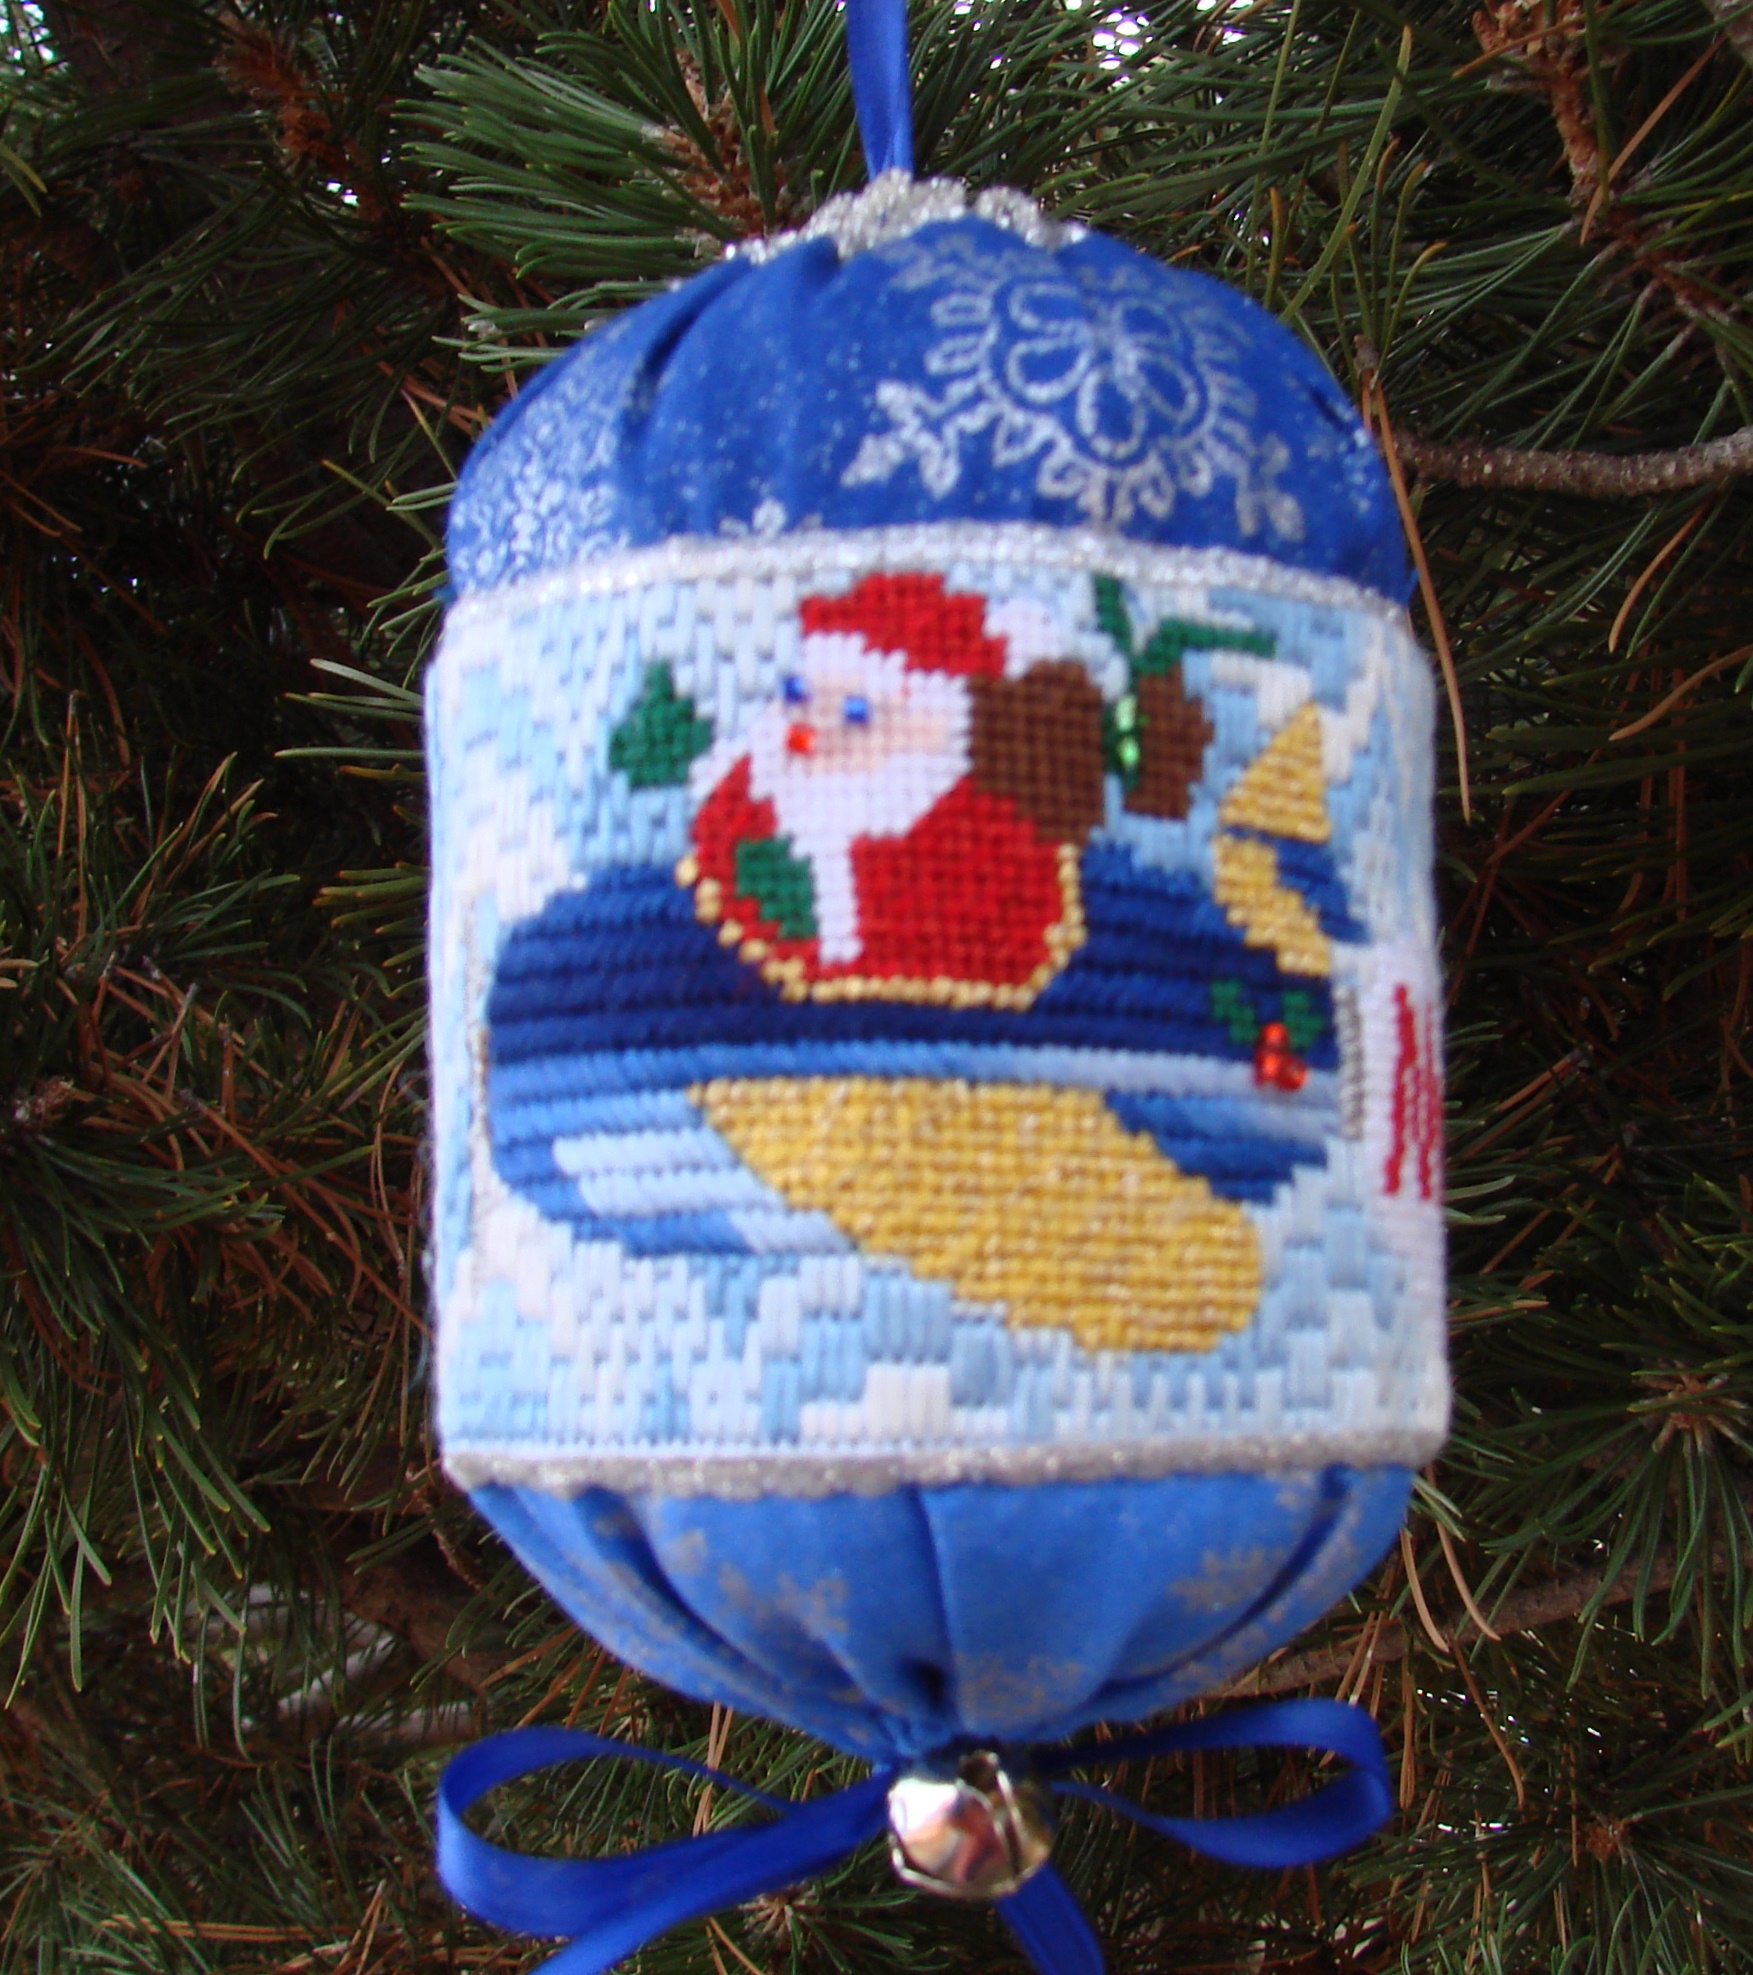
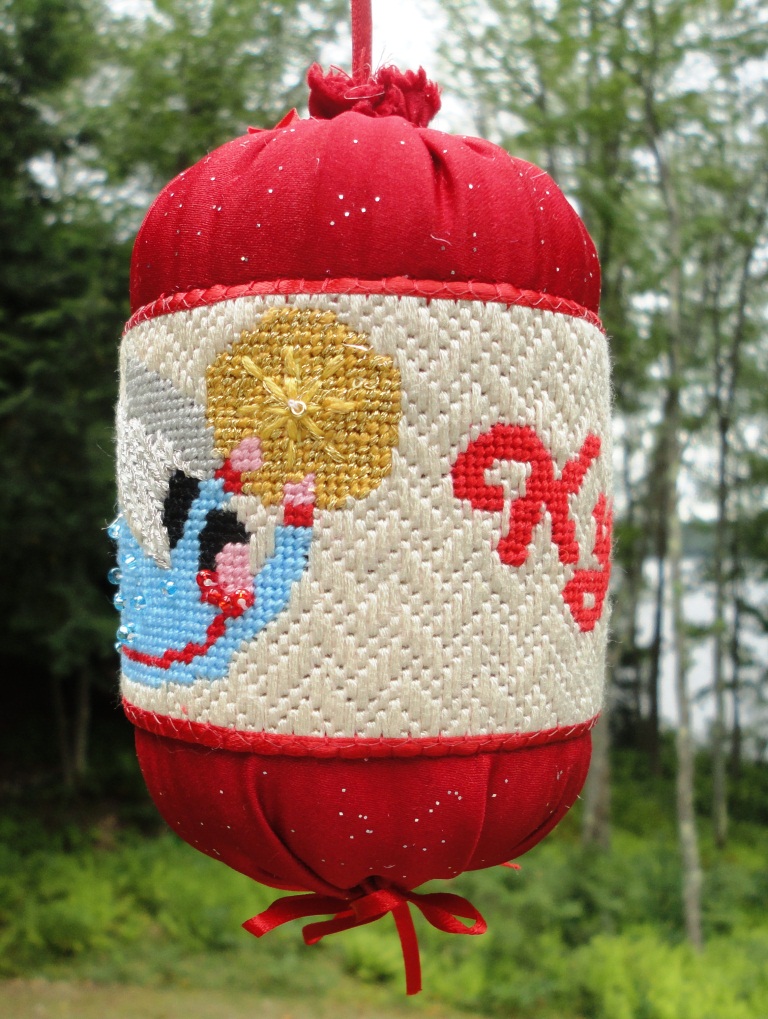
Peggy has finished all of her quick stitch needlepoint ornaments, and while you may have seen some of them already, there are more great pictures in this post!

In case you want to learn about how to make the personalized needlepoint ornaments you can click the links below:

How to make a Quick Stitch Needlepoint Ornament

Using Quick Stitches

The Four Hour Needlepoint Ornament

Also, if you want to see the whole needlepoint canvas design, they are all available on our personalized needlepoint shop as needlepoint kits or needlepoint canvases.

Candy Cane and Christmas Trees

Santa's Sleigh

Penguin Needlepoint Ornament

Green Snowflake Ornament

Personalized Train

Personalized Christmas Ornament

Santa's Airplane

Flying Christmas Angel

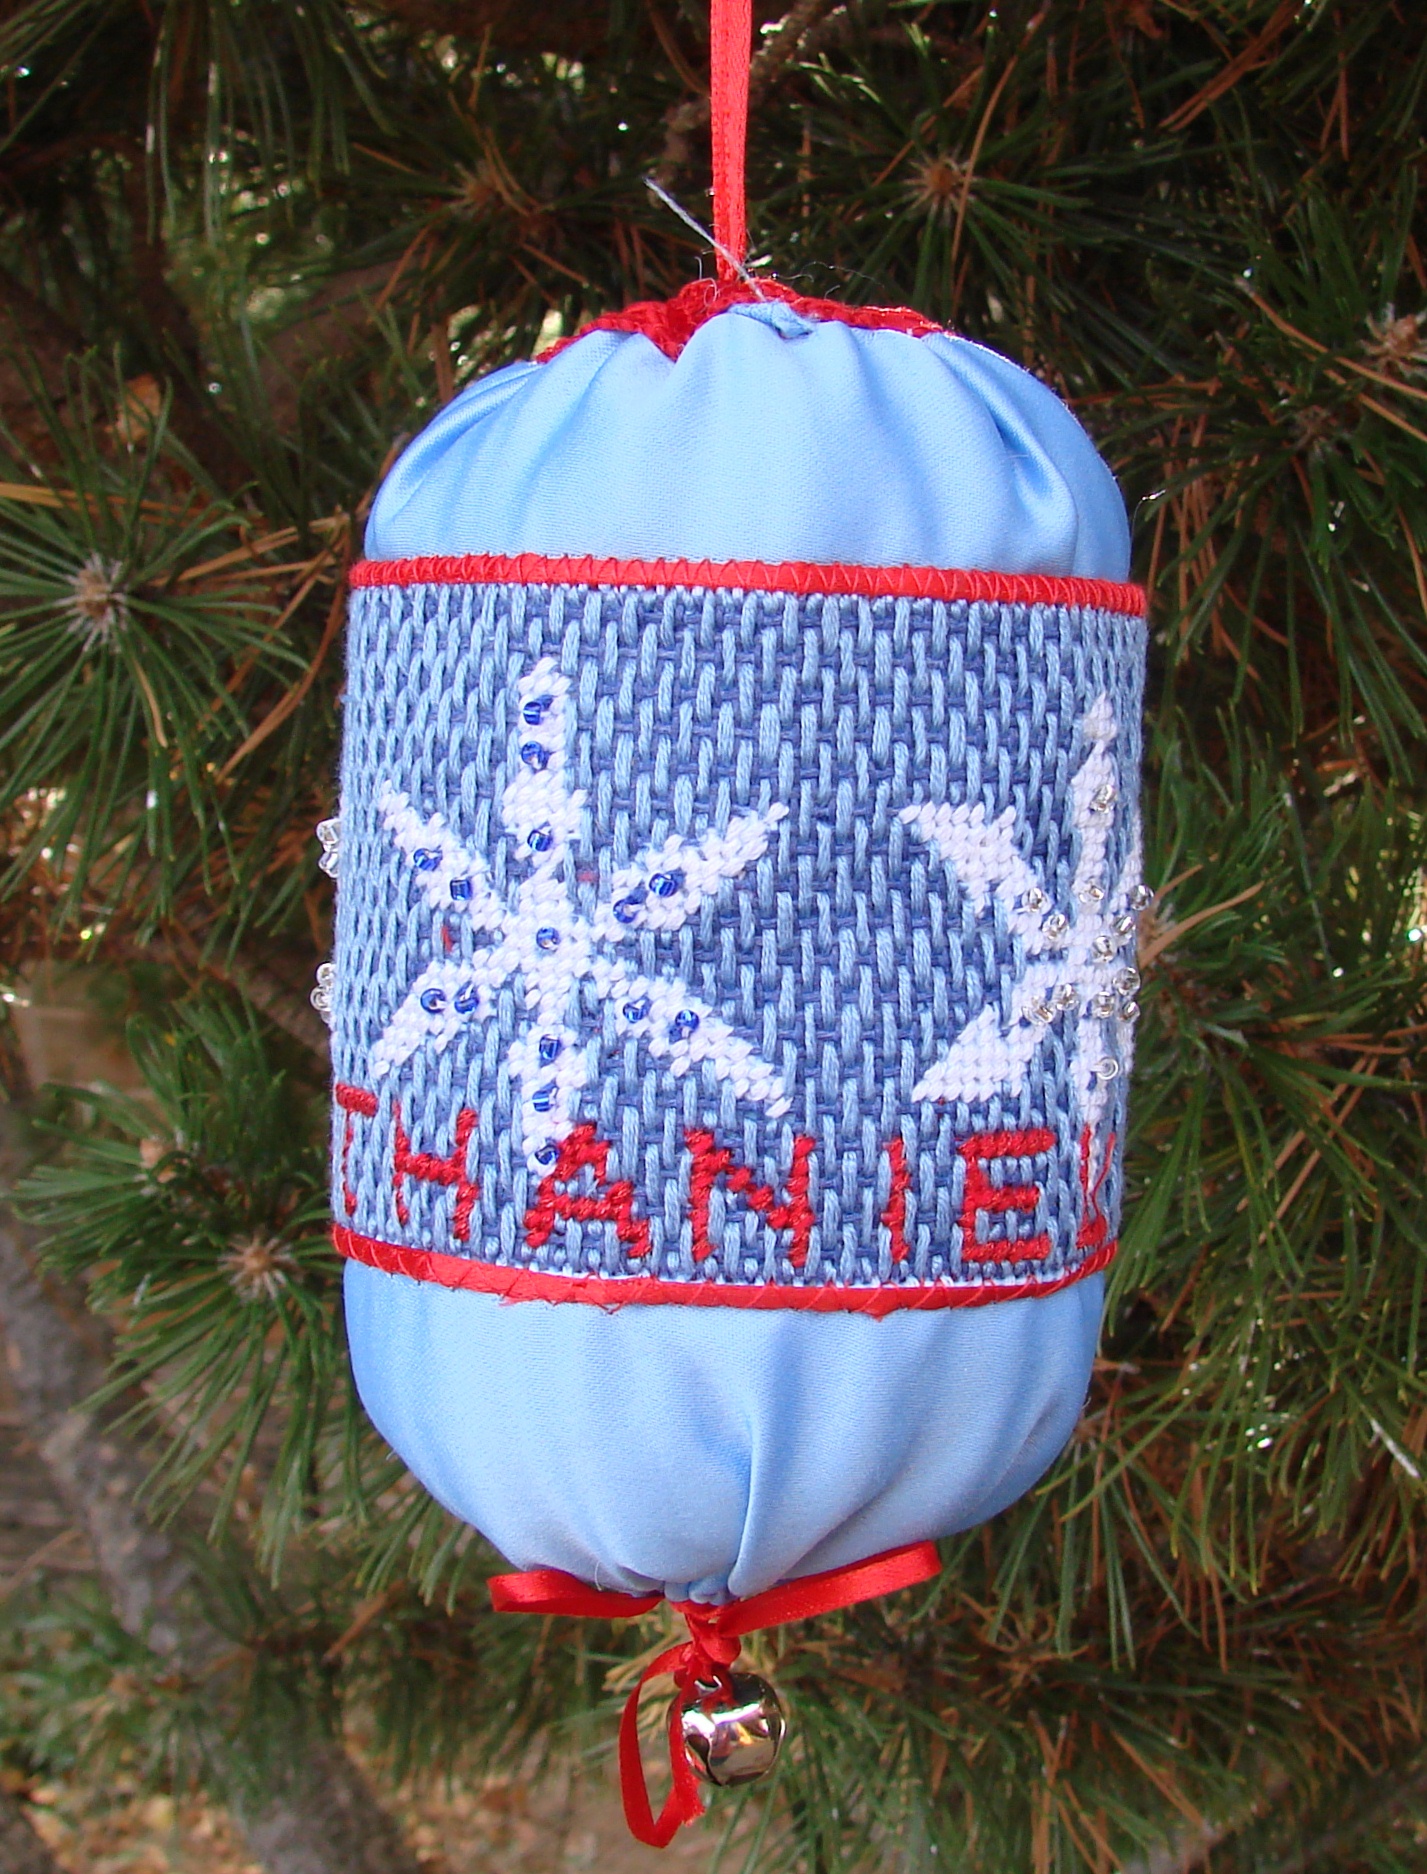
Blue Snowflake Personalized Needlepoint Ornament

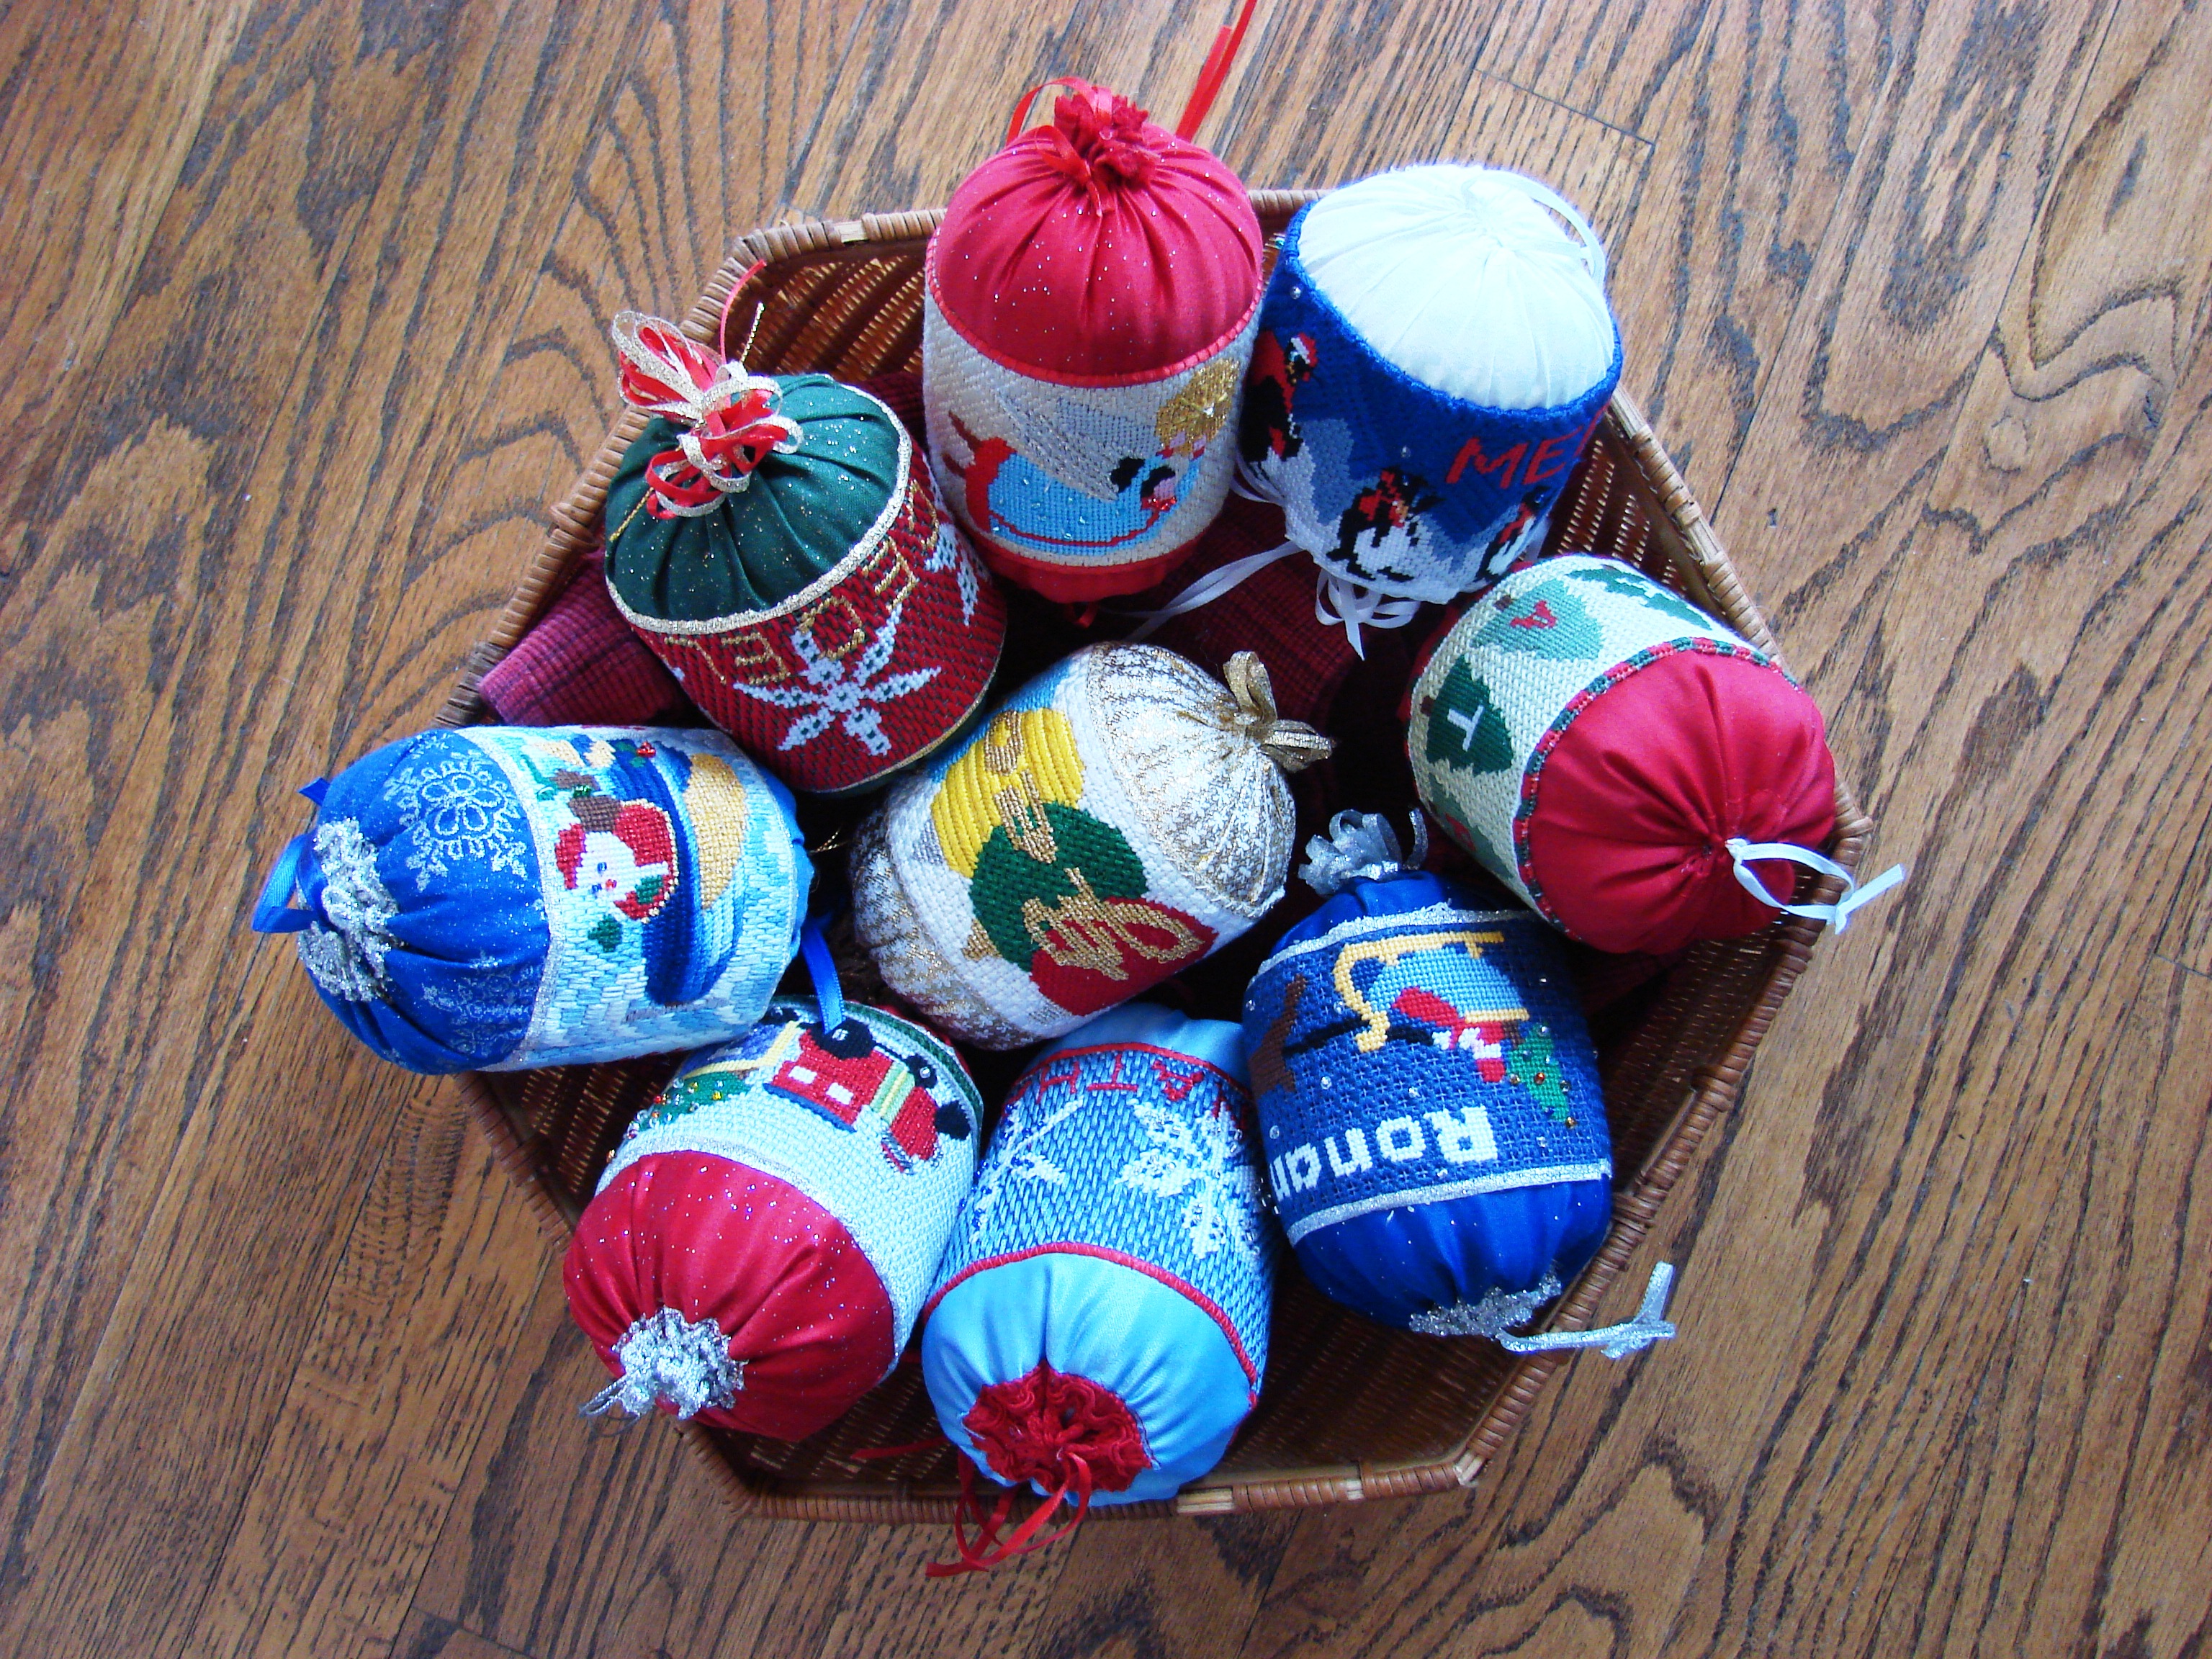
The whole collection of Needlepoint Ornaments!