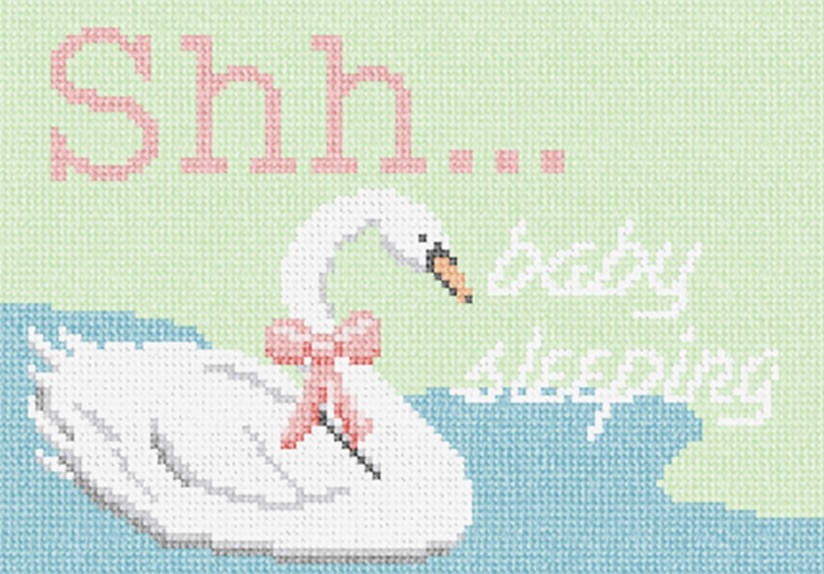
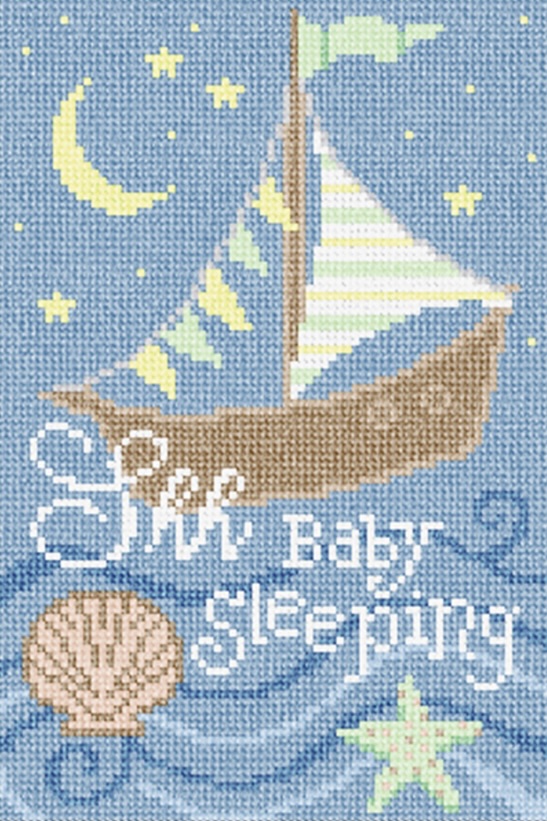
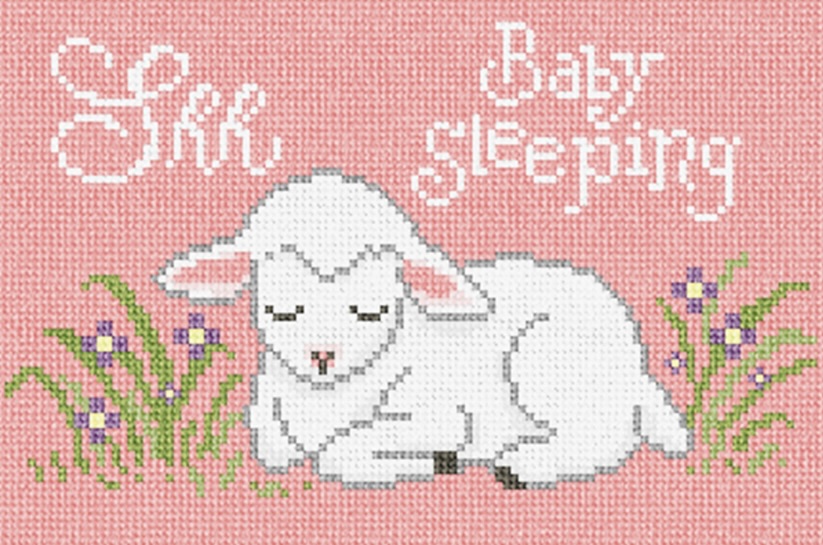
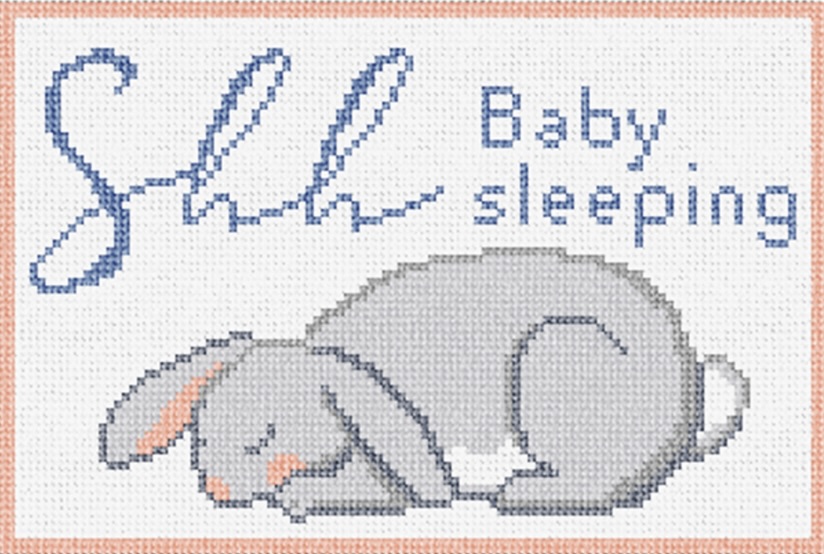
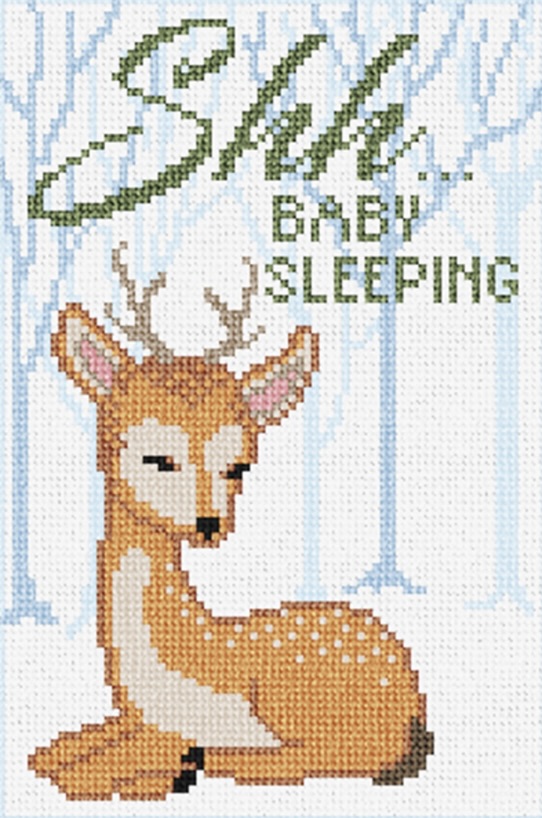
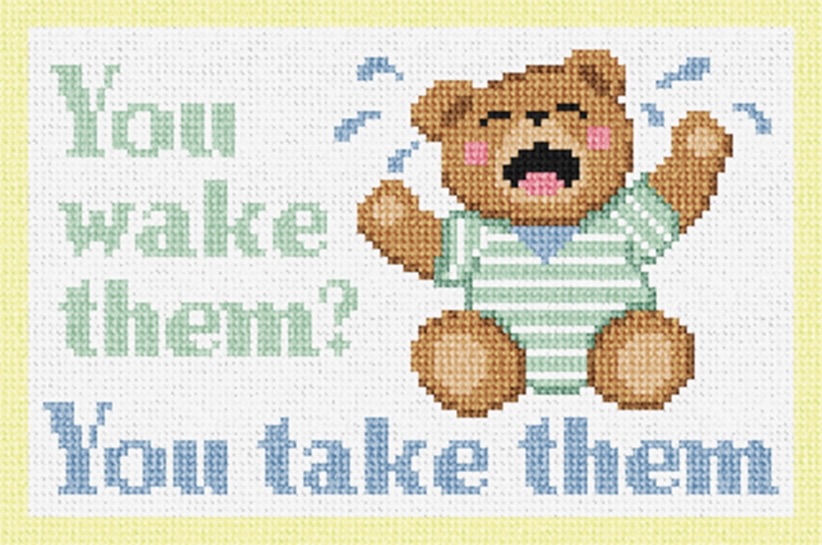
There’s nothing sweeter than a sleeping baby — and nothing quite as important as protecting that precious nap! Our charming collection of “Baby Sleeping” needlepoint door hanger kits bring a playful touch to nursery doors while sending the sweetest little message: naptime is happening!
With darling designs made for tiny dreamers, these door hangers are a joy to stitch and a delightful keepsake for any nursery. Perfect for new parents, baby showers, or anyone who loves a little handmade nursery charm.
To the moon and back we go, carrying dreams so soft and slow.
Warm, friendly and fun to stitch kits — these sweet needlepoint door hanger designs will remind your household that shhh . . . . there’s a baby sleeping!
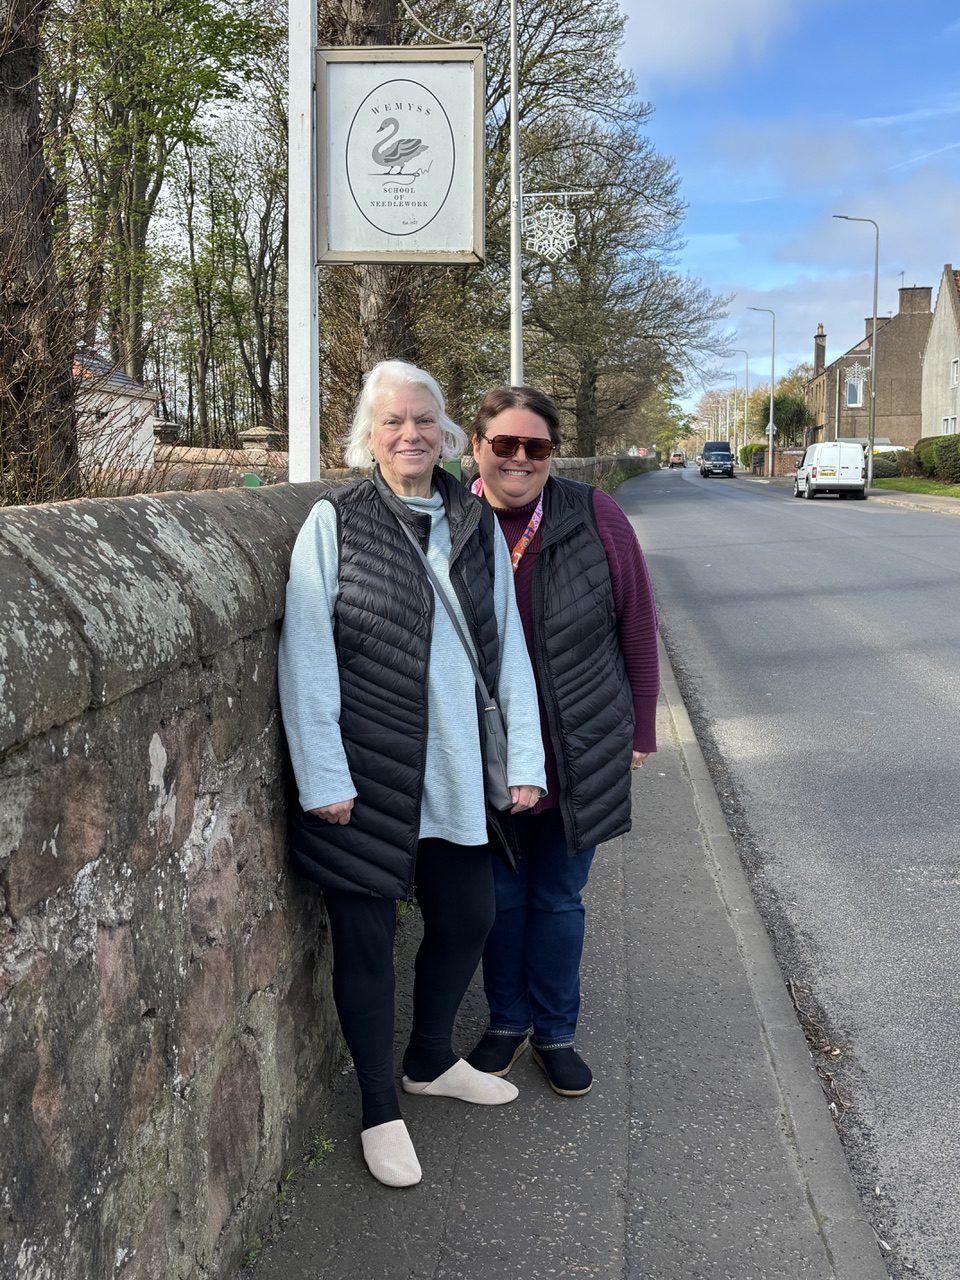
Edie and Caroline outside the Wemyss School of Needlework.
This spring, I was lucky enough to join a trip to Scotland hosted by Elizabeth Bozievich and Jeremy Hamilton of Needlework Travel. My mom, Edie (my stitching guru and lifelong role model) had been on several of their tours, and I was thrilled to finally tag along for an adventure through the Scottish Highlands.
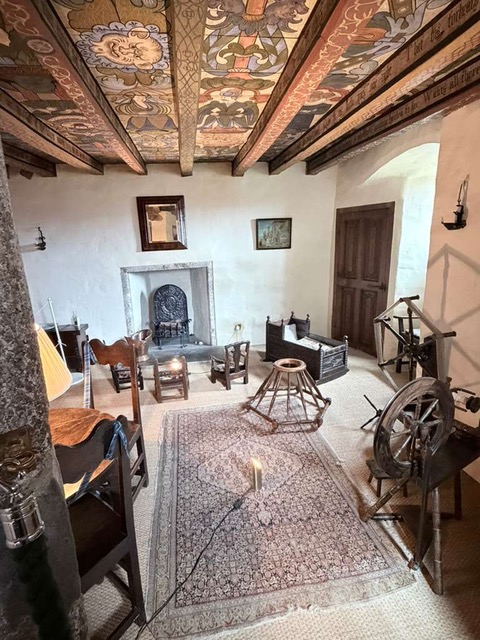
Nursery/sewing room in Crathes Castle, Banchory.
After a quick stop at Liberty in London (because priorities), we met up with my ten new best friends and headed north to the land of Nessie, Braveheart, and Jamie Fraser. We made an overnight stop in Windermere, where I listened to “The Lakes” by Taylor Swift on repeat, and then on to the Highlands, where we spent our days touring castles (including Balmoral!) and our evenings stitching.
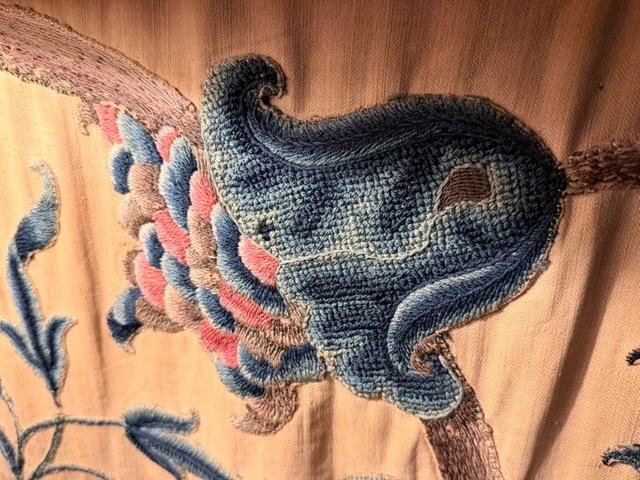
Detail of needlework on display at Crathes Castle.
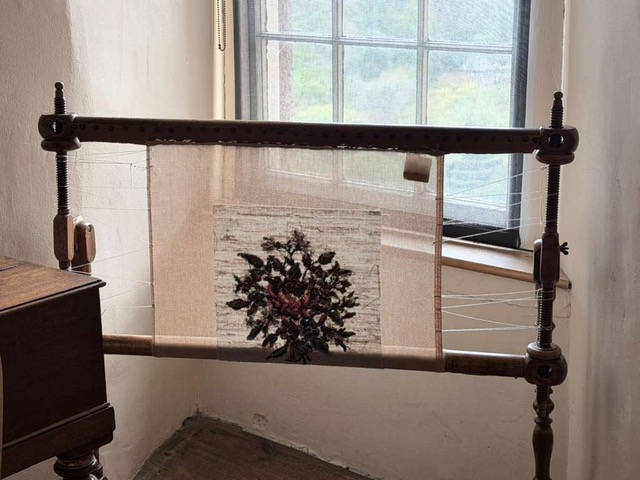
Needlework on stitching frame at Crathes Castle.
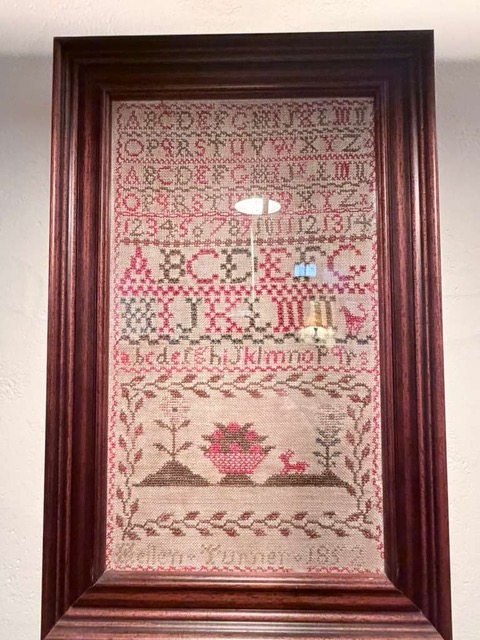
Needlework sampler (1852) on display at Crathes Castle.
Over the course of almost two weeks, we wandered through Inverness, somberly walked the moor of Culloden, cruised Loch Ness, sipped whisky at Royal Lochnager, and saw more castles and ruins than I can count. In between, we stitched.
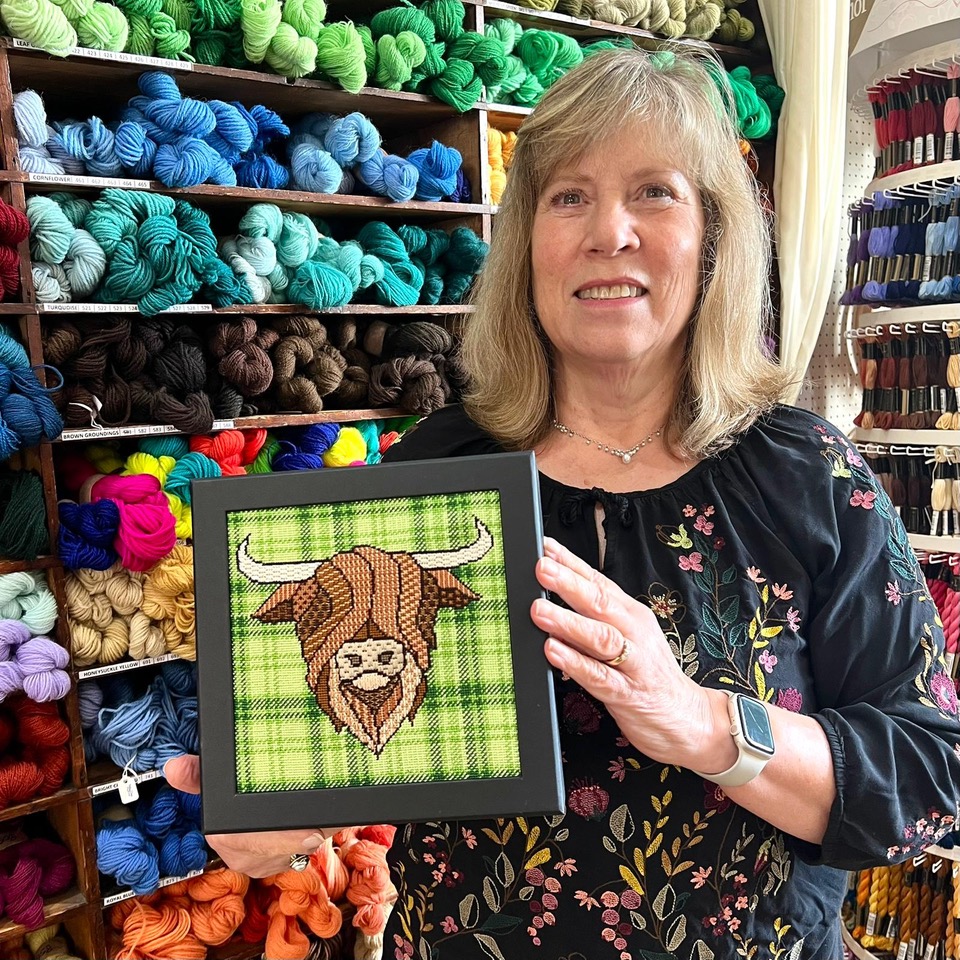
Elizabeth Bozievich with her class project, “Highland Coo,” showing a plaid and a variety of decorative stitches.
One of my favorite things about the trip was learning from Elizabeth, whose knowledge, patience, and enthusiasm made every stitch session a joy. Whether she was teaching us how to stitch plaid or helping us tackle her Highland coo with a collection of 15 new stitches, she somehow made every lesson approachable and fun.
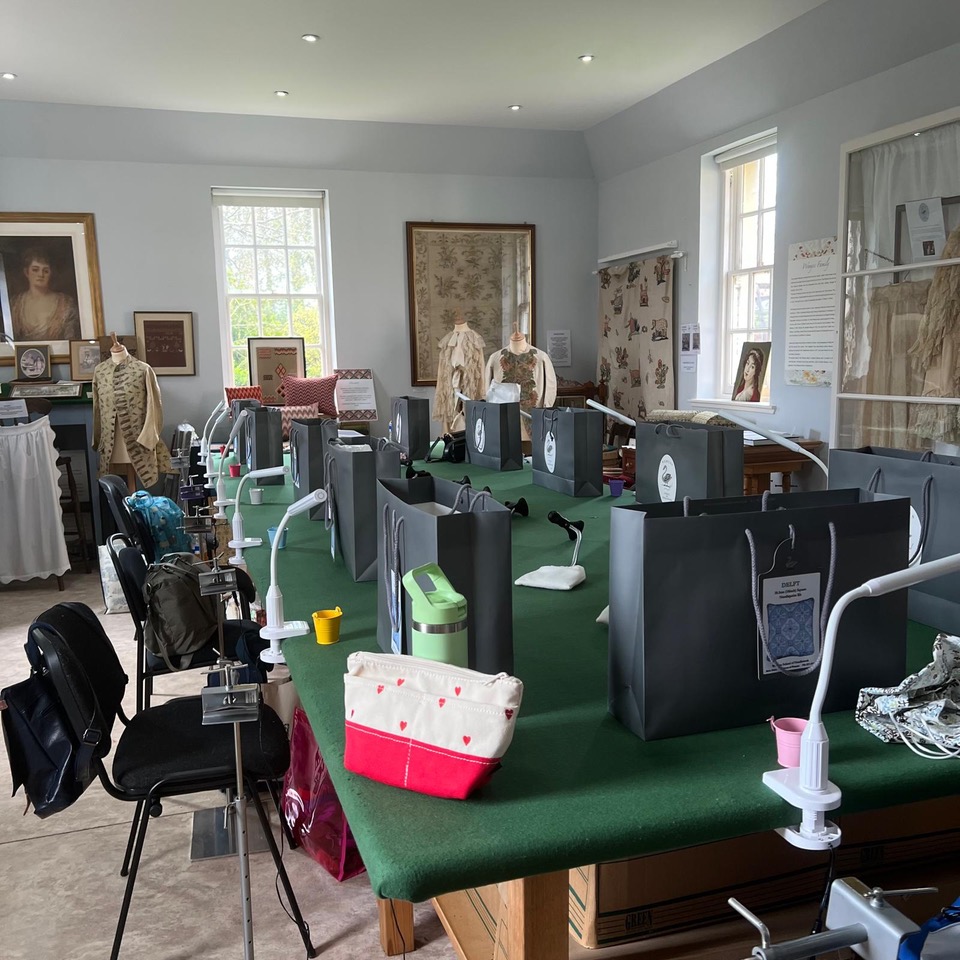
The classroom at the Wemyss School of Needlework.
The highlight of the trip, however, was spending two days at the Wemyss School of Needlework just outside Edinburgh. Founded in 1877 by Dora Wemyss, the Wemyss School was established to teach local girls valuable needlework skills that could provide a path to employment and financial independence. Inspired by the Royal School of Needlework in London, the school welcomed young women from the surrounding community and helped prepare them for careers as seamstresses and domestic staff. More than 140 years later, it remains a place dedicated to preserving the rich traditions of Scottish needlework.
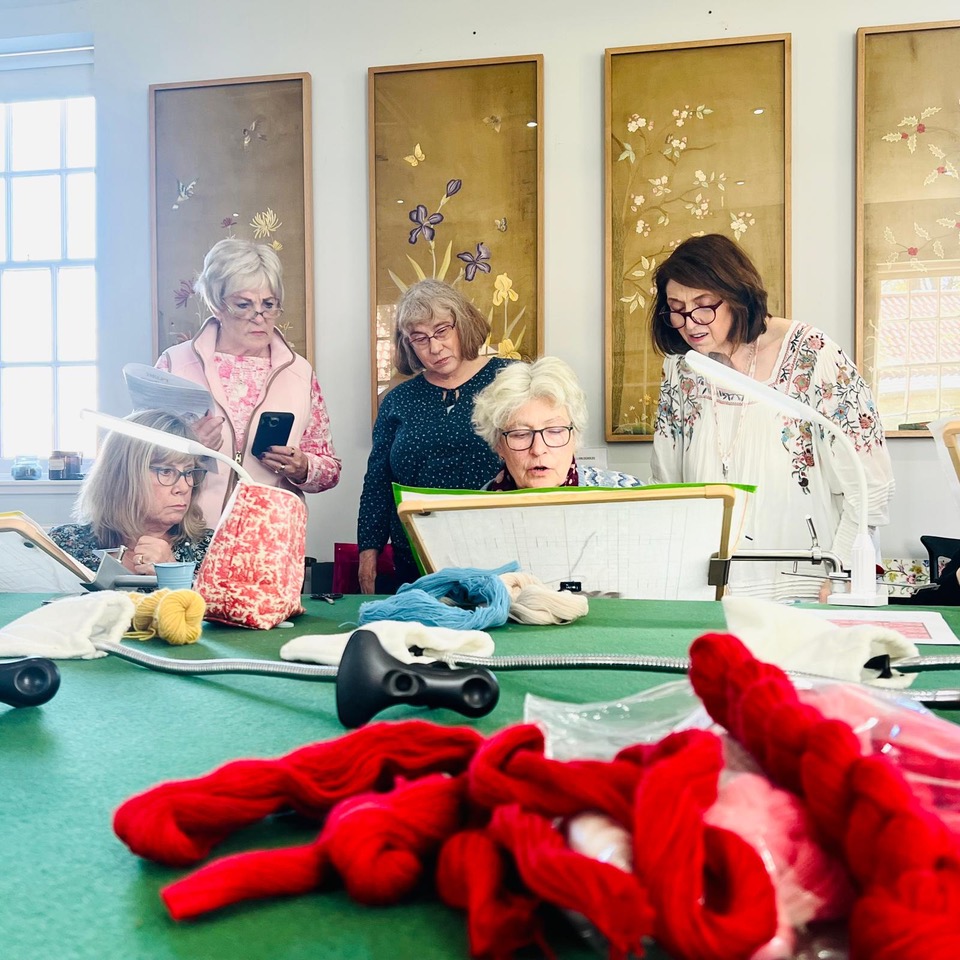
Fiona Wemyss providing class instruction.
We were welcomed by Fiona Wemyss with tea, biscuits, and a beautiful stitching project. Fiona is a wonderful teacher and steward of the school’s history, and it was a privilege to spend time learning from her in the same sunlit classroom where generations of women stitched before us.
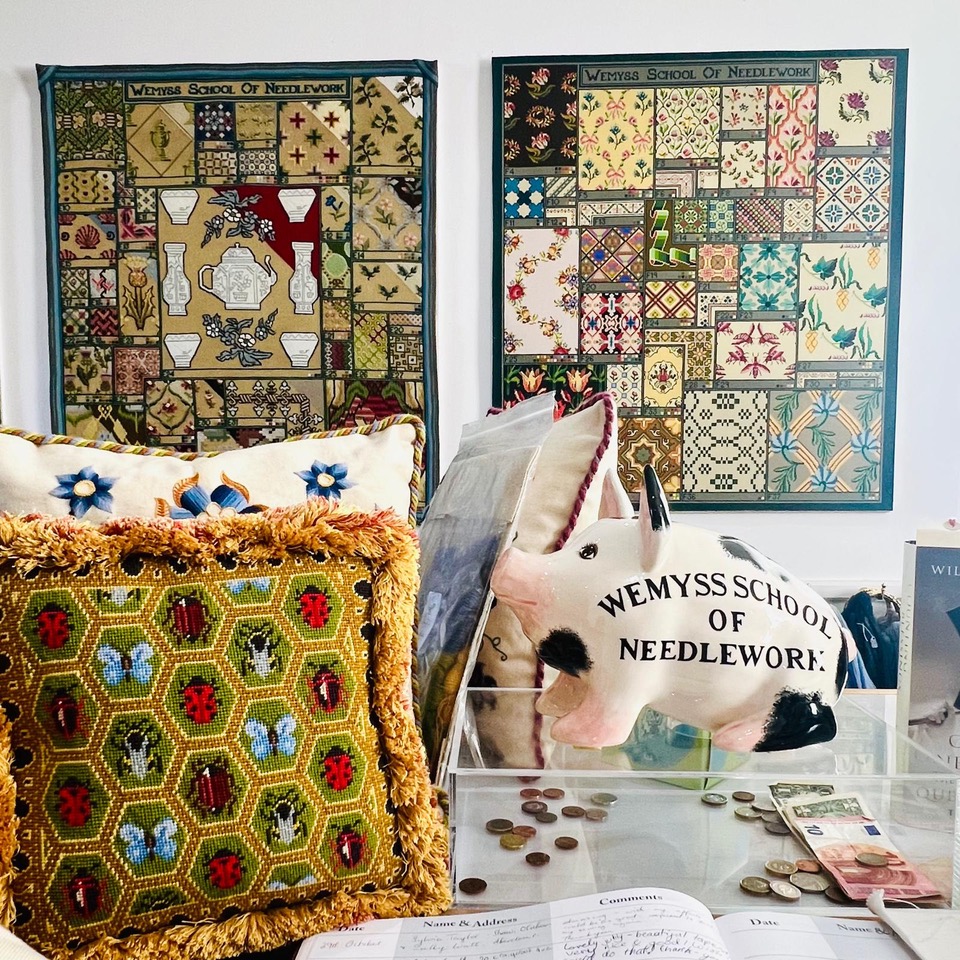
A sample of the work done at Wemyss School of Needlework.
What stayed with me most was the sense of connection. As modern stitchers, we often stitch for enjoyment, creativity, and community. But the techniques we use today were passed down through generations of women (and men!) who stitched not only for beauty, but also for opportunity and livelihood. Sitting in that classroom, I was reminded that we are all part of a much larger tapestry.
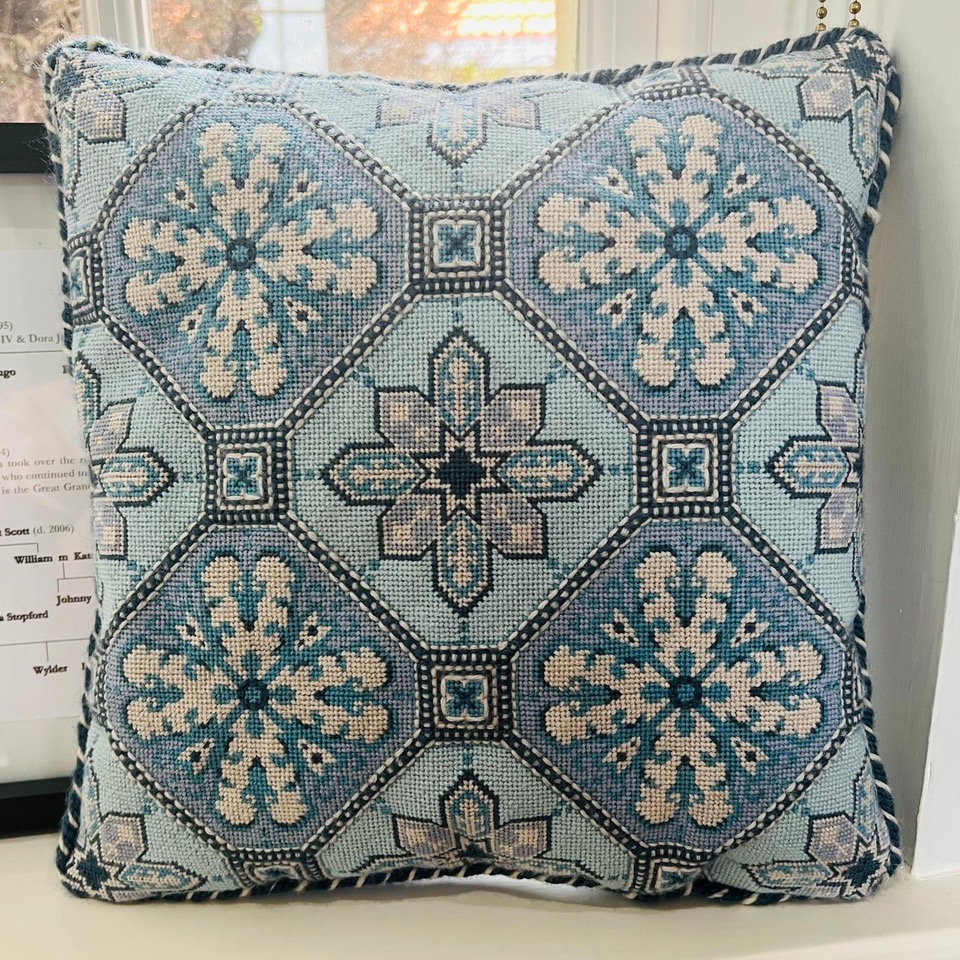
“Delft Pillow,” our class project designed by Fiona at the Wemyss School of Needlework.
I left Scotland feeling grateful—not only to Elizabeth, Jeremy, Fiona, and the other women on the tour for sharing their knowledge so generously, but also to my mom, who first taught me to thread a needle and love this craft. Needlepoint has given me countless hours of enjoyment, friendships I never expected, and a connection to women across generations. Being able to learn from these remarkable teachers and continue that tradition alongside my mother is something I will always treasure.
If you would like more information on unique needlepoint trips like this, please contact:
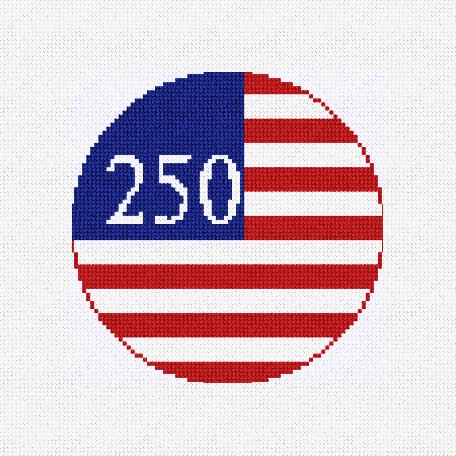
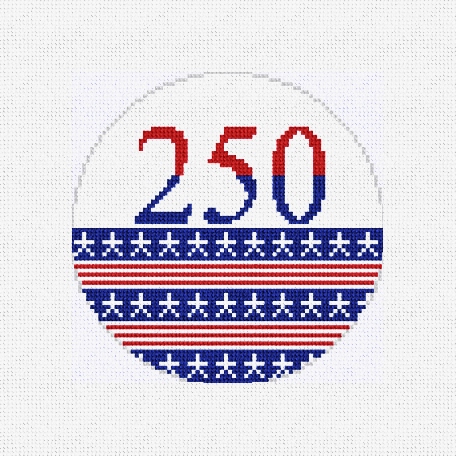
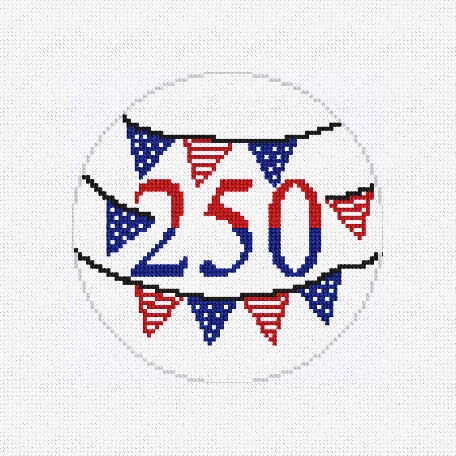
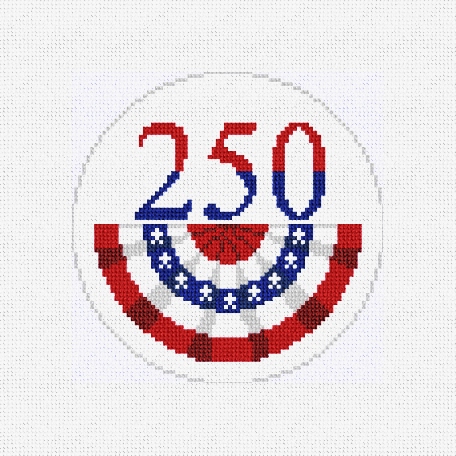
America’s 250th birthday deserves a celebration that’s truly stitched in style! These festive needlepoint ornaments capture the spirit of the USA with patriotic flair, nostalgic charm, and a little red, white, and beautiful blue along the way. Perfect for holiday trees, commemorative keepsakes, or year-round Americana decorating, these designs will honor 250 years of history with every carefully crafted stitch.
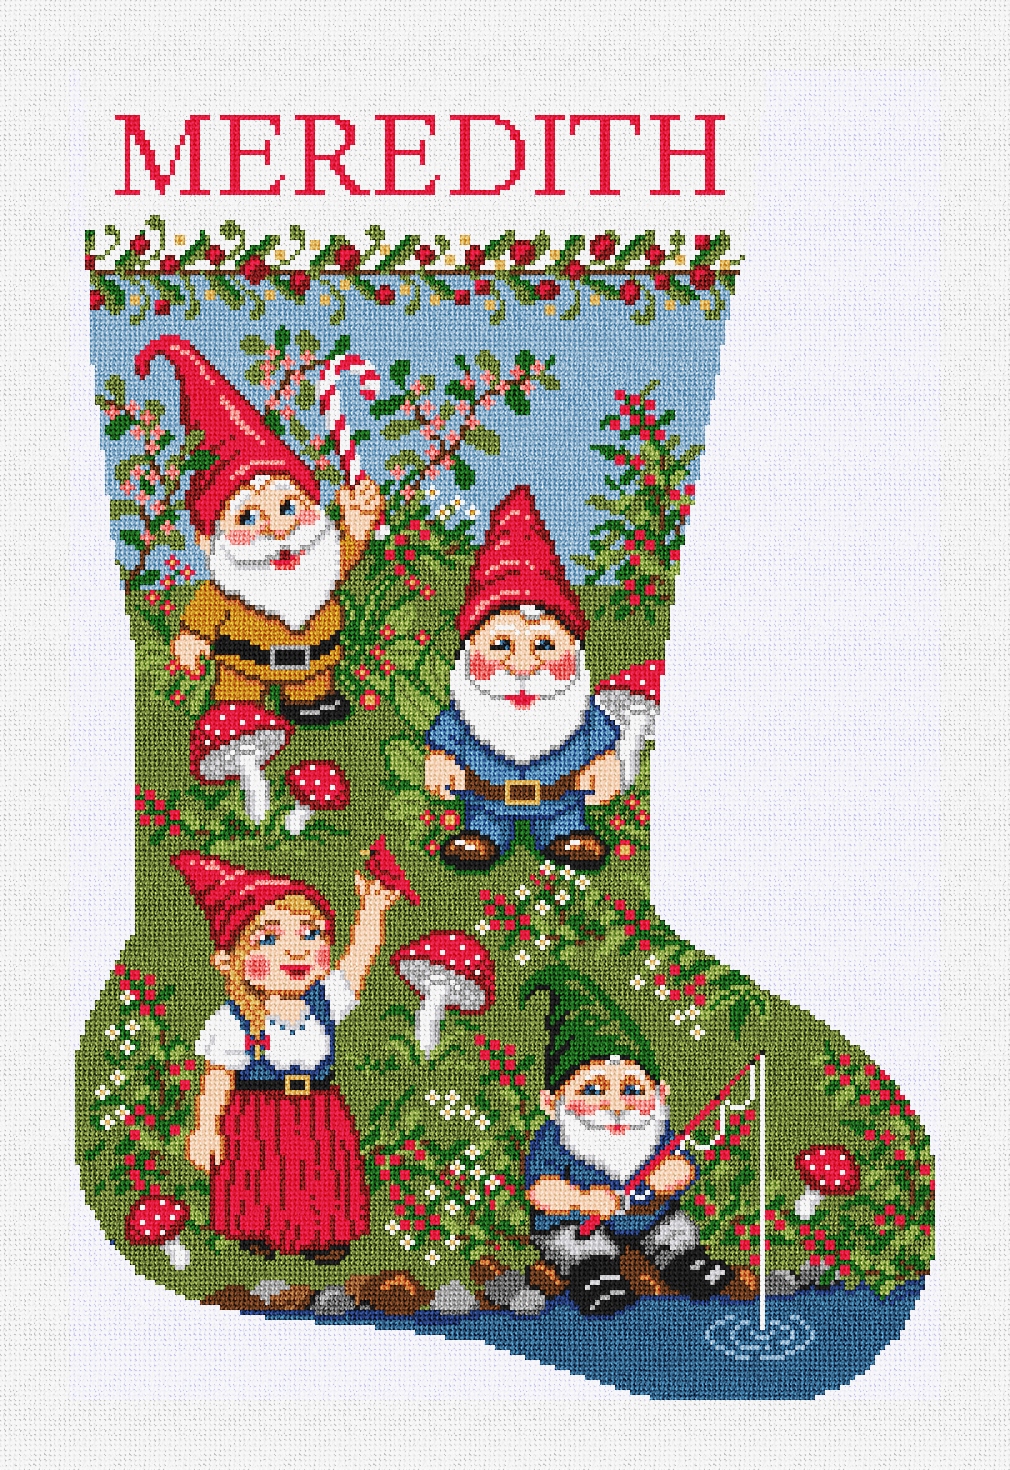
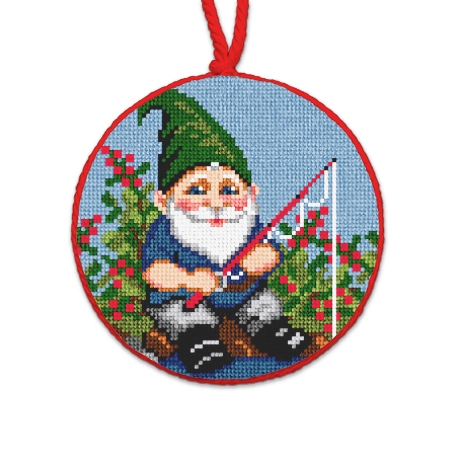
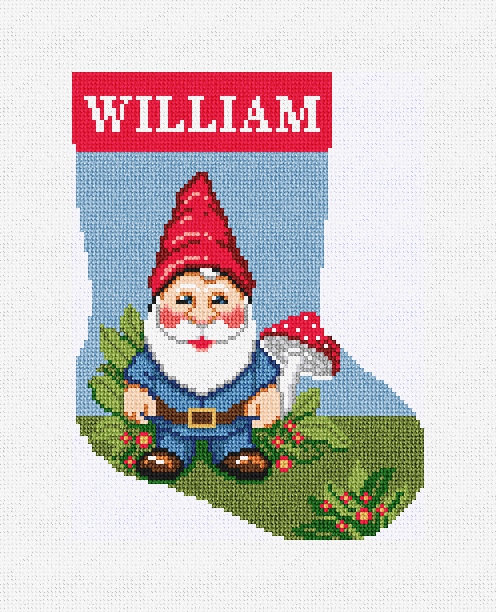
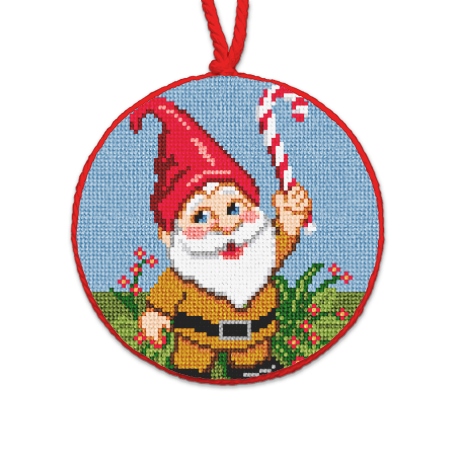
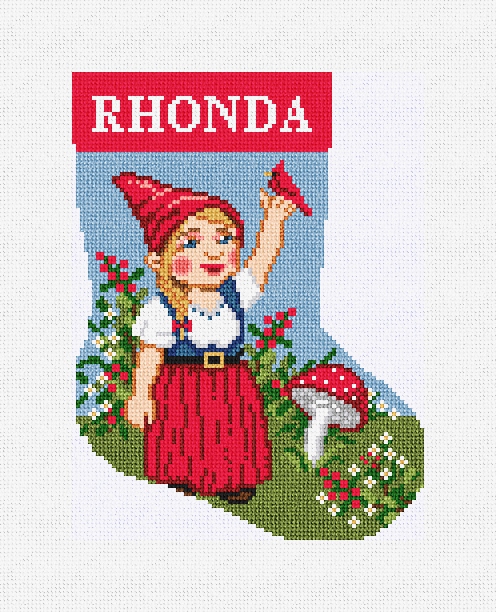
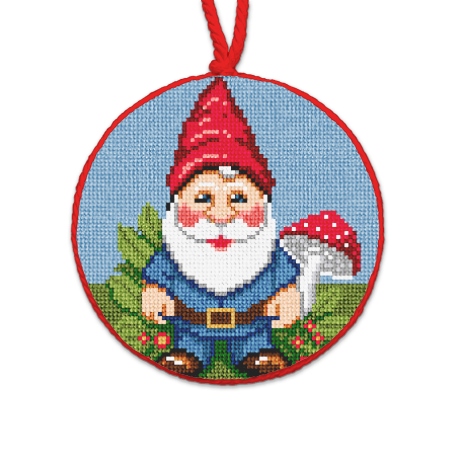
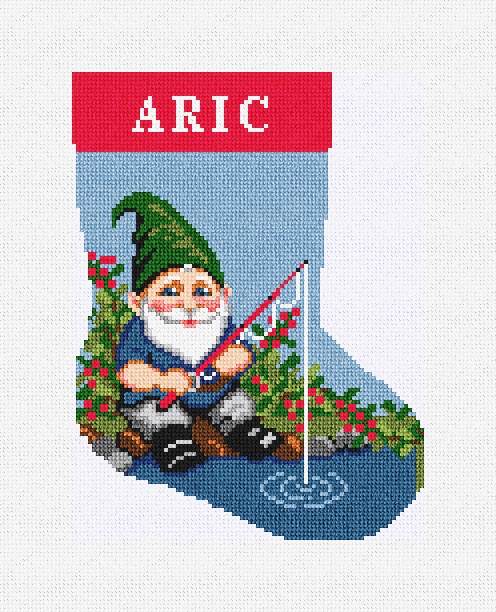
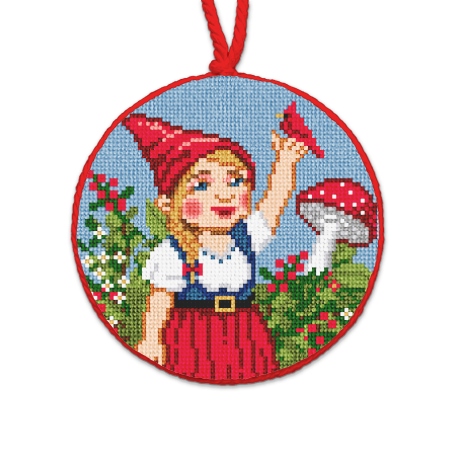
These tiny mischief makers are small in size, but big on spirit in NeedlePaint’s new Garden Gnome Needlepoint Collection! With a touch of woodland whimsy and a wink of magical adventure, you will find these needlepoint kits joyful and full of laughs!
Santa’s undercover scouts, disguised as yard decor, are watchful, whimsical and full of nature’s wonder. These merry mischief makers will bring joy and laughter to your Christmas holiday!
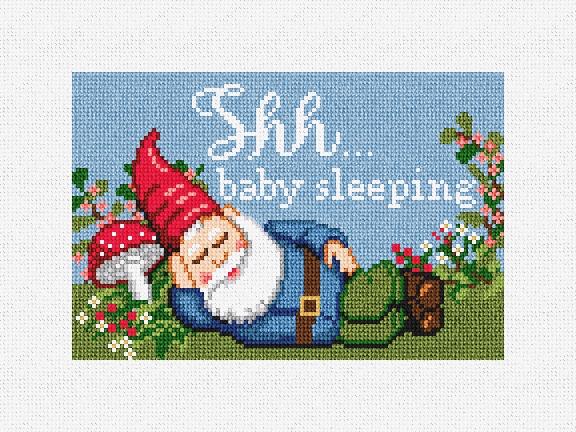
In a land of lullabies and dandelion dreams, a gentle gnome rests his eyes, so baby’s fairy tale can unfold in peace. Warm, friendly and fun to stitch, remind those in your household that shhh . . . . there’s a baby sleeping!
Watchful, whimsical and full of nature’s wonder, these magical mischief makers will bring joyful spirit and plenty of fun to your next needlepoint adventure.
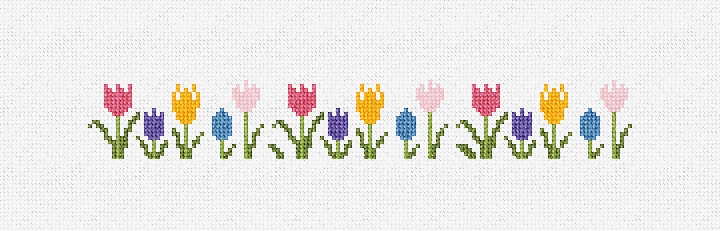
Celebrate the beauty of springtime with NeedlePaint’s handpicked floral needlepoint kits, where every stitch brings a bloom to life. Bursting with soft pastels and cheerful florals, each design is a little garden designed to capture the season’s fresh colors and joyful spirit. Let your creativity blossom!
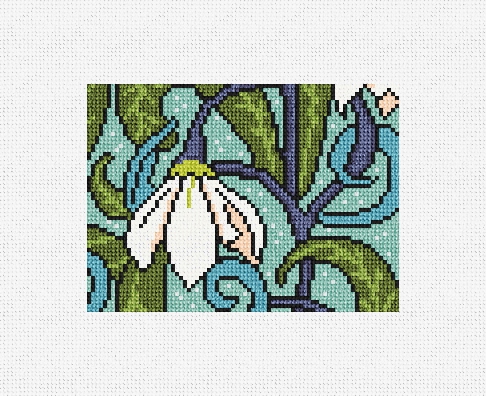
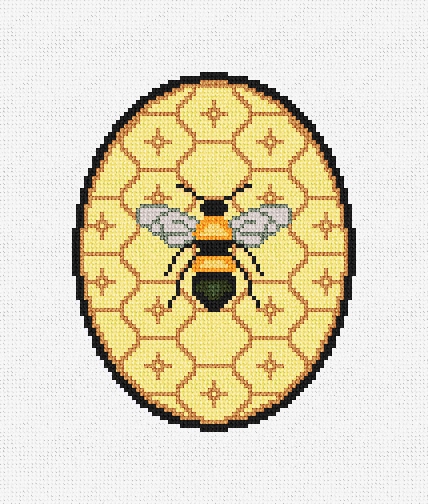
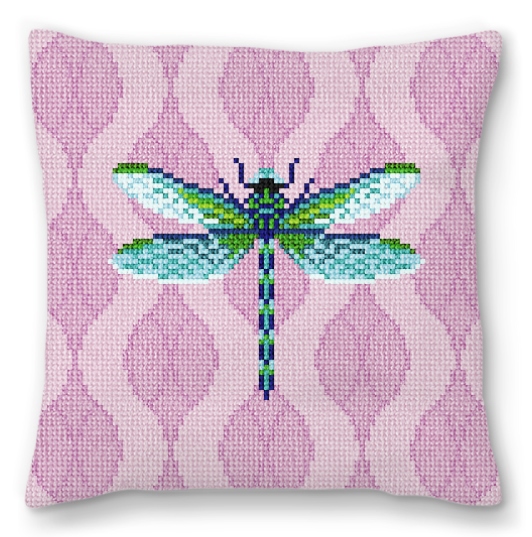
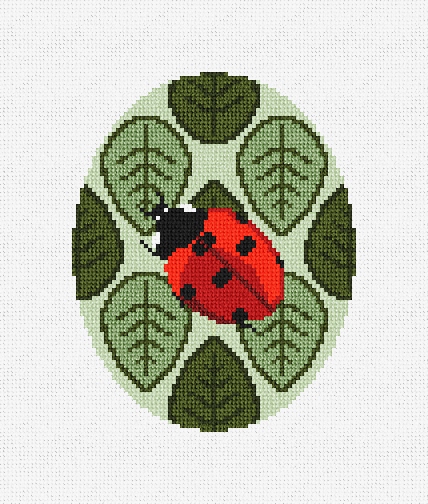
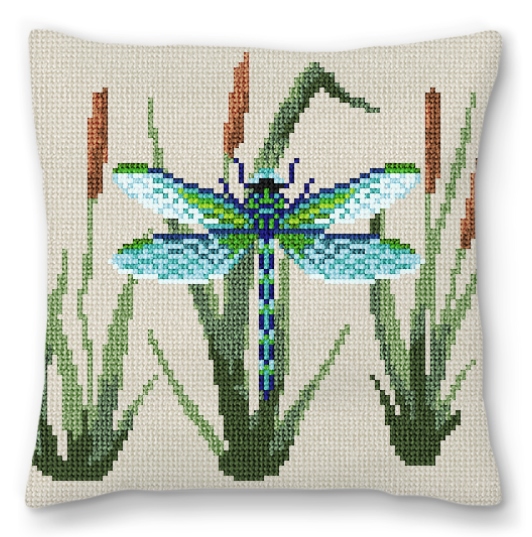
As autumn approaches there are still abundant signs of nature a buzz! Intense blue skies; the whisper of crickets singing us to sleep; excited bees exploring the new selection of autumn flowers, and crisp mornings to wake up to. Welcome in this autumn season with new needlepoint inspiration from our Garden Whispers Needlepoint Collection. Featuring a variety of needlepoint kits including: holiday ornaments, pillows, eyeglass cases, wallets, and purse straps. Each of these timeless designs will bring the joy of nature to you, year around. We would like to thank our designer Krystal, for bringing these colorful designs to life!
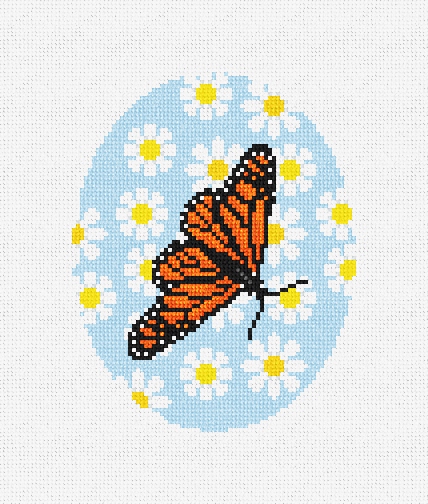
“Just living isn’t enough,” said the butterfly, “one must have sunshine, freedom and a little flower.” — Hans Christian Anderson
We hope you enjoy this needlepoint collection, as much as our designer has enjoyed creating it! Let us know if we can help with any of your finishing needs! Contact us at: info@needlepaint.com
Add the gentle whisper of nature to your next needlepoint project!
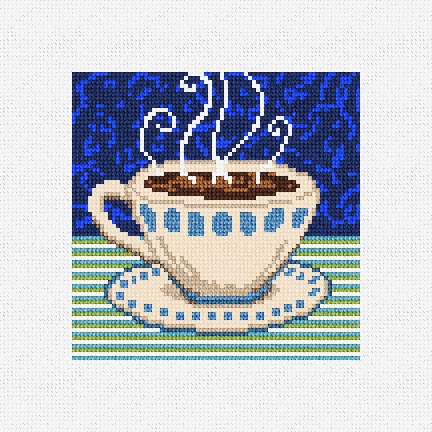
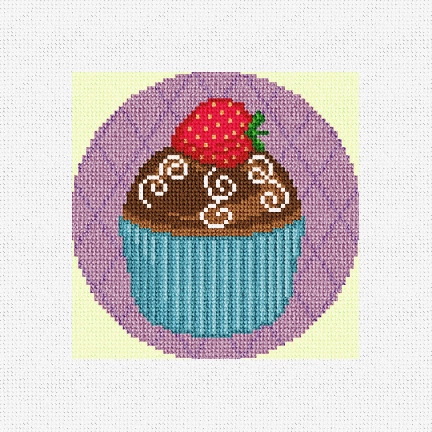
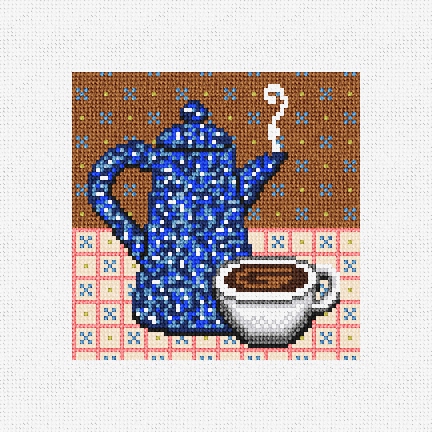
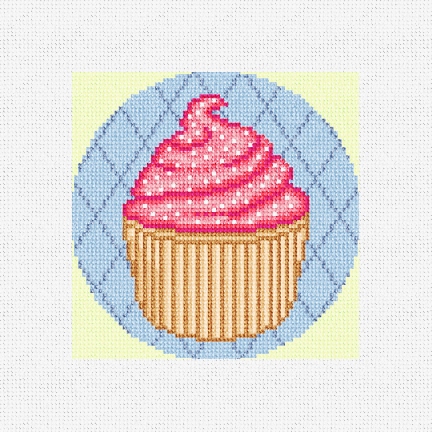
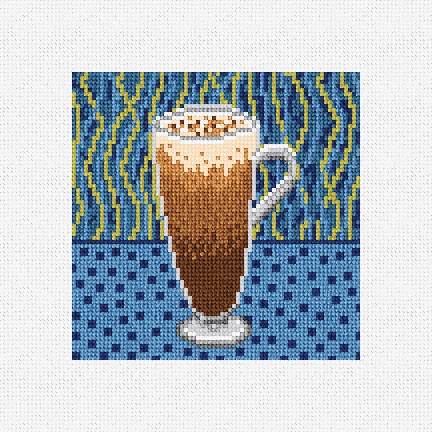
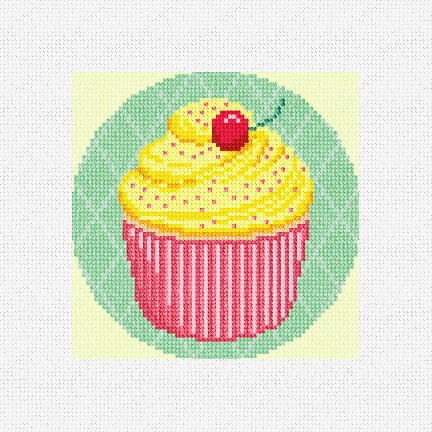
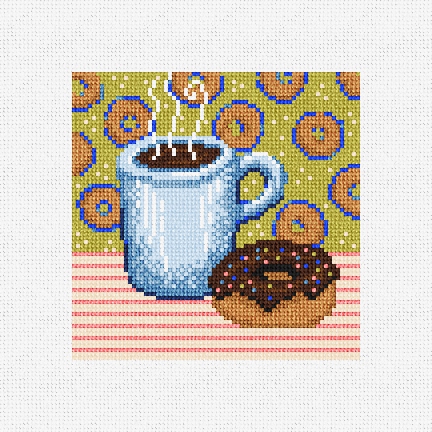
Sweet treats and savory crafted brews — what satisfies your needlepoint craving? Own your summer fun and create one of NeedlePaint’s colorful, fresh, (and very packable) needlepoint kits! These culinary confections and favorite brews, look great finished as ornaments and coasters.
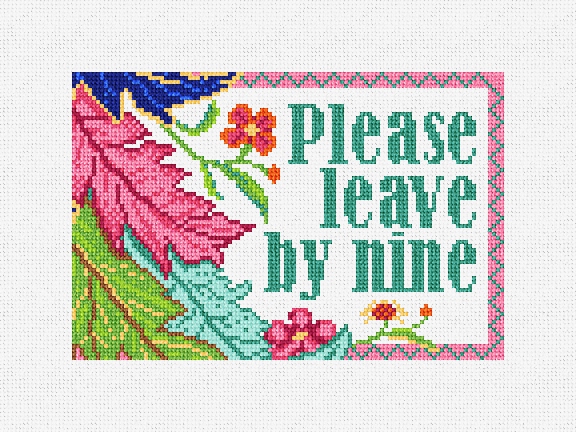
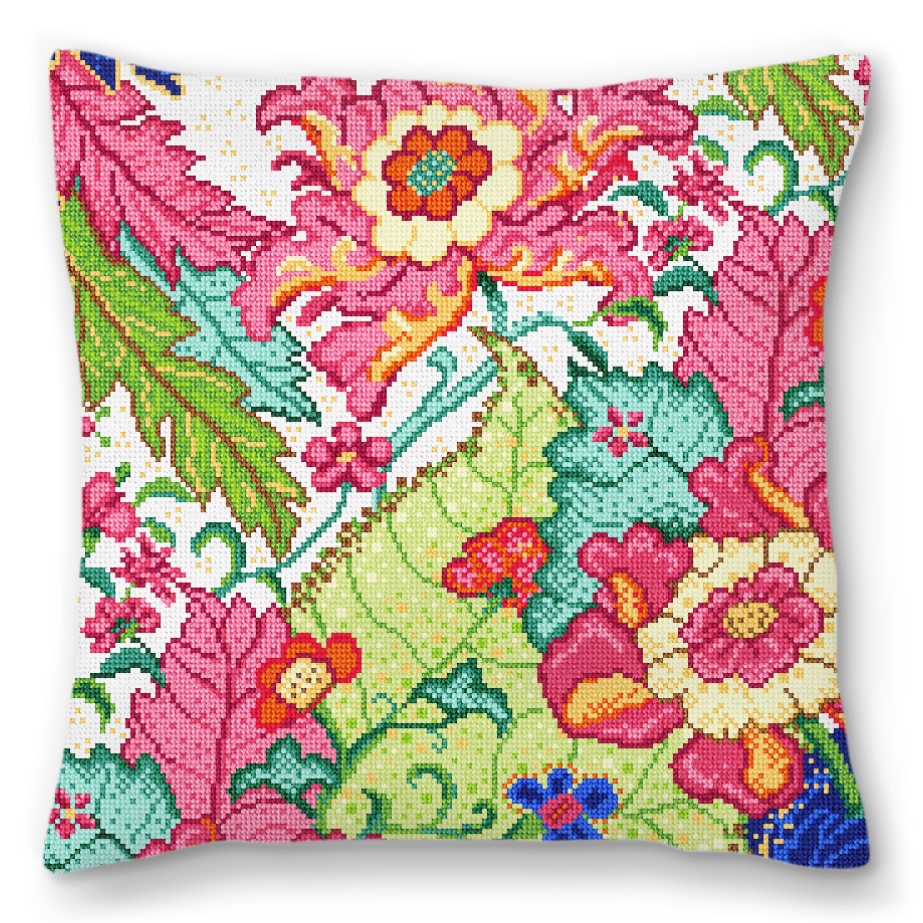
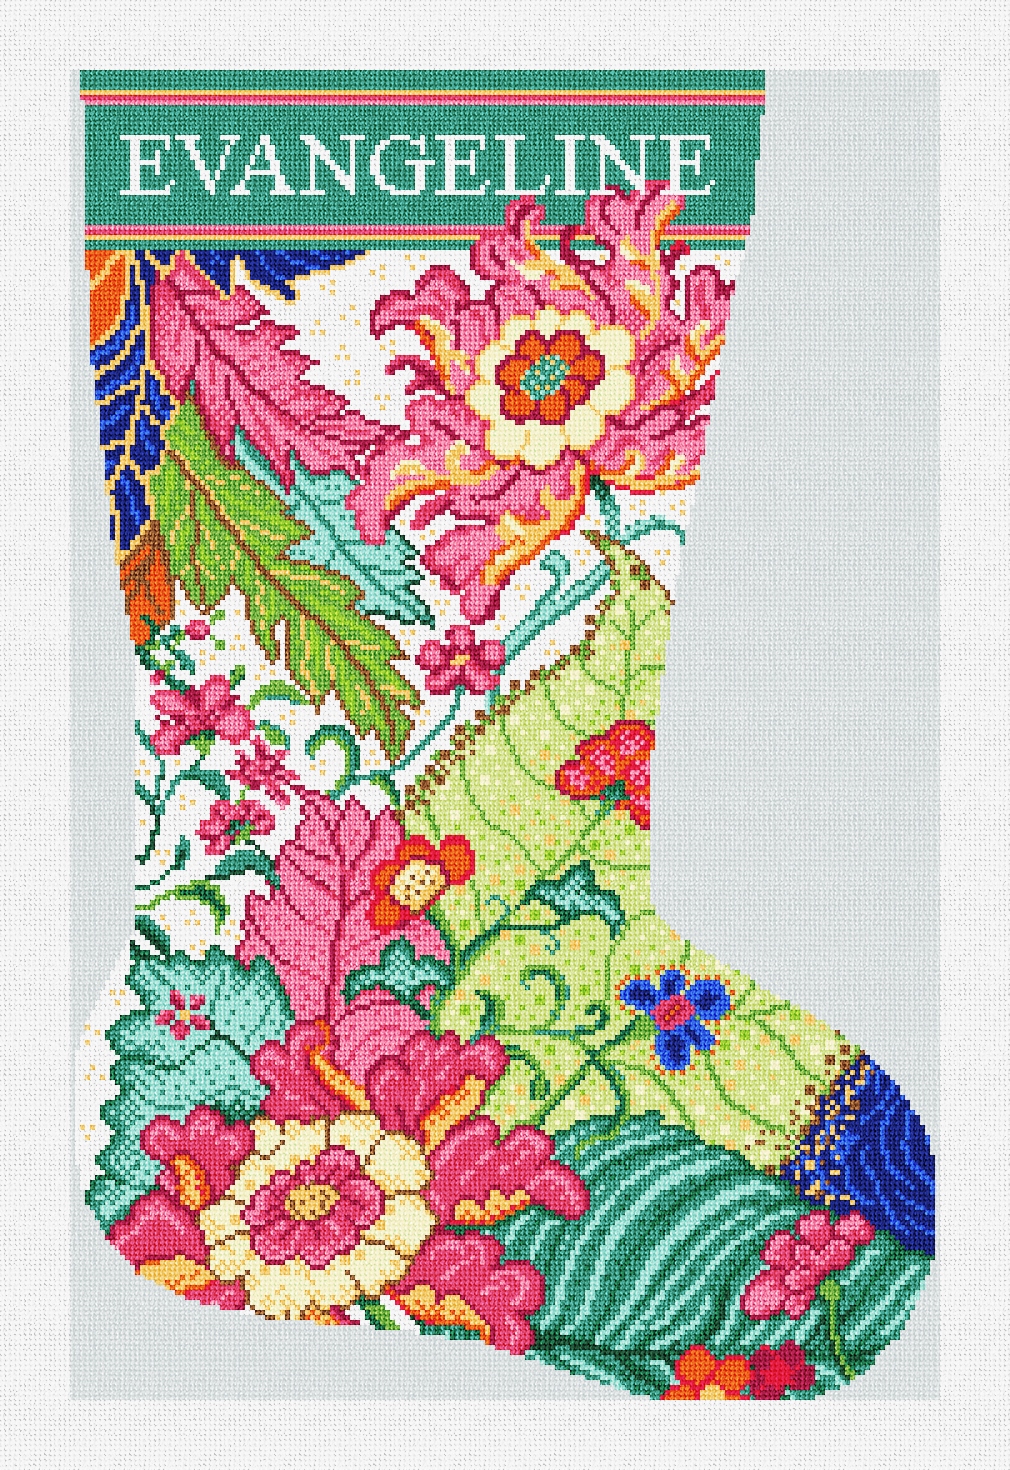
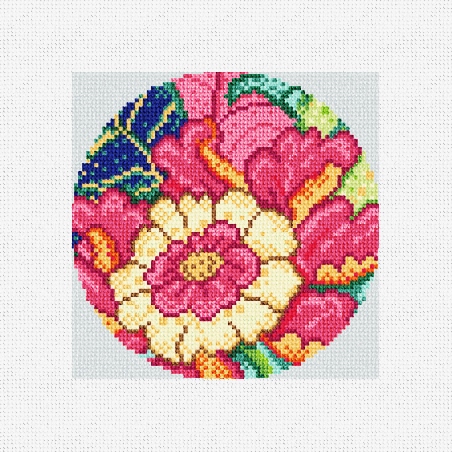
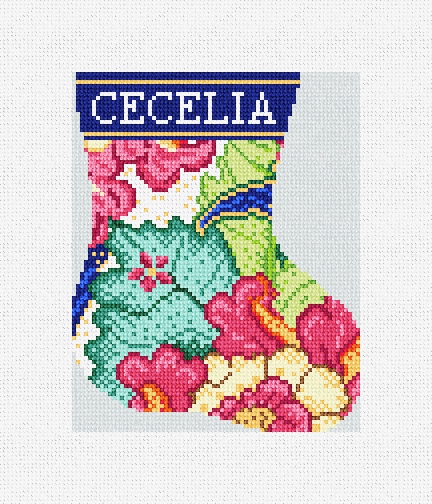
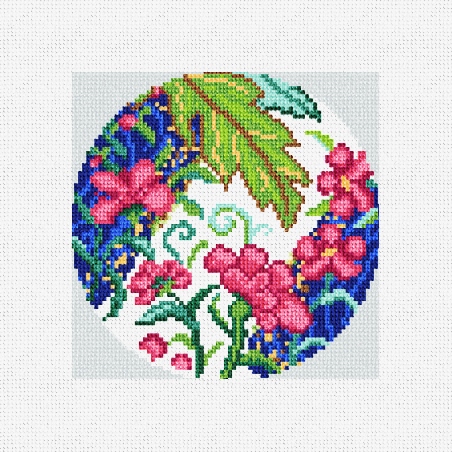
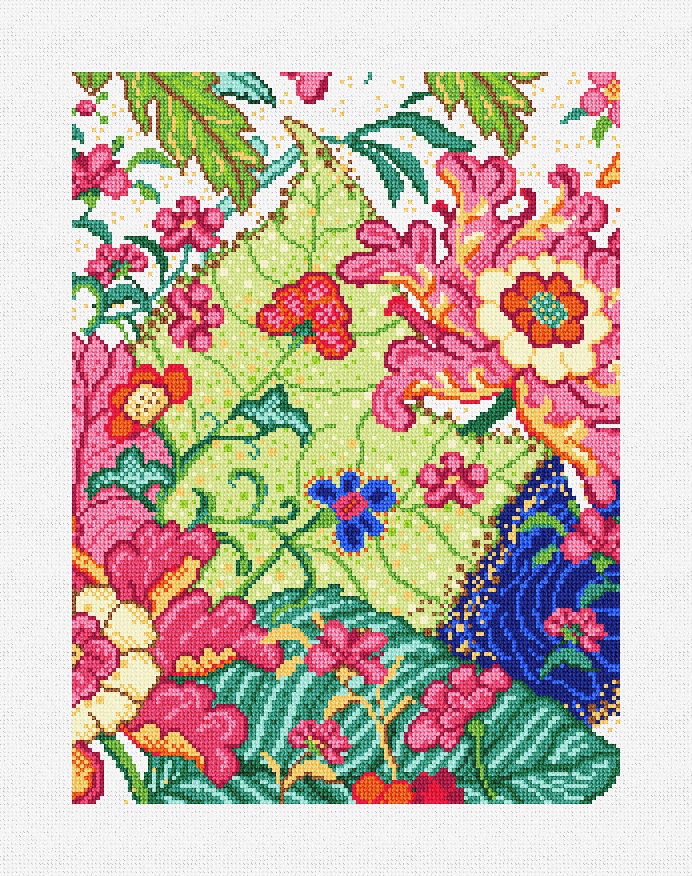
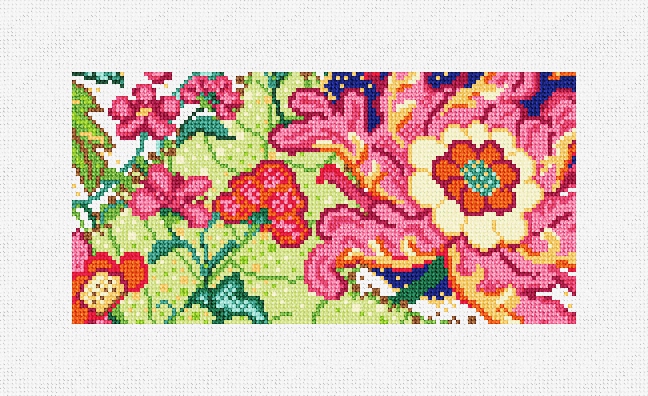
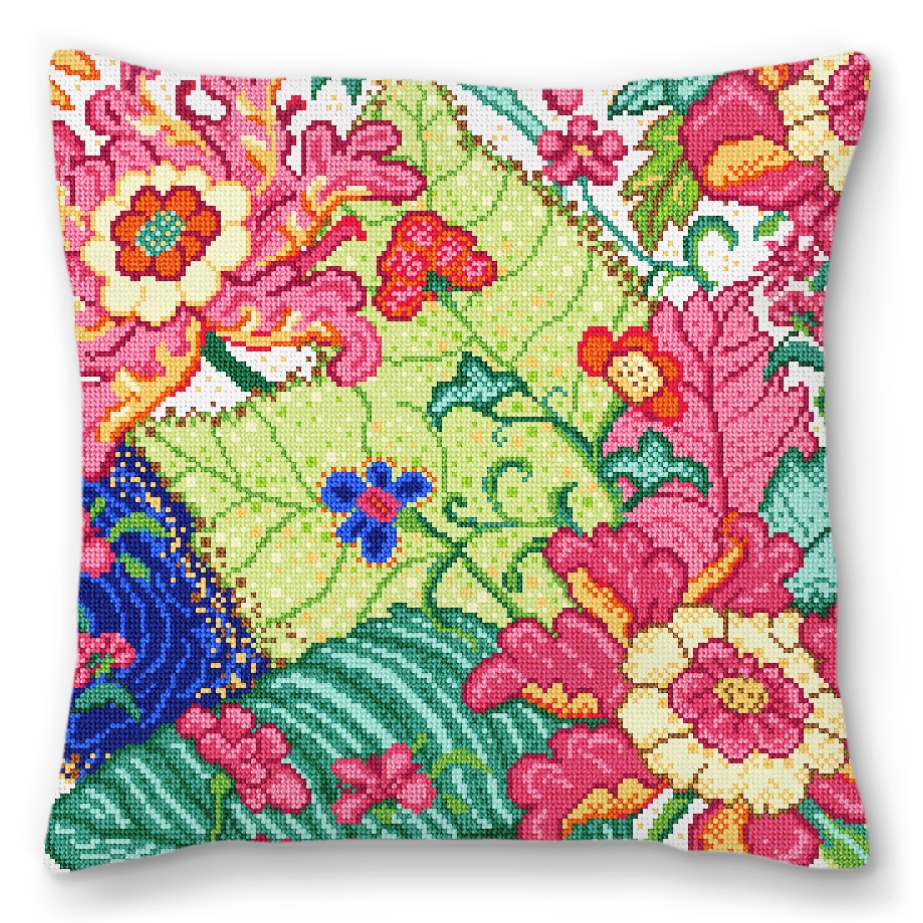
Welcome in the joy of spring with our fresh needlepoint collection inspired by the colorful miracle of nature’s elegant tobacco leaf — with fresh and timely floral glam! Featuring pillows, stockings, ornaments, an eyeglass case, door hanger, trifold wallet and belt, a special kit to delight everyone.
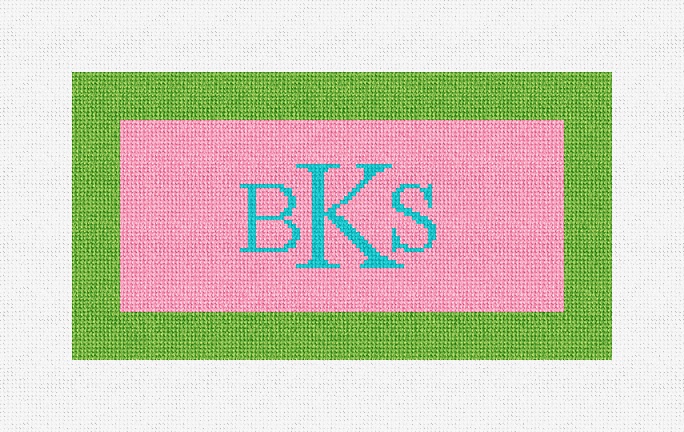
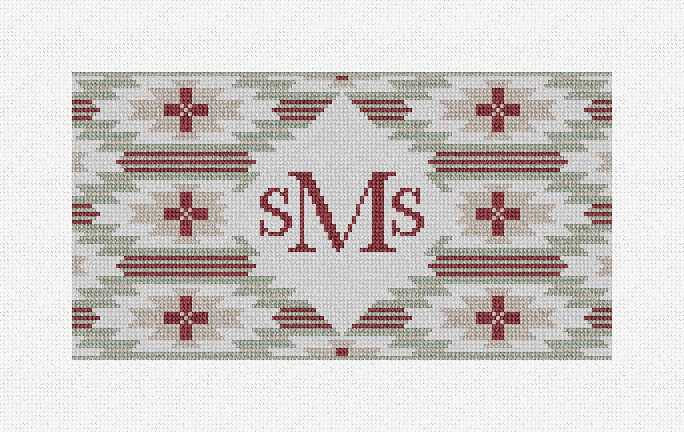
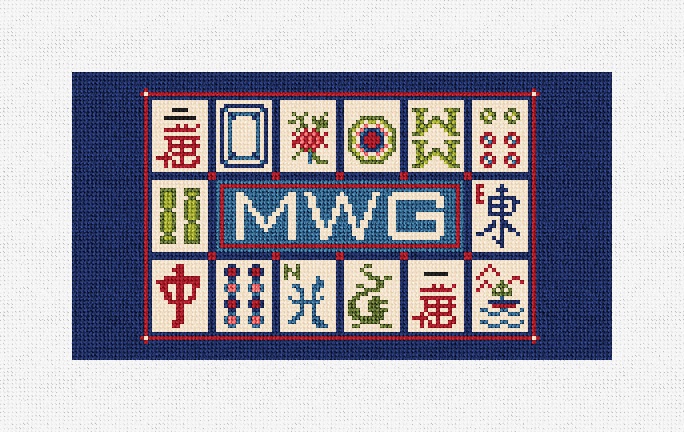
Introducing NeedlePaint’s new collection of needlepoint eyeglass case kits! Whether you seek a touch of elegance, a pop of color, or a dash of whimsy, our collection offers a variety of designs to complement your personal style. These cases will not only serve to protect your eyewear, but will also become little miniature works of art.
Mahjong celebration! This detailed graphic celebrates a time honored tradition.
Find these kits and more in our Eyeglasses product category! We love to help with all of your needlepoint needs, please contact us at: info@needlepaint.com
Create a fun new needlepoint home for your specs, cheaters or sunnies!
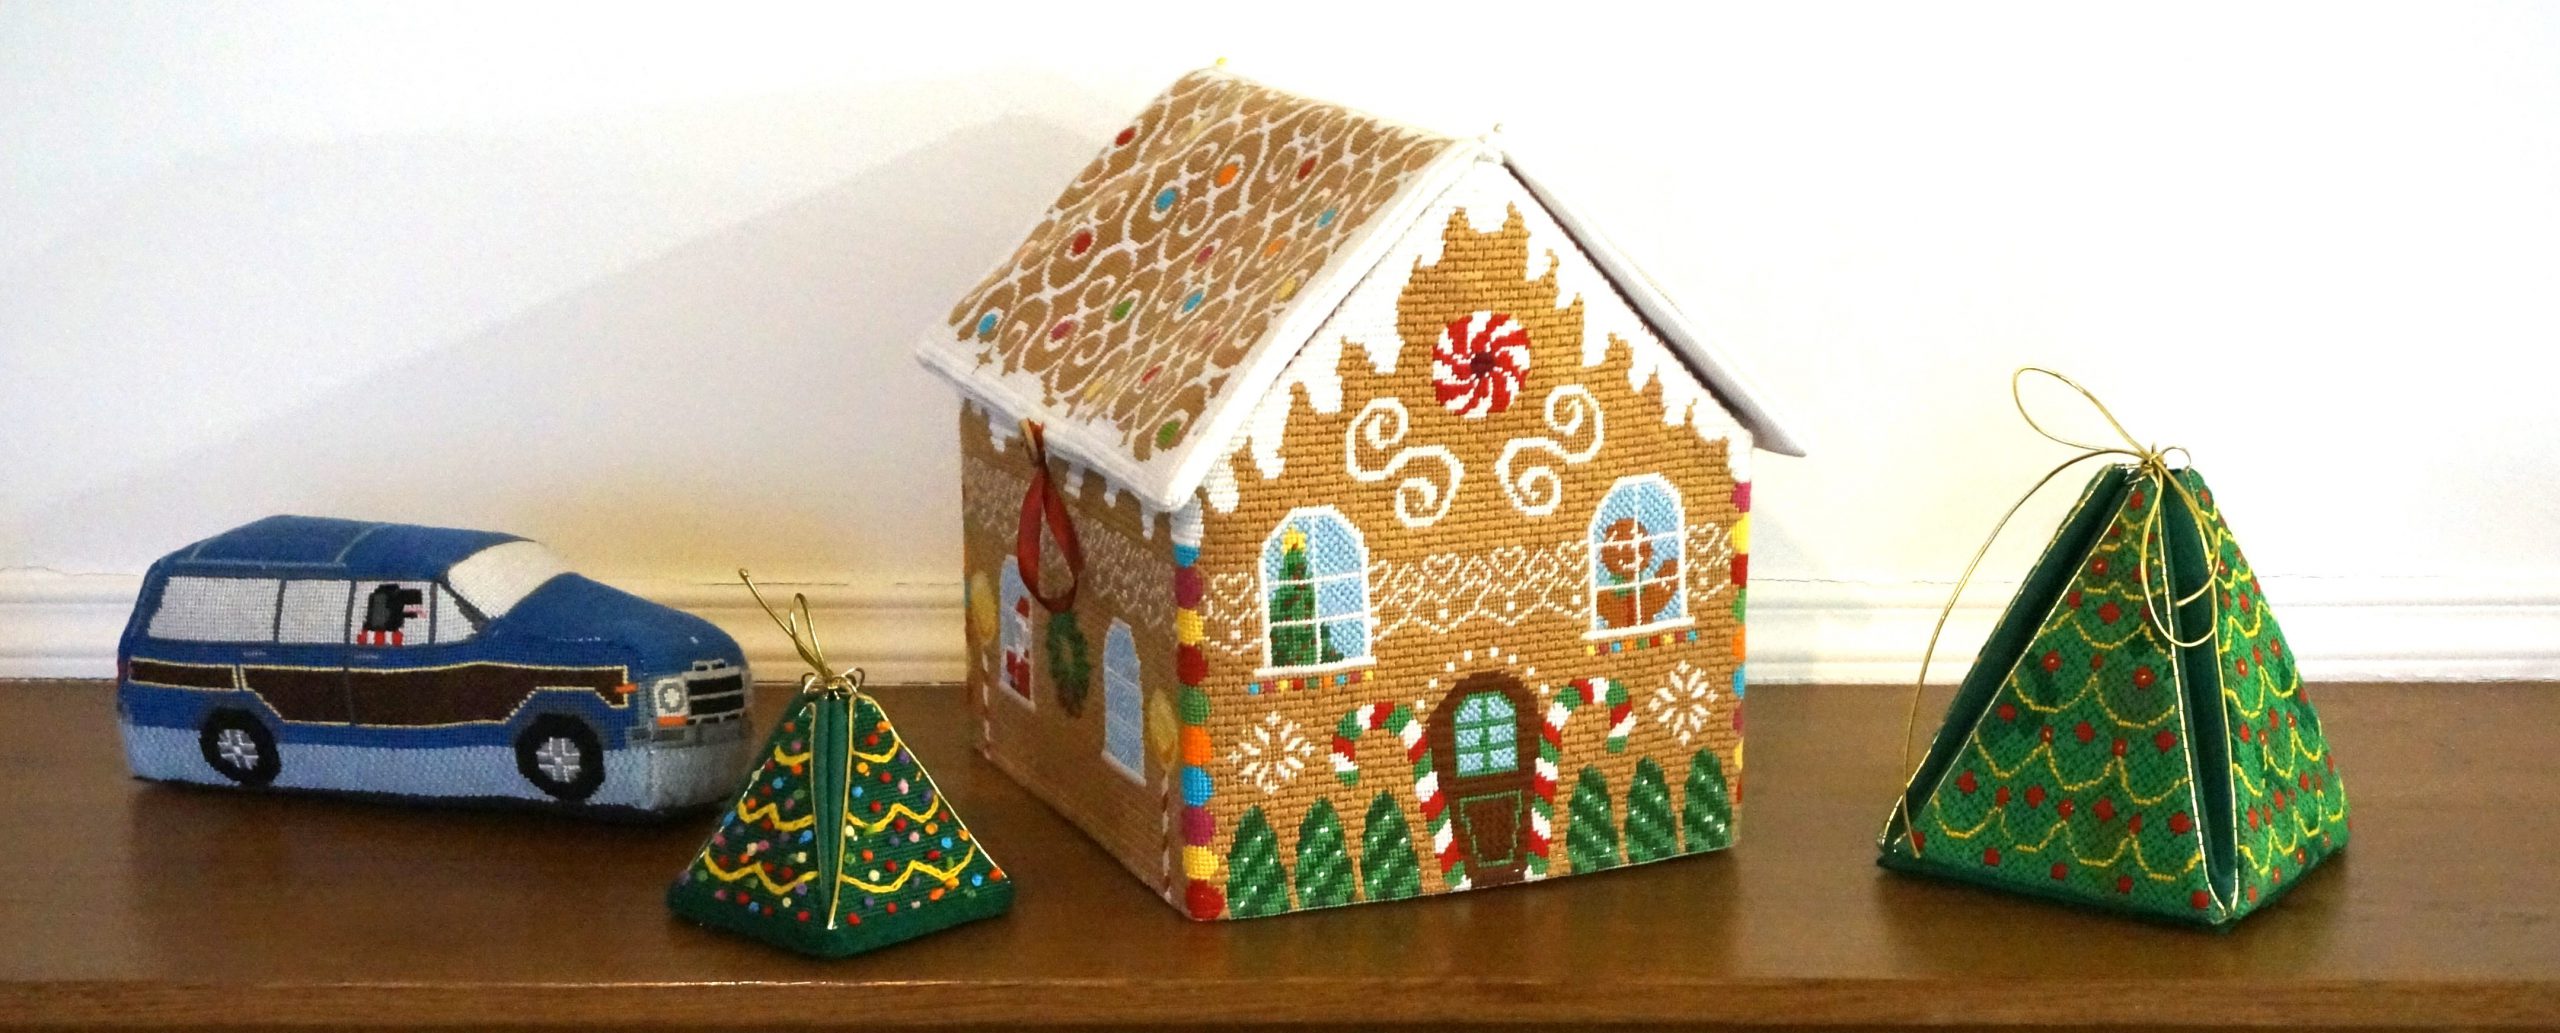
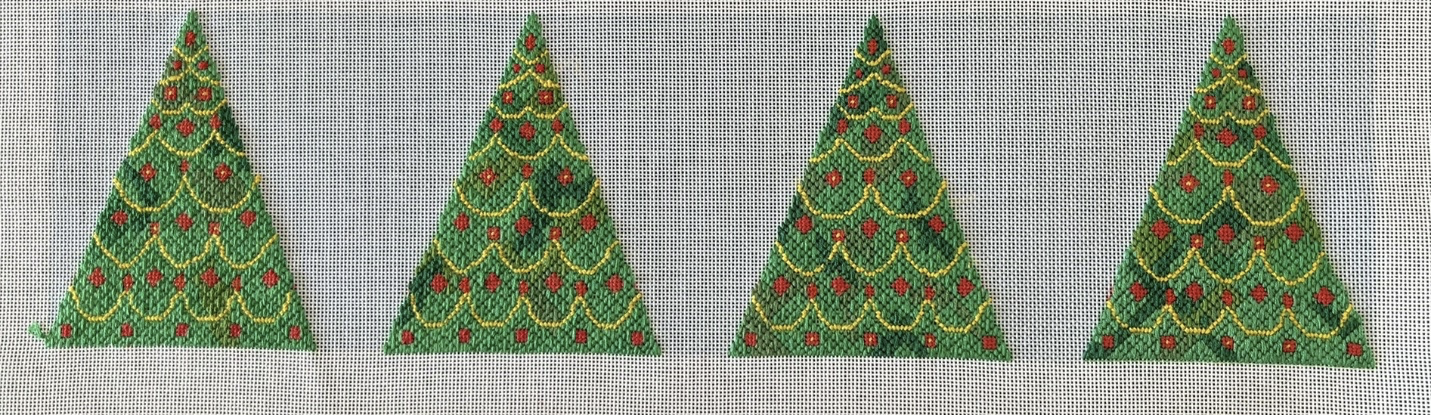
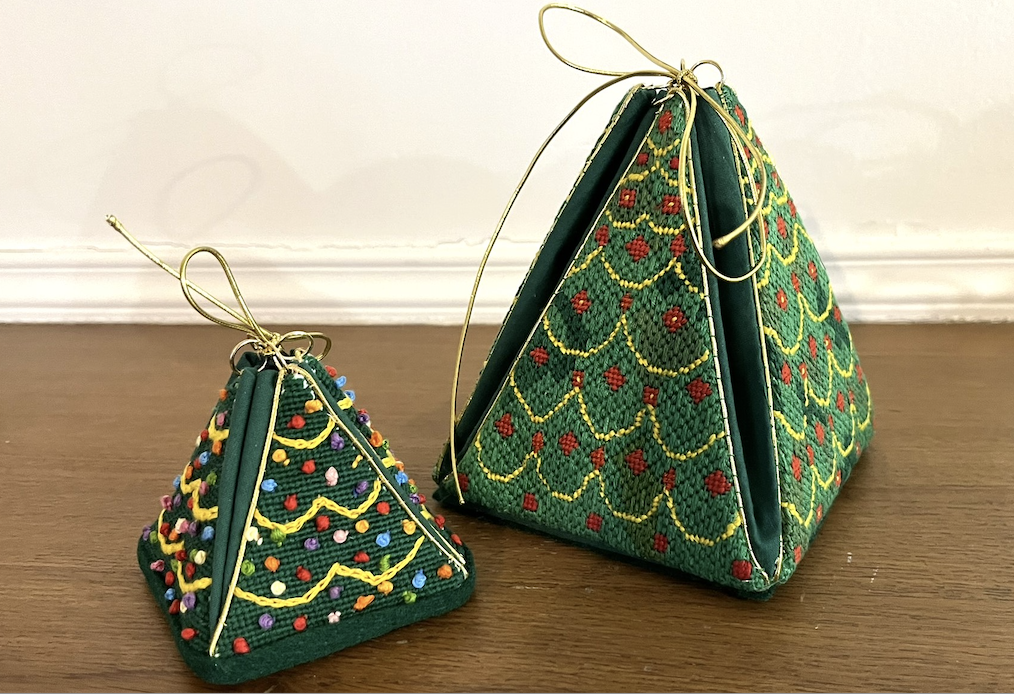
Trees are created using 4 needlepoint isosceles triangles that form a pyramid. A tree could be assembled by sewing the sides of the triangles together and filling with polyester stuffing in a manner similar to the construction of Santa’s New Ride, but I wanted the trees to be like the Gingerbread house, something that opened and could contain Christmas surprises – Treasure Trees.
Elements for assembly are:
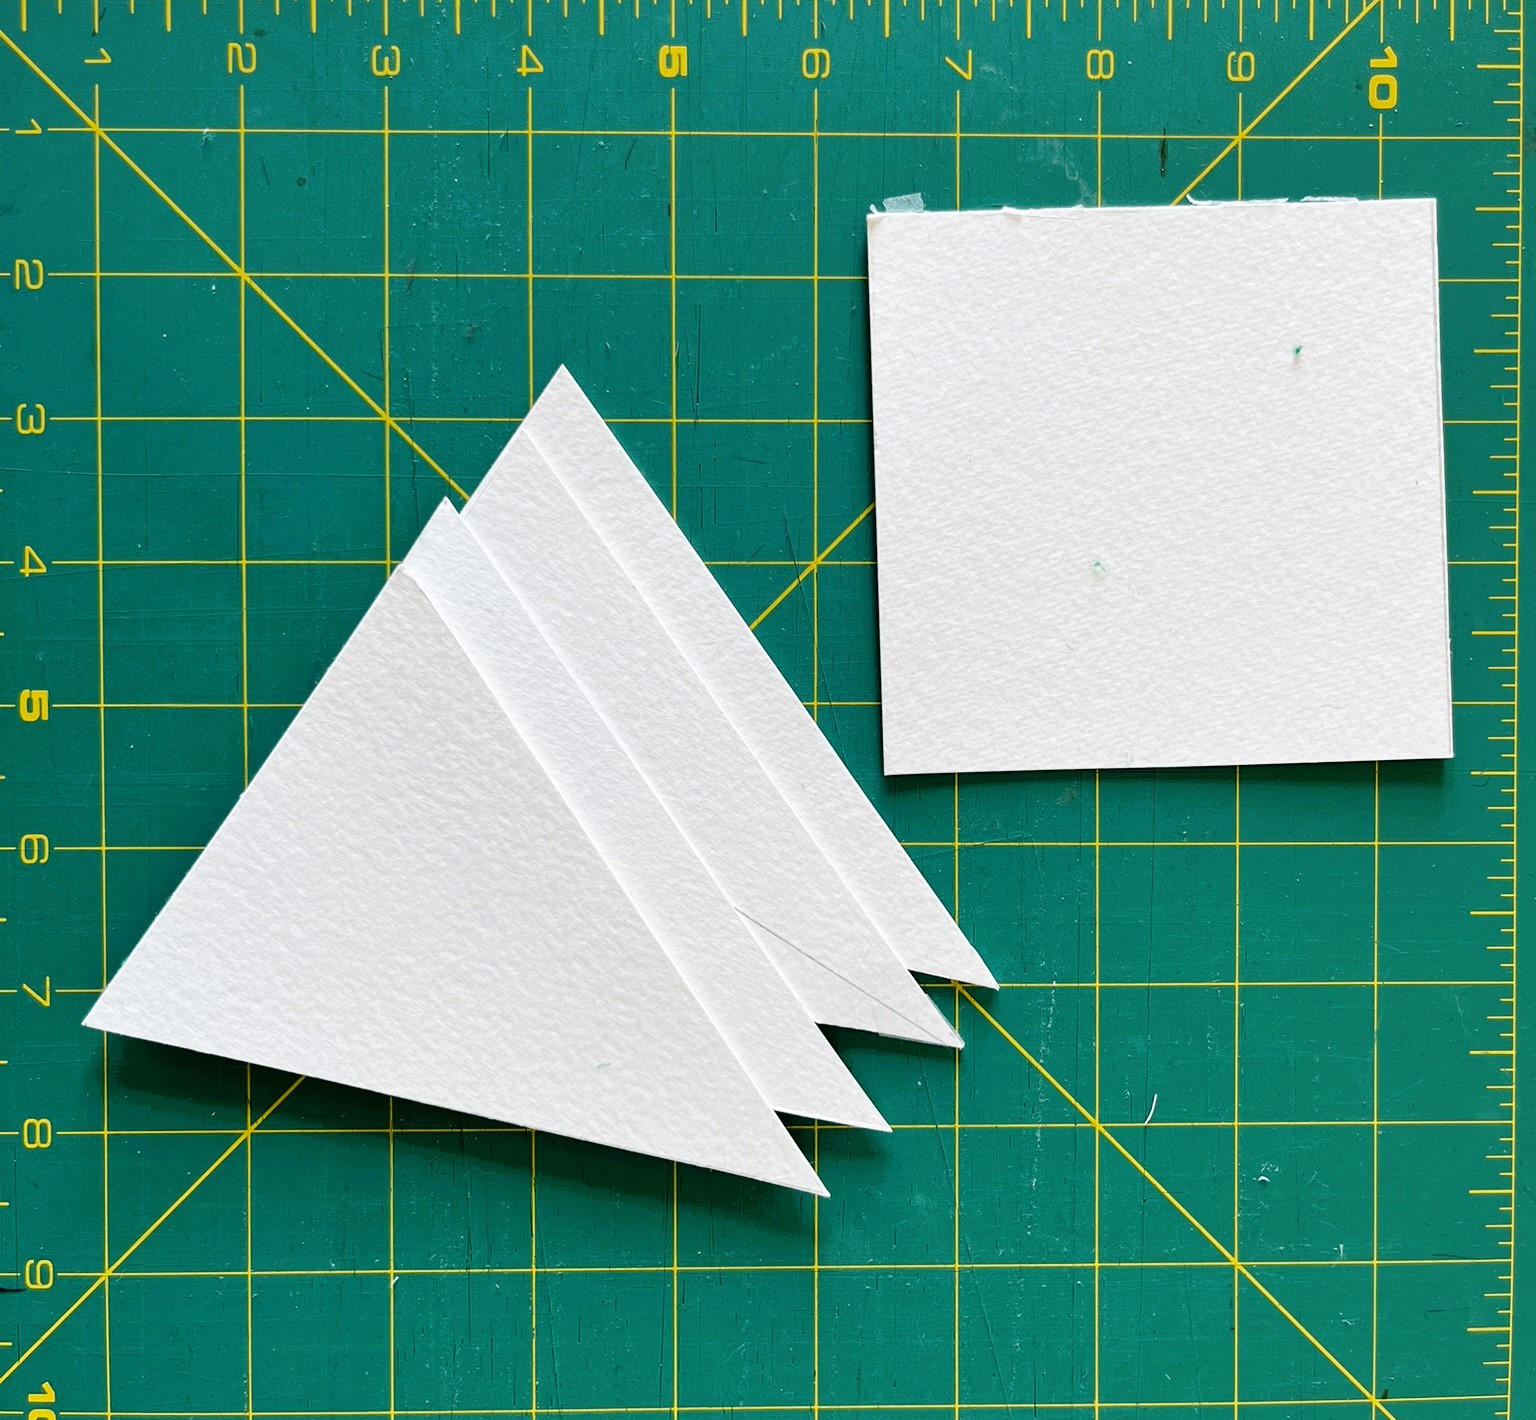
Lightweight cardboard to keep the tree rigid – 4 triangles to match the needlepointed canvases and a square the size of the base of a triangle.
Lightweight cotton fabric: one piece (the lining) twice the height of the triangles plus 2 inches and 4 times the base of the triangle plus 2 inches and a second 1-1/2 inch larger than the cardboard square.
Felt or cork square the same sizes as the cardboard square for the base of the tree.
4 rings and cording for the trim and tie.
Trim the tree triangle leaving 3/8-inch edge which are turned under and steamed in place. Points will require additional trimming so that blank canvas is not visible. Fold the cotton lining piece in half along the length and press. Open the lining flat. Working from the center, position the tree on the lower half of the lining with tops at the fold crease. The bases of the trees should not overlap. Allow space for the cording trim as well.
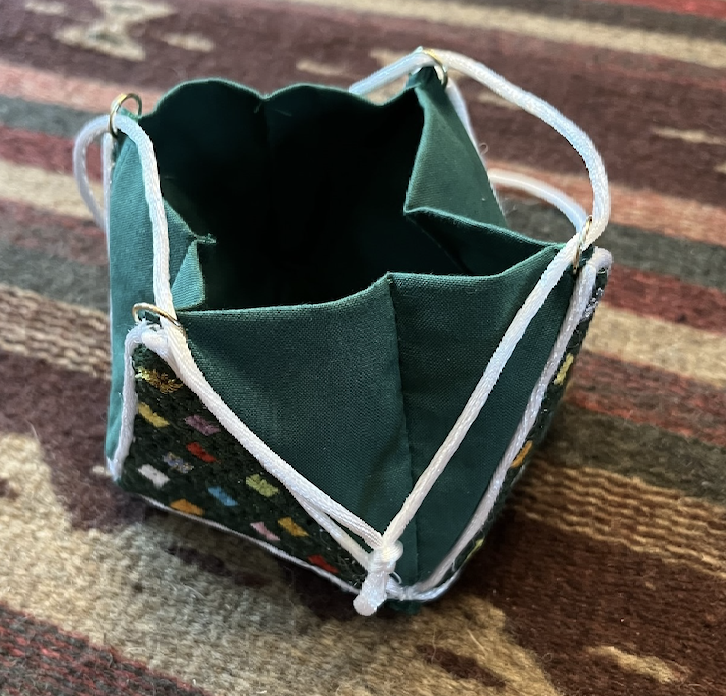
Sew by hand or machine the cording and trees in place through only one layer of the lining. Fold the lining to sew the edges together, making sure the bases of the two outer tree triangles match. Trim the seam to ¼ inch and press open. There will be a tube. Turn over the half tube that does have the triangles so that the raw edges match. Trees will be inside with their tips with slip rings reaching above the fold.
Top view of edge stitching
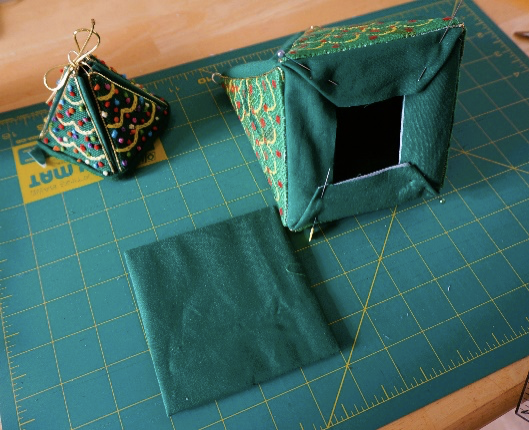
Cover the cardboard square with cotton square gluing or lacing the raw edges on the backside. This will be the inside base of the tree. Miter folds at the base of triangles to form a box and whip stitch. Insert the covered cardboard square. Glue a square of felt or cork to the base of the tree and string cord through rings.
Your Treasure Tree is done!
Treasure Trees can come in any size. Shown in the photos here are the small 2-1/2 inch tree which could hold very special surprise and hang on the Christmas tree and a larger 5 inch tree is much more a mantle decoration and can hold surprises and/or candy treats.
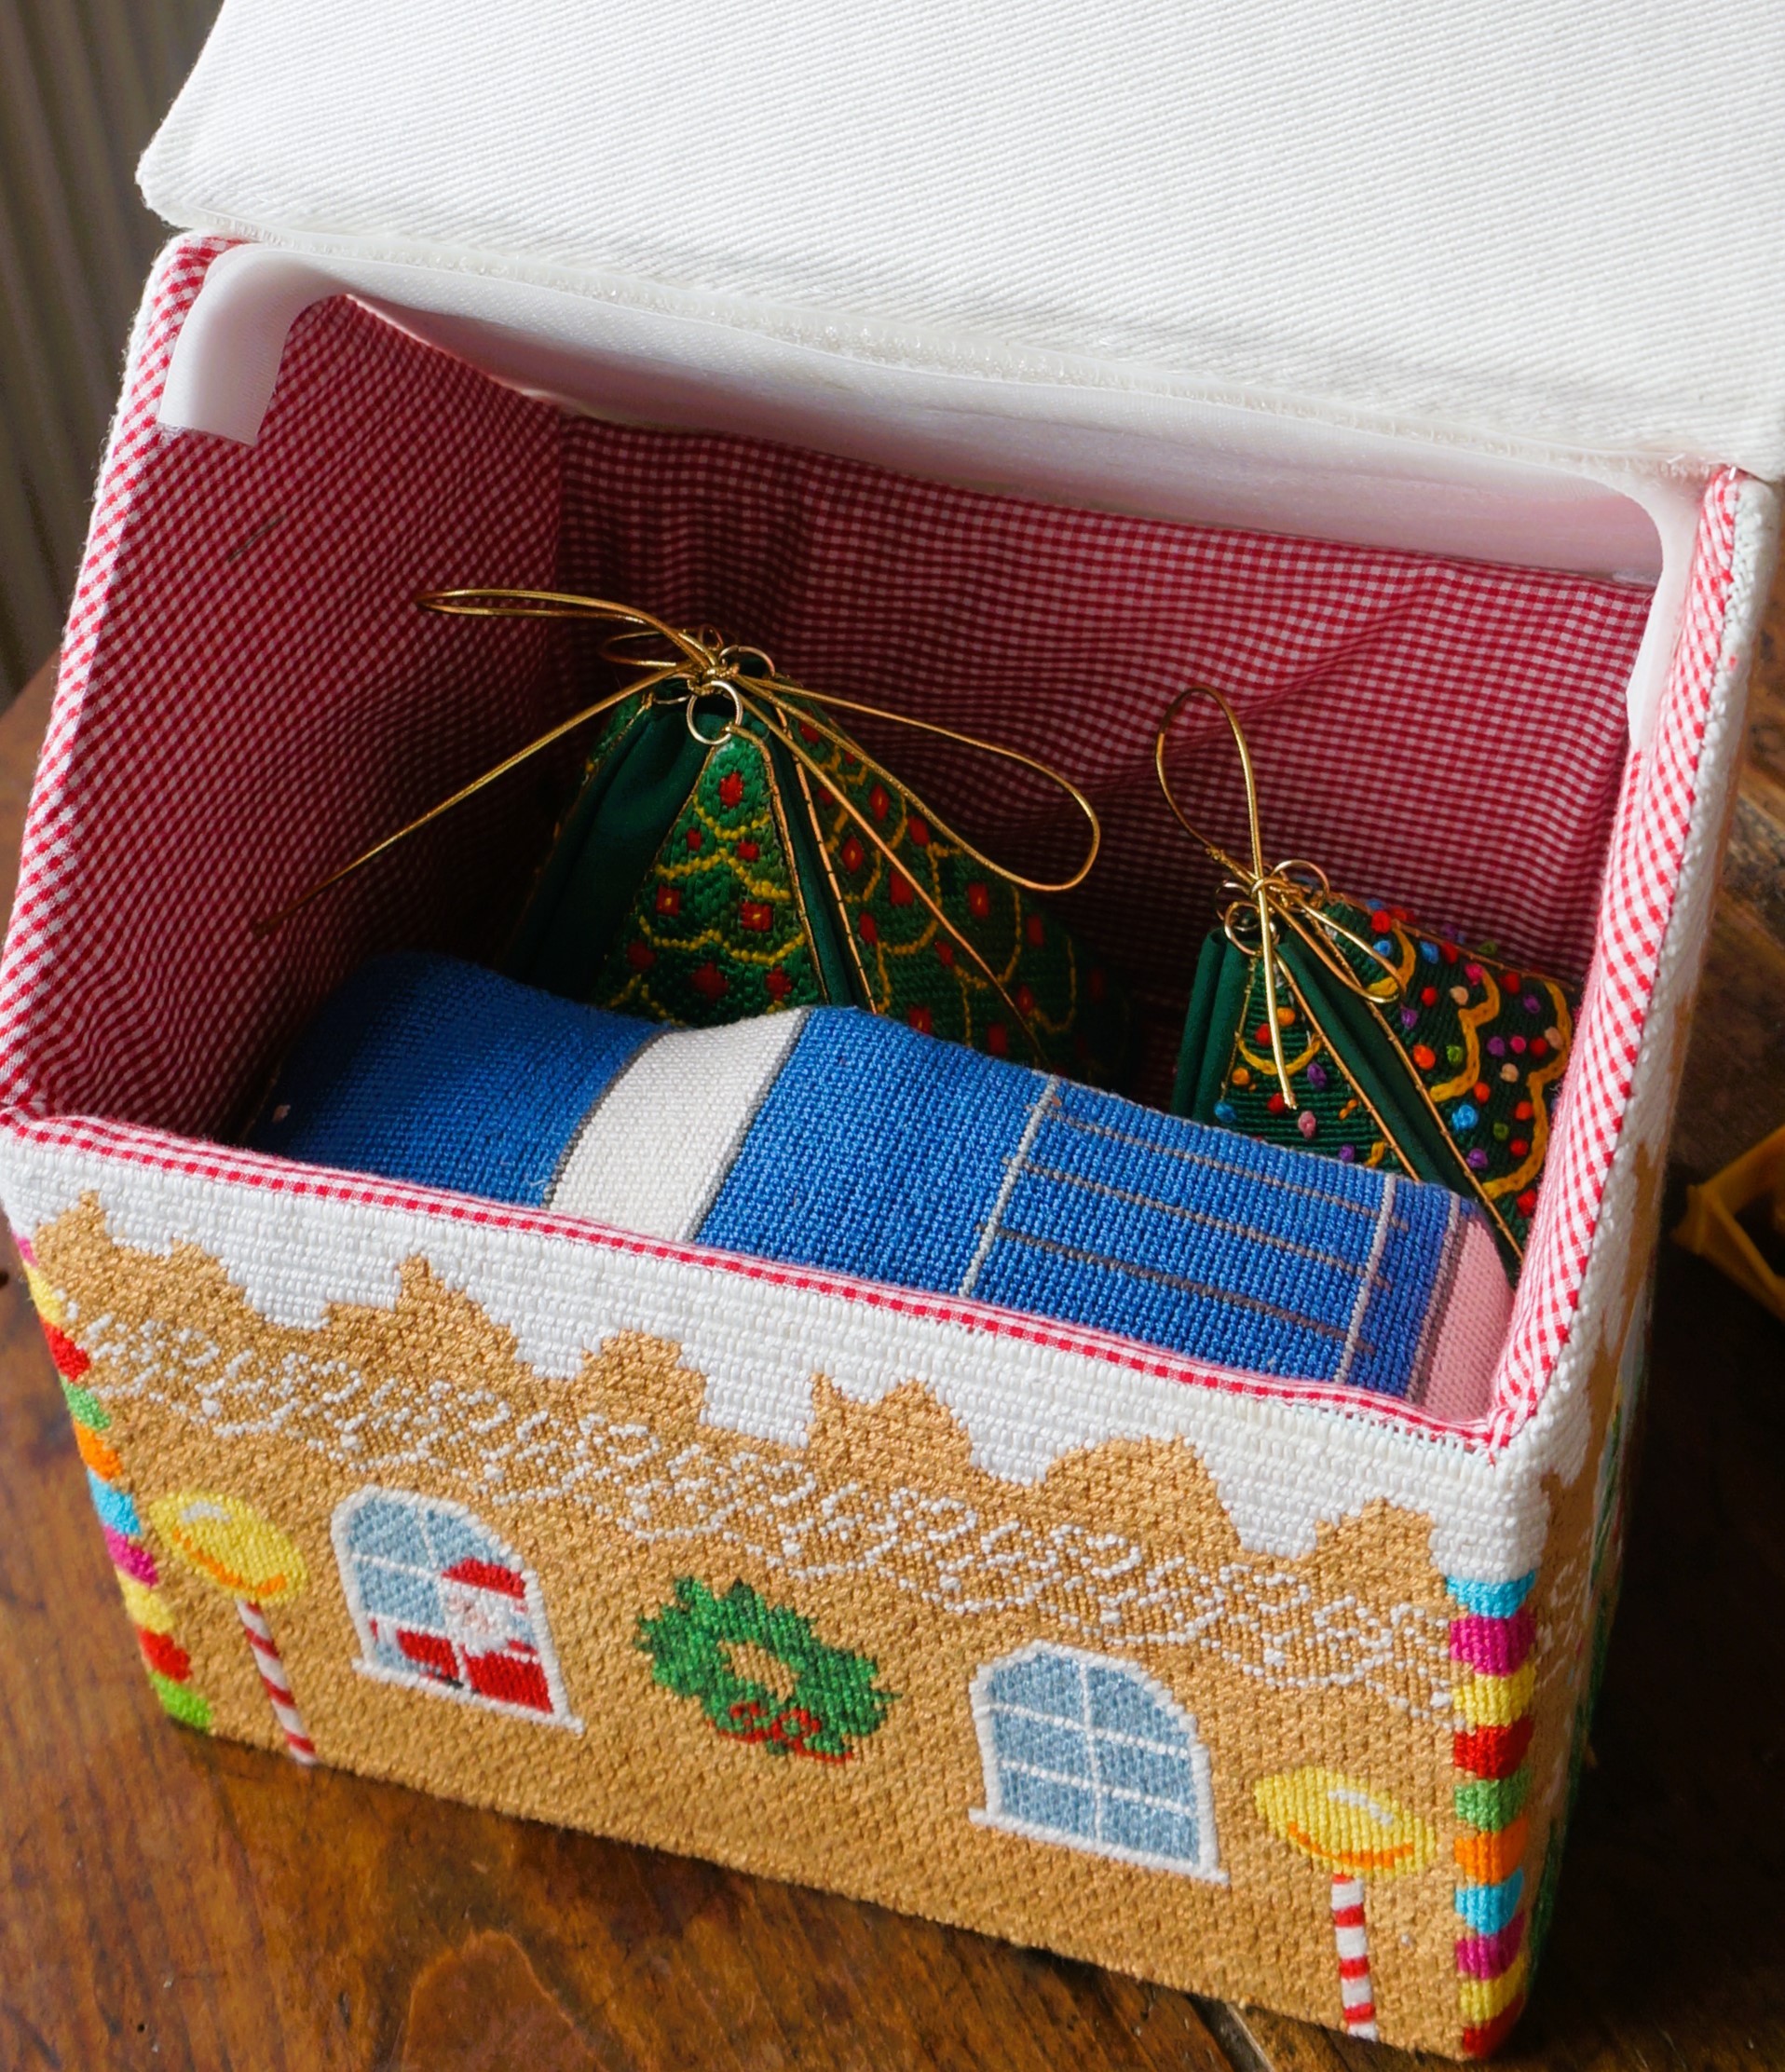
When Christmas is over, they can stack together like nested Russian doll or hop into the Gingerbread house with Santa for safe keeping.














Recent Comments