Stitch A Custom Designed Needlepoint Stocking Kit!
written by Gwynn Goodner
Needlepoint stockings are priceless family treasures, and now you can have stockings that are custom-designed for your family! We can help you create a personalized stocking that reflects the interests of every member of your family. Many customers find an existing design from our stock inventory and personalize it with a name, but if you want something completely unique, have us design one for you.
The First Step
Place your order for a custom needlepoint stocking kit through this link:
https://www.needlepaint.com/needlepoint-kits/custom-christmas-stocking-needlepoint-kit-1950
The Second Step
Choose a theme and design style.
The process starts with the customer choosing a theme—it can be anything from a sports interest to a travel destination. Our designers will take that theme and dress it out to a beautiful, personal design.
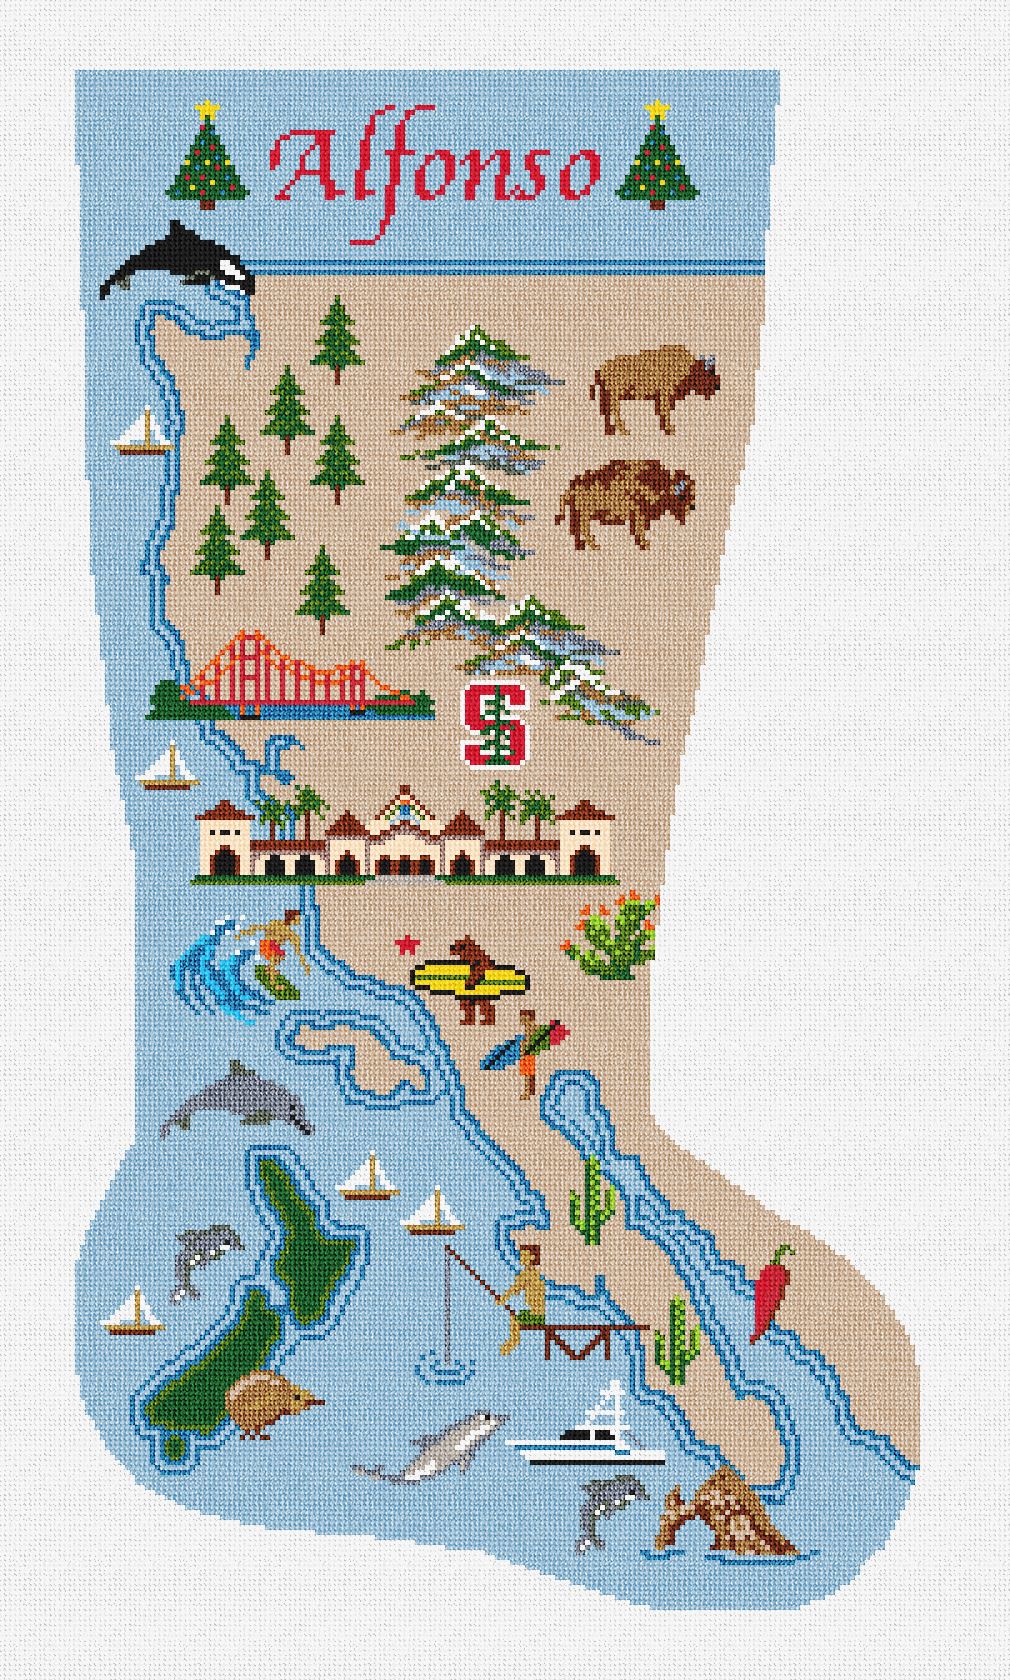
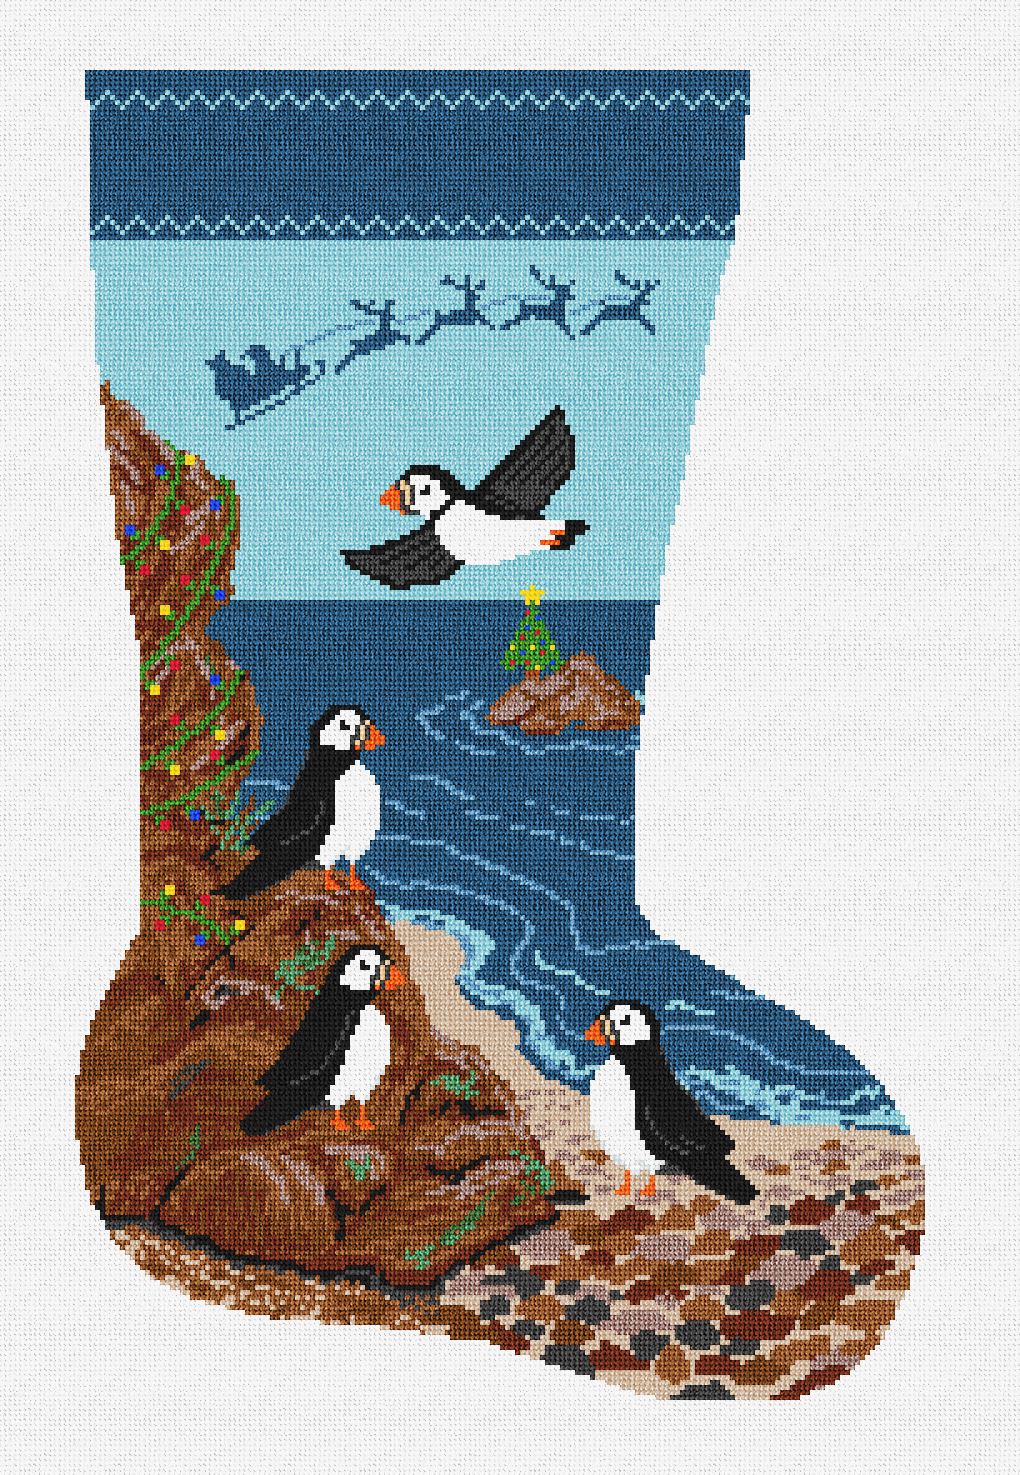
Once you have chosen a theme, a few small additional elements can be added if you want. Here is an example. The customer who commissioned this design wanted the West Coast as the theme and added various features up and down the coast.
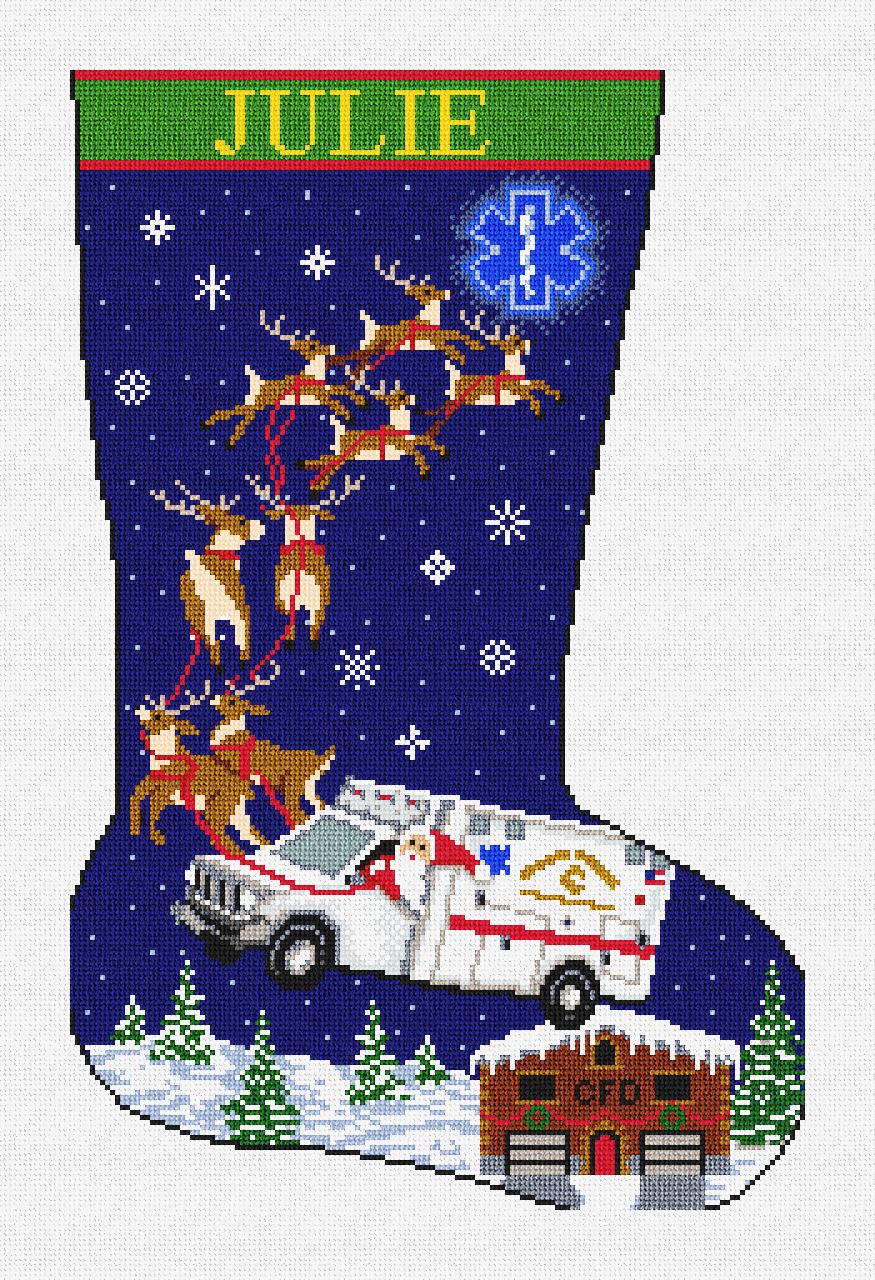
A different approach is to choose a theme such as a profession. This piece was done for a client whose daughter was an EMT. She wanted something in the holiday spirit that reflected her love for her work, so now it’s Santa to the rescue!
The possibilities are endless! It is important to remember that there should be one primary element of focus so our designers can create a scenario that makes a statement. Along with that primary element, we can often add smaller images or background that will work within the scene.
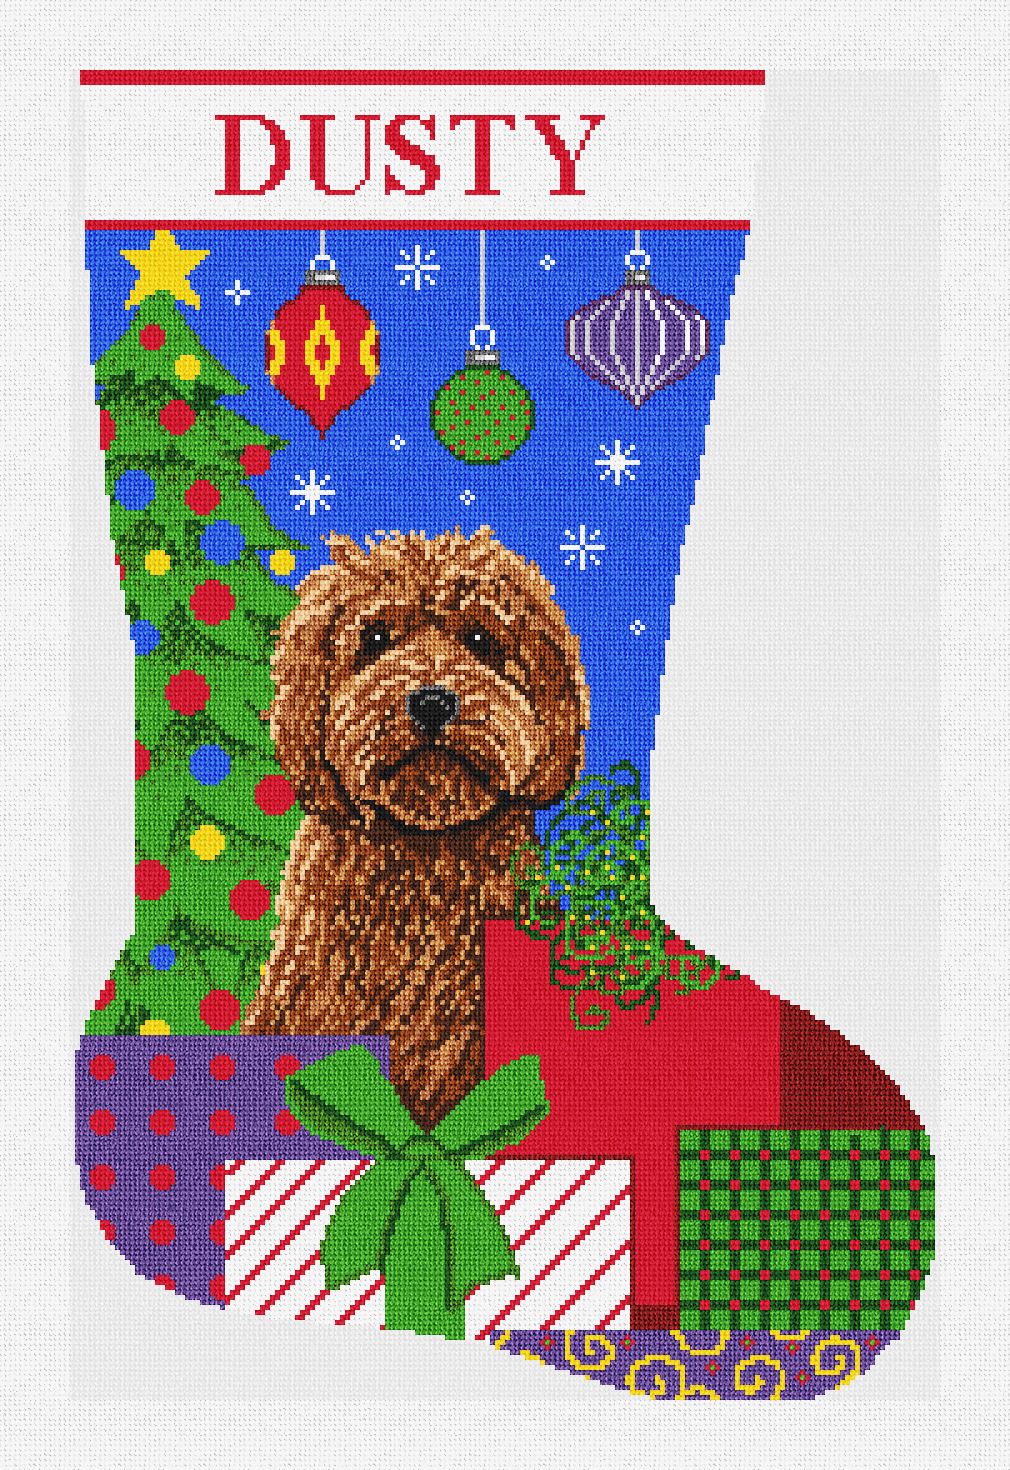
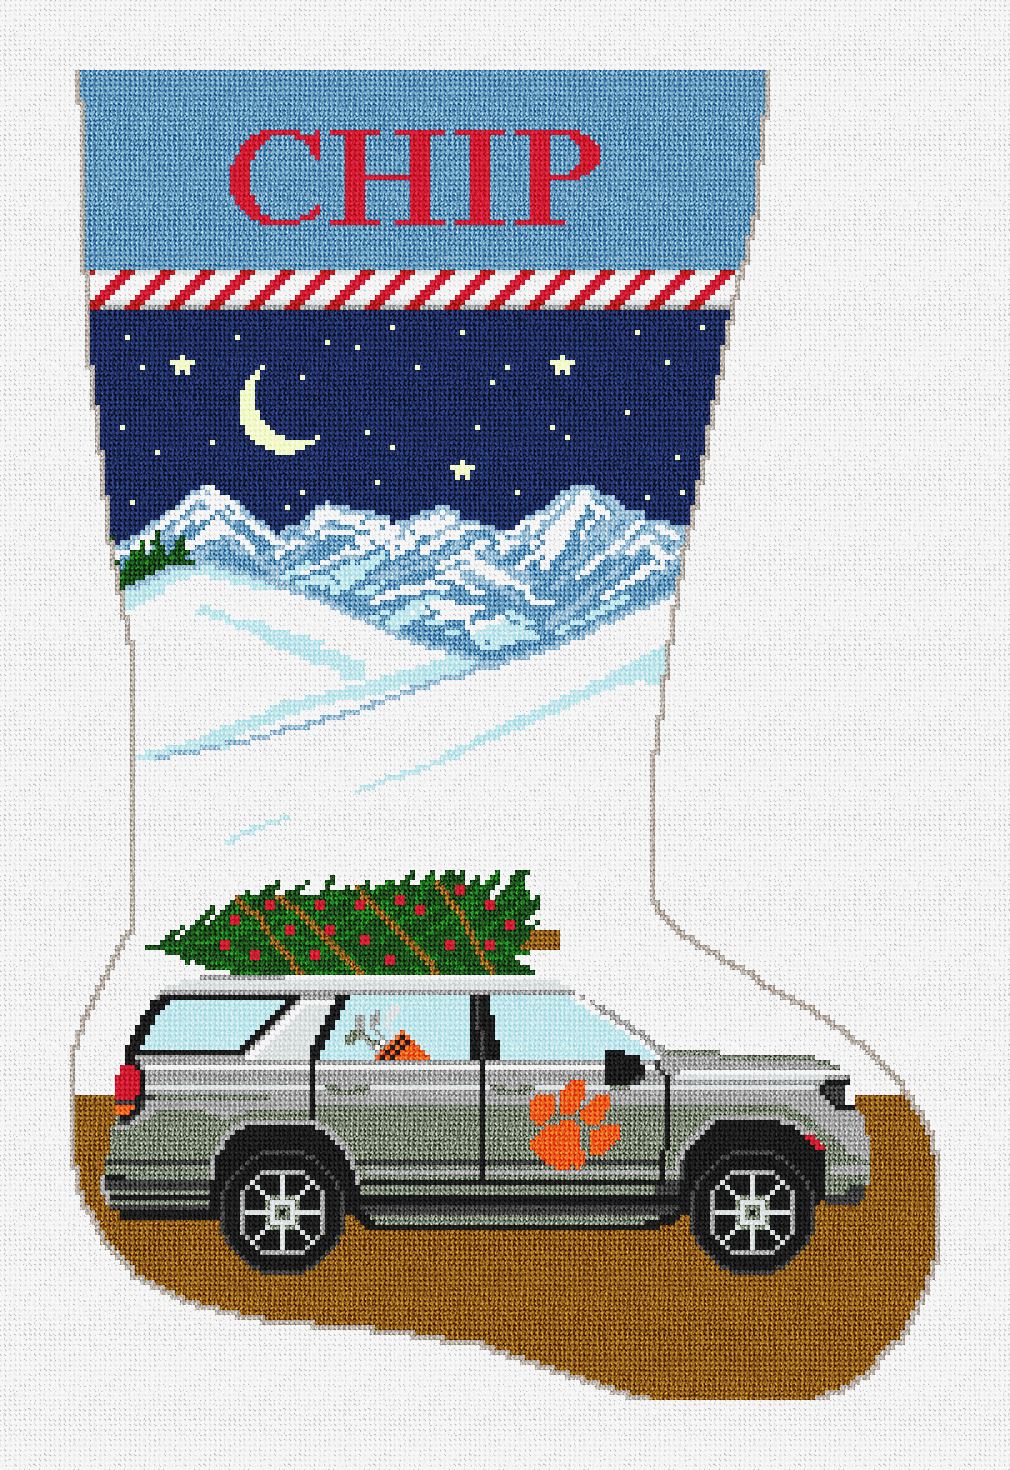
A main subject, a secondary subject and background item will make the best stocking design.
Follow the rule of threes. For this example:
1. the dog is the main subject.
2. the presents a secondary.
3. the tree a background element.
This type of design approach makes for a more unified scene and a better overall result.
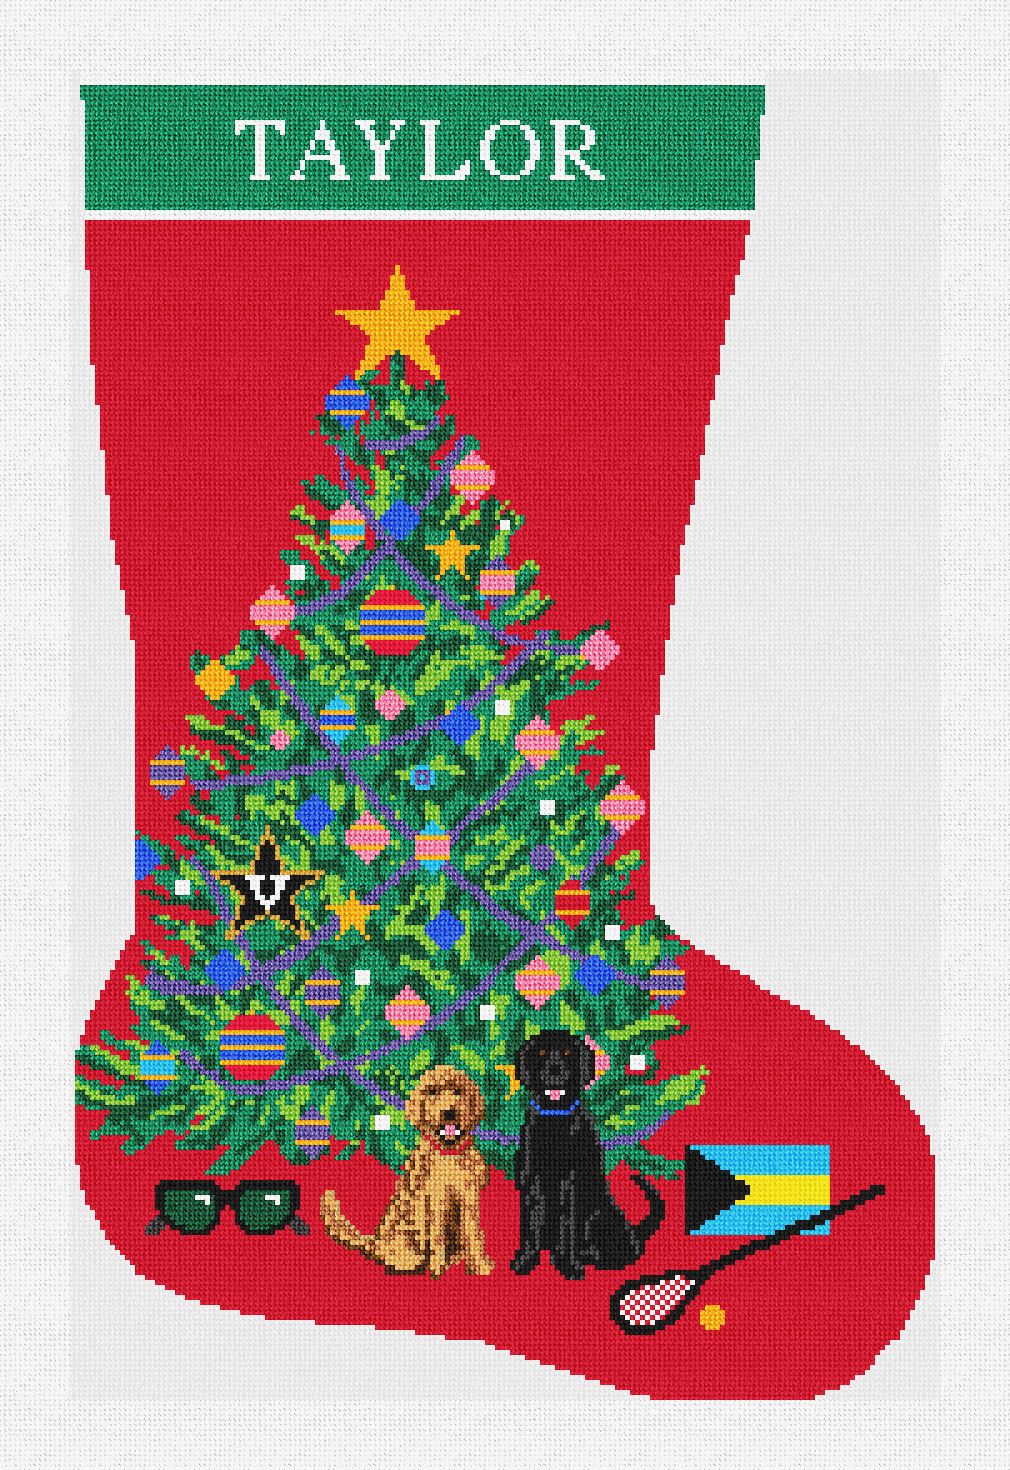
Here’s an example of a Christmas tree as the main image with the recipient’s interests reflected in the décor and presents on and around the tree.
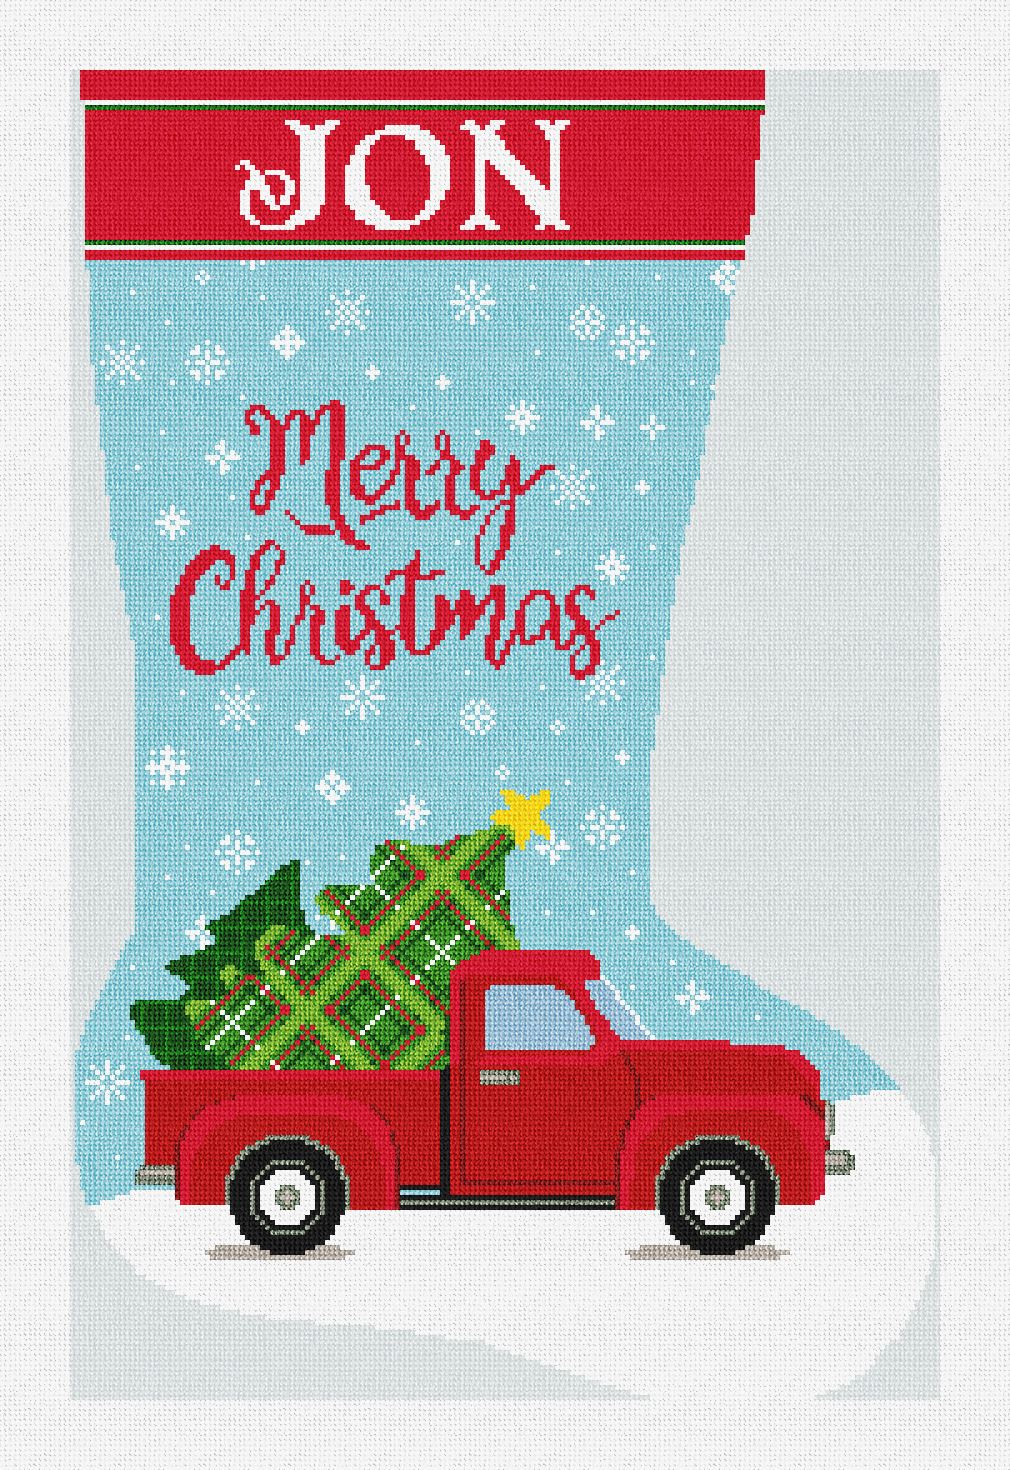
Another thing to consider is the style of art you want for your stocking. We can take a more graphic approach, which results in cleaner lines and a bold visual statement.
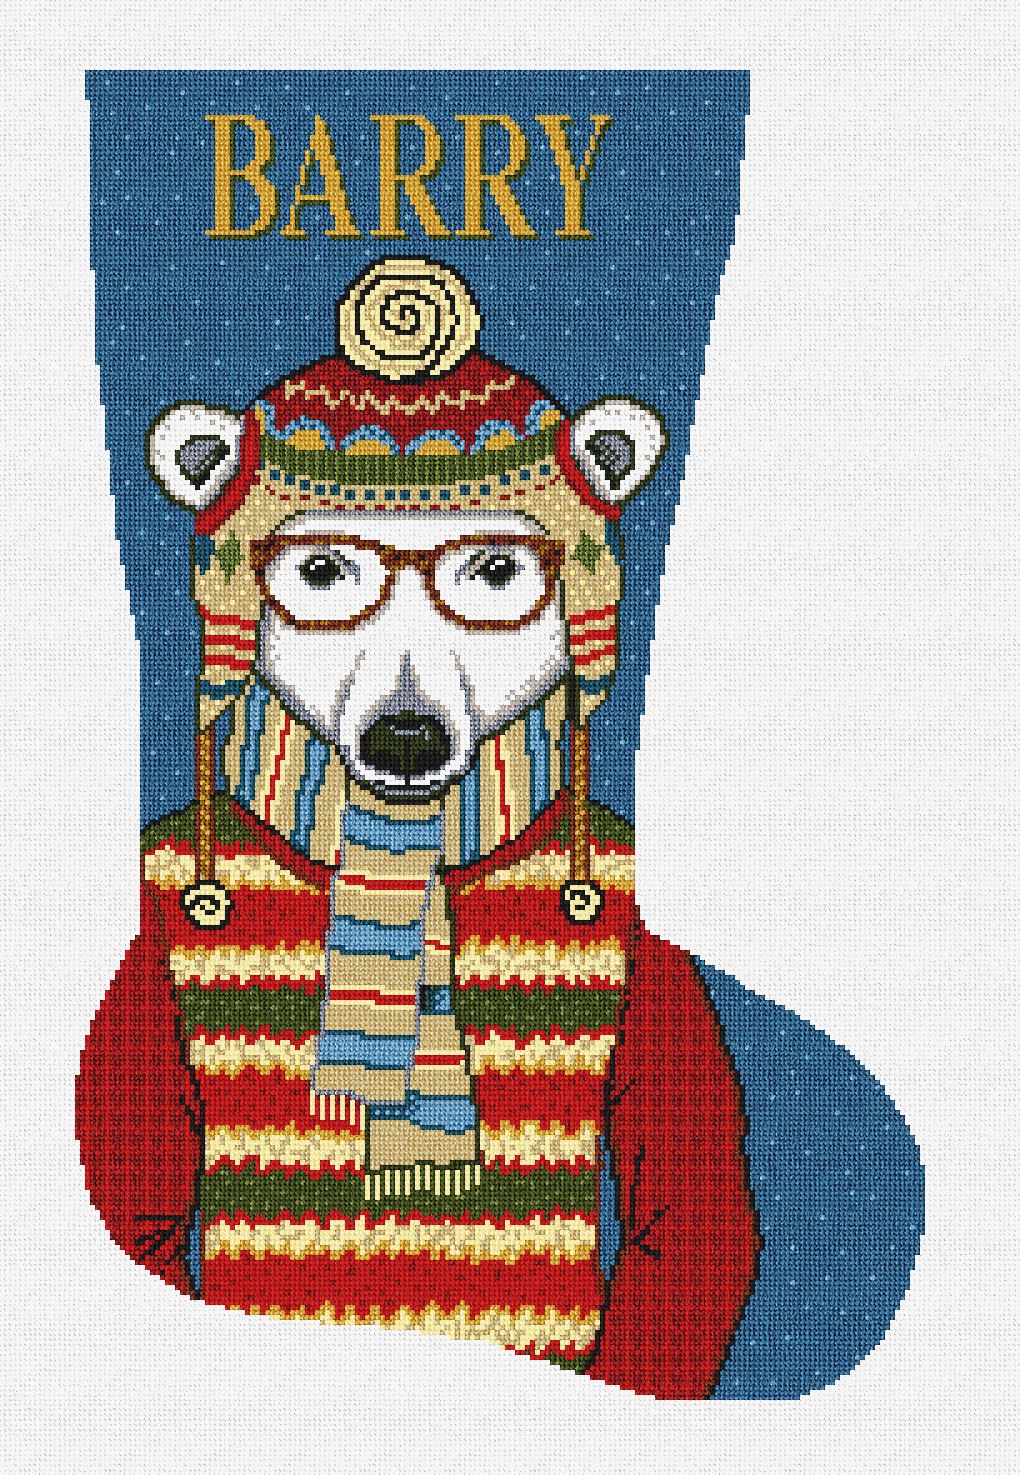
Or we can take a more illustrative style that gives a more shaded, nuanced result.
Doing a Google image search is a great way to start. A simple search such as “Santa skateboarding,” or “Great Dane dressed as angel” will yield great inspiration for your stocking. You’ll be surprised at how many images pop up and provide good poses or direction for the designer to follow! Save some favorite images from your search and include them when you make your order to help inspire the design.
When you place your order, please include all design requests and any images or links to images that may help our designers. You can include these in your order notes or in an email to info@needlepaint.com.
Once we have your order and this information, you will receive a layout from one of our designers in 7-10 business days. It is helpful to have images for our designers to follow so they have an idea of what you have in mind.
The Third Step
You’ve submitted your ideas, and now our designer will begin creating your design!
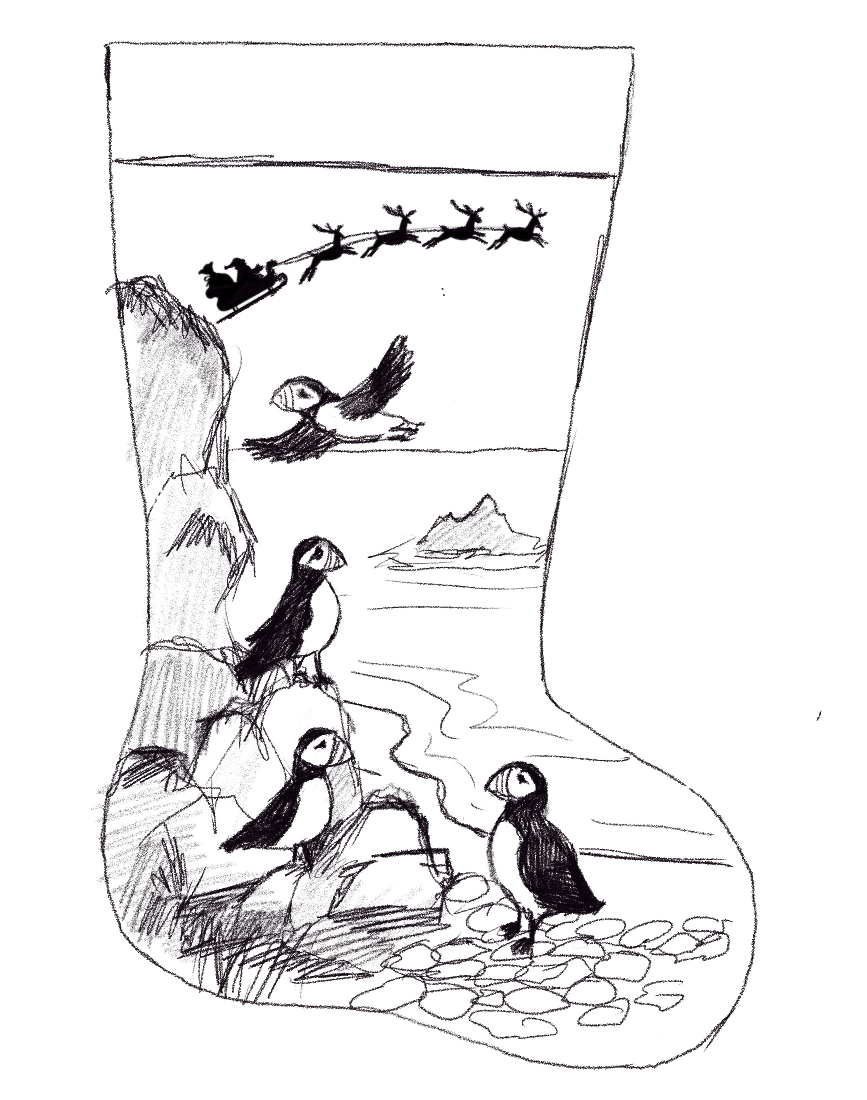
When you receive your layout it may look something like this. The layout is a rough sketch showing the approximate size and position for the major elements on the stocking. You will have an opportunity to do a round of changes to the layout and once it is approved, you will receive a proof of the colored version of your design.
Further small adjustments can be made at this point
to render the perfect stocking for your family member.
Things to keep in mind when you are considering a custom stocking design:
The general shape of a stocking is vertical, so horizontal objects (like cars, boats etc.) may need to be made smaller to fit and are generally placed in the lower 1/3 of the shape to maximize their size.
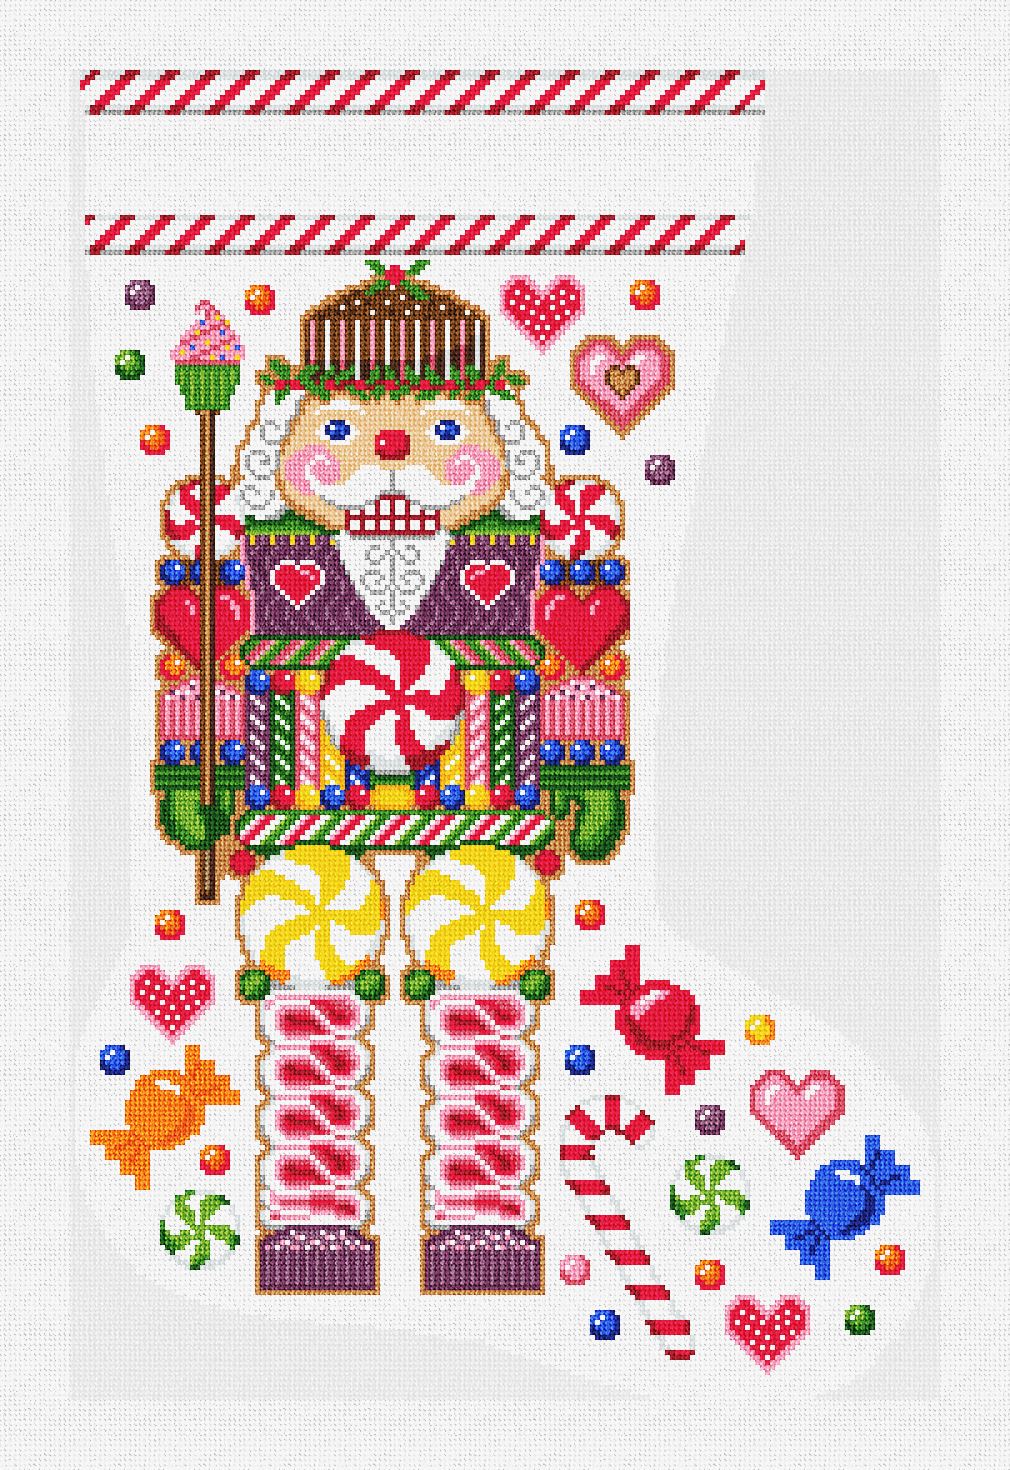
Vertical images such as Christmas trees or a nutcracker are ideal subjects for a stocking.
More isn’t necessarily better. Editing and curating the things you want on a stocking makes for a better finished piece. Too many items can make a stocking look cluttered and hard to see the individual elements. Simplifying the visuals makes for a cleaner, more cohesive design.
Our designers have also recreated heirloom stockings that have been lost over time. One customer lost their prized childhood stocking in Hurricane Sandy and commissioned us to recreate it from some old family photos. Using the photos as reference we were able to make a stocking that preserved the special holiday memories that they thought had been lost for good.
At NeedlePaint we pride ourselves in making the most attractive, personal and affordable custom canvases on the market, and it’s all just a click away.
We would love to help create a unique stocking design for you.
Please contact us with any questions that you may have at: info@needlepaint.com
Stitch a priceless family treasure!

Recent Comments